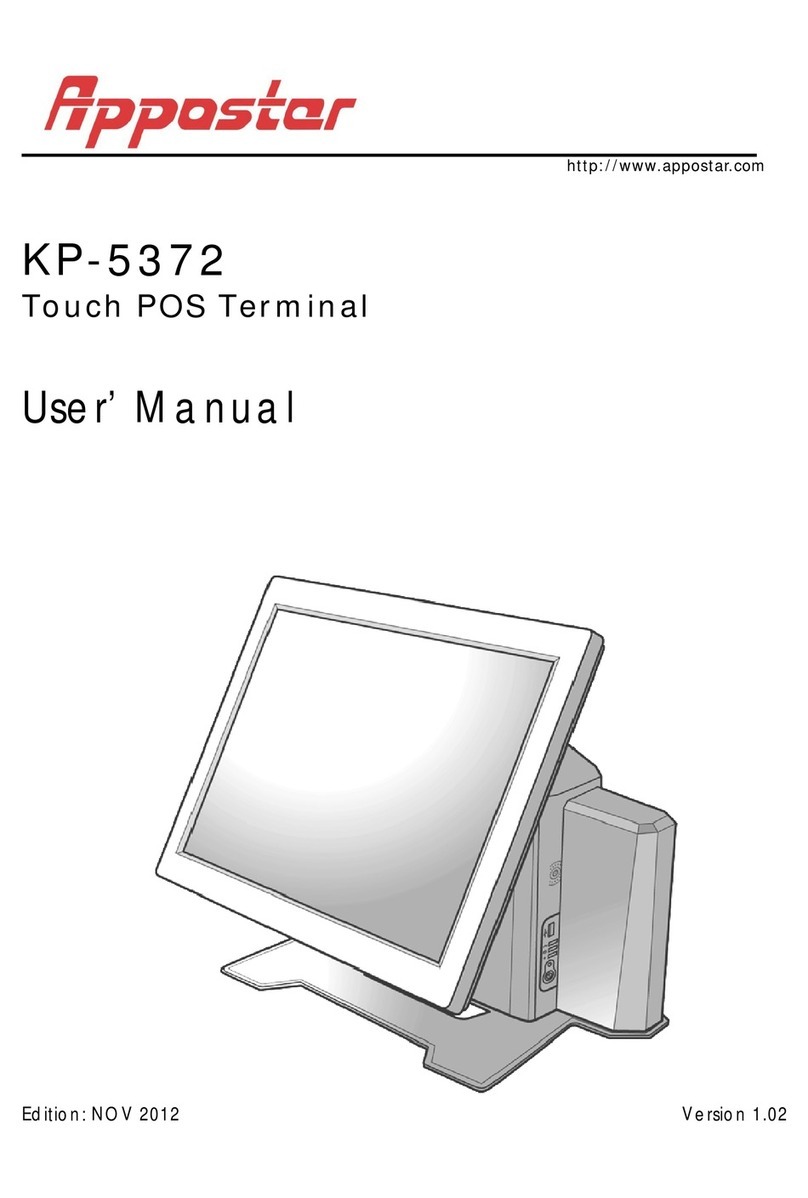
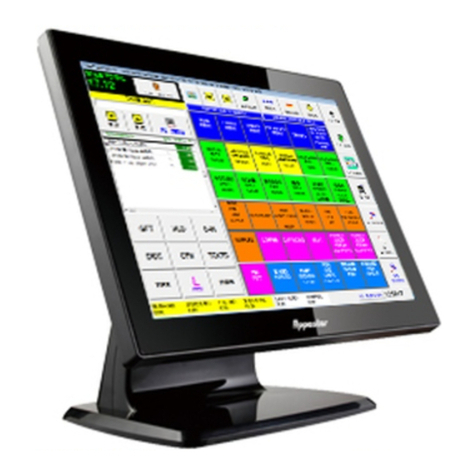
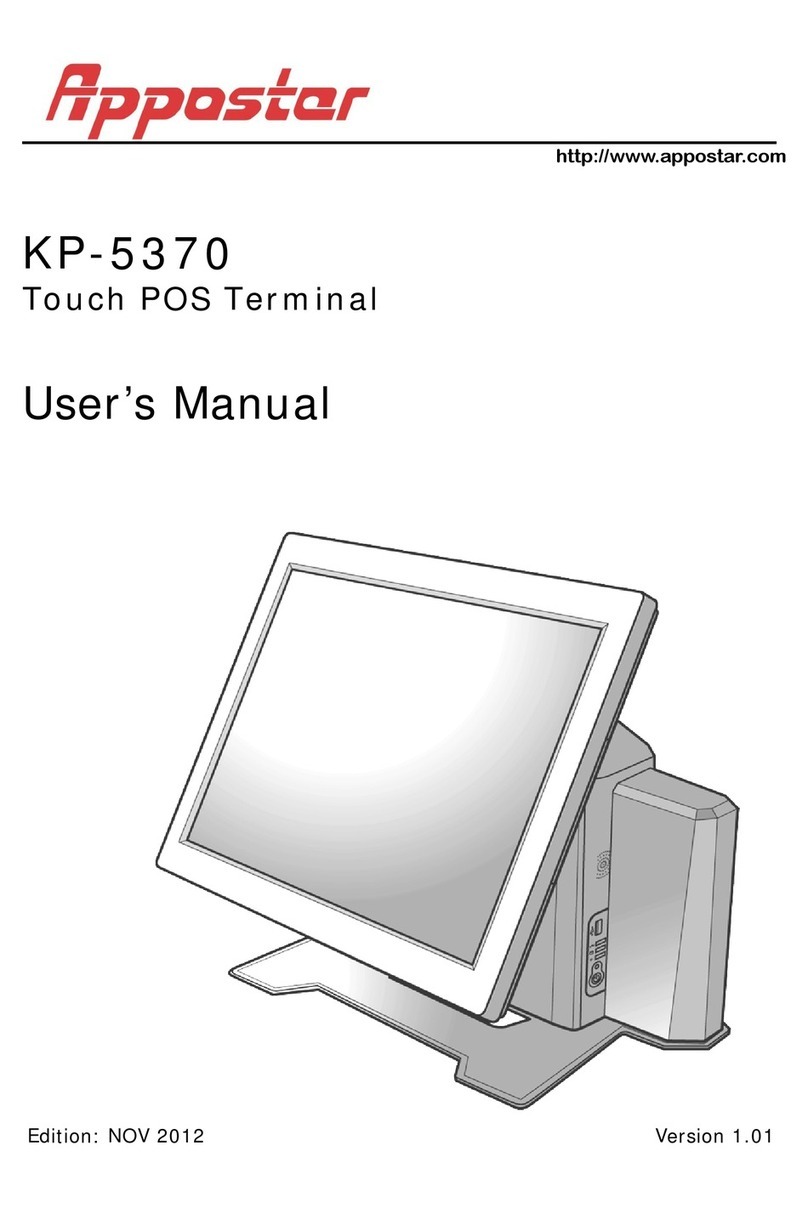
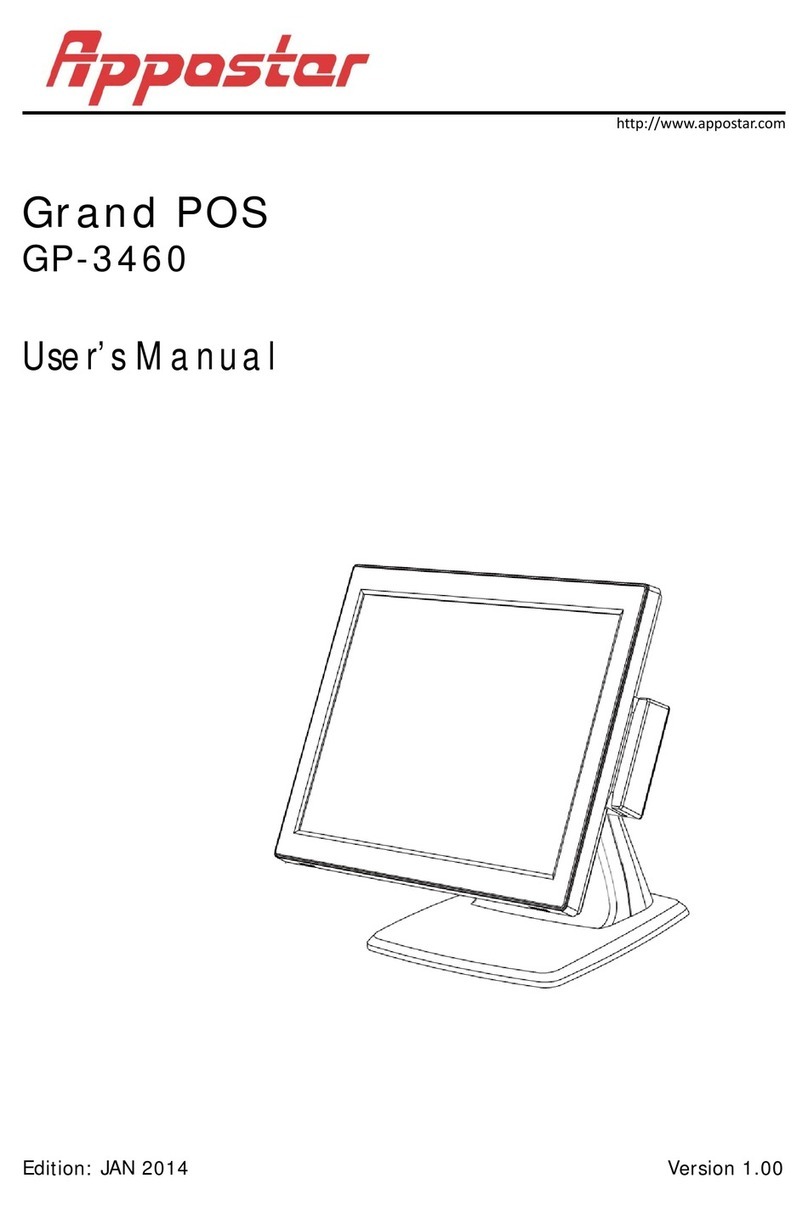
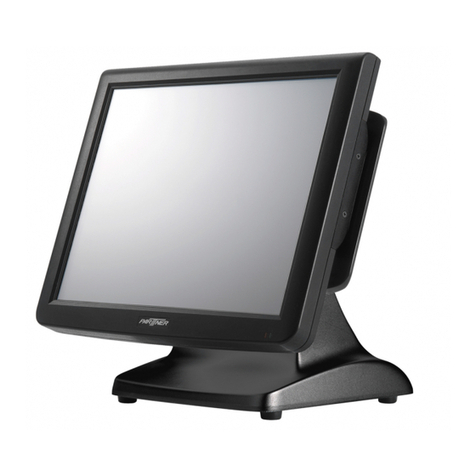
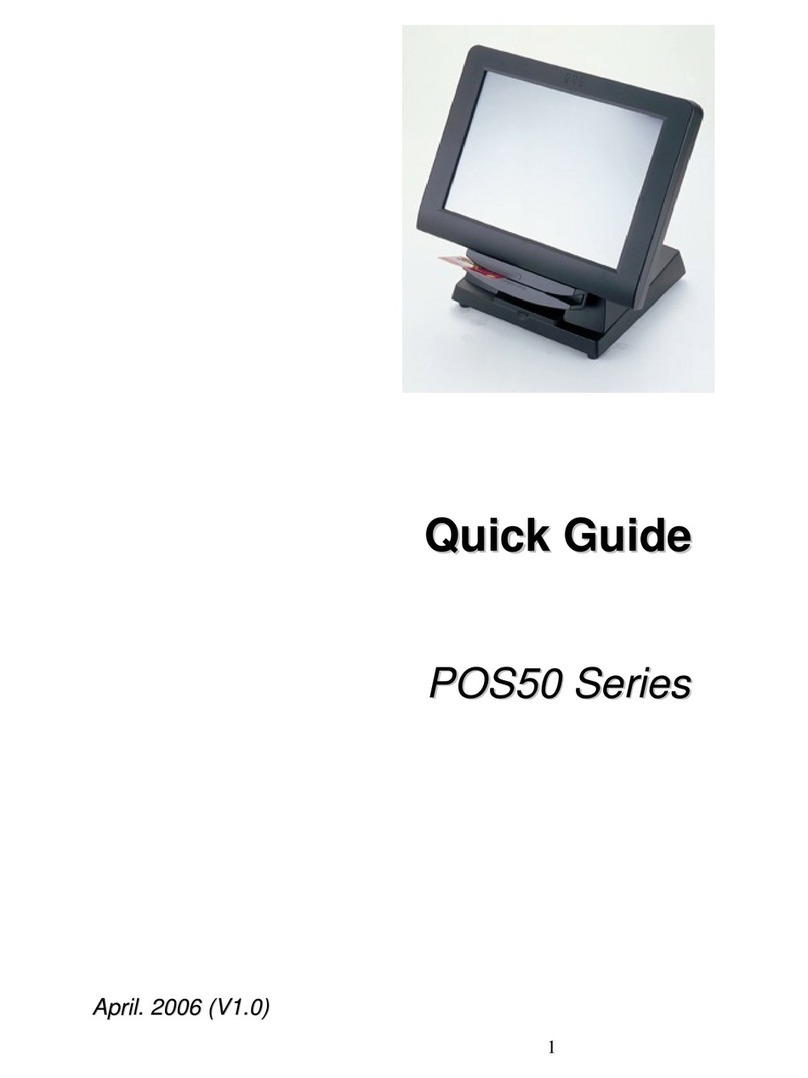
Appostar Grand POS GP-3464 User manual

http://www.appostar.com
Grand POS
GP-3464
User’s Manual
Edition:May 2016 Version 1.0

PREFACE
II GP-3464POS Terminal
Federal Communications Commission (FCC)
This equipment has been tested and found to comply with the limits for a Class A
digital device, pursuant to part 15 of the FCC Rules. These limits are designed to
provide reasonable protection against harmful interference in a residential
installation. This equipment generates uses and can radiate radio frequency
energy and, if not installed and used in accordance with the instructions, may
cause harmful interference to radio communications. However, there is no
guarantee that interference will not occur in a particular installation. If this
equipment does cause harmful interference to radio or television reception, which
can be determined by turning the equipment off and on, the user is encouraged
to try to correct the interference by one or more of the following measures:
Reorient or relocate the receiving antenna.
Increase the separation between the equipment and receiver.
Connect the equipment into an outlet on a circuit different from that
towhich the receiver is connected.
Consult the dealer or an experienced radio/TV technician for help.
Declaration of Conformity
These devices comply with part 15 of the FCC Rules. Operation is subject to the
following two conditions:
1. These devices may not cause harmful interference.
2. These devices must accept any interference received, includinginterference
that may cause undesired operation.
Lithium Battery Replacement
To avoid possible danger of explosion, ensure correct polarity when changing the
lithium battery. Replace only with the same or equivalent type recommended by
the manufacturer.
WEEE (Waste from Electrical and Electronic Equipment)
The WEEE wheeled bin symbol on the product or on its packaging indicates that
the product must not be disposed of with other waste. It should be the user’s
responsibility to dispose of their waste equipment by handing it over to an
approved location for the recycling of waste electrical and electronic equipment.
For more information about where to send your waste equipment for recycling,
please contact your local city office, your household waste disposal service or
where you purchased the product.
PREFACE
GP-3464POS Terminal III
Disclaimer
The material in this document is for information purpose and is subject to change
without prior notice. APPOSTAR has made every effort to ensure that this user’s
manual is accurate and complete. However, no liability is assumed for any errors
and omissions that may have occurred. Nor are any liability assumed for any
damages resulting from the use of this product and the information contained in
this document. APPOSTAR reserves the right to make improvements to this
publication from time to time in the contents hereof without obligation of the
manufacturer to notify any person of such revision or changes.
Copyright
This work is copyrighted. Reproduction or retransmission of this documentation,
in whole or in part, without prior written permission from the manufacture is a
violation of copyright law.
© 2015 APPOSTAR Technology Co., Ltd. All rights reserved.
Trademark Recognition
1. Microsoft, MS-DOS and Windows are registered trademarks of Microsoft
Corp.
2. Intel is a registered trademark of Intel International Inc.
3. Other software or product names used in this manual are the properties of
their respective owners and are acknowledged.

PREFACE
IV GP-3464POS Terminal
Important Safety Instructions
Failure to observe these safety instructions may cause bodily injury, or damage
to the product. Read these instructions carefully and keep this user’s manual in
an accessible location for future reference.
1. Do not plug in or unplug the power cord with wet hands.
2. Do not plug the product into an AC outlet with the incorrect voltage.
(Be sure to use a voltage that is between AC 100V~240V)
3. Do not plug several products into one multi-outlet.
4. Do not apply pressure to the power cord or place heavy objects on it.
5. Immediately stop using the product if it emits strange noise, odor, or
smoke.
6. Do not use aerosol sprayers containing flammable gas inside or around
the product.
7. Do not allow foreign objects or liquids to enter the product, or serious
damage may result.
8. Do not place the product on an unstable surface. The product may cause
a fire if it is dropped, damaged, or broken.
The following instructions will help you to make better use of this product.
1. Keep the machine away from locations subject to high humidity, dust, or
temperatures that exceed the specification.(Refer to SEC. 1.4
Specification)
2. Clean the product only by using a dry cloth or a cloth soaked with
detergent. Never use thinner or other volatile solvents for cleaning.
3. At the end of the day, clean and inspect the exterior of the machine after
the machine is powered off.
4. Use only specified accessories.
5. Do not expose the accessories directly to sunlight, high temperatures,
humidity, dust, or gas.
6. Do not place heavy objects on top of the product or lean them against the
product. These items may fall down and cause injury.
7. Do not block the air vent of the product as this can cause heat
accumulation inside the box machine and may cause a fire.
The product may cause a fire or electric shock when it is used improperly. Observe the above safety
measures at all times.
If the product is damaged, immediately turn off the power and disconnect the power cord. Contact
your dealer for assistance.

Table Of Contents
CHAPTER 1 PRODUCT OVERVIEW.............................................................2
1.1 UNPACKING.................................................................................................... 2
1.2 APPEARANCE .................................................................................................. 3
1.3 I/O INTERFACE................................................................................................ 5
1.4SPECIFICATION................................................................................................ 6
CHAPTER2 HARDWAREINSTALLATION.....................................................7
2.1 MAGNETIC STRIPE READER (MSR) INSTALLATION............................................... 7
2.2 VFD/LCD CUSTOMERDISPLAY INSTALLATION...................................................... 8
2.3SECOND LCD INSTALLATION.............................................................................. 9
CHAPTER 3 SOFTWARE INSTALLATION..................................................10
3.1MAINBOARD DRIVER INSTALLATION..................................................................10
3.2 PERIPHERAL DEVICE DRIVER INSTALLATION .....................................................12
CHAPTER 4 BOARD SETTING ..................................................................14
4.1 MAIN BOARD JUMPER SETTING .................................................................... 14
CHAPTER 5 BIOS SETUP .........................................................................15
5.1 MAIN MENU ................................................................................................17
5.2 ADVANCED MENU........................................................................................18
5.3 CHIPSET MENU............................................................................................38
5.4 SECURITY MENU..........................................................................................47
5.5 BOOT MENU................................................................................................51
5.6 EXIT MENU .................................................................................................52
5.7 BIOS SETUP PROGRAM FUNCTION KEYS ................................................................53
CHAPTER 6 TROUBLESHOOTING.............................................................54

PRODUC
T
2
CHA
P
Welc
o
The Gra
save po
w
Grand
P
value.
T
monitor
.
arran
g
e
m
match t
h
1.1 U
n
Confirm
missin
g
1. PO
S
(or
d
4. Qui
c
T
OVERVIE
W
P
TER
1
o
me
nd POS
s
w
er cons
P
OS inclu
d
T
he main
.
The c
o
m
ent. Up
h
e mood
o
n
packin
g
that all
t
or dama
g
S
Termin
a
d
ered sp
e
c
k Refere
W
1
PR
O
s
eries is t
h
umption
t
d
es ener
g
board o
f
o
mpact
a
to five
c
o
f the op
e
g
t
he follo
w
g
ed, cont
a
a
lMain Un
i
e
cification
)
nce Guid
e
O
DUC
T
h
e All-in-
O
t
o meet
t
g
y savin
g
f
Grand
P
a
nd soli
d
c
olor opti
e
ration e
n
w
in
g
item
s
a
ct the d
e
i
t
)
2
e
(Use
r
T
OVE
R
O
ne POS
t
he trend
, low noi
P
OS is s
k
d
stand
ons for t
n
vironme
n
s
are co
n
e
aler from
. Power
A
5. Drive
r
’s Manua
R
VIE
W
Terminal
for gre
e
se opera
t
k
illfully e
m
g
ives y
o
he front
n
ts.
n
tained in
whom y
o
A
dapter
r CD
l include
d
G
W
which is
e
n produc
t
ion and
m
bedded
o
u flexibl
e
panel ar
e
the cart
o
o
u purcha
3
d
)
G
P-3464PO
S
concept
u
t. The fe
a
hi
g
h per
f
in the sl
e
worki
n
e
also pr
o
on. If an
y
sed the
p
3
. Power
c
S
Terminal
u
alized to
a
tures of
f
ormance
im touch
ng
space
o
vided to
y
item is
p
roduct.
c
ord

PRODUCT OVERVIEW
GP-3464POS Terminal 3
1.2 Appearance
Front View
Rear View
15” LCD
touch panel
Front bezel
Base
MSR module (optional)
/ Attachable on both
sides
I/O Cover
Hinge cover
Storage for power adaptor

PRODUCT OVERVIEW
4GP-3464POS Terminal
Side View
Tilt angle 0 ~ 85 degree
85°

GP-3464
P
1.3 I/
O
No
NOTE:
W
t
h
P
OS Termi
n
O
Inter
f
Port
SPEAKE
R
DC Inpu
t
Cash Dra
w
COM3 CO
M
COM5 CO
M
USB
Audio-in
Printer P
o
The
wit
h
use
.
W
ith the re
m
h
e slot.
n
al
f
ace
D
R
1.5
W
t
12
w
er RJ11
C
5V/1
2
M
1
M
2 Serial
and R
J
3 x U
S
1 x U
Line -
i
Jack
o
rt Parall
e
DB25
/
COM5 is p
r
h
the LAN p
o
.
m
ovable HD
D
escripti
o
W
inte
g
rate
d
V/5A DC J
a
C
onnector
w
2
V selectab
l
port with
D
J
-45
S
B 2.0 Typ
e
SB 3.0 Ty
p
i
n with Au
d
e
l port wit
h
/
F Connec
t
r
eset with
5
o
rt, the CO
M
D
/ SSD br
a
o
n N
d
x 2
a
ck
w
ith
l
e
D
B9/M
e
A
p
eA
d
io
h
t
or
5
V as defaul
M
5is prote
c
a
cket, the
H
oP
o
S
w
VG
A
P
S
L
A
Aud
i
DC
O
St
o
t at your di
c
ted with a
H
DD / SSD
c
P
o
rt
w
itch
P
A
-OUT
D
s
S
/2
P
M
A
N
i
o-out
L
J
O
utpu
t
o
ra
g
e
H
r
sposal.
T
o
a
lid. Remov
e
c
an be easil
y
P
RODUCT
O
Descr
i
P
ower on/
o
D
B15/F VG
s
econd dis
p
P
S/2 Keyb
o
M
ouse Con
n
RJ45 LAN
C
L
ine-out wi
t
J
ack
12V/ 2A
H
DD orSS
D
r
emovable
a
void confu
s
e
the lid be
f
y
removed
O
VERVIEW
5
i
ption
o
f
f
A
for
p
lay
o
ard &
n
ector
C
onnector
t
h Audio
DC Jack
D
with
bracke
t
s
ion
f
ore
from

PRODUCT OVERVIEW
6GP-3464POS Terminal
1.4Specification
Model Name GP-3464
System
Main Board IAT1-1900
CPU Intel Celeron J1900 2.0 GHz Quad Core
Main Memory 1G DDR3L RAM, up to 8GB
Display Size 15” TFT-LCD with Touch Panel
Display Resolution 1024 x 768
Touch Panel 5 wire resistive touch
HDD 2.5” SATA HDD 320G
Expansion slot 1 x Mini PCIe
OS Support POSReady 2009, POSReady7, Windows 7, Windows 8,
Linux
Power AC 100V ~240V / 60W Adapter
I/O Interface
Serial Port 4 x External COM Ports with 5V /12V selectable
Cash Drawer Port 1 x RJ11 with DC12V/24V selectable
Keyboard Port 1 x PS/2
VGA Port 1 x VGA (DB15)
AudioPort 1 x Line in, 1x Line out
Speaker 2 x Integrated 1.5W Stereo Speaker
Ethernet Port 1 x RJ45 10M / 100M / 1G Base-T
Parallel Port 1 x Bi-directional Parallel (Standard)
USB Port 3 x USB 2.0 Type A, 1 x USB 3.0 TypeA
DC Output 1 x 12V / 2A
Power Button 1 x power on / off switch
Optional Peripheral
Magnetic Card Reader ISO 7811 option 1 / 2 / 3 track
Finger Print 512 dpi x 8 bit gray scale,
Capture area: 14.6 x 18.1 mm
i-Button Dallas Key
Wireless LAN 802.11 b/g
Customer Display VFD / LCD Customer Display
Second Display 8" / 11.6" / 15" TFT-LCD display
Environment
EMC & Safety CE / FCC Class A
Operating Temperature 5°C ~ 40°C
Storage Temperature -20°C ~ 60°C
Operating Humidity 15% ~ 80% RH
Storage Humidity 20% ~ 90% RH
Mechanical
Housing Color Black
Construction ABS + SECC
Dimension(W x D x H) 350 x 242 x 320 mm
NET / GROSS N.W. 5.8 kg / G.W. 7.7kg

HARDWARE INSTALLATION
GP-3464POS Terminal 7
CHAPTER2 HARDWAREINSTALLATION
Before starting any hardware configuration, ensure that the system is powered
off and the power cord is disconnected to prevent possible damage to the product.
2.1 Magnetic Stripe Reader (MSR) Installation
An optional MSR can be installed in both right/left side of GP-3464.
By default, the MSR is installed on the right side.
Step 1
Remove the cover from the MSR expansion slot.
Step 2
Connect the MSR cablecorrectly.
Step 3
Fix the MSR module in positionwith 2 screws.
①
②
③

HARDWARE INSTALLATION
8GP-3464POS Terminal
2.2 VFD/LCD CustomerDisplay Installation
Step1
Use flat screw driver to remove the stand cover and break up the lid at the
bottom of the cover.
Step2
Fit in the bracket and screw it up.
Step3
Install the VFD onto the bracket and lead the cable through the stand to
theRJ45 COM port.
①
②
③

HARDWARE INSTALLATION
GP-3464POS Terminal 9
2.3Second LCD Installation
Step1
Use flat screw driver to remove the stand cover and break up the lip at the
bottom of the cover.
Step2
Fit the bracket in position with 2 screws.
Step3
Reinstall the stand cover.
Step4
Hang the LCD onto the bracket and REMEMBERtoscrew it up.
Step5
Connect the VGA and power cable to the main screen.
①
②
③
④
⑤

BIOS SETUP
10 GP-3464POS Terminal
CHAPTER 3 SOFTWARE INSTALLATION
This chapter describes the driver requirements and how to install the drivers from
the driver CD. All step-by-step procedures described below are for Windows XP
and similar on all other Microsoft Windows platforms.
Insert the driver CD into your CD-ROM drive. Windows will automatically detect
it and the Appostar Driver Installer appears on the screen. If not, locate the
Setup.exe file at CD:\ and double-click it to execute the one-step driver
installation. Follow the on-screen instructions to complete the installation.
3.1Mainboard Driver Installation
a. Select your model name and click
Next to continue. b. Click Install Motherboard
Drivers.
c. Click Drivers icon on the upper left
corner to continue. d. Select the “Drivers” option,
including Chipset, Graphics, and
LAN. Click Install to continue.

BIOS SETUP
GP-3464POS Terminal 11
e. Installation program will extract driver
files to install. f. After Chipset Driver(INF) installed,
click No to continue.
g. Select “Install this driver software
anyway” in Windows Security window
to continue the installation procedure.
h. Select “Install” in Windows Security
window to continue the installation
procedure.
i. Select “Yes” to reboot system.
j
k

BIOS SETUP
12 GP-3464POS Terminal
3.2 Peripheral Device Driver Installation
3.2.1 Touch COM Driver Installation
a. ClickPeripheral Devices b. ClickTouch Panel.
c. Click Nexton the Welcome screen
to continue. d. Ignore the “Install PS/2 interface
driver” option. Click Next to
continue.
e. Select the “Install RS232 interface
driver” option. Click Next to
continue.
f. Select the None option and click
Next to continue.

BIOS SETUP
GP-3464POS Terminal 13
g. Select the “Support Multi-Monitor
System” option. Click Next to
continue.
h. Select the Destination Folder or
use the default one listed.
i. Type a Folder name or use the
default one listed. Click Next to
continue.
j. A pro
g
ress window appears. Please
wait.
k. Click Yes. The installation
completes in seconds.

BIOS SETUP
14 GP-3464POS Terminal
CHAPTER 4 BOARD SETTING
4.1 Main Board Jumper Setting
JCMOS1: Clear CMOS Header
Placing the jumper on pin2-3 allows user to restore the BIOS safe setting
and the CMOS data. Please carefully follow the procedures to avoid
damaging the mainboard.
※Clear CMOS Procedures:
1. Remove AC power line.
2. Set the jumper to “Pin 2-3 close”.
3. Wait for five seconds.
4. Set the jumper to “Pin 1-2 close”.
5. Power on the AC.
6. Reset your desired password or clear the CMOS data.
JPC4/5/6: JCOM4/5/6 Serial Port Voltage Switch Jumper
Remark:
Max output: 12V@500mA or 5V@500mA for each COM port.

BIOS SETUP
GP-3464POS Terminal 15
CHAPTER 5 BIOS Setup
Introduction
The purpose of this chapter is to describe the settings in the AMI BIOS Setup
program on this motherboard. The Setup program allows users to modify the
basic system configuration and save these settings to CMOS RAM. The power
of CMOS RAM is supplied by a battery so that it retains the Setup information
when the power is turned off.
Basic Input-Output System (BIOS) determines what a computer can do
without accessing programs from a disk. This system controls most of the
input and output devices such as keyboard, mouse, serial ports and disk drives.
BIOS activates at the first stage of the booting process, loading and executing
the operating system. Some additional features, such as virus and password
protection or chipset fine-tuning options are also included in BIOS.
The rest of this manual will to guide you through the otions and settings in
BIOS Setup.
Plug and Play Support
This AMI UEFI BIOS supports the Plug and Play Version 1.0A specification.
EPA Green PC Support
This AMI UEFI BIOS supports Version 1.03 of the EPA Green PC specification.
ACPI Support
AMI ACPI UEFI BIOS support Version 1.0/2.0 of Advanced Configuration and
Power interface specification (ACPI). It provides ASL code for power
management and device configuration capabilities as defined in the ACPI
specification, developed by Microsoft, Intel and Toshiba.
PCI Bus Support
This AMI UEFI BIOS also supports Version 2.3 of the Intel PCI (Peripheral
Component Interconnect) local bus specification.
DRAM Support
DDR3 SDRAM (Double Data Rate III Synchronous DRAM) is supported.
Supported CPUs
This AMI UEFI BIOS supports the latest CPU.
Using Setup
When starting up the computer, press <Del> during the Power-On Self-Test
(POST) to enter the UEFI BIOS setup utility. In the UEFI BIOS setup utility, you
will see General Help description at the top right corner, and this is providing a
brief description of the selected item. Navigation Keys for that particular menu
are at the bottom right corner, and you can use these keys to select item and
change the settings.

BIOS SETUP
16 GP-3464POS Terminal
Notice
TheԜdefaultԜUEFIԜBIOSԜsettingsԜapplyԜforԜmostԜconditionsԜtoԜensureԜoptimumԜperf
ormanceԜofԜtheԜmotherboard.ԜIfԜtheԜsystemԜbecomesԜunstableԜafterԜchangingԜanyԜ
settings,ԜpleaseԜloadԜtheԜdefaultԜsettingsԜtoԜensureԜsystem’sԜcompatibilityԜandԜsta
bility.ԜUseԜLoadԜSetupԜDefaultԜunderԜtheԜExitԜMenu.
ForԜbetterԜsystemԜperformance,ԜtheԜUEFIԜBIOSԜfirmwareԜisԜbeingԜcontinuouslyԜup
dated.ԜTheԜUEFIԜBIOSԜinformationԜdescribedԜinԜthisԜmanualԜisԜforԜyourԜreferenceԜo
nly.ԜTheԜactualԜUEFIԜBIOSԜinformationԜandԜsettingsԜonԜboardԜmayԜbeԜslightlyԜdiffer
entԜfromԜthisԜmanual.
TheԜcontentԜofԜthisԜmanualԜisԜsubjectԜtoԜbeԜchangedԜwithoutԜnotice.ԜWeԜwillԜnotԜbeԜr
esponsibleԜforԜanyԜmistakesԜfoundԜinԜthisԜuser’sԜmanualԜandԜanyԜsystemԜdamageԜt
hatԜmayԜbeԜcausedԜbyԜwrong- settings.
Table of contents
Other Appostar Touch Terminal manuals

Appostar
Appostar Grand POS GP-3460 User manual

Appostar
Appostar FP-4266 User manual

Appostar
Appostar KP-5372 User manual

Appostar
Appostar BS-6500 User manual

Appostar
Appostar KP-5660 User manual

Appostar
Appostar NP-3262 User manual

Appostar
Appostar KP-5562 User manual

Appostar
Appostar KP-5362 User manual

Appostar
Appostar KP-5360 User manual

Appostar
Appostar KP-5374 User manual