manuals.online logo
Brands
  1. Home
  2. •
  3. Brands
  4. •
  5. APS Auto Parts Specialist
  6. •
  7. Automobile Accessories
  8. •
  9. APS Auto Parts Specialist IB06EAG7 User manual

APS Auto Parts Specialist IB06EAG7 User manual

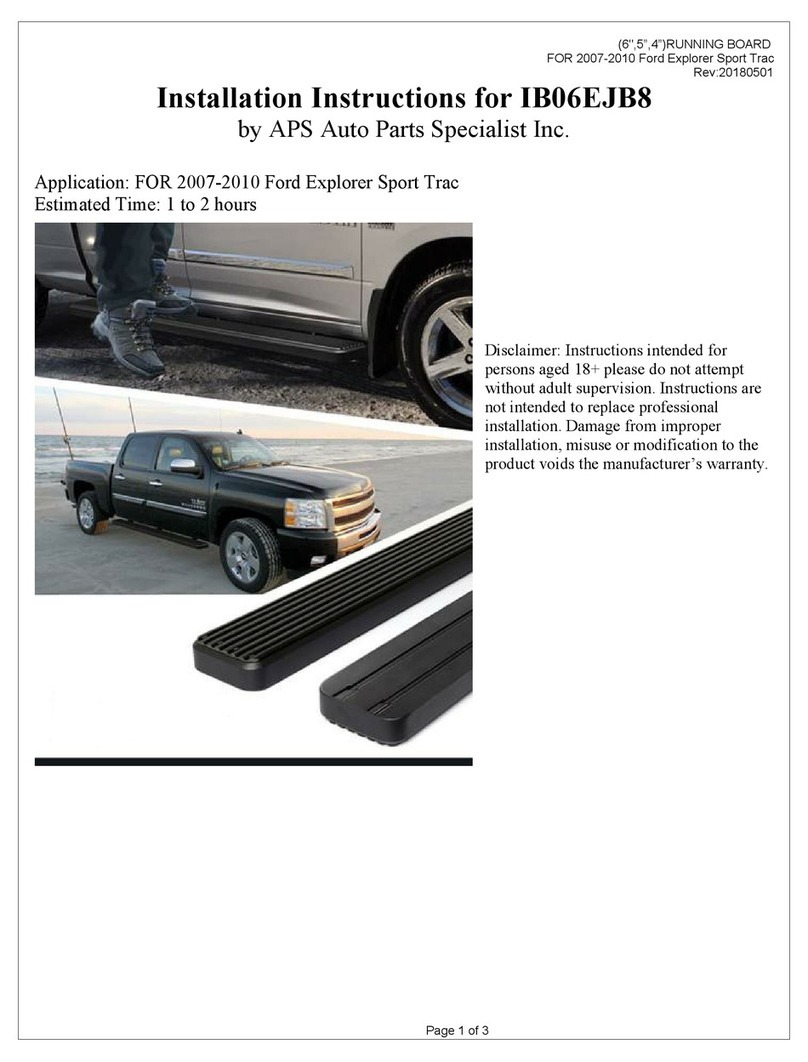
(6”,5”,4”)RUNNING BOARD
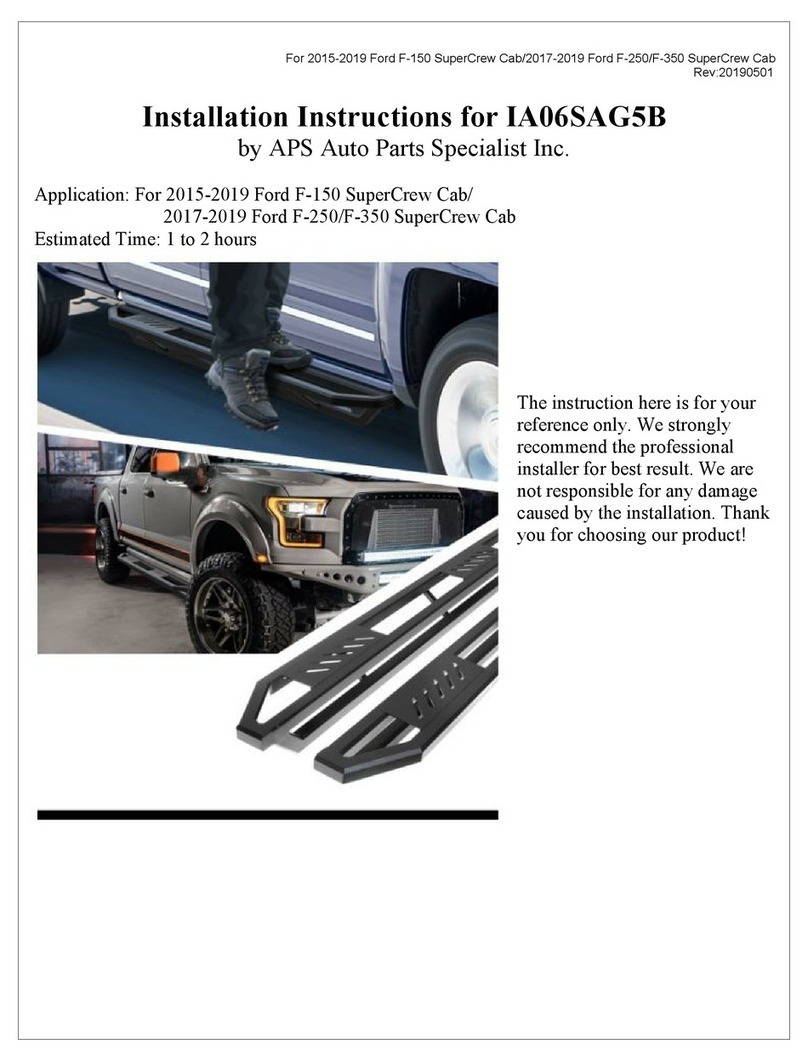
For 2009-2014 Ford F-150 SuperCrew Cab
Rev.20180901
Installation Instructions for IB06EAG7
by APS Auto Parts Specialist Inc.
Application: For 2009-2014 Ford F-150 SuperCrew Cab
Estimated Time: 1 to 2 hours
Disclaimer: Instructions intended for persons
aged 18+ please do not attempt without adult
supervision. Instructions are not intended to
replace professional installation. Damage
from improper installation, misuse or
modification to the product voids the
manufacturer’s warranty.
(6”,5”,4”)RUNNING BOARD
For 2009-2014 Ford F-150 SuperCrew Cab
Rev.20180901
Page 1of 3
PARTS LIST:
Item
QTY
Description
Item
QTY
Description
#1
2
Running Board(use for left or right)
#8
20
M8 Flat Washers
#2
4
Front/Rear Mounting Brackets
#9
10
M8 Large Flat Washers
#3
1
Driver/Left Center Mounting Bracket(DCM)
#10
20
M8 Lock Washers
#4
1
Passenger/Right Center Mounting Bracket(PCM)
#11
10
M8 Hex Nuts
#5
10
8mm Deep Clip Nuts
#12
20
M6X1-20 T-Bolts
#6
10
M8X1.25 - 30mm Hex Bolts
#13
20
M6 Flat Washers
#7
10
M8x1.25 - 25mm Hex Bolts
#14
20
M6 Nylon Lock Nuts
PROCEDURE:
1. REMOVE CONTENTS FROM BOX. VERIFY ALL PARTS ARE PRESENT. READ INSTRUCTIONS
CAREFULLY BEFORE STARTING INSTALLATION.
2. Starting on the driver side of the vehicle, locate the (2) holes in the bottom of the body panel, (pinch
weld), toward the front tire, (Figure 1). Next locate the rectangular opening and (2) small holes in the
inner body panel directly above the holes in the pinch weld, (Figures 1 & 2).NOTE: The holes in the
inner panel may be covered with sealing tape or insulation.
3. Slide (1) 8mm Clip Nut into the rectangular opening with the nut towards the inside. Line up the
threaded nut on the clip with the round hole, (Figure 2). Repeat to install the 2nd 8mm Clip Nut in
remaining hole location.
4. Select the front Bracket, Attach the Bracket to the (2) Clip Nuts with the included (2) M8 x 30 Hex Bolts,
(2) M8 Lock Washers and (2)M8 Large Flat Washers, (Figures 3 & 4). Depending on model and year,
the brake cable may be run on the inside or outside of the Bracket. Do not tighten hardware at this time.
NOTE: The cradle on the front Bracket should face to the rear of the vehicle.
5. Align the bottom holes in the front Bracket with the (2) holes in the pinch weld. Bolt the Bracket to the
pinch weld using the included (2) M8 x 25mm Hex Bolts, (4) M8 Flat Washers, (2) M8 Lock Washers
and (2) M8 Hex Nuts, (Figures 3 & 4).NOTE: Insert the bolts up from the bottom of the pinch weld and
through the Bracket.
6. Next, move toward the center of the vehicle. Locate the (2) holes in the pinch weld similar to the front
location, Insert (1) 8mm Clip Nut into the rectangular opening and up to the single small round hole in
the body panel, (Figure 5).
7. Select the driver side center Mounting Bracket. (Figure 6). Attach the Bracket to the Clip Nut with (1)
M8 x 30mm Hex Bolt, (1) M8 Lock Washer and (1) M8 Large Flat Washer, (Figures 7 & 8). Line up the
hole in the Bracket with the hole in the pinch weld. Bolt the Bracket to the pinch weld with (1) M8 x
25mm Hex Bolt, (2) M8 Flat Washers, (1) M8 Lock Washer and (1) M8 Hex Nut. Do not tighten
DCM
PCM
(6”,5”,4”)RUNNING BOARD
For 2009-2014 Ford F-150 SuperCrew Cab
Rev.20180901
Page 2of 3
hardware at this time. NOTE: The cradle on the center mounting Bracket will face the front of the
vehicle.
8. Continue along the cab to the rear mounting location. Locate the last (2) mounting holes in the pinch
weld towards the back of the cab, (Figures 1 ). Repeat Steps 2—5 for rear mounting Bracket
installation. NOTE: The cradle on the rear Bracket should face the front of the vehicle.
9. Select a Running Board. Slip(10)M6 T-bolts into each bottom channel(Figure 9). Carefully position
the Running Board onto the (3) Mounting Brackets. IMPORTANT: Do not slide, (front to back), the
Running Board on the Brackets or damage to the finish may result. Attach the Running Board to the
Front & Rear Mounting Brackets with(4) M6 T-bolts,(4)M6 flat washers and (4)M6 nylon lock nuts
(Figures 10). Attach the Running Board to the Center Mounting Brackets with(2) M6 T-bolts,(2)M6 flat
washers and (2)M6 nylon lock nuts. Do not tighten at this time.
10. Level and adjust the Running Board and fully tighten all hardware.
11. Repeat Steps 2—10 for passenger Running Board installation.
12. Do periodic inspections to the installation to make sure that all hardware is secure and tight.
To protect your investment, wax this product after installing. Regular waxing is recommended to add a protective layer
over the finish. Do not use any type of polish or wax that may contain abrasives that could damage the finish.
For Polished Finishes: Aluminum polish may be used to polish small scratches and scuffs on the finish. Mild soap may
be used also to clean the Running Board.
For Black Finishes: Mild soap may be used to clean the Running Board.
Driver Side Installation Pictured
(Fig 2) Slide 8mm Clip Nuts over holes
(2) 8mm x 30mm Hex Bolts
(2) 8mm Lock Washers
(2) 8mm Large Flat Washers
Locate holes through pinch
weld (arrows) to determine
mounting locations
(Fig 1) Driver/left inner body panel illustrated
Front
(2) 8mm x 30mm Hex Bolts
(2) 8mm Lock Washers
(2) 8mm Large Flat Washers
(2) 8mm x 25mm Hex Bolts
(4) 8mm Flat Washers
(2) 8mm Lock Washers
(2) 8mm Hex Nuts
(Fig 4) Driver/left front mounting Bracket
(Fig 3) Driver/left front mounting Bracket
(6”,5”,4”)RUNNING BOARD
For 2009-2014 Ford F-150 SuperCrew Cab
Rev.20180901
Page 3of 3
Driver Side Installation Pictured
(Fig 5) Driver/left center mounting location pictured
(Fig 8) Driver/left center Bracket installed
Front
8mm Clip Nut
Front
8mm x 25mm Hex Bolt
(2) 8mm Flat Washers
8mm Lock Washer
8mm Hex Nut
(Fig 6) Driver/left center Bracket
Front
8mm x 30mm Hex Bolt
8mm Lock Washer
8mm Large Flat Washer
(Fig 7) Driver/left center Bracket
Front
8mm x 30mm Hex Bolt
8mm Lock Washer
8mm Large Flat
Washer
8mm x 25mm Hex Bolt
(2) 8mm Flat Washers
8mm Lock Washer
8mm Hex Nut
(Fig 9) Slip 6mm T-bolts
into the bottom channel
(Fig 10) Drive side Front/Rear Bracket Installation
(4)6mm T-bolts
(4)6mm Flat Washers
(4)6mm Lock nuts

Other APS Auto Parts Specialist Automobile Accessories manuals
APS Auto Parts Specialist IA04SIA2B User manual

APS Auto Parts Specialist

APS Auto Parts Specialist IA04SIA2B User manual

APS Auto Parts Specialist IB06EJB8 User manual

APS Auto Parts Specialist

APS Auto Parts Specialist IB06EJB8 User manual

APS Auto Parts Specialist iRunning Board User manual
APS Auto Parts Specialist

APS Auto Parts Specialist iRunning Board User manual

APS Auto Parts Specialist IB06EBA1-C User manual

APS Auto Parts Specialist

APS Auto Parts Specialist IB06EBA1-C User manual

APS Auto Parts Specialist IB03DAC1 User manual

APS Auto Parts Specialist

APS Auto Parts Specialist IB03DAC1 User manual

APS Auto Parts Specialist IB10EAI2 User manual

APS Auto Parts Specialist

APS Auto Parts Specialist IB10EAI2 User manual

APS Auto Parts Specialist IB04EBE8 User manual

APS Auto Parts Specialist

APS Auto Parts Specialist IB04EBE8 User manual

APS Auto Parts Specialist IA06SAG5B User manual

APS Auto Parts Specialist

APS Auto Parts Specialist IA06SAG5B User manual

APS Auto Parts Specialist IB20EAD0 User manual

APS Auto Parts Specialist

APS Auto Parts Specialist IB20EAD0 User manual

APS Auto Parts Specialist iBoard IB-ZK406 User manual

APS Auto Parts Specialist

APS Auto Parts Specialist iBoard IB-ZK406 User manual

APS Auto Parts Specialist IB06EJJ9 User manual

APS Auto Parts Specialist

APS Auto Parts Specialist IB06EJJ9 User manual

APS Auto Parts Specialist IB20DCE8 User manual

APS Auto Parts Specialist

APS Auto Parts Specialist IB20DCE8 User manual

APS Auto Parts Specialist IA20SJE8B User manual
APS Auto Parts Specialist

APS Auto Parts Specialist IA20SJE8B User manual

APS Auto Parts Specialist IA04SJJ2B User manual
APS Auto Parts Specialist

APS Auto Parts Specialist IA04SJJ2B User manual

Popular Automobile Accessories manuals by other brands

Keba KeContact P20 installation manual

Keba

Keba KeContact P20 installation manual

Car Solutions QPI W213 installation manual

Car Solutions

Car Solutions QPI W213 installation manual

Metra Electronics 99-2008 installation instructions

Metra Electronics

Metra Electronics 99-2008 installation instructions

Hunter Quick Check Drive Operation instructions

Hunter

Hunter Quick Check Drive Operation instructions

VW 1K8 071 609 Fitting instructions

VW

VW 1K8 071 609 Fitting instructions

Craftsman 50244 Operator's manual

Craftsman

Craftsman 50244 Operator's manual

Astro Pneumatic Tool 7445 manual

Astro Pneumatic Tool

Astro Pneumatic Tool 7445 manual

ICINTRACOM BT MIRROR KIT user guide

ICINTRACOM

ICINTRACOM BT MIRROR KIT user guide

Yakima K670 manual

Yakima

Yakima K670 manual

Leitner ACS ROOF ROOF FOR ACS FORGED / CLASSIC manual

Leitner

Leitner ACS ROOF ROOF FOR ACS FORGED / CLASSIC manual

travall TDG 1534 Fitting instructions

travall

travall TDG 1534 Fitting instructions

Front Runner TRFD001 quick start guide

Front Runner

Front Runner TRFD001 quick start guide

Sony PEGA-CC5 Notes

Sony

Sony PEGA-CC5 Notes

Red Hawk ACC-RR06 installation instructions

Red Hawk

Red Hawk ACC-RR06 installation instructions

Thule 316 Roller user manual

Thule

Thule 316 Roller user manual

Rola 59680 Fitting instructions

Rola

Rola 59680 Fitting instructions

Pandora DWM-210 User & installation manual

Pandora

Pandora DWM-210 User & installation manual

Bestop Tigertop Installation instructions and owner's manual

Bestop

Bestop Tigertop Installation instructions and owner's manual

manuals.online logo
manuals.online logoBrands
  • About & Mission
  • Contact us
  • Privacy Policy
  • Terms and Conditions

Copyright 2025 Manuals.Online. All Rights Reserved.