manuals.online logo
Brands
  1. Home
  2. •
  3. Brands
  4. •
  5. APS Auto Parts Specialist
  6. •
  7. Automobile Accessories
  8. •
  9. APS Auto Parts Specialist IB06EJB8 User manual

APS Auto Parts Specialist IB06EJB8 User manual

(6",5”,4”)RUNNING BOARD
FOR 2007-2010 Ford Explorer Sport Trac
Rev:20180501
Page 1of 3
Installation Instructions for IB06EJB8
by APS Auto Parts Specialist Inc.
Application: FOR 2007-2010 Ford Explorer Sport Trac
Estimated Time: 1 to 2 hours
Disclaimer: Instructions intended for
persons aged 18+ please do not attempt
without adult supervision. Instructions are
not intended to replace professional
installation. Damage from improper
installation, misuse or modification to the
product voids the manufacturer’s warranty.
(6",5”,4”)RUNNING BOARD
FOR 2007-2010 Ford Explorer Sport Trac
Rev:20180501
Page 2of 3
PARTS LIST:
PROCEDURE:
1. REMOVE CONTENTS FROM BOX. VERIFY ALL PARTS ARE PRESENT. READ INSTRUCTIONS CAREFULLY BEFORE
STARTING INSTALLATION.
2. From underside of vehicle, locate the two front factory holes on the driver side floor panel located by the front tire. With the
threaded nut facing up, insert (1) 10mm Clip Nut through larger hole. Orient Clip Nut to engage in the smaller hole (Figure 1).
3. Partially hang a front Mounting Bracket to pinch weld using (2) 10mm x 30mm Hex Head Bolts, (2) 10mm Hex Nuts,(2) 10mm
Lock Washers, and (4) 10mm Flat Washers (Figure 3).
4. Place (1) short Tube Spacer between the tab on the Mounting Bracket and the already installed Clip Nut. Insert (1) 10mm x
100mm Hex Head Bolt through tab on the Mounting Bracket and Tube Spacer and to Clip Nut (Figure 4). Do not tighten at this
time.
5. Repeat Steps 2 – 4 for driver center and driver rear Mounting Brackets. Depending upon your vehicle, the center factory hole
might be too small for the Clip Nut, file the Clip Nut until you are able to mount it. NOTE: You will be using a long Tube
Spacers with 10mm x 120mm Hex Head Bolts on the center and rear Mounting Brackets.
IMPORTANT! Install the rear Mounting Brackets depending upon your vehicle.
07-08 Explorer Sport Trac: You will need to swap the rear Mounting Brackets. The passenger rear Mounting Bracket will
mount on the driver rear, and the driver rear Mounting Bracket will mount on the passenger rear. The front and center cradles
on both sides should be facing the rear of the vehicle and the rear cradles on both sides should be facing the front of the
vehicle. Rear Mounting Brackets will mount with (1) 10mm x 30mm Hex Head Bolt (Figure 4).
6. Once all three Mounting Brackets are partially mounted, Select a Running Board. Slip(6)6mm T-bolts into each bottom
channel(Figure 5). Carefully position the Running Board onto the (3) Mounting Brackets. IMPORTANT: Do not slide, (front to
back), the Running Board on the Brackets or damage to the finish may result. Attach the Running Board to the Mounting
Brackets with(2) 6mm T-bolts,(2)6mm flat washers and (2)6mm lock nuts (Figures 6). Do not tighten at this time.
7. Level and adjust Running Board properly and tighten all hardware.
8. Repeat Steps 2—7 for passenger/right Running Board installation.
9. Do periodic inspections to the installation to make sure that all hardware is secure and tight.
To protect your investment, wax this product after installing. Regular waxing is recommended to add a protective layer over the finish.
Do not use any type of polish or wax that may contain abrasives that could damage the finish.
Item
QTY
Description
Item
QTY
Description
#1
2
Running Board(use for left or right)
#9
12
M10-1.50mm x 30mm Hex Head Bolts
#2
2
Front Mounting Brackets (DFM/PFM)
#10
30
10mm ID x 20mm OD x 2mm Flat Washers
#3
2
Driver Rear Mounting Brackets(DCM/DRM)
#11
18
M10 Lock Washers
#4
2
Passenger Rear Mounting Brackets(PCM/PRM)
#12
6
M10-1.50mm Clip Nuts
#5
4
Tube Spacers( long)
#13
12
M10 Hex Nuts
#6
2
Tube Spacers(short)
#14
12
M6-1.0 x 20mm T-Bolts
#7
4
M10-1.50mm x 120mm Hex Head Bolts
#15
12
6mm x 22mm OD x 2mm Flat Washers
#8
2
M10-1.50mm x 100mm Hex Head Bolts
#16
12
M6 Nylon Lock Nuts
DFM/PFM
DCM/DRM
PCM/PRM
(6",5”,4”)RUNNING BOARD
FOR 2007-2010 Ford Explorer Sport Trac
Rev:20180501
Page 3of 3
Driver Side Front Mounting Bracket Shown
For Polished Finishes: Aluminum polish may be used to polish small scratches and scuffs on the finish. Mild soap may be used also
to clean the Running Board.
For Black Finishes: Mild soap may be used to clean the Running Board.
Front Clip Nut
Center Clip
Nut
10mm x 30mm Hex Head Bolts
10mm Flat Washers
10mm Lock Washers
10mm Hex Nuts
Tube Spacer
(short)
(10mm Clip Nut)
10mm x 100mm Hex Head Bolt
10mm Lock Washer
10mm Flat Washer
Figure 1
Figure2
Figure 3
Figure 4
File Clip
Nut Here
(Fig 5) Slip M6 T-bolts into
the bottom channel
(2)M6 T-bolts
(2)M6 Flat Washers
(2)M6 Nylon Lock nuts
(Fig 6) Bracket Installation

Other APS Auto Parts Specialist Automobile Accessories manuals

APS Auto Parts Specialist IB06EAG7 User manual

APS Auto Parts Specialist

APS Auto Parts Specialist IB06EAG7 User manual

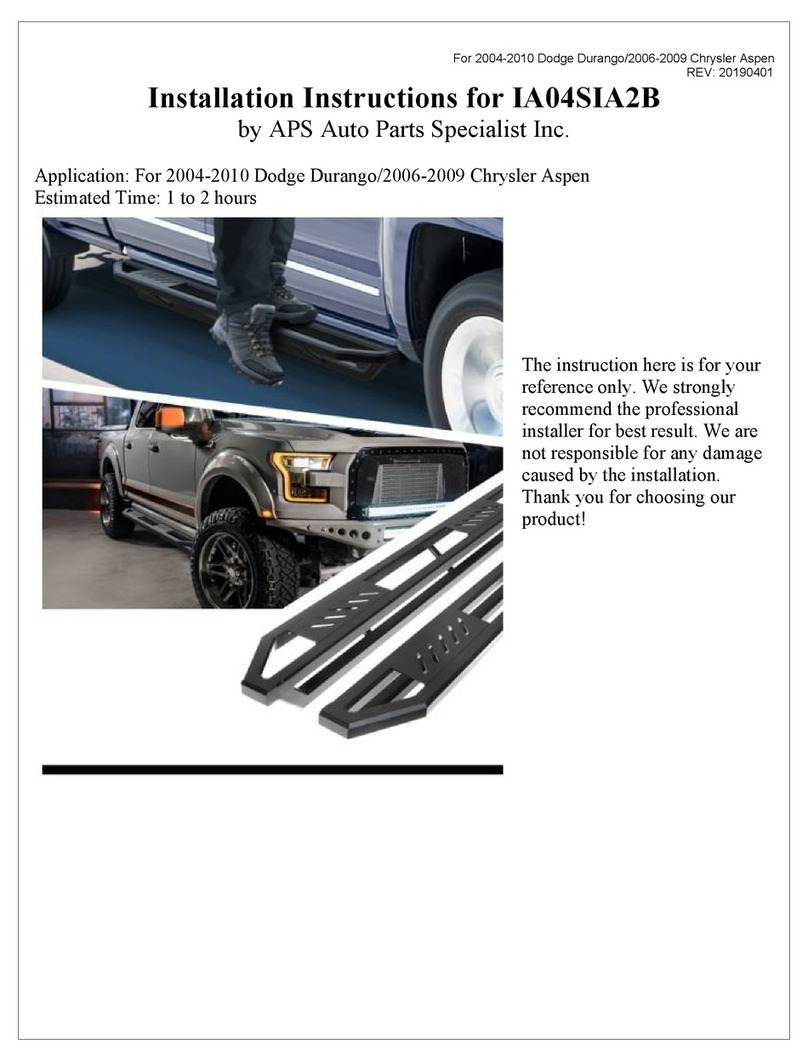
APS Auto Parts Specialist IA04SIA2B User manual

APS Auto Parts Specialist

APS Auto Parts Specialist IA04SIA2B User manual

APS Auto Parts Specialist IB10EAI2 User manual

APS Auto Parts Specialist

APS Auto Parts Specialist IB10EAI2 User manual

APS Auto Parts Specialist iRunning Board User manual

APS Auto Parts Specialist

APS Auto Parts Specialist iRunning Board User manual

APS Auto Parts Specialist IB06EBA1-C User manual

APS Auto Parts Specialist

APS Auto Parts Specialist IB06EBA1-C User manual

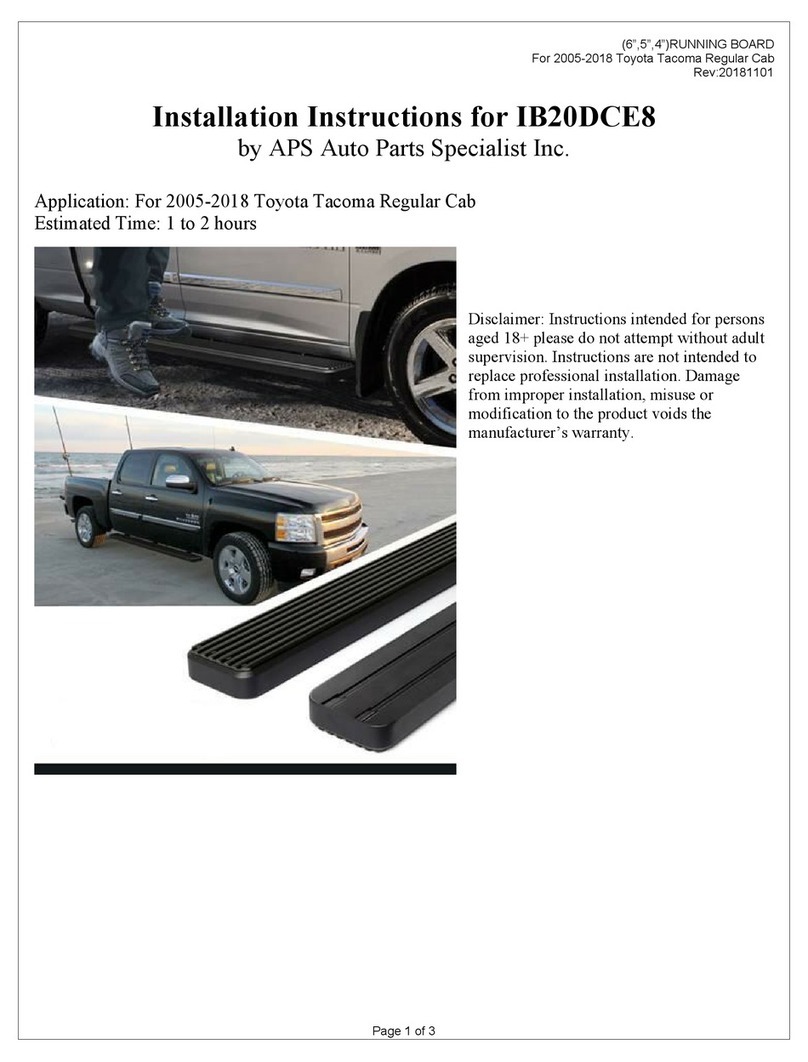
APS Auto Parts Specialist IB20DCE8 User manual

APS Auto Parts Specialist

APS Auto Parts Specialist IB20DCE8 User manual

APS Auto Parts Specialist IB20EAD0 User manual

APS Auto Parts Specialist

APS Auto Parts Specialist IB20EAD0 User manual

APS Auto Parts Specialist iBoard IB-ZK406 User manual

APS Auto Parts Specialist

APS Auto Parts Specialist iBoard IB-ZK406 User manual

APS Auto Parts Specialist IB06EJJ9 User manual

APS Auto Parts Specialist

APS Auto Parts Specialist IB06EJJ9 User manual

APS Auto Parts Specialist IA06SAG5B User manual

APS Auto Parts Specialist

APS Auto Parts Specialist IA06SAG5B User manual

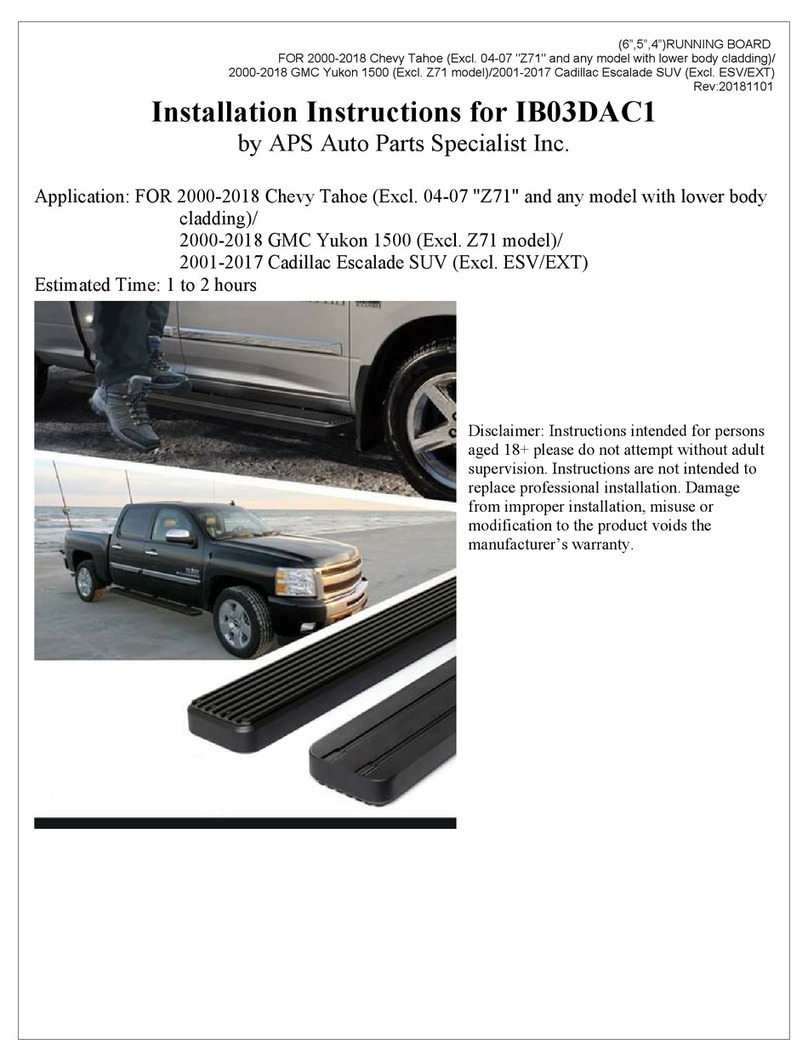
APS Auto Parts Specialist IB03DAC1 User manual

APS Auto Parts Specialist

APS Auto Parts Specialist IB03DAC1 User manual

APS Auto Parts Specialist IA04SJJ2B User manual

APS Auto Parts Specialist

APS Auto Parts Specialist IA04SJJ2B User manual

APS Auto Parts Specialist IB04EBE8 User manual

APS Auto Parts Specialist

APS Auto Parts Specialist IB04EBE8 User manual

APS Auto Parts Specialist IA20SJE8B User manual

APS Auto Parts Specialist

APS Auto Parts Specialist IA20SJE8B User manual

Popular Automobile Accessories manuals by other brands

Husky 37415 Assembly, Installation, Operation and Maintenance Instructions

Husky

Husky 37415 Assembly, Installation, Operation and Maintenance Instructions

Cartek Club installation guide

Cartek

Cartek Club installation guide

Denali MA11151 quick guide

Denali

Denali MA11151 quick guide

Whispbar S55W Fitting instructions

Whispbar

Whispbar S55W Fitting instructions

Driver Bubble Flex installation guide

Driver Bubble

Driver Bubble Flex installation guide

NavLinkz RL4-MIB2-E18 manual

NavLinkz

NavLinkz RL4-MIB2-E18 manual

Paulchen System Economy Class Mounting instructions

Paulchen System

Paulchen System Economy Class Mounting instructions

SpeedTech Lights STL Boss quick start guide

SpeedTech Lights

SpeedTech Lights STL Boss quick start guide

SNIPER V2 Inox owner's guide

SNIPER

SNIPER V2 Inox owner's guide

Kia 3W211ADE00ME installation instructions

Kia

Kia 3W211ADE00ME installation instructions

Paser CONVERSO MUTE Manual of installation and use

Paser

Paser CONVERSO MUTE Manual of installation and use

Holman 31500 installation guide

Holman

Holman 31500 installation guide

Thule TRAILWAY 959 user manual

Thule

Thule TRAILWAY 959 user manual

Defender CH-131 Operation manual

Defender

Defender CH-131 Operation manual

LSD 500 25 009 installation instructions

LSD

LSD 500 25 009 installation instructions

Bazzaz Z FI installation guide

Bazzaz

Bazzaz Z FI installation guide

Blueant Safe2talk user guide

Blueant

Blueant Safe2talk user guide

Axxess AXGMLN-09 installation instructions

Axxess

Axxess AXGMLN-09 installation instructions

manuals.online logo
manuals.online logoBrands
  • About & Mission
  • Contact us
  • Privacy Policy
  • Terms and Conditions

Copyright 2025 Manuals.Online. All Rights Reserved.