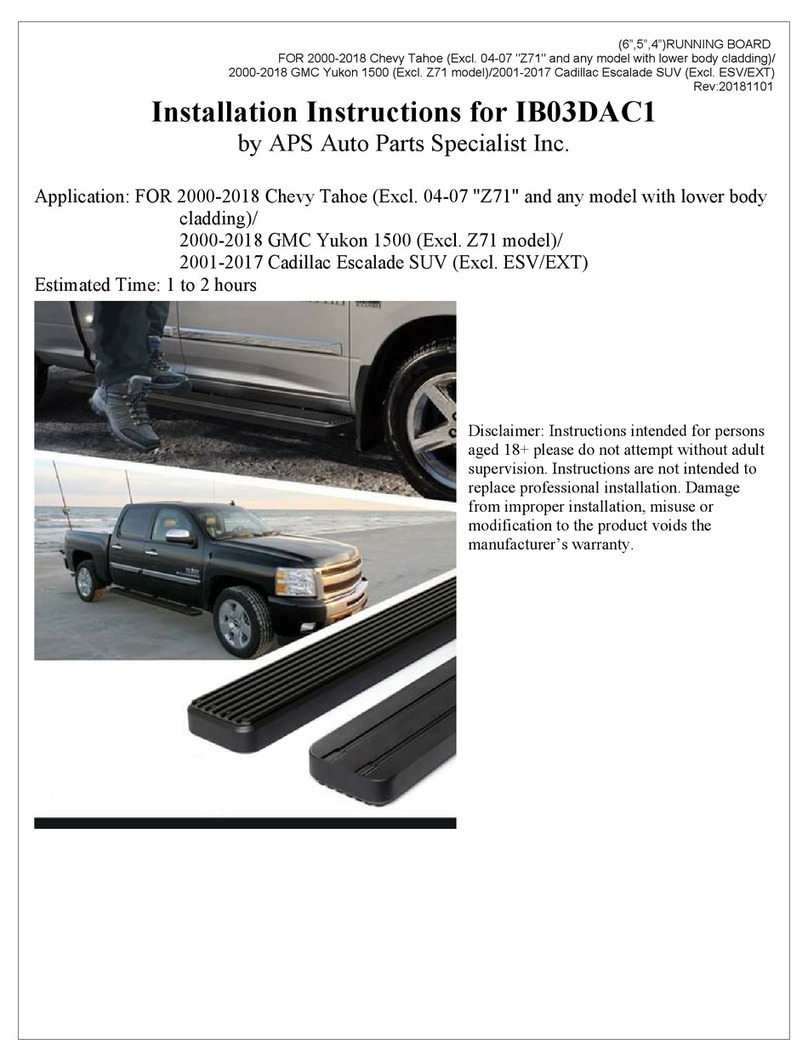
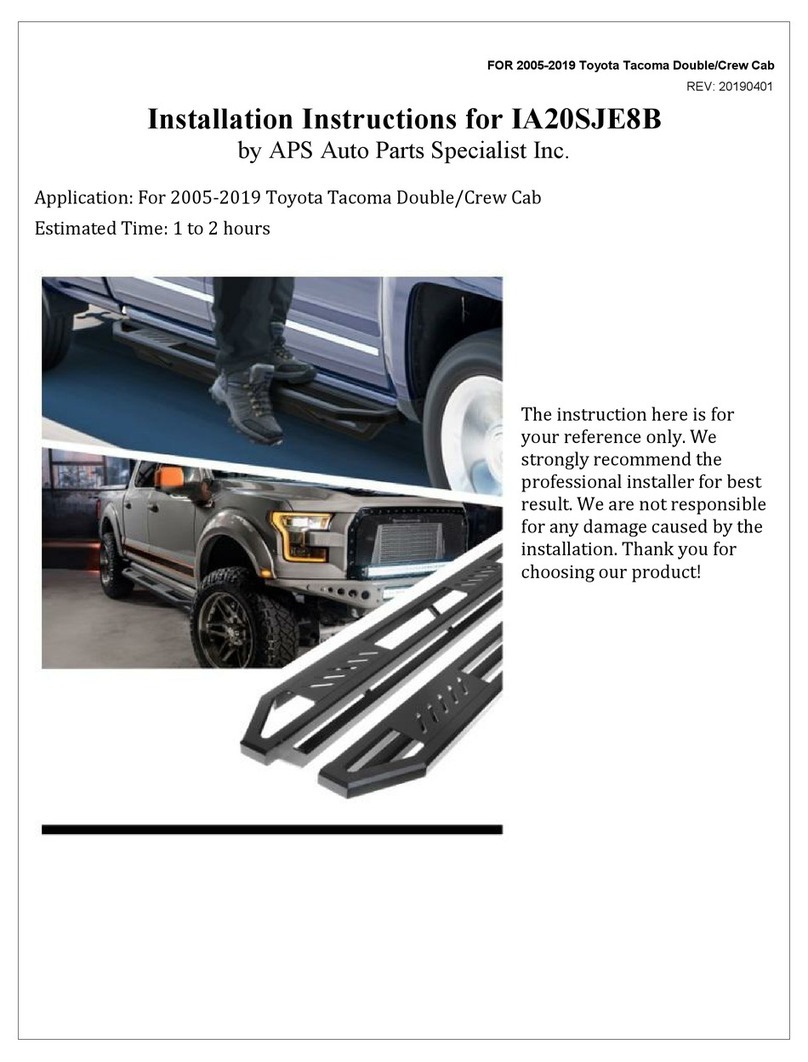
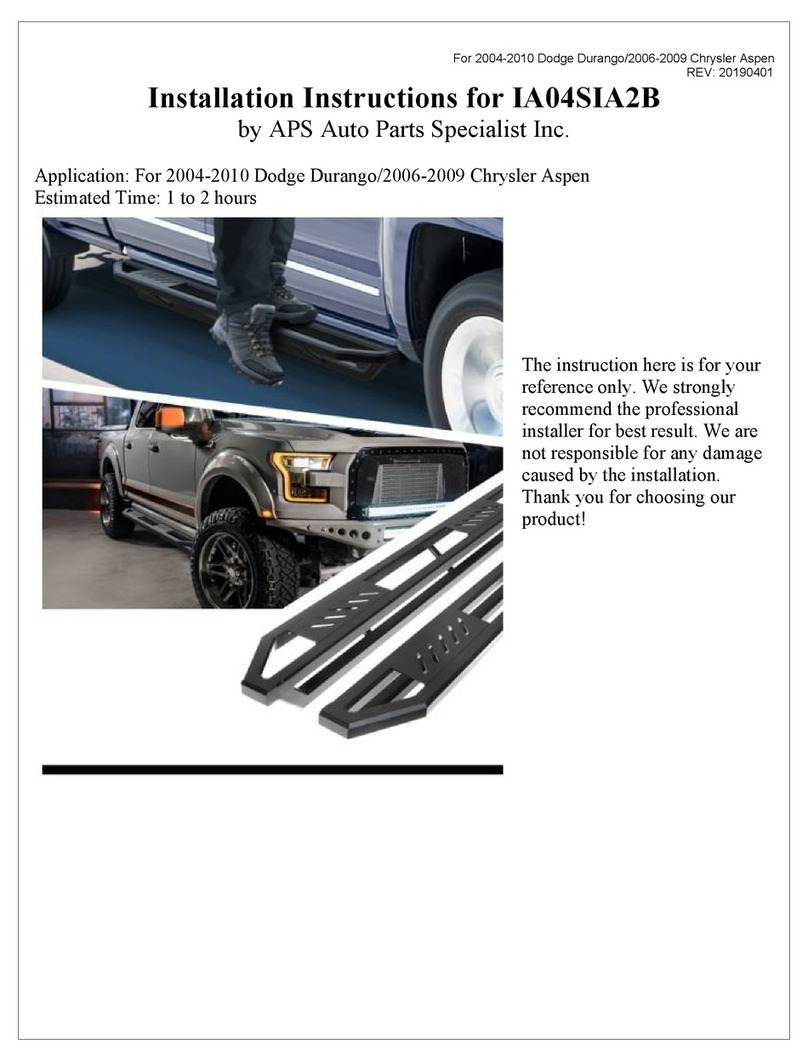
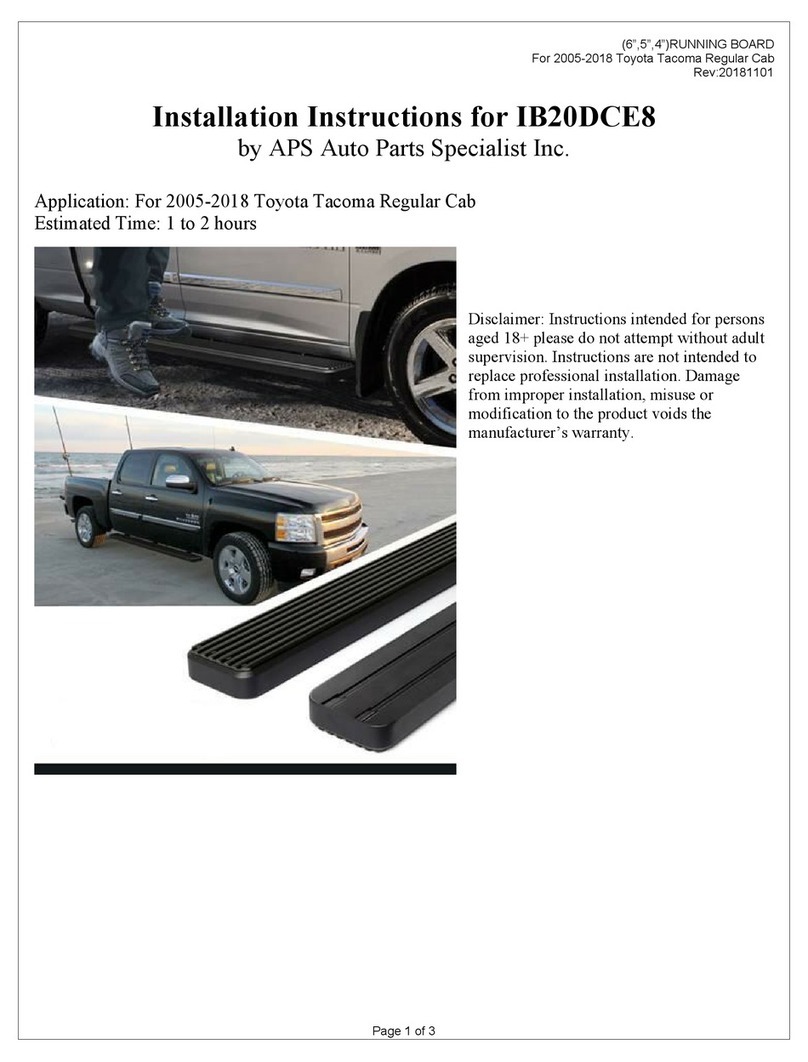
APS Auto Parts Specialist iBoard IB-ZK406 User manual
Other APS Auto Parts Specialist Automobile Accessories manuals

APS Auto Parts Specialist
APS Auto Parts Specialist IA04SJJ2B User manual
APS Auto Parts Specialist
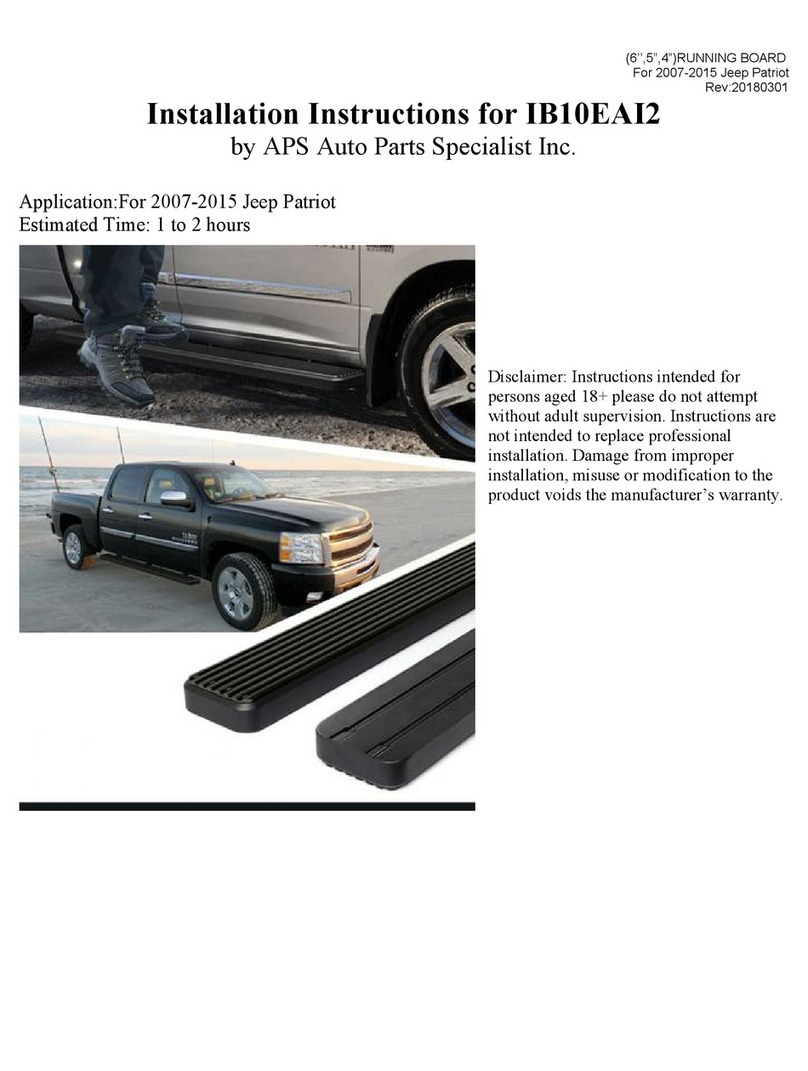
APS Auto Parts Specialist IB10EAI2 User manual
APS Auto Parts Specialist
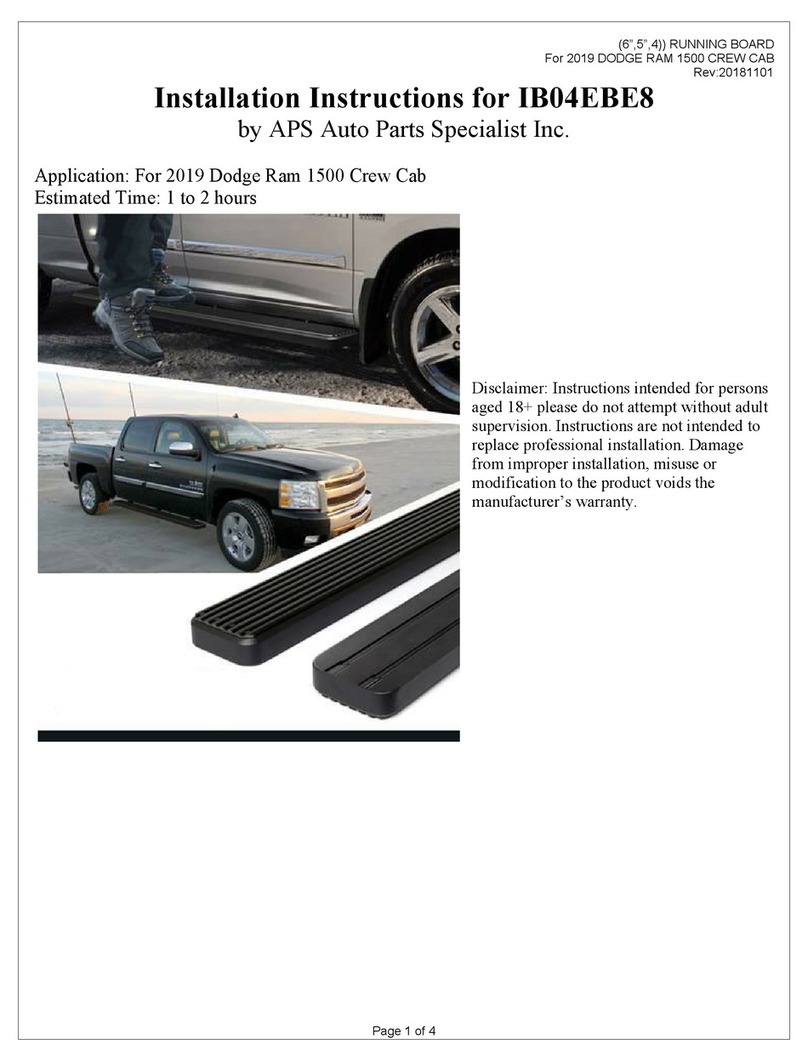
APS Auto Parts Specialist IB04EBE8 User manual
APS Auto Parts Specialist
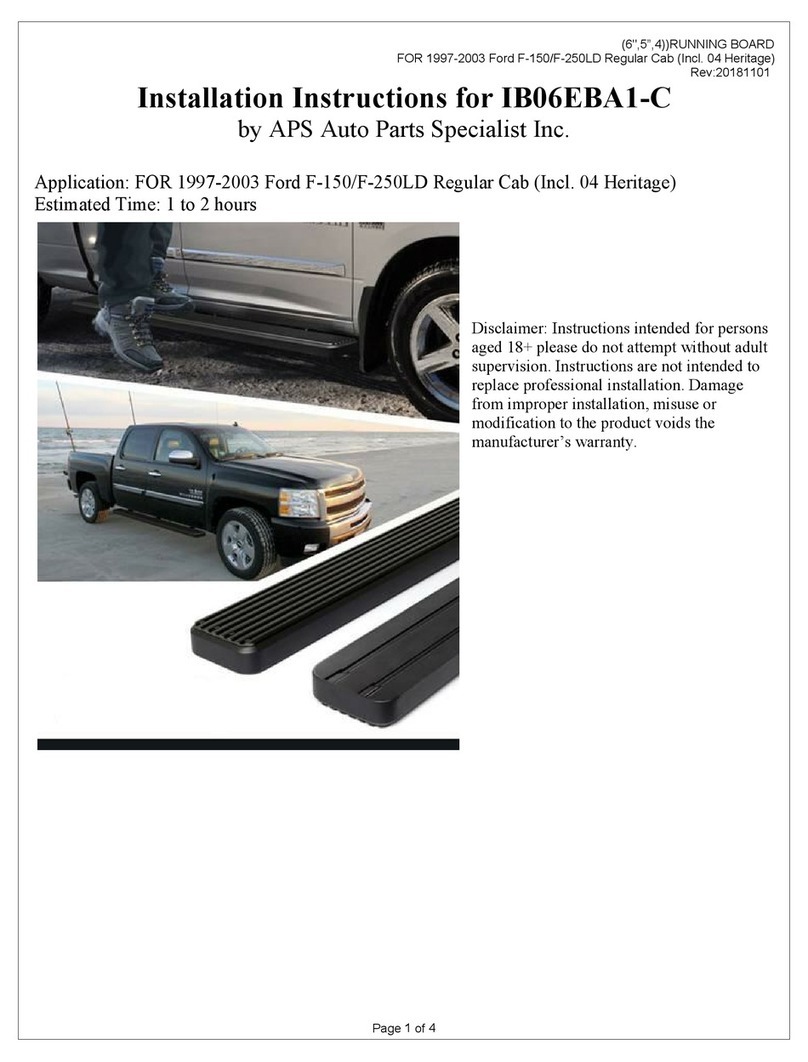
APS Auto Parts Specialist IB06EBA1-C User manual

APS Auto Parts Specialist
APS Auto Parts Specialist IB06EJJ9 User manual
APS Auto Parts Specialist
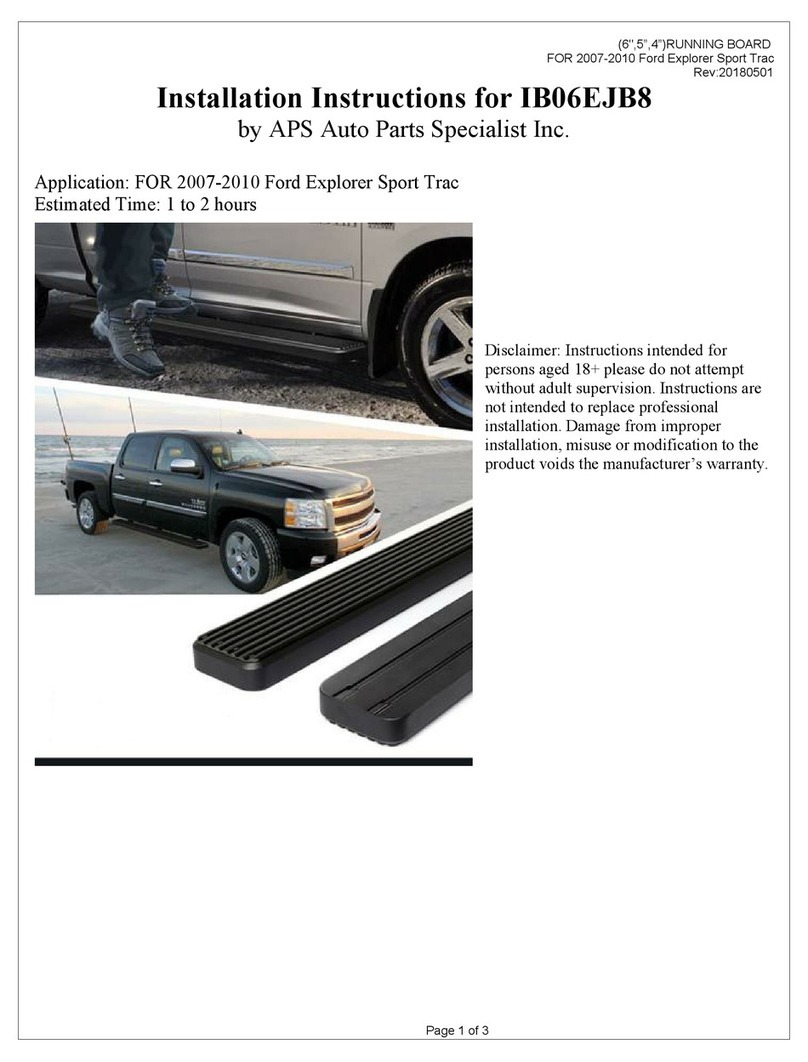
APS Auto Parts Specialist IB06EJB8 User manual
APS Auto Parts Specialist
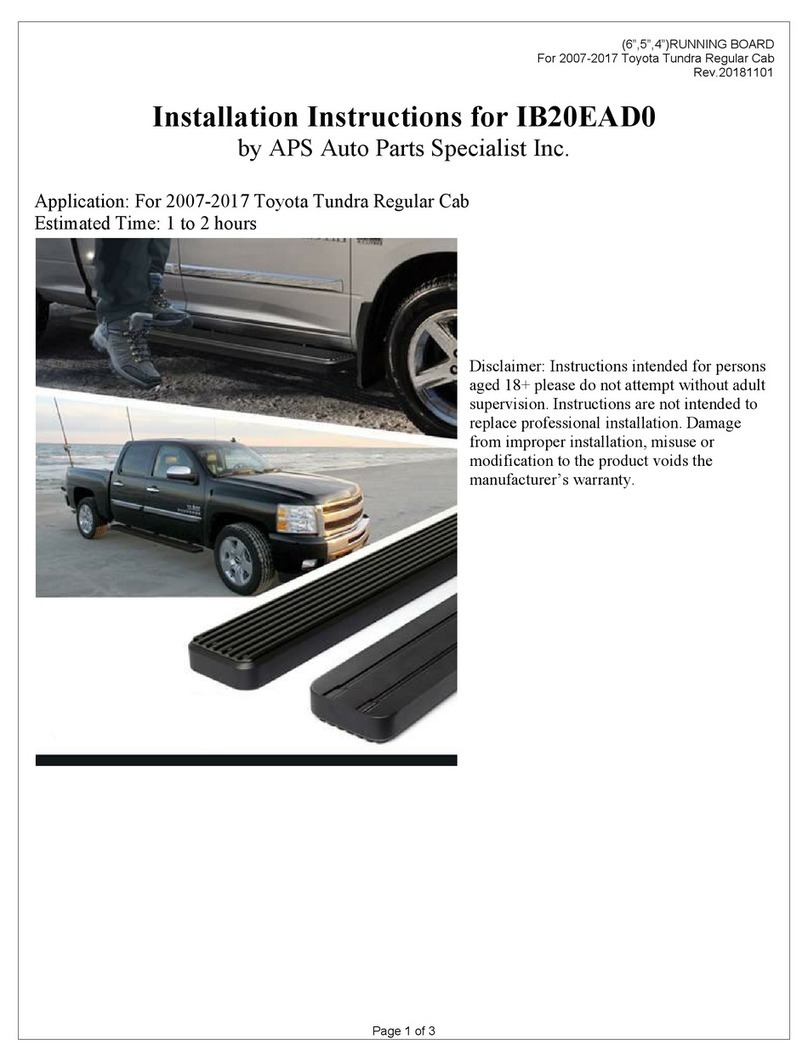
APS Auto Parts Specialist IB20EAD0 User manual

APS Auto Parts Specialist
APS Auto Parts Specialist IB06EAG7 User manual
APS Auto Parts Specialist
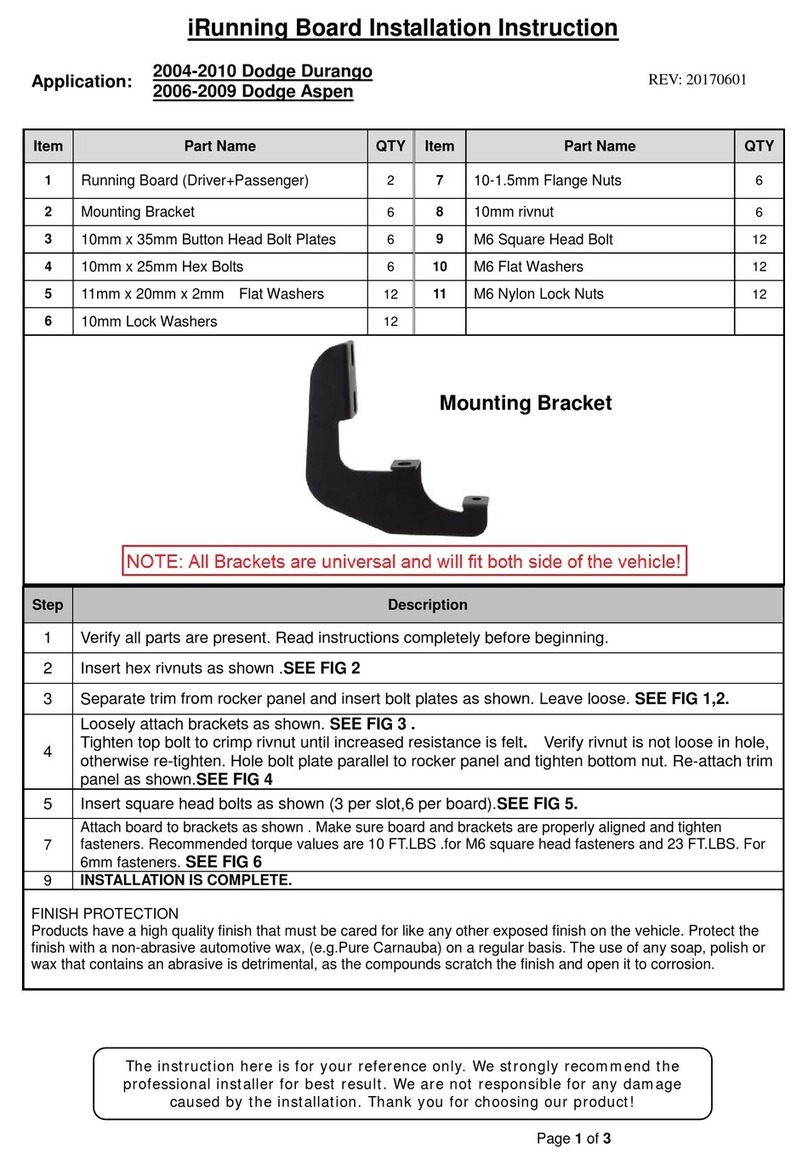
APS Auto Parts Specialist iRunning Board User manual
APS Auto Parts Specialist
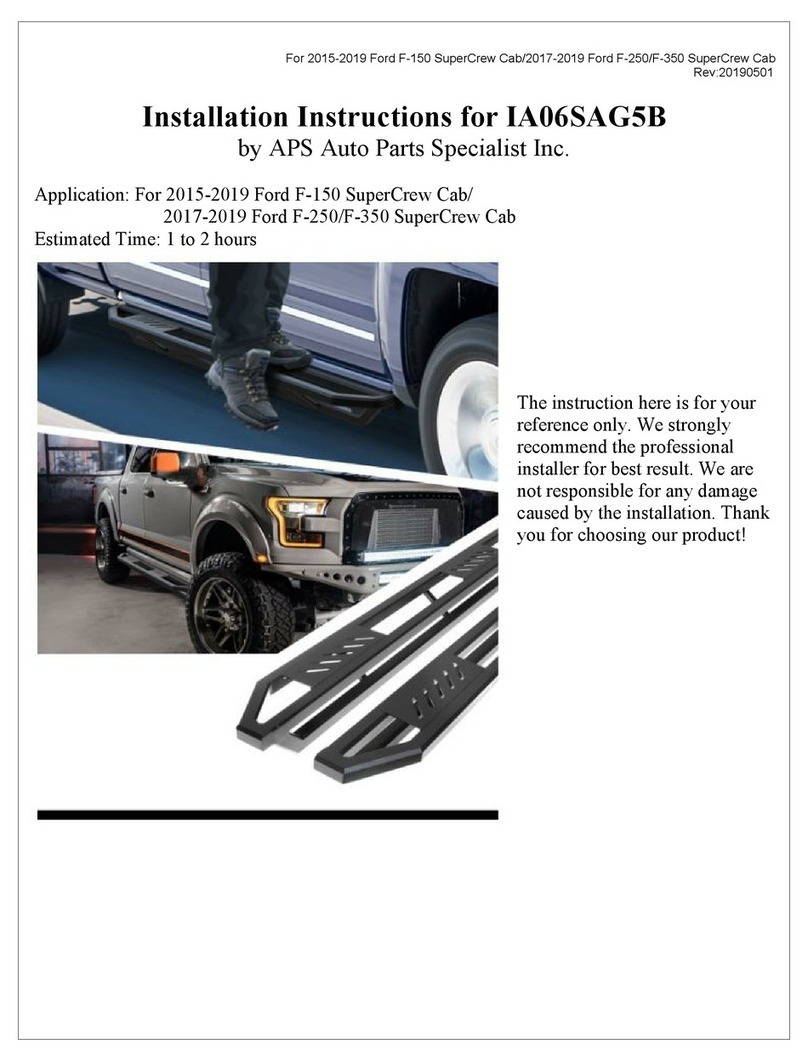
APS Auto Parts Specialist IA06SAG5B User manual
Popular Automobile Accessories manuals by other brands

ULTIMATE SPEED
ULTIMATE SPEED 279746 Assembly and Safety Advice

SSV Works
SSV Works DF-F65 manual

ULTIMATE SPEED
ULTIMATE SPEED CARBON Assembly and Safety Advice

Witter
Witter F174 Fitting instructions

WeatherTech
WeatherTech No-Drill installation instructions

TAUBENREUTHER
TAUBENREUTHER 1-336050 Installation instruction
