manuals.online logo
Brands
  1. Home
  2. •
  3. Brands
  4. •
  5. Argos
  6. •
  7. Indoor Furnishing
  8. •
  9. Argos Constable 149/2545 User manual

Argos Constable 149/2545 User manual

Issue 1 -01/07/12IW-17-175R-O12-AVPR/ AVIS-S2X-172-0
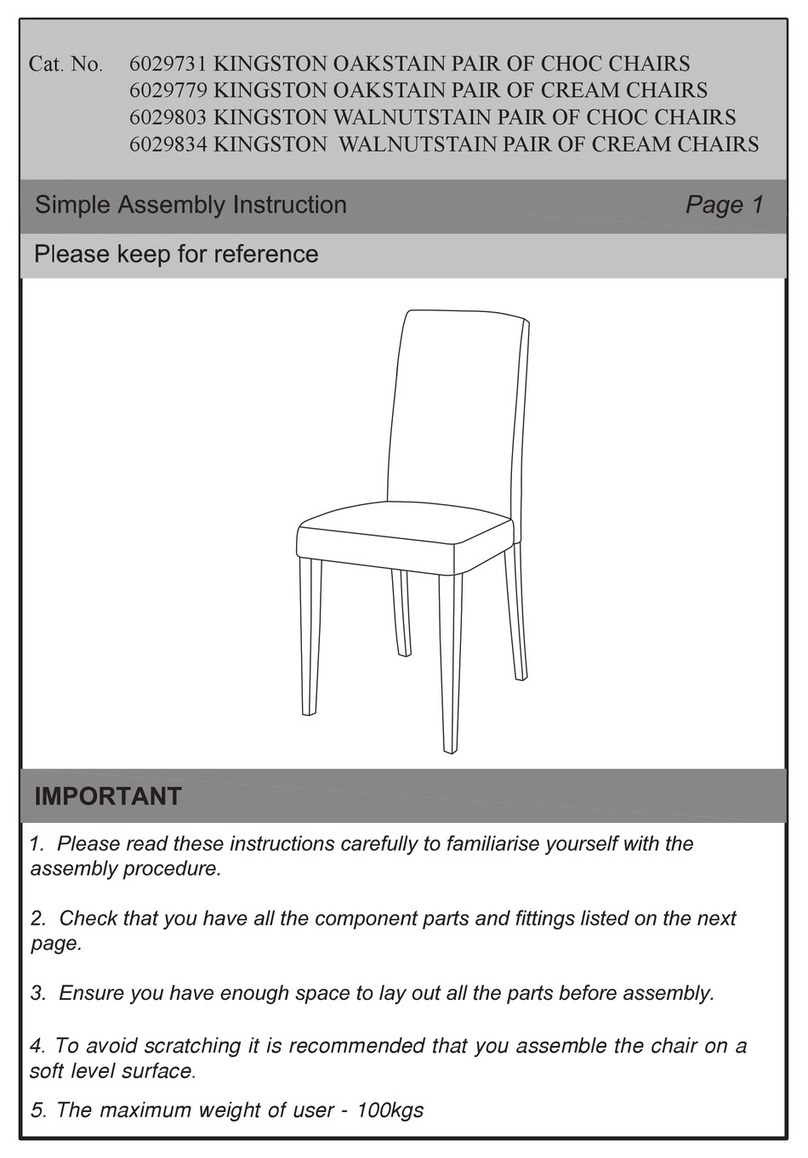
Constable - Pair of Upholstered Chairs
Assembly Instructions -Pleasekeepforfuturereference 149/2545
156/8565
Dimensions
Width-46cm
Depth-60.3cm
Height-101.3cm
Important -Pleasereadtheseinstructionsfullybeforestarting assembly.
Ifyouneedhelporhavedamagedormissingparts, call the CustomerHelpline: 08456400800
•Checkyouhaveall the
componentsandtoolslisted on
page 2.
•Removeallfittingsfrom the
plasticbags andseparatethem
intotheirgroups.
•Keep children andanimals
awayfromtheworkarea, small
partscouldchokeif swallowed.
•Makesureyou have enough
spacetolayoutthepartsbefore
starting.
•Donot standor putweighton
the product, thiscouldcause
damage.
•Assembletheitemasclose
toitsfinalposition(inthe same
room) aspossible.
•Assembleonasoftflat / firm
surfacetoavoiddamaging the
unitoryourfloor.
•Partsoftheassemblywillbe
easierwith2people.
•We donot
recommend the
use ofpower
drill/drivers for
inserting screws,
asthiscoulddamagethe unit.
Onlyusehandscrewdrivers.
•Dispose ofallpackaging
carefullyandresponsibly.
Safetyand Care Advice
Important -Pleasereadtheseinstructionsfullybeforestarting assembly.
Care and maintenance
• Onlycleanusingadampcloth
and milddetergent,donouse
bleach orabrasive cleaners.
•Fromtimetotimecheck that
thereareno loose screwson
thisunit.
•Thisproduct shouldnot be
discarded withhousehold
waste.Taketoyourlocal
authoritywastedisposalcentre.
1
2
Components - Panels If you havedamagedormissing components,
callthe CustomerHelpline: 08456 400800
Pleasecheckyouhaveallthepanelslisted below
Note: The quantitiesbelow arethecorrectamounttocompletetheassembly.Insomecasesmore
fittingsmay be supplied thanarerequired.
Components - Fittings
Pleasecheckyouhaveallthefittingslisted below
0 5 10 15 20 25 30 35 40 45 50 55 60 65 70 75 80 85 90 95 100 110 115 120 125 130 135 140 145 150105 155 160 165 170
Ruler-Usethisrulertohelpcorrectlyidentifythe screws
50mm Threadedbolt x4 60mm Hexheadbolt x4 Flatwasherx4
Lockwasherx4 Hexnut x4 Spannerx1
Allenkeyx1
A B C
D E F
G
Step 1
Attachingfront legs
Placeseatpadontoa
flat, stable,cleanand
softsurface.
a: Lift under clothupand
lay back as shown.
Positionfrontlegsand
ontoseatbox.
Note: Ensurethat you
putthefrontlegsintothe
correctplaceasshown.
b: Insertthreadedbolts
throughthepre-drilled
holeofmetalcorner
bracketsintofrontlegs
andasshown.
Tightenthreadedbolts
intothefittings inside
frontlegsand.
3
AssemblyInstructions
2
3
4
2
4
4
3
3
4
2
3
A
4
2
3 4
2
3
2 3
A
A
a:
b:
Step 2
Fixingfront legs
Insertflatwashers,
lockwashersonto
threadedboltsthen
secureintopositionusing
hex nutsas shown.
Usespannertoturn
fittingclockwise tofix.
Step 3
Fixingbacklegframe
a: Position backleg
frameontoseat pad
.
Note: Ensurethe
dowelsarealigned
correctlywithmating
backlegframetoavoid
damage.
Continued on next page.
AssemblyInstructions
4
2
3
4
4
1
A
C
D
EF
1
4
C
DA
E
F
E
a:
Step 3 -continued
b: Fixback legframe
toseatpadusing 4
boltsas shown.
Use allen keytoturn
fittingclockwise tofix.
Step 4
Attachingundercloth
Placeunder clothback
ontoframeofseatpad
bylining up velcrostrips
and pushingfirmlytofix
back inplace.
Standthechairupright.
Repeatcomplete
processforsecond
chair.
AssemblyInstructions
If you need helporhavedamaged ormissing parts, call the CustomerHelpline: 08456 400800
1
4
G
G
B
B
BB
1
4
4
B
G
B
5
b:
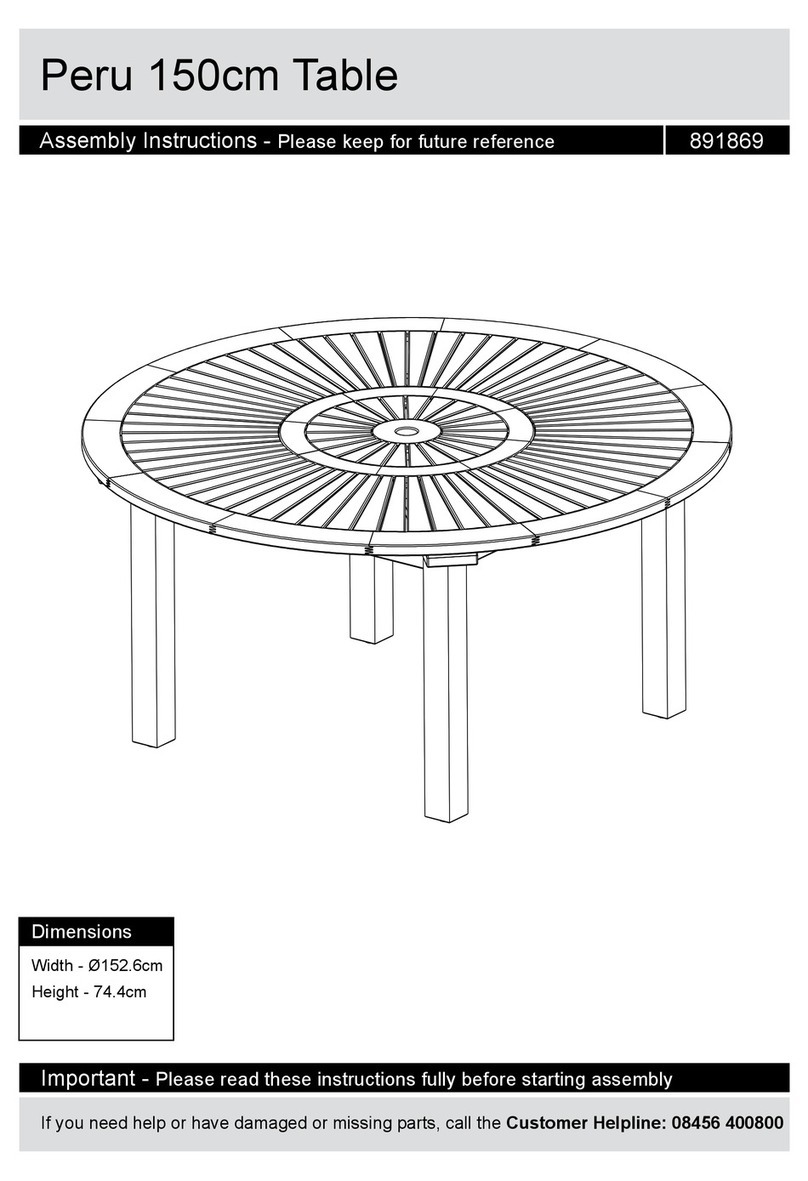
ConstableOak ExtensionDining Table
AssemblyInstructions -Pleasekeep forfuturereference 176/0325
Width-160/200cm
Depth-90cm
Height-75cm
Important -Pleaseread theseinstructionsfullybeforestarting assembly.
Ifyouneedhelporhavedamagedormissingparts,call the CustomerHelpline:08456400800
Dimensions
Issue 1-12/06/10IW-17-3205-010-R1
SafetyandCareAdvice
Important - Pleasereadtheseinstructionsfullybeforestartingassembly.
•Checkyouhaveallthe
componentsand toolslisted on
page 2.
•Removeall fittingsfromthe
plasticbagsandseparatethem
intotheirgroups.
•Keepchildrenandanimals
awayfromtheworkarea,small
partscouldchokeifswallowed.
•Makesureyouhaveenough
spacetolayout the partsbefore
starting.
•Wedonot
recommendthe
useofpower
drill/ drivers for
inserting screws,
asthiscoulddamage the unit.
Onlyusehandscrewdrivers.
•Disposeofallpackaging
carefullyandresponsibly.
1
•Donot stand orput weighton
theproduct,thiscouldcause
damage.
•Assembletheitemasclose
toitsfinalposition (inthe same
room)aspossible.
•Assembleonasoftflat / firm
surfacetoavoiddamaging the
unit oryourfloor.
•Partsoftheassemblywillbe
easierwith2people.
Careand maintenance
•Onlycleanusingadampcloth
and milddetergent, do no use
bleachorabrasivecleaners.
•Fromtimetotimecheck that
therearenoloosescrewson
thisunit.
•Thisproductshouldnot be
discardedwithhousehold
waste.Taketoyourlocal
authoritywastedisposalcentre.
Components- Fittings
Pleasecheckyouhaveallthefittingslistedbelow.
60mm Cross dowelx4 Flatwasherx8
Spannerx1
70mm Threadedbolt x8
1Legsx4
(10 x72.2cm)
Components-Tabletops&Legs
Pleasecheckyouhaveallthepanelslistedbelow.
Lock washerx8 Hexnut x8
Note: The quantitiesbelowarethe correct amount tocompletethe assembly. Insomecasesmore
fittingsmaybe supplied than arerequired.
A
D
B
E
C
F
2Tabletop (160/200 x90cm)
2
callthe CustomerHelpline:08456 400800
If you havedamaged ormissing components,
Ruler-Usethisrulertohelpcorrectlyidentifythescrews
0510 15 20 25 30 35 40 45 50 55 60 65 70 75 80 85 90 95 100 110115120125130135140145150105 155160165170
3Extension leaf (90 x40cm)
AssemblyInstructions
Step 1
Fittingdowels
a: Insertcrossdowels
intothe holeson top of
legs1.
Ensurethe
horizontalmarkingon
eachcrossdowel
isfacingoutasshown.
b: Insert 2threaded
boltsintothe two
holesonalllegs1.
Tighten threaded bolts
intotheholesofcross
dowelsthat are
alreadyconcealed in
legs1asshown.
Step 2
a: Laytabletop 2
on aflat, stable, clean
and soft surface.
Attachinglegs
Continued on next page.
A
3
A
B
A
B
B
B
B
B
c: Insert flat washer ,
lockwasher andhex
nut ontothetwo
threaded boltson
leg1and inorder
asshown.
followed by
followed by.
Tighten tophexnut
then tighten bottomhex
nut using spanner
asshown.
AssemblyInstructions
Step 2-continued
b: Attachleg 1onto
tabletop 2byinserting
boltsintothe
pre-drilledholesofmetal
cornerbracketasshown.
Attachinglegs
4
C
B
D
E
C D
D E
E
F
Donotovertighten.
Repeatsteps b: and c:
withthe remaining 3legs.
B
AssemblyInstructions
Step 3
5
Extendingtable
b: Pull bothtabletops
apartasshown.
c: Placeextensionleaf
between tabletops, then
slide bothtabletops
inwardsuntilnogapis
visible.
Continued on next page.
Note: Make sure
metal dowelslineup
withholesonmating
paneltoavoiddamage.
a: Withhelp,carefully
stand dining table
upright.
The dining table
isheavy.
Liftwithcare.
Locatethumbscrews
undertableendsand
turncounterclockwise
untilclearoflocking
holesonunderside
of tabletop.
Turnthumbscrewson
bothendsof table
clockwisetolocktable
top inplace.
AssemblyInstructions
Ifyouneedhelporhavedamagedormissingparts,call the CustomerHelpline:08456400800
e: Carefullyplacethe
extension leaf ontowood
supportsunderthe table
asshown.
Closingtable
6
d: Locateand turn
thumbscrews
counterclockwiseon
bothendsof the table
untilclearoflocking
holesonunderside
of tabletop.
Slide bothtabletops
outwards, thenlift the
extension leaf up.
f: Slide bothtabletops
inwardsuntilnogapis
visible.
Note: Make sure
metal dowelslineup
withholesonmating
paneltoavoiddamage.
g: Turnthumbscrews
clockwisetolocktable
top inplace.

This manual suits for next models

1

Other Argos Indoor Furnishing manuals

Argos Hallingford 305/2763 User manual

Argos

Argos Hallingford 305/2763 User manual

Argos hygena 617/5599 User manual

Argos

Argos hygena 617/5599 User manual

Argos Swanley 120 307/0013 User manual

Argos

Argos Swanley 120 307/0013 User manual

Argos Arvika 355/7794 User manual

Argos

Argos Arvika 355/7794 User manual

Argos Home Arlon 452/8454 User manual

Argos

Argos Home Arlon 452/8454 User manual

Argos Malibu 719/0487 User manual

Argos

Argos Malibu 719/0487 User manual

Argos Normandy 2 Door Tall Robe 357/1505 User manual

Argos

Argos Normandy 2 Door Tall Robe 357/1505 User manual

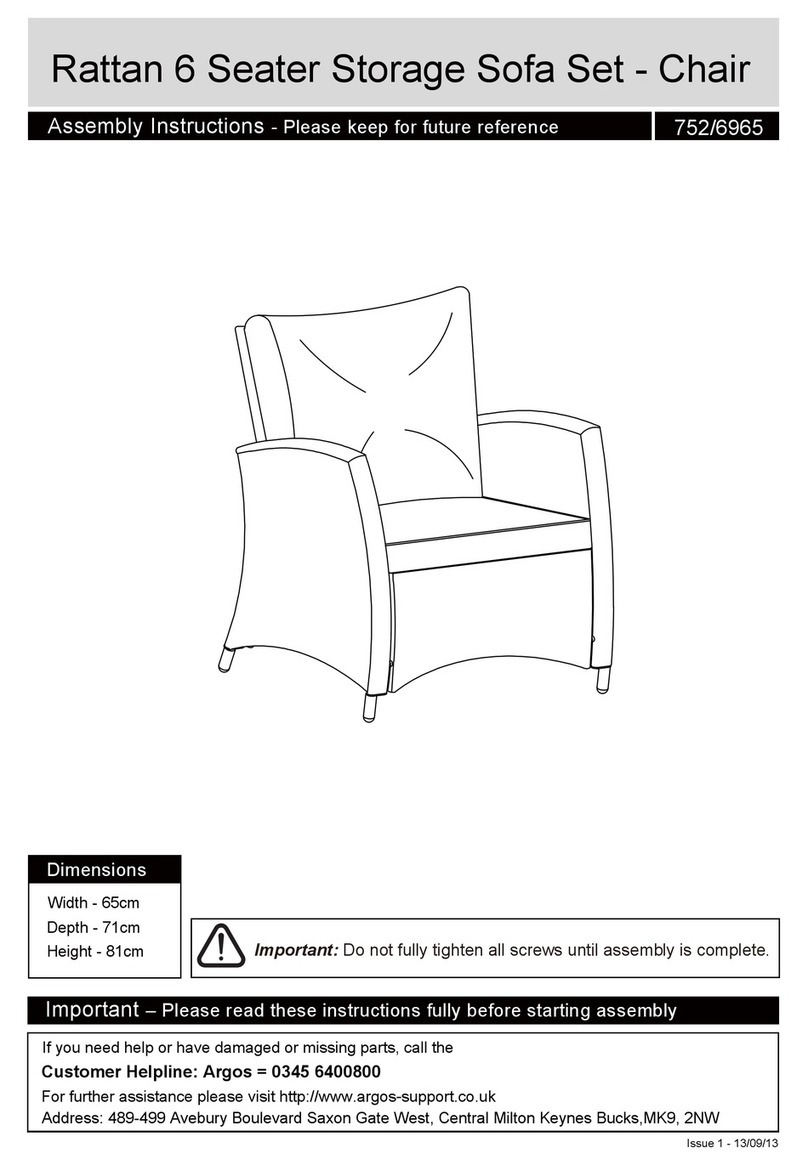
Argos Rattan 752/6965 User manual

Argos

Argos Rattan 752/6965 User manual
Argos COT User manual

Argos

Argos COT User manual

Argos New Penton 246/4943 User manual

Argos

Argos New Penton 246/4943 User manual

Argos Malvern 604/0105 User manual

Argos

Argos Malvern 604/0105 User manual

Argos Betsy 404/4842 User manual

Argos

Argos Betsy 404/4842 User manual

Argos Phoenix 2 Door Storage Cubes User manual

Argos

Argos Phoenix 2 Door Storage Cubes User manual

Argos 875/4664 User manual

Argos

Argos 875/4664 User manual

Argos Amelie 247/9873 User manual

Argos

Argos Amelie 247/9873 User manual

Argos 1524853 User manual

Argos

Argos 1524853 User manual

Argos Cheval 152/6882 User manual

Argos

Argos Cheval 152/6882 User manual

Argos 875/5223 User manual

Argos

Argos 875/5223 User manual

Argos 2667537 User manual

Argos

Argos 2667537 User manual

Argos HOME 797/1699 User manual

Argos

Argos HOME 797/1699 User manual

Argos Hygena User manual

Argos

Argos Hygena User manual

Argos Curve 377/3530 User manual

Argos

Argos Curve 377/3530 User manual

Argos Malibu 279/6288 User manual

Argos

Argos Malibu 279/6288 User manual

Argos 3FT Josie 436/9730 User manual

Argos

Argos 3FT Josie 436/9730 User manual

Popular Indoor Furnishing manuals by other brands

Home Decorators Collection GT-12515-AAG Use and care guide

Home Decorators Collection

Home Decorators Collection GT-12515-AAG Use and care guide

aidapt VG808R Usage and maintenance instructions

aidapt

aidapt VG808R Usage and maintenance instructions

Crate&Barrel Goleta quick start guide

Crate&Barrel

Crate&Barrel Goleta quick start guide

BLACK RED WHITE HZO 4/12 Assembly manual

BLACK RED WHITE

BLACK RED WHITE HZO 4/12 Assembly manual

Argos Home OSCAR 408/5887 Assembly lnstructions

Argos Home

Argos Home OSCAR 408/5887 Assembly lnstructions

OfficeSource PL155 Assembly instructions

OfficeSource

OfficeSource PL155 Assembly instructions

Cooper Lighting PORTFOLIO H77250QT4 installation instructions

Cooper Lighting

Cooper Lighting PORTFOLIO H77250QT4 installation instructions

Next SHOREDITCH 832384 Assembly instructions

Next

Next SHOREDITCH 832384 Assembly instructions

Hepsiburada Swan Bedstead Assembly manual

Hepsiburada

Hepsiburada Swan Bedstead Assembly manual

Posture Depot Square High Back Ergonomic Office Chair Assembly and use instructions

Posture Depot

Posture Depot Square High Back Ergonomic Office Chair Assembly and use instructions

Ballard Designs Villandry MN042 manual

Ballard Designs

Ballard Designs Villandry MN042 manual

BCP SKY4495 instruction manual

BCP

BCP SKY4495 instruction manual

Hansa Nordic Reindeer 0616 user guide

Hansa

Hansa Nordic Reindeer 0616 user guide

Rona Bombay 38115206 user manual

Rona

Rona Bombay 38115206 user manual

Songmics VASAGLE LBT013 quick start guide

Songmics

Songmics VASAGLE LBT013 quick start guide

Liberty Furniture 652-B200024 Assembly instruction

Liberty Furniture

Liberty Furniture 652-B200024 Assembly instruction

Tribesigns LITTLE TREE HOGA-jw0435 Assembly instructions

Tribesigns

Tribesigns LITTLE TREE HOGA-jw0435 Assembly instructions

Till-Hilft 88085.530 Assembly instructions

Till-Hilft

Till-Hilft 88085.530 Assembly instructions

manuals.online logo
manuals.online logoBrands
  • About & Mission
  • Contact us
  • Privacy Policy
  • Terms and Conditions

Copyright 2025 Manuals.Online. All Rights Reserved.