manuals.online logo
Brands
  1. Home
  2. •
  3. Brands
  4. •
  5. Aritech
  6. •
  7. Keypad
  8. •
  9. Aritech ACL875FL-KP Assembly instructions

Aritech ACL875FL-KP Assembly instructions

© 2022 Carrier 1 / 4 P/N 1073522-EN • REV B • ISS 06JUL22
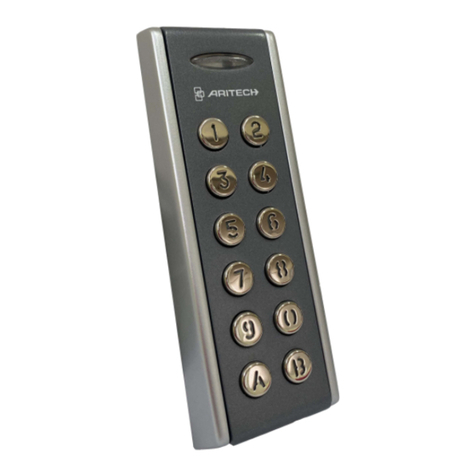
ACL875FL-KP Flush Mount Standalone Keypad
Installation Sheet
Description
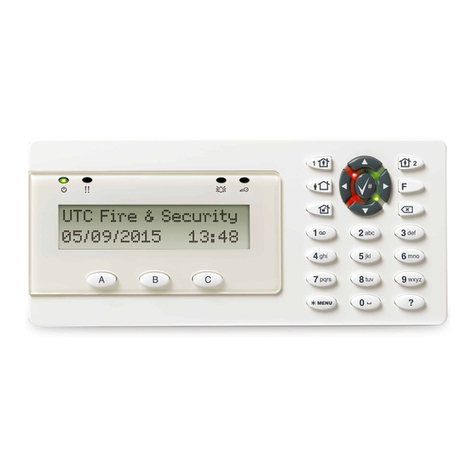
The ACL875FL-KP is a standalone digital keypad for access
control applications with backlit keys, 99 user codes, 2 outputs
and 1 push button input. Authorized users can be assigned
specific codes for use in access control applications, electrical
switching, and arming/disarming alarm systems. The users can
be assigned to activate the first, the second or both outputs.
There is a 30 seconds lockout after 8 successive invalid PIN
codes.
The tamper switch output can trigger the alarm system if an
attempt is made to open or remove the unit from the wall.
Mounting
Figure 1: Mounting instructions
Wiring
Figure 2: Wiring instructions
Application diagram
15 to 24 VAC
Note: Strike can be connected to DC.
12 to 24 VDC
ACL875FL-KP
Backlight ON/OFF
Master codereset jumper
12/24V
AC/DC
GND
PB
Tamper
NO1
COM1
NC1
NO2
COM2
NC2
Power upplys ,(12-24V DC
15-24V AC)
Push button
Relay 1
Relay 2
ACL875FL-KP
GND (PB)
PB
NO
470 nF
10K / ½W
COM
GND (PB)
PB
ACL875FL-KP
NC
COM
Diode
1N4001
2 / 4 P/N 1073522-EN • REV B • ISS 06JUL22
Tamper switch
Jumpers
LEDs
Reset Master code
It is possible to reset the default setting if the Master code is
forgotten.
1. Disconnect power and close the Reset master code
jumper.
2. Reconnect power and remove the Reset master code
jumper. The keypad beeps and the orange LED blinks.
Orange LED switches on, long beep sounds.
3. Press 000.
4. Enter new Master code.
5. Press A to confirm.
2 beeps sound.
6. Press B to exit.
Orange LED switches off.
Programming mode
To change keypad options, follow the steps below.
1. Authorize using the master code, or 000 when using the
keypad for the first time.
2. Validate the code by pressing B.
If you are not authorized to enter the programing mode,
the keypad transmits multiple short beeps, and the orange
LED blinks rapidly.
If the code is valid, the programming mode is signalled by
1 short and 1 long beeps, and indicated by the orange
LED on. You can continue with the programming.
3. Enter the option number you want to change. Refer to
“Programming options” below.
4. Press A to validate the change.
If the change is invalid, the keypad transmits multiple short
beeps, and the orange LED blinks rapidly. Return to
step 3.
If the change is valid, it is confirmed by 2 short beeps.
Return to step 3.
To exit the programming mode, press B in any stage of the
programming mode. The orange LED switches off.
Programming options
When in the programming mode, press a number to program
one of the following options.
Option
Description
0
Add/change user or master code
To change master code, enter user number 000 followed by
the new master code (1 to 8 digits).
To add or change existing user, enter the user number (01
to 99), and a new user code (1 to 8 digits)
The new user is assigned to Relay 1
1
Set Relay 1 timer
To set toggle relay mode, press 00.
To set time in seconds, press 01 to 99.
The default time is 03 seconds.
2
Set Relay 2 timer
To set toggle relay mode, press 00.
To set time in seconds, press 01 to 99.
The default time is 03 seconds.
3
Assign output to the user
Enter the user number (01 to 99). Next, press 1 for Relay 1,
and/or 2 for Relay 2.
4
Not used
5
Not used
6
Not used
7
Not used
8
Delete all users
Press 99 to confirm.
9
Delete single user
Enter user number from 01 to 99.
Next, proceed from the step 4 above –press A to validate the
change.
Reset master code
Backlight ON/OFF
Default:
Open
Closed
Green LED
Relay Status (Output 1) Orange LED
Key press and Menu
Red LED
Relay Status (Output 2)
P/N 1073522-EN • REV B • ISS 06JUL22 3 / 4
Example
To assign user code 6789 to the user 6, and relay 1 that
activates for 5 seconds, assuming default master code 000:
Press 000B + 0 + 06 + 6789 + A + 1 + 05 + A. Press B to exit
the programming mode.
Specifications
Operating voltage
12 to 24 VDC; 15 to 24 VAC
Backlight
Backlit keys
PIN codes
99 User codes (1 to 8 digits)
Timing
30 seconds lockout after 8 invalid codes
Relays
2 Relays (3A /24V DC, 230V AC)
Output
2 outputs that operate in pulse (01 to 99 s),
or latch mode (00)
Input
1 pushbutton
Tamper
Yes, activated on frame removal
Current Consumption
Standby: 30 mA maximum: 100 mA
IP Rating
IP40
Operating temperature
−25 to +50°C
Relative humidity
0 to 95% noncondensing
Regulatory information
Manufacturer
PLACED ON THE MARKET BY:
Carrier Fire & Security Americas Corporation Inc.
13995 Pasteur Blvd
Palm Beach Gardens, FL 33418, USA
AUTHORIZED EU REPRESENTATIVE:
Carrier Fire & Security B.V.
Kelvinstraat 7, 6003 DH Weert, Netherlands
Product warnings
and disclaimers
THESE PRODUCTS ARE INTENDED FOR
SALE TO AND INSTALLATION BY QUALIFIED
PROFESSIONALS. CARRIER FIRE &
SECURITY CANNOT PROVIDE ANY
ASSURANCE THAT ANY PERSON OR ENTITY
BUYING ITS PRODUCTS, INCLUDING ANY
“AUTHORIZED DEALER” OR “AUTHORIZED
RESELLER”, IS PROPERLY TRAINED OR
EXPERIENCED TO CORRECTLY INSTALL
FIRE AND SECURITY RELATED PRODUCTS.
For more information on warranty disclaimers and
product safety information, please check
https://firesecurityproducts.com/policy/product-
warning/ or scan the QR code.
European Union
directives
Carrier Fire & Security hereby declares that this
device is in compliance with the applicable
requirements and provisions of the Directive
2014/30/EU and/or 2014/35/EU. For more
information see firesecurityproducts.com or
www.aritech.com
REACH
Product may contain substances that are also
Candidate List substances in a concentration
above 0.1% w/w, per the most recently published
Candidate List found at ECHA Web site.
Safe use information can be found at
https://firesecurityproducts.com/en/content/intrusi
on-intro
2012/19/EU (WEEE directive): Products marked
with this symbol cannot be disposed of as
unsorted municipal waste in the European Union.
For proper recycling, return this product to your
local supplier upon the purchase of equivalent
new equipment, or dispose of it at designated
collection points. For more information see:
recyclethis.info
Product
documentation
Please consult the following web link to retrieve
the electronic version of the product
documentation.
This link will guide you to the EMEA regional
contact page. On this page you can request your
login to the secured web portal where all manuals
are stored.
https://firesecurityproducts.com/en/contact
Contact information
firesecurityproducts.com or www.aritech.com
4 / 4 P/N 1073522-EN • REV B • ISS 06JUL22

Other Aritech Keypad manuals

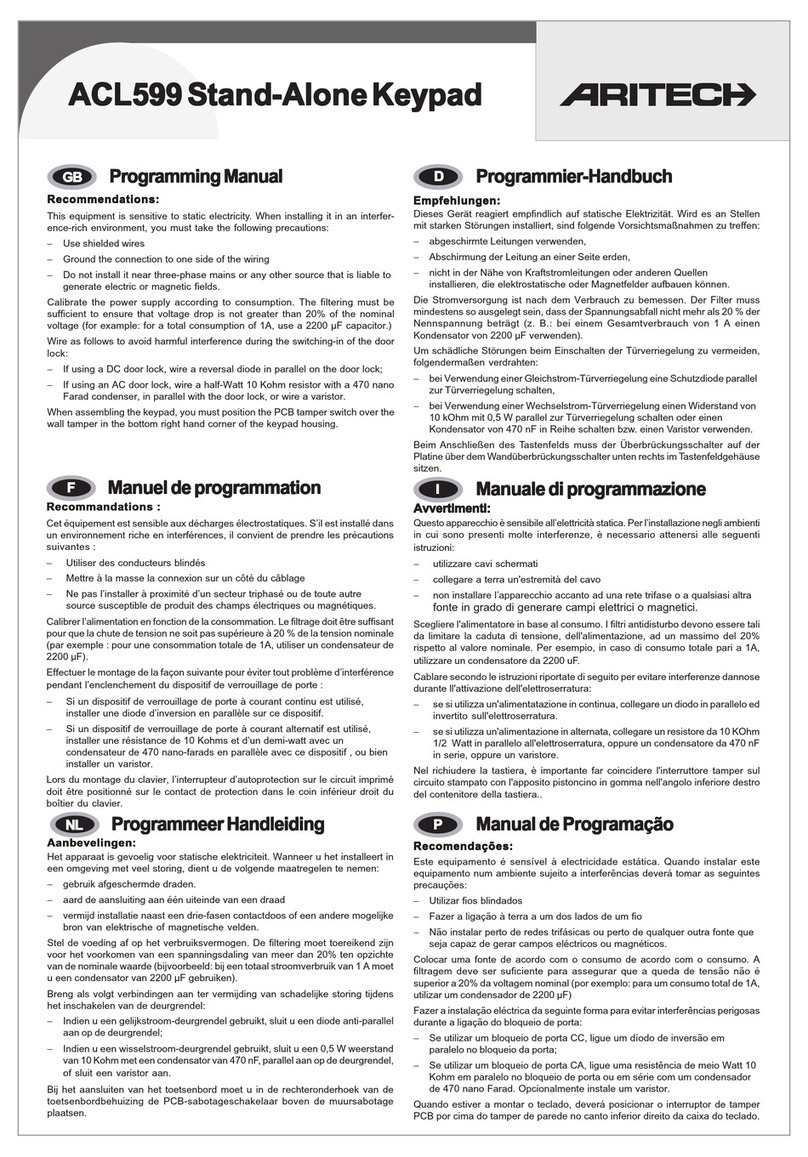
Aritech CS-175-275-575 Series User manual

Aritech

Aritech CS-175-275-575 Series User manual

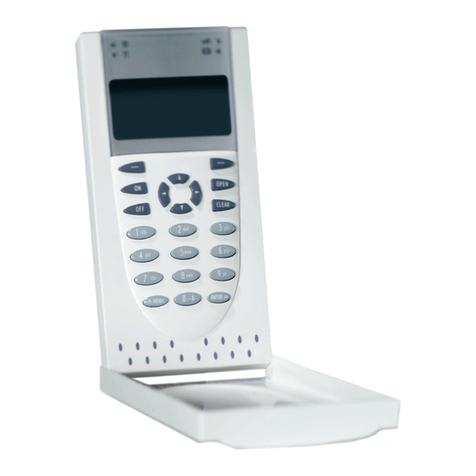
Aritech ACL805SUW-RDPX Assembly instructions

Aritech

Aritech ACL805SUW-RDPX Assembly instructions

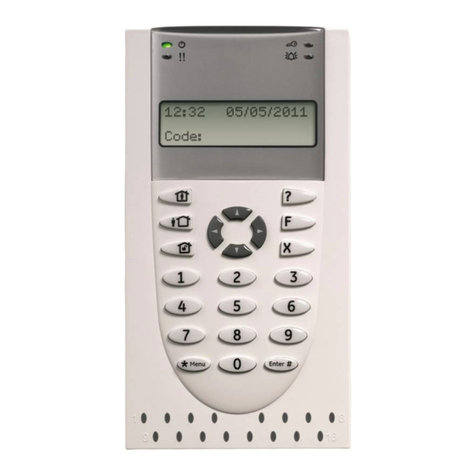
Aritech ACL599 Owner's manual

Aritech

Aritech ACL599 Owner's manual

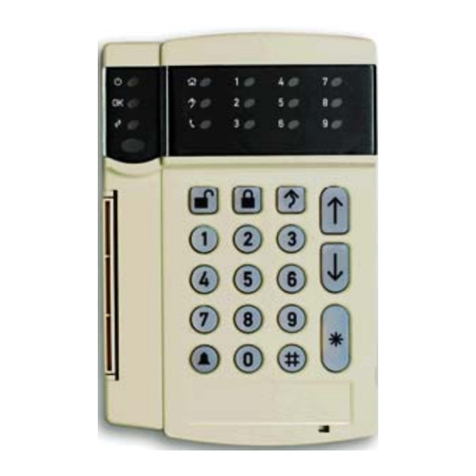
Aritech ACL585 Assembly instructions

Aritech

Aritech ACL585 Assembly instructions

Aritech ATS111-N Series Assembly instructions

Aritech

Aritech ATS111-N Series Assembly instructions

Aritech ATS1135 Assembly instructions

Aritech

Aritech ATS1135 Assembly instructions

Aritech CS450 User manual

Aritech

Aritech CS450 User manual

Aritech ATS1155 User manual

Aritech

Aritech ATS1155 User manual

Aritech ATS1136 Assembly instructions

Aritech

Aritech ATS1136 Assembly instructions

Aritech ATS1110 User manual

Aritech

Aritech ATS1110 User manual

Aritech ATS4000 User manual

Aritech

Aritech ATS4000 User manual

Aritech CS-175 Series User manual

Aritech

Aritech CS-175 Series User manual

Popular Keypad manuals by other brands

YASKAWA JVOP-KPLCA04A Series installation manual

YASKAWA

YASKAWA JVOP-KPLCA04A Series installation manual

CompuSTAR RF-2WG15R-FM Quick start card

CompuSTAR

CompuSTAR RF-2WG15R-FM Quick start card

CAMDEN CM-110SK installation instructions

CAMDEN

CAMDEN CM-110SK installation instructions

Dormakaba La Gard 5750 User operating instructions

Dormakaba

Dormakaba La Gard 5750 User operating instructions

PGST PK-10 quick start guide

PGST

PGST PK-10 quick start guide

Roger SL 1000 manual

Roger

Roger SL 1000 manual

Smanos KP-20 user manual

Smanos

Smanos KP-20 user manual

Savant WIK- 104 Series Quick reference guide

Savant

Savant WIK- 104 Series Quick reference guide

ADEMCO 6160CR installation guide

ADEMCO

ADEMCO 6160CR installation guide

Smartlock Digital SMARTPOINT SMARTLINC II 9160 User operating instructions

Smartlock Digital

Smartlock Digital SMARTPOINT SMARTLINC II 9160 User operating instructions

Raymarine SeaTalk Owner's handbook

Raymarine

Raymarine SeaTalk Owner's handbook

DMP Electronics 9800 Series quick start guide

DMP Electronics

DMP Electronics 9800 Series quick start guide

AMX DAS-KP-LCD-G installation guide

AMX

AMX DAS-KP-LCD-G installation guide

AMX Metreau DAS-MET-6SRC installation guide

AMX

AMX Metreau DAS-MET-6SRC installation guide

Niles SOLO-6 MD Specification sheet

Niles

Niles SOLO-6 MD Specification sheet

Honeywell 6270 - Ademco TouchCenter Keypad quick guide

Honeywell

Honeywell 6270 - Ademco TouchCenter Keypad quick guide

SECO-LARM ENFORCER SLI SK-B141-DQ quick start guide

SECO-LARM

SECO-LARM ENFORCER SLI SK-B141-DQ quick start guide

DMP Electronics 9800 Series quick start guide

DMP Electronics

DMP Electronics 9800 Series quick start guide

manuals.online logo
manuals.online logoBrands
  • About & Mission
  • Contact us
  • Privacy Policy
  • Terms and Conditions

Copyright 2025 Manuals.Online. All Rights Reserved.