9
Notes
Note 1
With the jib raised well above its lowest position, use the
control handset to lower the jib. At the same time, hold the
jib up with your other hand for about five seconds. The
motor will stop as long as the jib is held up. Release the
button on the handset. The jib must remain in its original
position. Repeat the test this time using the control panel
lower button.
Note 2
Use the control handset to lift or lower the jib. Meanwhile,
press the stop button. Powered movement must stop
immediately. Reset by pressing the green power button.
Repeat the test operating the chassis legs to open or close.
Note 3
1. Raise the red coloured emergency lever (see Fig. 7).
2. Remove locking pin.
3. Turn handle clockwise. The jib must lower freely.
4. Reinstall the locking pin. Close lever.
Note 4
In the EU (where approved), if a Class III scale has been
installed, the scale must be reinspected by an approved
organization and signed off in the log book.
Note 5
(a) Chassis to the mast link (x 1):
48-52 N•m (36-39 lbf•ft) See Fig. 8, item D x 1.
(b) Chassis leg pivot bolts (x 2):
20-25 N•m (15-18 lbf•ft). See Fig. 8, item B x 2.
(c) Castors to the chassis legs (Aluminum - x 2):
15-20 N•m (11-15 lbf•ft). See Fig. 8, item A x 2.
(d) Castors to the chassis legs (Steel - x 2):
35-40 N•m (26-30 lbf•ft) See Fig. 8, item C x 2.
(e) Castor to the chassis legs (Extra Low Height (x 2):
6-8 N•m (4.5-6 lbf•ft) See Fig. 8, item E x 2.
Note 6
To access the usage counter
screen:
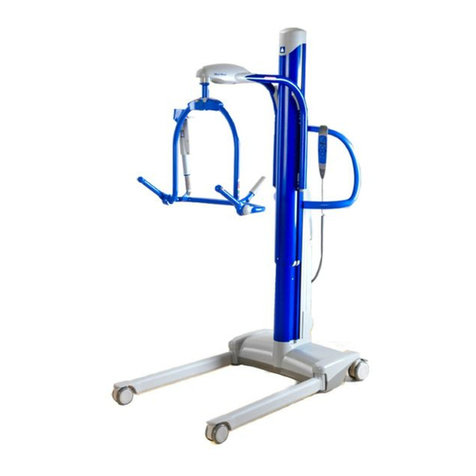
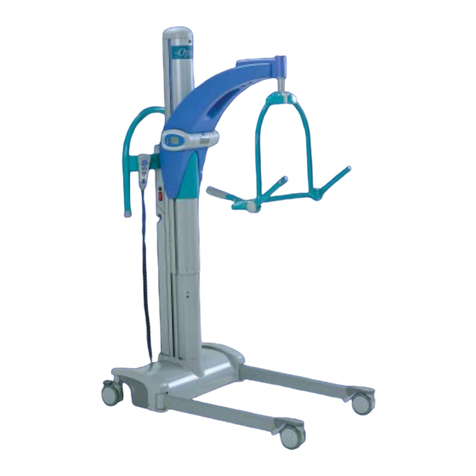
1. Turn off the Maxi
Move by pressing the
red stop button (see
Fig. 1).
Fig. 1
2. With the handset, push down simultaneously on
both buttons just below the display, as well as the
DPS “sit up” button (see Fig. 2). While keeping the
buttons pressed, turn the unit on with the power
button and hold the buttons down for three
additional seconds or until you hear a series of three
beeps.
Fig. 2
3. The usage counter screen will display two columns
of digits (see Fig. 3). The digits displayed represent
the accumulated time (in tenth of hour) of the mast
motor’s powered movement.
Fig. 3
4. Press the reset button for five seconds to set the
usage counter back to zero. A series of beeps will
confirm that the usage counter was reset.
5. Turn the unit off again using the stop button. When
the unit is next powered up, the digits for the usage
counter will show a zero value (see Fig. 4).
Fig. 4
NOTE: For a full list of spares and spares
packages, please refer to the “Maxi Move
Parts List” 001.25070.EN. That manual is
available through your local Arjo distributor.
WARNING: Never reset the usage counter
without first making sure that all the
maintenance needs of the lift have been
addressed as described in this manual.
Failure to do so may leave potential issues
undetected.
Stop
button
Power
button
Buttons to press
to access usage
counter screen
Reset button
Usage
counter once
reset
001.25065.EN rev. 9
