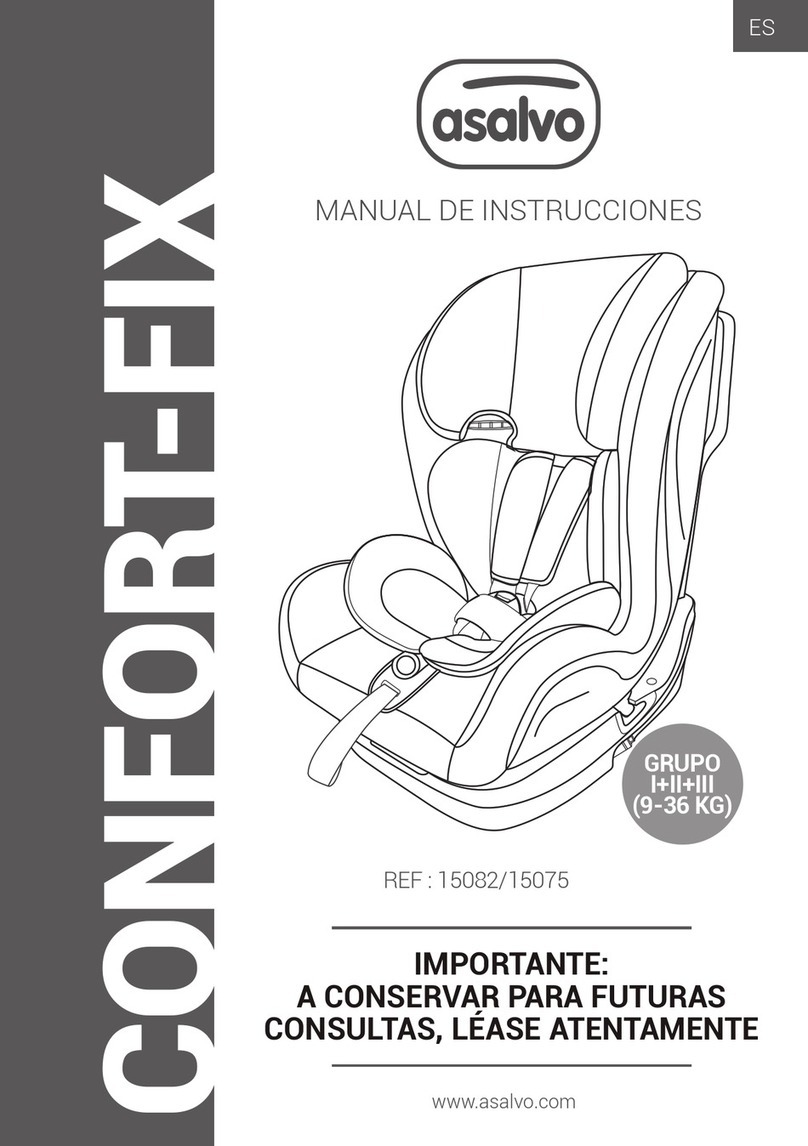
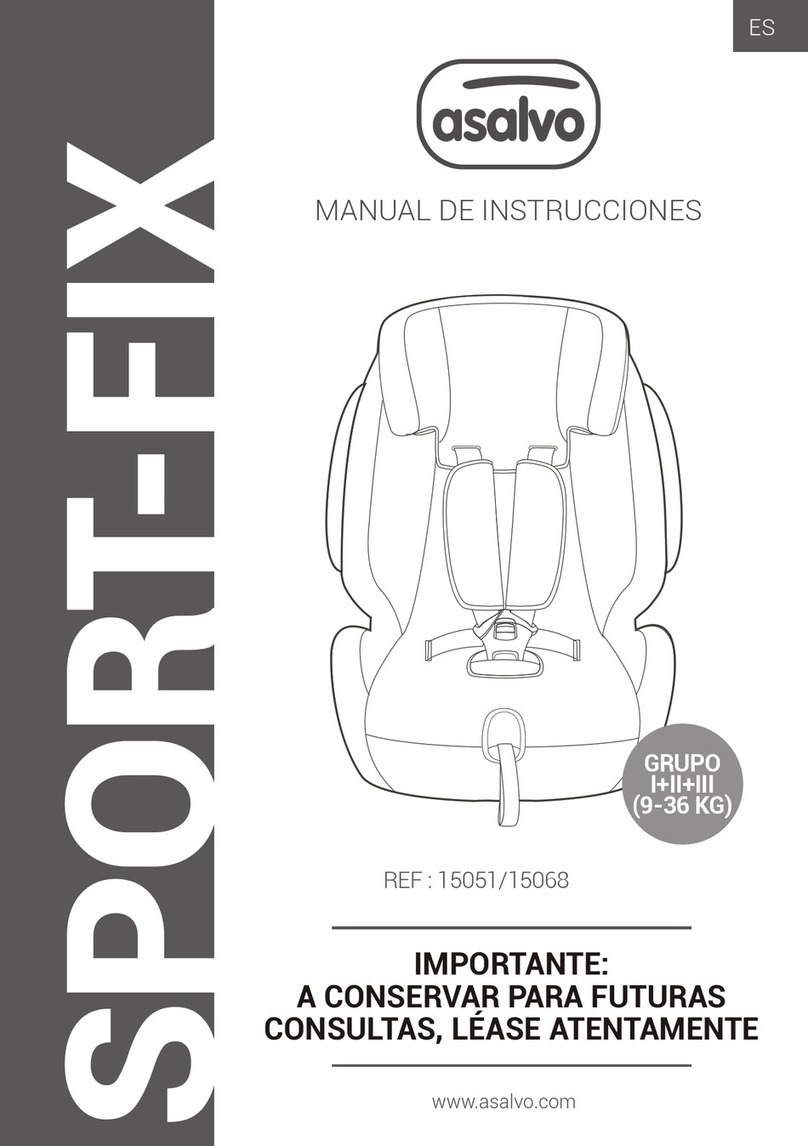
asalvo Sport-Fix User manual

www.asalvo.com
INSTRUCTION MANUAL
REF : 15051/15068
IMPORTANT:
SAVE THESE INSTRUCTIONS FOR
FUTURE REFERENCE.
GROUP
I+II+III
(9-36 KG)
EN
SPORT-FIX

INSTRUCTIONS
EN
Dear Customer:
Thank you for purchasing a product ASALVO. We’re glad you’ve chosen one of our products,
and we hope you are satised with its use. Please read the instructions carefully and keep
this manual in
a safe place.
If you do this, you can endanger the health of your baby. Pay special attention to the advice
on cleaning and care product. So you can enjoy more time.
IMPORTANT:
save these instructions for future reference. Please read this manual
carefully before using the product, do not follow theseinstructions, can
result in safety problems for baby
WARNINGS
•WARNINGS! Before using our product, please, read the instruction manual
carefully.
• WARNINGS! TheSPORTFIXcarseatisasafetydeviceanditisonlysafewhen
usedinaccordancewiththeinstructionmanual.
• WARNINGS! Theproductmustbeonlybeusedonaforwardfacingseatthatis
ttedwithanautomatic3-pointsafetybeltwhichisapprovedaccordingtoECE
R16oranequivalentstandard.
• WARNINGS! The product may be used on either the front or the back seat.
However,werecommendthatitisttedonthebackseat.
• WARNINGS! TheproducthasbeenapprovedaccordingtothestrictestEuropean
safetystandards(ECER44/04)andissuitableforGroupI(9-18kg),GroupII(15-
25kg)andGroupIII(22-36kg).
• WARNINGS! Anyalterationoradditiontothedevicewithoutdueauthorisation
from ESTAR ASALVO may seriously compromise the safety of the retention
system.
• WARNINGS! Iftheinstructionsforthecorrectuseoftheretentionsystemarenot
followedcarefully,baby’ssafetywillbeendangered.
• WARNINGS! Thissafetydevicecannotbeusedwithoutitsfabriccovering,nor
mayitbereplacedbyanyotherthatisnotidenticaltotheoriginal,sinceitforms
anintegralpartofthesystem’sfeatures.
• WARNINGS! Neverleaveyourchildunattendedinthecar.

INSTRUCTIONS EN
CERTIFICATION AS A CHILD SAFETY
SEAT INSTALLED IN A VEHICLE
WARNINGS
The child safety seat has been designed, tested and certied according to the
requirementsoftheEuropeanStandardforChildSafetyEquipment(ECER44/04).
The seal of approval E (in a circle) and the approval number are located on the
approvallabel(stickeronthechildsafetyseat).
Thisapprovalwillbeinvalidatedifyoumakeanymodicationstothechildsafetyseat.
Onlythemanufacturerispermittedtomakemodicationstothechildsafetyseat.
ASALVO/SPORTFIX Testedandcertiedaccordingto
ECE*R44/04
SPORTFIX I+II+III
Gruop
9-36kg.
BodyWeight
RECOMMENDATIONS
•Keepthisinstructionbookforfuturereference.
•Makesurethatanyluggageorotherobjectsinsidethecarthatmaycausedamage
incaseofanaccidentareproperlystoredandrestrained.
•SPORTFIXcarseatmustbeappropriatelyfastenedwithsafetybeltsevenwhennot
inusebecauseinthecaseofanaccidentthismaybesentflyingcausinginjury
toanyoftheoccupantsofthecar.
•NEVERUNDERANYCIRCUMSTANCEshouldyoucarryyourbabyinyourarmsinthe
car,oroutofthecarseat.Althoughitmayseemstrange,incaseofanaccident,
evenatonly40km/hrtheforceissuchthatitwouldbecompletelyimpossibleto
holdontoyourbaby.
•RemembernottousetheSPORTFIXcarseatincarswithfrontseatairbags,unless
theycanbedisconnected,itisrecommendedthatyoushouldconsultwiththe
manufacturersorthesalesagentofyourcar.
MAINTENANCE & CLEANING
• The car seat can be cleaned by using lukewarm water and soap. Do not use
aggressivecleanerslikeabrasivesorthinner.
•Thecovershouldbewashedbyhandatamaximumtemperatureof30ºC.Donot
putitinthedryer
ChildSafetySeat

INSTRUCTIONS
EN
Headrest
Harness
Slots
Shoulder Belt
Guide
Shoulder
Pads
Harness Strap
Buckle Pads
Harness Buckle
Adjusting Device
Reclining handle
Headrest adjusting
handle
Side protetion
Cover
Belt Guide
Snap
Button
Release Button
ISOFIX
Locking Arms
ISOFIX
Top Tether
Strap
Top Tether Hook
Top Tether
Release
button

INSTRUCTIONS EN
Against the direction of travel
In the direction of travel Yes
Yes
Yes
Yes
Yes
Yes
NO
NO
With 2-point belt
With 3-point belt
with the ISOFIX and Top Tether anchoring systems
On centre rear seat
On front passenger seat
On outer rear seat
The use of a 2-point belt substantially increases the risk of injury
to your child in the event of an accident.
The safety belt must be approved to ECE R 16 or a comparable
standard (see test label on belt with an “E” or “e” in a circle).
If there is a front airbag: Slide the passenger seat a long way back
and refer to any instructions in vehicle owner’s manual.
Can be used if the vehicle seat is equipped with a 3-point belt.
Do not use on passenger seats with a front airbag! The front
passenger seat may be used with or without ISOFIX, with the
same notes as currently given for the ISOFIX ( slide the seat back
and refer to vehicle instructions).
(Please observe the regulations applicable to your particular country).
USE IN THE VEHICLE
DO NOT use with 2-point belt. Please install with the
3-point belt.
Please observe the regulations applicable to your particular
country. The safety belt must be approved to ECE R 16 or a
comparable standard. Do not use with 2-point belt.
Can be used if the vehicle seat is equipped with a 3-point belt.
You can use your child car seat as follows:

INSTRUCTIONS
EN
SECURING YOUR BABYSEGURIDAD DEL BEBÉ
1AJUSTE DE LOS CINTURONES
Afloje el arnés de 5 puntos de la
silla lo más que pueda.
¡Aviso! No tire de las
almohadillas de los hombros.
2ALTURAS DEL REPOSACABEZAS
Pulse y tire del manillar ajustable
situado detrás del reposacabezas.
Un correcto ajuste del
reposacabezas asegura una
protección
óptima para la seguridad de su bebé.
SECURING YOUR BABY
1ADJUSTING THE BELTS
Loosen the harness straps by
pressing the release button and
pulling the harness straps as far
as you can.
Note! Do not pull the shoulder
pads.
2TEN HEIGHTS OF THE HEADREST
The headrest can be set at ve
different heights in group I mode.
There are three additional positions
in Group II & III mode once the
shoulder pads and harness straps
has been removed.
Press and pull the handle behind
headrest.
It is important to make sure the
headrest t properly to head.
IMPORTANT
The correct belt height of the shoulder belts is attained when the belt
disappears into the shell slightly above the shoulder of the child.
Make sure that the shoulder belts t properly over the shoulders of the
child.

INSTRUCTIONS EN
3
4
ALTURAS DEL REPOSACABEZAS
Pulse y tire del manillar ajustable
situado detrás del reposacabezas.
Un correcto ajuste del
reposacabezas asegura una
protección
óptima para la seguridad de su bebé.
USO DEL ARNÉS
A. Afloje el arnés de 5 puntos
de la silla lo más que pueda.
¡Aviso! No tire de las
almohadillas de los hombros.
B. Abra la hebilla del arnés,
después coloque las asas del
arnés a cada lado de la silla.
Ponga al bebé en la silla.
C. Es importante asegurar
que el reposacabezas está
debidamente ajustado de
manera que las asas del arnés
estén a la misma altura que los
hombres del bebé.
Precaución: Las asas del
arnés no deben colocarse
detrás del bebé, ni a la altura
de las orejas o por encima de
éstas.
3
4
TWO POSITIONS ADJUSTMENT
MECHANISM
This car seat can be reclined to two
different seating position by pulling
adjusting board under seat base
as shown in right pictures.(Only for
Group I)
SECURING YOUR BABY USING
THE HARNESS
A. Loosen the harness straps by
pressing the release button and
pulling the harness straps as far
as you can.
Note! Do not pull the shoulder
pads.
B. Open the harness buckle, then
place the harness straps to the
sides of the car seat. Put the
baby into the car seat.
C. The correct belt height of the
shoulder pads isattained when
the strap disappears into the
shell slightly above the shoulder
of the child.
Make sure that the harness
straps t properly over the
shoulders of the child.
INSTRUCTIONS
EN
5
6
SECURING YOUR BABY USING
THE HARNESS
D. Slide buckle tongues
together and insert them in the
buckle with an audible sound
“ click”.
E. Pull the straps tight by the
harness adjustment strap, and
make sure the tightness is
comfortable to your kid.
CAUTION Do not twist or
interchange the harness
straps.
TIGHTENING THE HARNESS
CAUTION Pull the straps end
straight towards you, not
upwards or downwards.
Please pay attention to the strap
end. Whilst traveling (especially
outside the car) it should always
be attached to the cover.
Revise que su bebé vaya
abrochado correctamente.
CHECKLIST TO ENSURE THAT
YOUR BABY IS BUCKLE UP
CORRECTLY.
For the safety of your baby ,
please check that...
- The harness straps of the car
seat are comfortable but rmly
t around your child.
- The harness straps are
adjusted correctly.
- The harness straps are not
twisted.
- The buckle tongues are
engaged in the harness buckle.
Clic k

INSTRUCTIONS EN
INSTALLATION IN THE VEHICLE
ISOFIX & TOP TETHER INSTALLATION
In the case of an emergency stop or an accident unsecured persons or objects
may cause injury to other vehicle occupants. Please always check that...
• The backrests of the vehicle seats are locked (i.e.that a foldable rear seat
bench latch is engaged).
• All heavy or sharp-edged objects in the vehicle(e.g. on the parcel shelf) are
secured.
• All persons in the vehicle have their seat belts fastened.
• The child safety seat is always secured when it is in the vehicle, even if no
child is being transported.
To protect your vehicle
Some vehicle seat covers of sensitive materials(e.g. velour, leather, etc.) may
develop wear marks when child seats are used. This can be avoided by placing
a blanket or towel under the child seat.
Please do not leave your child unattended in the child safety seat
in the vehicle.
For the protection of all vehicle occupants
IM P O R T A N T
First please check if there are 2 ISOFIX anchorages
in the perpendicular intersection of the vehicle seat back and seat
cushion, and the user-ready tether anchorage behind the vehicle seat.
Tips: The user-ready tether anchorage usually permanently installed on the
inner rear luggage shelf or on the vehicle floor. Details you could read your
vehicle guidelines or contact the vehicle manufacturer.

INSTRUCTIONS
EN
7INSTALLATION OF GROUP I
FOR THE CHILDREN WHOSE
WEIGHT BETWEEN 9-18KG
WITH ISOFIX AND TOP
TETHER.
A. Press the ISOFIX release
button and push the ISOFIX
connectors forward as far as
possible.
B. Push the ISOFIX connectors
directly into the anchorages
until heard an audible sound
“click”.
C. Grasp the seat body to
check the seat if it is fastened
tightly or shakes. If the
seat shakes and the ISOFIX
connectors are pulled out,
please repeat the above steps
and install it again.

INSTRUCTIONS EN
8
D. Pull out the top tether and
press the tether strap release
button to extend the strap
until it is long enough to hook
the user-ready tether
anchorage behind.
E. Hook the tether strap hook
onto the user-ready anchorages.
Check there maybe are 3
anchorages for the hook, please
nd one in your favor.
F. Pull the tether strap on another
end back to tighten the top tether.
CAUTION
If the top tether is tightened
favorably and correctly, a green
mark will turn up on the other
end of the strap release button,
please do check it.

INSTRUCTIONS
EN
9GROUP I CAR BELT
INSTALLATION FOR
CHILDREN’S WEIGHT
BEWTEEN 9-18KG
A. Pull the car belt and insert
belt buckle into front side
cover hole(picture 1), then
across seat back and took out
from the other side of cover
hole (picture 2) ,nally buckle
up until heard“click”sound.
(picture 3)

INSTRUCTIONS EN
9GROUP I CAR BELT
INSTALLATION FOR
CHILDREN’S WEIGHT
BEWTEEN 9-18KG
B. Please make sure car belt
should be through red guide
slot at the top of seat back and
red waist belt guide without no
twist. After installation, tighten
car belt as arrow indicator
direction (picture4)
C Pull the harness strap as far
as you can, and open safety
buckle of car seat, then put
children inside 5-point harness
system and joint buckle clips
until heard”click”sound.(picture
5)
D. Watch your children‘s
feeling, adjust suitable harness
tightness by pulling adjusting
strap and adjust headrest to
right height(picture6)

INSTRUCTIONS
EN
10 GROUP II/III VEHICLE BELT
INSTALLATION AND IT IS FOR
THE CHILDREN WHOSE WEIGHT
BETWEEN 15-36KG.
Before the installation, please
take away the
Harness system of baby car seat.
Note: The Baby insert, Harness
strap, Harness
buckle, Buckle pads& Shoulder
pads should be
stored away safely for future use
( see 5.1
Removing the 5-point harness
system and cover ).
W A R N I N G Do not to use any
load bearing contact points
other than those described in
the instructions and marked
in the child restraint. The belt
must be routed as shown in the
instructions.
A. Adjust the height of the
headrest to suit your child.
B. Put the shoulder belt through
the shoulder belt guide under the
headrest.
C. Place your child on the car
seat and pass the belts through
the red waist belt guide. Fasten
the car belt with an audible sound
“click”.
Click

INSTRUCTIONS EN
10 GROUP II/III VEHICLE BELT
INSTALLATION AND IT IS
FOR THE CHILDREN WHOSE
WEIGHT BETWEEN 15-36KG.
D. Make sure the Lap belt is
stretched as low as possible
over the child’s hips , within
the belt guides, and fastened
into the buckle . The shoulder
belt must cross midway
between child’s shoulder and
neck.

INSTRUCTIONS
EN
12 REMOVING THE 5-POINT
HARNESS SYSTEM AND COVER
A. Press adjusting advice and
pull harness strap towards as
far as you can, details see page
12. Open the cover snap button
at the bottom of seat back as
shown right picture.
B. Loose the harness strap and
pull strap out off the strap yoke
as shown in right picture.
C. Pull two harness straps out
off cover slot, then separate
strap with buckle metal
connector.
D. After above steps, draw whole
strap out from the bottom of
seat. Rotate buckle clip to the
shown position, then take it out
from seat base.
E. Remove the 5-point harness
system then remove the
headrest cover and the shell
cover.
CARE INSTRUCTIONS

INSTRUCTIONS EN
13 REFITTING THE 5-POINT
HARNESS SYSTEM AND COVER
A. After washing, place the cover
on the shell.
B Pass both sides of harness
strap through strap slots at
the bottom of seat. Then, lead
straps through buckle metal
connector
C. Pass buckle clip through
buckle pads and put clip into
bottom slot, then rotate it to
shown position in right picture.
D. Pass harness straps through
shoulder pads and insert them
into harness slots, then connect
the end of strap with metal
connectors.
E. Also pass the end of the
shoulder pads strap through
the harness strap slot and shell,
then x into the strap yoke.
Make sure the seat straps can
not be rotated.
F. Close the buckle, then fasten
the cover all around. Close the
snap buttons on the back. Check
that it works!

INSTRUCTIONS
EN
Follow us
www.asalvo.com
Thak you
FOR PURCHASING
ASALVO PRODUCT.
Imported by Estar Asalvo S.L.
CIF B91234286
C/1, PI Fridex · 41500 · Alcalá de Guadaíra · Sevilla · Tfno. 902 360 516
www.asalvo.com
SPORT-FIX
This manual suits for next models
2
Table of contents
Other asalvo Car Seat manuals

asalvo
asalvo CONFORT-FIX 15082 User manual

asalvo
asalvo L-FIX User manual

asalvo
asalvo WONDER-FIX 15143 User manual

asalvo
asalvo WAVE User manual

asalvo
asalvo Sport-FIX 15051 User manual

asalvo
asalvo DICKENS User manual

asalvo
asalvo Bebeactual GLOBAL FIX User manual

asalvo
asalvo MASTER-FIX 15181 User manual

asalvo
asalvo 360-FIX User manual

asalvo
asalvo GIRA-FIX User manual