manuals.online logo
Brands
  1. Home
  2. •
  3. Brands
  4. •
  5. ASI
  6. •
  7. Dispenser
  8. •
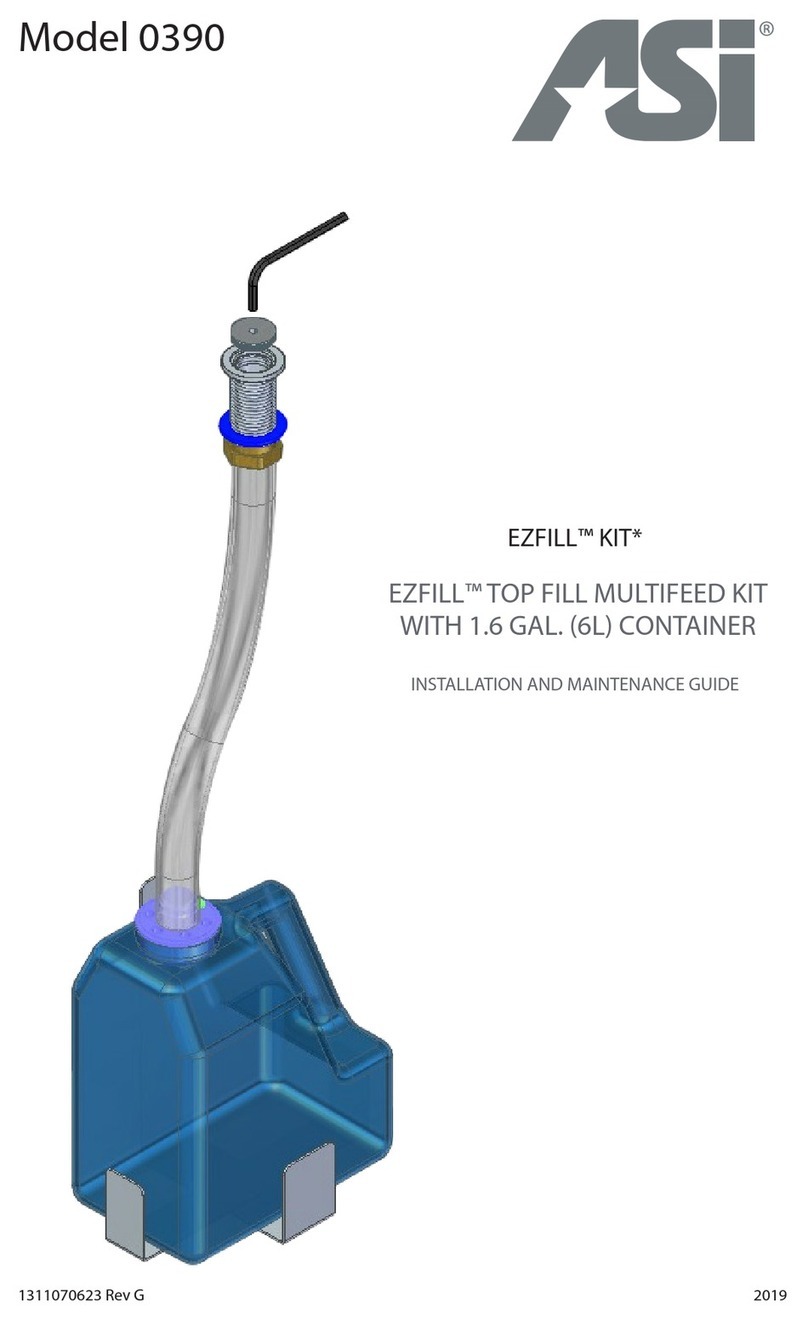
  9. ASI EZ FILL Operating manual

ASI EZ FILL Operating manual

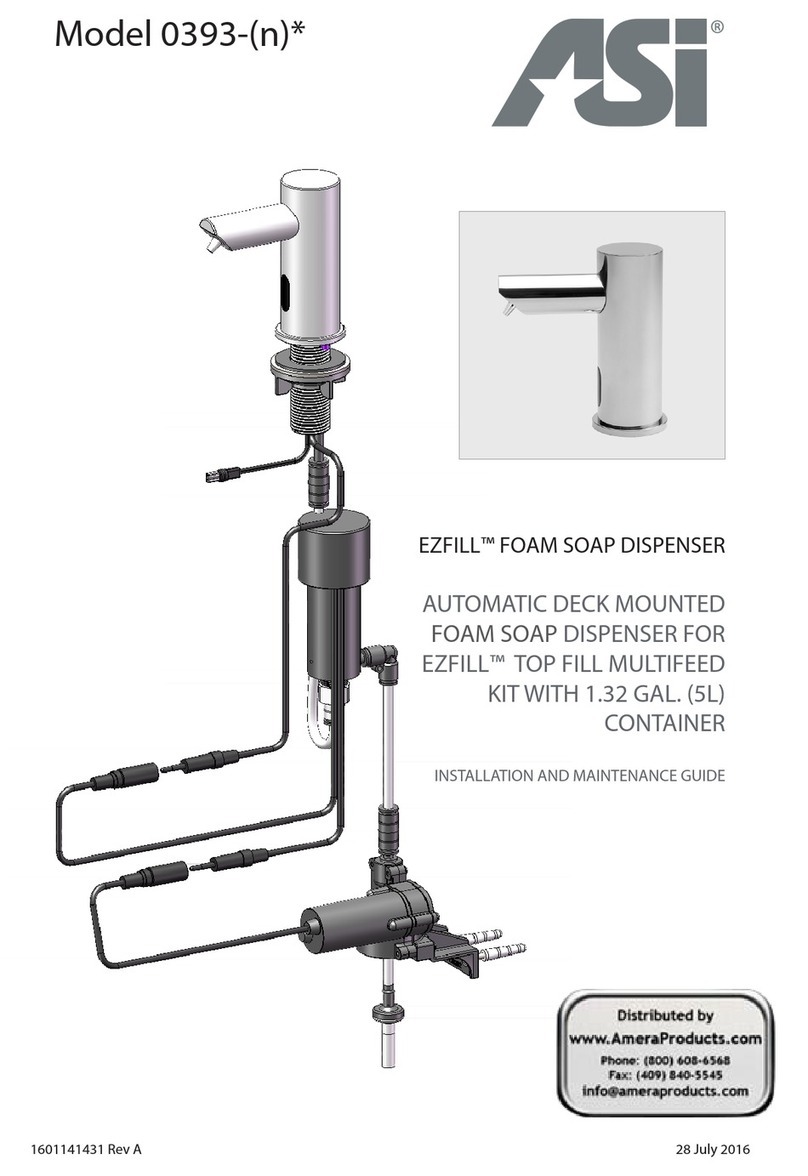
Foam Soap Dispenser Troubleshooting and Maintenance
Nozzle
Sensor
Part number: 
Compressor
Part number: 
Pump
Part number: 
AUX connectors
Outlet pipe
Inlet pipe

IllustrationSolutionCauseInvestigationIndication
O-RING VISIBLE –
NOT CONNECTED PROPERLY
ONLY THE GROOVES ARE VISIBLE –
CONNECTED PROPERLY
The connector should be inserted
fully until white o-ring is not visible.
Remove the o-ring if necessary
AUX connector not
fully inserted
Continuous discharge from
the nozzle
False activation:
Foam dispensing
Min  mm.
Bottom of the washbasin
Eliminate any cause of reflection and
if necessary use appropriate remote
control PN  to shorten
detection range.
Reflection issue from
basin or other object
Random discharge from the
nozzle
Replace the Pump: Pump
assembly for wall and deck-mounted
dispenser PN ;
Multifeed Pump assembly for wall and
deck-mounted dispenser
PN .
Rinse warm water through the pipe
and the body of the soap dispenser all
the way to the nozzle.
Soap discharging from
pump housing.
Fill with soap with correct viscosity
(up to  cPs) and prime pipes using
the ll button on remote control.
Soap tank is empty.Pump and compressor are
making a sound when sensor
is activated
Foam not
dispensing
Press
FILL
Button
Prime the soap dispenser by pressing
the ll button on the remote or by
pressing the rell button located at
the bottom of the pump, until foam
exits the nozzle.
Soap dispenser has
not been primed
Replace the Pump: Pump
assembly for wall and deck-mounted
dispenser PN ;
Multifeed Pump assembly for wall and
deck-mounted dispenser
PN .
Damaged pump
(discharge from
housing)
Run warm water through pipe, pump,
and body all the way to the nozzle.
Replace with soap of correct viscosity.
NOTE: Using the soap dispenser
with high viscosity soap may cause
permanent damage to the pump and
shorten the lifecycle.
Debris or dried soap
in the pipe or tank
Soap Viscosity
up to  cPs)
High viscosity soap
(> cPs)
Unbend or straighten pipes.Bent pipes

IllustrationSolutionCauseInvestigationIndication
Ensure that the tip of the inlet
pipe is fully immersed in the soap.
For earlier models check that the
pipe has not been pushed so far
that the tip has risen above soap
level. The new models have an
additional sleeve for the pipes
preventing this from occuring.
Tip of inlet pipe is not
immersed in soap
Pump and compressor are making
a sound when sensor is activated
Multifeed units only
Foam not
dispensing
Check that all pipes are connected
rmly to the pump. If necessary
remove pipe, cut  mm and
replace rmly.
6mm pipe connecting
pump to dispenser outlet
has come loose
8 mm pipe connecting
pump to tank has come
loose
Replace the Pump: Pump
assembly for wall and deck-
mounted dispenser PN ;
Multifeed Pump assembly for wall
and deck-mounted dispenser PN

Damaged pumpPump is making a sound when
sensor is activated, but the
compressor is not.
O-RING VISIBLE –
NOT CONNECTED PROPERLY
ONLY THE GROOVES ARE VISIBLE –
CONNECTED PROPERLY
Insert fully, remove the O ring if
necessary
AUX connector not fully
inserted
Compressor is making a sound
when sensor is activated, but the
pump is not.
Replace the Pump: Pump
assembly for wall and deck-
mounted dispenser PN ;
Multifeed Pump assembly for wall
and deck-mounted dispenser PN

Damaged Pump
O-RING VISIBLE –
NOT CONNECTED PROPERLY
ONLY THE GROOVES ARE VISIBLE –
CONNECTED PROPERLY
The connector should be inserted
fully until the white o-ring is
not visible. Remove the o-ring if
necessary
AUX connector not fully
inserted
Sensor is
blinking when
hand is placed
in front
Pump is not
making sound
when the sensor
is activated
Foam not
dispensing
Press
Replace the Pump: Pump
assembly for wall and deck-
mounted dispenser PN ;
Multifeed Pump assembly for wall
and deck-mounted dispenser PN
.
Rinse warm water through the
pipe and the body of the soap
dispenserall the way to the
nozzle.
Rell button on pump
does not activate the
pump.
Damaged pump
(discharge from
housing).
Run warm water through pipe,
pump, and body all the way to
the nozzle. Replace with soap of
correct viscosity. NOTE: Using the
soap dispenser with high viscosity
soap may cause permanent
damage to the pump and shorten
the lifecycle.
Debris or dried soap in
the tank or tubing

IllustrationSolutionCauseInvestigationIndication
Rell
button
Transformer: Check operation
with functioning transformer.
Where necessary replace with
appropriate transformer. For part
numbers see spare parts list.
Rell button on pump
does not activate the
pump.
Sensor is not
blinking when
hand is placed
in front
Pump is not
making sound
when the sensor
is activated
Foam not
dispensing
Min  mm.
Bottom of the washbasin
Eliminate any cause of reflection
and use appropriate remote
control to shorten detection
range.
Remote Control ref. number:

Reflection issue from
basin or other object
Replace
sensor
If the above two solutions have
not resolved this issue replace
with appropriate sensor. For part
numbers see spare parts list.
Sensor part number: 
Damaged sensor
. Increase the air to soap ratio.Liquid rather than foam
is being dispensed out
of the nozzle
Foam not dispensing
. Verify that the lter is clean.
. Replace compressor (supplied
with pump). For part numbers see
spare parts list.
Use remote to decrease soap
volume by pressing the "- Soap"
key.
Foam dosage is too largeFoam is dispensing
Use remote to increase soap
volume by pressing the "+ Soap"
key.
Foam dosage is too small
Use remote to decrease the
amount of air in the foam by
pressing the "- Air" Key.
Foam is too dense
Use remote to increase the
amount of air in the foam by
pressing the " + Air" key.
Foam is too liqueed

Other manuals for EZ FILL

2

Other ASI Dispenser manuals

ASI EZFILL 0390-1A Product manual

ASI

ASI EZFILL 0390-1A Product manual

ASI EZFILL 0391 Series Product manual

ASI

ASI EZFILL 0391 Series Product manual

ASI EZ FILL Product manual

ASI

ASI EZ FILL Product manual

ASI 8374 User manual

ASI

ASI 8374 User manual

ASI EZFILL 0394 Series Product manual

ASI

ASI EZFILL 0394 Series Product manual

ASI 0388 User manual

ASI

ASI 0388 User manual

ASI 0363 User manual

ASI

ASI 0363 User manual

ASI 0338 Installation instructions

ASI

ASI 0338 Installation instructions

ASI EZ-Fill 10-0390 Configuration guide

ASI

ASI EZ-Fill 10-0390 Configuration guide

ASI EZ FIL 0390-(n) User manual

ASI

ASI EZ FIL 0390-(n) User manual

ASI 0390 Product manual

ASI

ASI 0390 Product manual

ASI FS-0700 User manual

ASI

ASI FS-0700 User manual

ASI EZFILL 0393 Series User manual

ASI

ASI EZFILL 0393 Series User manual

ASI FS-0500 User manual

ASI

ASI FS-0500 User manual

Popular Dispenser manuals by other brands

TECHCON SYSTEMS TS1251 user manual

TECHCON SYSTEMS

TECHCON SYSTEMS TS1251 user manual

U-Line H-2243 Setup Instruction

U-Line

U-Line H-2243 Setup Instruction

Caso HD1000 Original operating manual

Caso

Caso HD1000 Original operating manual

Textron Greenlee 910 instruction manual

Textron

Textron Greenlee 910 instruction manual

Fisher & Paykel RF610ADX5 manual

Fisher & Paykel

Fisher & Paykel RF610ADX5 manual

Bobrick 8221 Instruction for installation and maintenance

Bobrick

Bobrick 8221 Instruction for installation and maintenance

Vola RS10 FITTING INSTRUCTION

Vola

Vola RS10 FITTING INSTRUCTION

eco3energy PAW-TD20C1E5-UK installation manual

eco3energy

eco3energy PAW-TD20C1E5-UK installation manual

Sealey MK64 instructions

Sealey

Sealey MK64 instructions

Heinz Keystone AF08 user manual

Heinz

Heinz Keystone AF08 user manual

GPI GBT 110 Installation and operating manual

GPI

GPI GBT 110 Installation and operating manual

Vitlab piccolo 1 operating manual

Vitlab

Vitlab piccolo 1 operating manual

Bolide KW268 user manual

Bolide

Bolide KW268 user manual

Sanela SLZN 59EB Instructions for use

Sanela

Sanela SLZN 59EB Instructions for use

Tork Elevation H2 Xpress Service and parts manual

Tork Elevation

Tork Elevation H2 Xpress Service and parts manual

baridi DH115 quick start guide

baridi

baridi DH115 quick start guide

Nordson Ultimus V operating manual

Nordson

Nordson Ultimus V operating manual

Georgia Pacific SofPull mini instruction manual

Georgia Pacific

Georgia Pacific SofPull mini instruction manual

manuals.online logo
manuals.online logoBrands
  • About & Mission
  • Contact us
  • Privacy Policy
  • Terms and Conditions

Copyright 2025 Manuals.Online. All Rights Reserved.