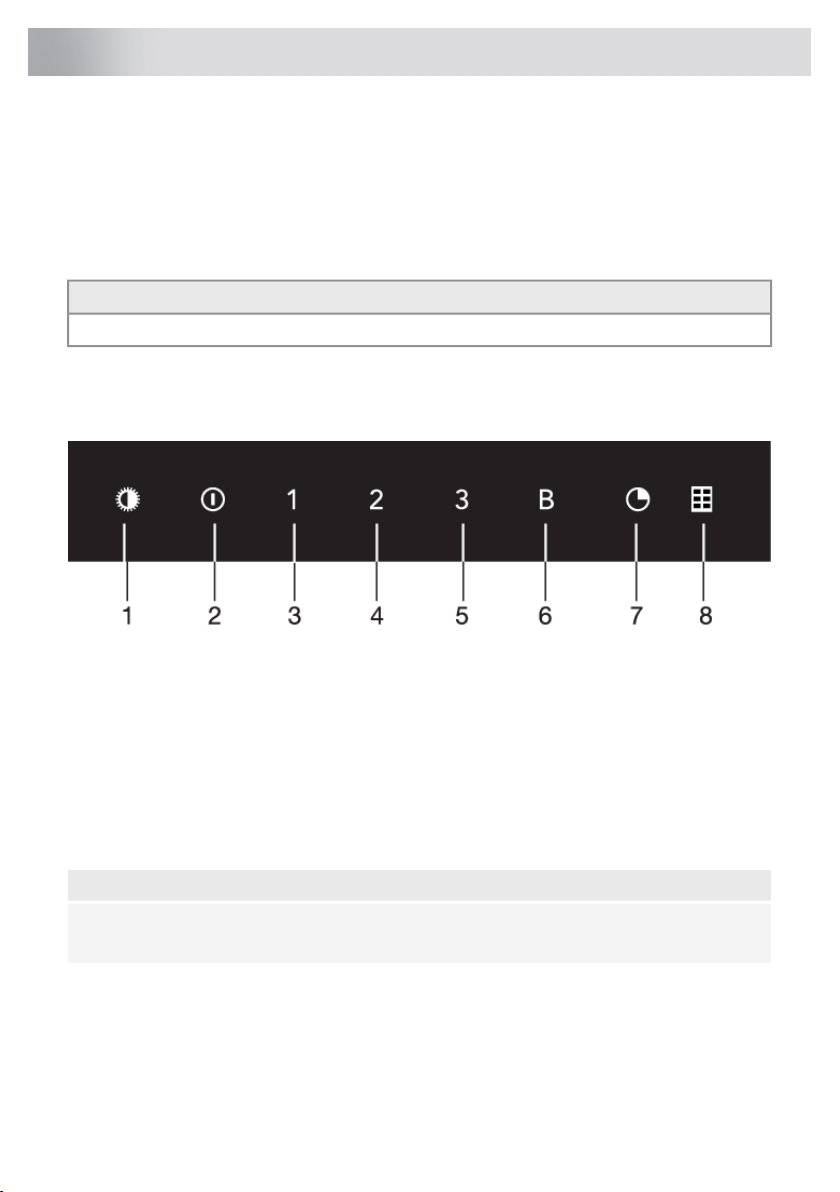
Switching the light on and off
1. Short touch the lighting key.
The light switches on at maximum strength.
2. Press and hold the lighting button for approximately 3 seconds to
dim the lighting strength.
3. To set the lighting back to maximum strength, quickly press and
release the lighting button.
4. To turn off the lighting when the light is dimmed, press and hold
the lighting button for approximately 3 seconds.
5. To turn off the lighting when the light is at maximum strength, quickly
press and release the lighting button.
Switching extraction on and off
1. Quickly press and release the on/off button.
The cooker hood will switch on at the lowest setting.
2. Select the desired extraction setting by pressing the corresponding
speed setting buttons.
3. Press the intensive mode button to select the highest setting (boost)
(see switching on intensive setting).
Switching on intensive setting
1. Quickly press and release the intensive mode button.
The intensive setting (boost setting ‘B’) is switched on for 6 minutes.
The intensive mode button will flash during this period. The original
extraction setting will be reactivated after this period.
2. Press the on/off button or the intensive mode button to switch off
the intensive setting.
Switching on the timer
1. Quickly press and release the timer button.
•The timer button will light up.
•The cooker hood will switch off automatically after 15 minutes.
•If the lighting is lit, it switches off automatically once the timer
is finished.
2. Switch off the timer function in the meantime by pressing the timer
button again.
8
Operation