manuals.online logo
Brands
  1. Home
  2. •
  3. Brands
  4. •
  5. Asus
  6. •
  7. Computer Accessories
  8. •
  9. Asus TA-55 User manual

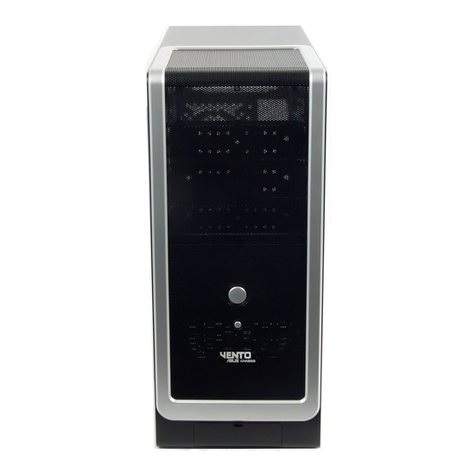
Asus TA-55 User manual

TA/TM 5 SeriesTA/TM 5 Series
TA/TM 5 Series
TA-TM 5 Series
E2070E2070
E2070E2070
E2070
15G067224000
Copyright © 2005 ASUSTeK COMPUTER INC.
All Rights Reserved.
Removing the side cover and front bezelRemoving the side cover and front bezel
Removing the side cover and front bezel
11
11
122
22
233
33
3
Remove the screws on
the rear panel.
Push the side cover towards
the rear panel.
Release the side
tabs that secure
the front bezel to
the chassis.
Swing the front bezel in the
direction of the arrow.
Unhook the hinge-like tabs. Set the
front bezel aside.
44
44
4
Installing the power supply unit (PSU)Installing the power supply unit (PSU)
Installing the power supply unit (PSU)
22
22
2
Locate the PSU slot.
11
11
1
33
33
3
Slide the PSU into the slot
until it snugly fits the
metal rail.
Secure with screws.
Installing an optical disk drive (ODD)Installing an optical disk drive (ODD)
Installing an optical disk drive (ODD)
22
22
2
11
11
1
33
33
3
Insert the ODD into the bay.
Push the bay lock upward.
Align the ODD holes with
the bay holes, then push
down the bay lock to
secure the ODD.
Release the lock tabs on
the front bezel to
disengage the drive cover.
44
44
4
Installing a hard disk drive (HDD)Installing a hard disk drive (HDD)
Installing a hard disk drive (HDD)
22
22
2
1. Push the bay lock
upward.
2. Insert the HDD into the
bay.
3. Align the HDD holes
with the bay holes,
then push down the
bay lock to secure the
HDD.
11
11
1
33
33
3
Installing a floppy disk drive (FDD)Installing a floppy disk drive (FDD)
Installing a floppy disk drive (FDD)
22
22
2
11
11
1
33
33
3
Insert the FDD into the bay.
Make sure the FDD holes
align with the chassis holes.
Using a screwdriver, push
the knock-down metal
cover in and out of the
chassis until it is removed.
Secure the FDD with
screws.
Release the lock tabs on the
front bezel to disengage the
drive cover.
44
44
4
Installing an expansion cardInstalling an expansion card
Installing an expansion card
22
22
2
11
11
1
33
33
3
Align the card connector
with the slot, then press
firmly until the card is
completely seated on the
slot.
Choose the slot that you
want to use. Push to
unlock the lock tab.
Remove the metal cover
opposite the slot that you
want to use.
Photo shows the card
seated on the slot.
Push the expansion card
lock on the rear panel to
secure the slot.
44
44
4
Reinstalling the side cover and front bezelReinstalling the side cover and front bezel
Reinstalling the side cover and front bezel
11
11
1
Hook the hinge-like
tabs to the holes on
the chassis. Swing
the front bezel in the
direction of the
arrow and push to
secure the front
bezel to the chassis.
Push the side cover towards
the front bezel.
33
33
3
Drive screws on the rear
panel.
22
22
2
Screwless ModelScrewless Model
Screwless Model
TA/TM 5 SeriesTA/TM 5 Series
TA/TM 5 Series
TA-TM 5 Series
Removing the side covers and front bezelRemoving the side covers and front bezel
Removing the side covers and front bezel
11
11
122
22
233
33
3
Remove the screws on
the rear panel.
Push the side cover towards
the rear panel.
Repeat steps 1 and 2 to
remove the other side cover
Release the side
tabs that secure
the front bezel to
the chassis.
Swing the front bezel in the
direction of the arrow.
Unhook the hinge-like tabs. Set the
front bezel aside.
44
44
4
Installing the power supply unit (PSU)Installing the power supply unit (PSU)
Installing the power supply unit (PSU)
22
22
2
Locate the PSU slot.
11
11
1
33
33
3
Slide the PSU into the slot
until it snugly fits the
metal rail.
Secure with screws.
Installing an optical disk drive (ODD)Installing an optical disk drive (ODD)
Installing an optical disk drive (ODD)
22
22
2
11
11
1
Insert the ODD into the
bay.
Align the ODD holes with
the bay holes, then secure
the ODD with screws on
both sides of the bay.
Release the lock tabs on
the front bezel to
disengage the drive cover.
33
33
3
Installing a hard disk drive (HDD)Installing a hard disk drive (HDD)
Installing a hard disk drive (HDD)
22
22
2
1. Insert the HDD into
the bay.
2. Align the HDD hole
with the bay hole.
3. Secure the HDD with
a screw on both
sides of the bay.
11
11
1
33
33
3
Installing a floppy disk drive (FDD)Installing a floppy disk drive (FDD)
Installing a floppy disk drive (FDD)
22
22
2
11
11
1
33
33
3
Insert the FDD into the
bay. Make sure the FDD
holes align with the
chassis holes.
Using a screwdriver, push
the knock-down metal
cover in and out of the
chassis until it is removed.
Secure the FDD with
screws.
Release the lock tabs on the
front bezel to disengage the
drive cover.
44
44
4
Installing an expansion cardInstalling an expansion card
Installing an expansion card
22
22
2
11
11
1
33
33
3
Choose the slot you want to
use. Remove the metal cover
on the rear panel.
Remove the screws
securing the
bracket to the
chassis. Remove
the expansion slot
bracket.
Lay the chassis on a flat,
stable surface. Align the
card connector with the
slot, then press firmly
until the card is
completely seated on the
slot.
Replace the expansion slot
bracket and secure it with
the screws you removed
earlier.
44
44
4
Reinstalling the side cover and front bezelReinstalling the side cover and front bezel
Reinstalling the side cover and front bezel
Hook the
hinge-like tabs to
the holes on the
chassis. Swing the
front bezel in the
direction of the
arrow and push to
secure the front
bezel to the
chassis.
Standard ModelStandard Model
Standard Model
11
11
1
22
22
2
Push the side cover towards
the front bezel.
Drive screws on the
rear panel.
33
33
3

This manual suits for next models

4

Other Asus Computer Accessories manuals

Asus W3000 User manual

Asus

Asus W3000 User manual

Asus KM-81 User manual

Asus

Asus KM-81 User manual

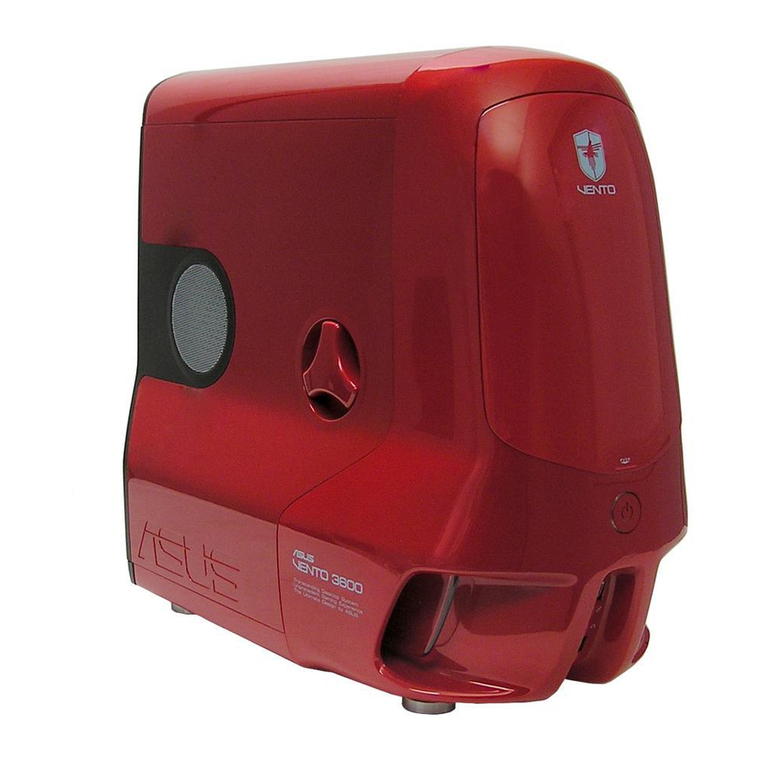
Asus 3600 - VENTO Mid Tower User manual

Asus

Asus 3600 - VENTO Mid Tower User manual

Asus W3000 User manual

Asus

Asus W3000 User manual

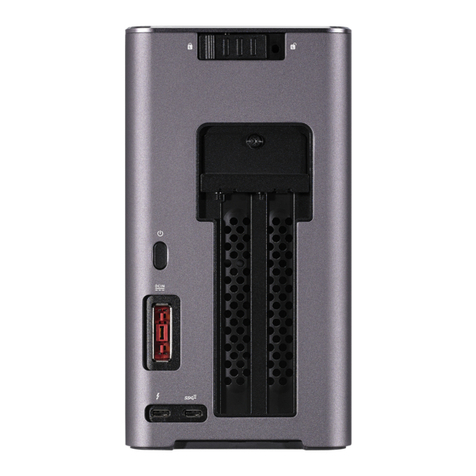
Asus XG Station PRO User manual

Asus

Asus XG Station PRO User manual

Asus KM-63 User manual

Asus

Asus KM-63 User manual

Asus TRANSFER EXPRESS User manual

Asus

Asus TRANSFER EXPRESS User manual

Asus Audio Cover CA71 User manual

Asus

Asus Audio Cover CA71 User manual

Asus TUF Gaming GT 501 User manual

Asus

Asus TUF Gaming GT 501 User manual

Asus Varidrive User manual

Asus

Asus Varidrive User manual

Asus Xonar HDAV 1.3 Slim User manual

Asus

Asus Xonar HDAV 1.3 Slim User manual

Asus Prime AP201 User manual

Asus

Asus Prime AP201 User manual

Asus P2000 User manual

Asus

Asus P2000 User manual

Asus ROG STRIX LC II Series User manual

Asus

Asus ROG STRIX LC II Series User manual

Asus CA81 User manual

Asus

Asus CA81 User manual

Asus Chromebit CS10 User manual

Asus

Asus Chromebit CS10 User manual

Asus Eee Box User manual

Asus

Asus Eee Box User manual

Asus CW100 User manual

Asus

Asus CW100 User manual

Asus TA-F1 User manual

Asus

Asus TA-F1 User manual

Asus TA-U1 Series User manual

Asus

Asus TA-U1 Series User manual

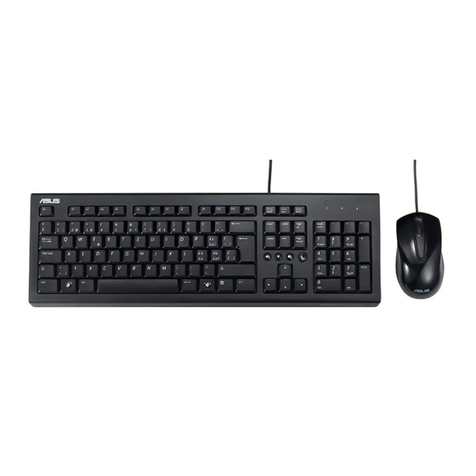
Asus Eee Keyboard + Mouse Set User manual

Asus

Asus Eee Keyboard + Mouse Set User manual

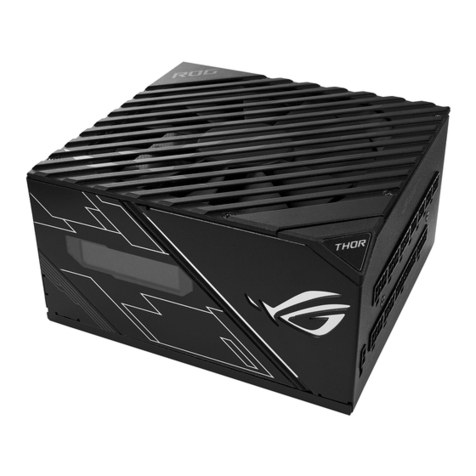
Asus ROG-THOR Series User manual

Asus

Asus ROG-THOR Series User manual

Asus TA-M1 User manual

Asus

Asus TA-M1 User manual

Asus CW101 User manual

Asus

Asus CW101 User manual

Popular Computer Accessories manuals by other brands

Dynex DX-KBOM2 user guide

Dynex

Dynex DX-KBOM2 user guide

BASTRON MM20 user manual

BASTRON

BASTRON MM20 user manual

shark zone GK15 manual

shark zone

shark zone GK15 manual

Fractal design FOCUS user guide

Fractal design

Fractal design FOCUS user guide

Nuvoton Nu-Link user manual

Nuvoton

Nuvoton Nu-Link user manual

LaZee Tek eeZee Mouse CURSOR operating instructions

LaZee Tek

LaZee Tek eeZee Mouse CURSOR operating instructions

AZZA Elise user manual

AZZA

AZZA Elise user manual

Logitech Combo MK270 Getting started guide

Logitech

Logitech Combo MK270 Getting started guide

WiebeTechbeTech Drive eRazer user manual

WiebeTechbeTech

WiebeTechbeTech Drive eRazer user manual

Sysgration HQXAKM-7500 user guide

Sysgration

Sysgration HQXAKM-7500 user guide

ekwb EK-FB ASUS M9A Monoblock Series installation manual

ekwb

ekwb EK-FB ASUS M9A Monoblock Series installation manual

viveroo free flex User manual & installation guide

viveroo

viveroo free flex User manual & installation guide

Flexispot KT2B installation guide

Flexispot

Flexispot KT2B installation guide

Targus Click N Type user guide

Targus

Targus Click N Type user guide

LOUQE GHOST S1 Mk III user manual

LOUQE

LOUQE GHOST S1 Mk III user manual

Belkin F8E858-BNDL user manual

Belkin

Belkin F8E858-BNDL user manual

Socket Low Power Wireless LAN Card user guide

Socket

Socket Low Power Wireless LAN Card user guide

ekwb EK-FC570 GTX SE Series INSTALLATION AND MOUNTING MANUAL

ekwb

ekwb EK-FC570 GTX SE Series INSTALLATION AND MOUNTING MANUAL

manuals.online logo
manuals.online logoBrands
  • About & Mission
  • Contact us
  • Privacy Policy
  • Terms and Conditions

Copyright 2025 Manuals.Online. All Rights Reserved.