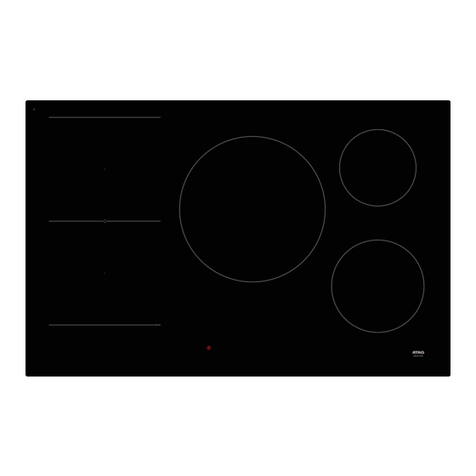
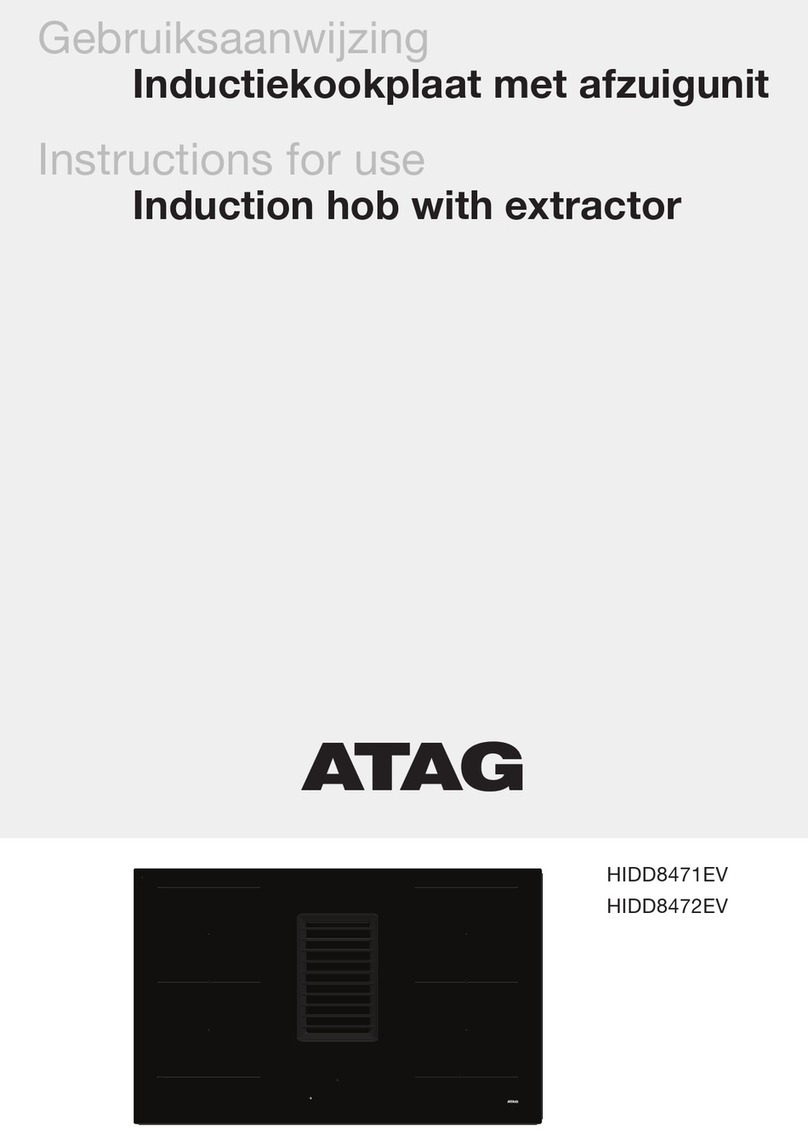
Atag HI39673TF User manual

Instructions for use
Induction hob
HI39673TF
HI39671TF

EN 2
CONTENTS
Your induction hob
Introduction 4
Description of the appliance 5
Pan selection mode 6
‘Free-Area’ cooking zone 6
‘Pot move’ function 7
Before first use
Standby mode 8
Appropriate pans 8
Pan detection 9
Pan positioning 9
Do and don’ts 10
Safety
Power management 11
Cooling 11
Cooking time limiter 11
Empty Cooking Protection 12
Induction noices 12
Operation
Switch the appliance on / Switch the appliance to standby mode 13
Set the power level 13
Power level boost (B) 14
Stop cooking 14
A ‘quick stop’ 14
Residual heat indication 14
Start a program 15
Stop a program 15
Close the program menu 15
Start a cooking timer 16
Change the setting of a cooking timer / Stop a cooking timer 16
Start the minute minder 17
Change the setting of the minute minder / Stop the minute minder 17
Pause function 18
Child safety lock 18

EN 3
Settings
Settings menu 19
Personalise 19
Child safety lock 20
Sound 20
Brightness 21
Clock 21
Language 21
Factory reset 21
Maintenance
Cleaning 22
Conflict management
Power level conflict 23
Scenario conflict 26
User Interface conflict 26
Pan conflict 26
Trouble shooting
General 27
Warning messages 28
Error codes 28
Technical specifications
Information according regulation (EU) 66/2014 29
Installation instructions
Installation instructions 30
Environmental aspects
Disposal of packaging and appliance 35
Important information
Nice to know
Electrical connection
CONTENTS

EN 4
Introduction
Congratulations on your choice of this Atag appliance. This product was designed with simple
operation and optimum comfort in mind.
This manual describes the best way to use this appliance. In addition to information on operation,
you will also find background information that may come in handy when using the appliance.
Please read the separate safety instructions carefully before
using the appliance.
Read this manual before using the appliance and keep it in a safe place for future use.
This manual serves as reference material for the service department. Please, stick the appliance
rating label in the rectangle on the back of the manual. The appliance rating label contains all
the information that the service department will need in order to respond appropriately to your
needs and questions.
YOUR INDUCTION HOB

EN 5
YOUR INDUCTION HOB
Description of the appliance
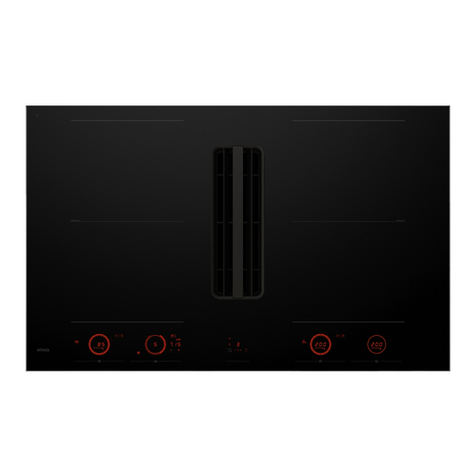
Induction hob
1. ‘Free-Area’ cooking zone.
2. On/Off key.
3. Display.
Main screen
The main screen shows on the display when you switch on the appliance with the On/Off key.
4. Pan position and size
(if a pan is put on the hob).
5. Clock (current time).
6. Child safety lock.
7. Minute minder.
8. Pause.
9. Settings menu.
Intuitive operation
The graphical user interface allows an easy and intuitive operation by the user. The display shows
all the information the user needs during operation in a nice and simple way. Actions of the user
lead to adapted displays with other functions. The software works with different visual effects like
animations and colors to increase the usability.
Touch a pan shape or a symbol on the display; the corresponding options show on the
display.
5 98764 4
1 2 3

EN 6
YOUR INDUCTION HOB
Pan selection mode
The pan selection mode shows when you touch a pan shape on the main screen.
10. Programs.
11. Timer.
12. Power levels.
Touch Pan selection mode
Touch the number of a power level or select half a power level between the numbers. You
can also move your fingertip from the left side to the right side or vice versa. A little dot
indicates a half power level.
‘Free-Area’ cooking zone
There are no fixed cooking zones; a pan can be put anywhere on the ‘Free-Area’ cooking zone.
The display shows the pan position and pan size. There are 3 pan sizes implemented in the user
interface: small, medium and big. These sizes are always shown with a round shape and they
can have different colors.
Power level 0 Blue
Power level 1 to 3.5 Purple
Power level 4 to 6.5 Red
Power level 7 to B Orange
When you lift a pan Grey
12
11
10

EN 7
The round shape that most closely matches the size of the pan shows on the display. If
you put differently shaped pans on the hob (such as a grill plate or Teppan Yaki), the
display also shows a round shape.
Attention
Hot pans can cause damage to the display and the On/Off key. Only put pans on the
‘Free-Area’ cooking zone.
‘Pot move’ function
As pans are not related to fixed cooking zones, they can be moved to several positions on the
hob. Pan settings (power level / program / timer) move to the new pan position automatically.
The display shows the new pan position, including the settings for that pan.
When you lift a pan, the pan information shows on the display for 10 seconds. During
that time you can put the pan on a new position and all pan settings move to the new
pan position automatically.
1+2
Attention
Grains of sand may cause scratches which cannot be removed. Only put pans with
a clean bottom on the hob. We recommend that you lift pans and not slide them
over the hob.
YOUR INDUCTION HOB

EN 8
Standby mode
When the hob is connected to the power supply for the first time, the
system does a self-test and a reset. This also happens if there has been
a temporary power failure. The real time clock shows on the display
during the self-test. The total time the clock shows on the display after
a first start-up is 15 to 25 seconds. After the self-test, the hob switches
to standby mode and is ready for use.
It is not possible to switch on the hob within the first 20 seconds after connection to the
power supply.
Appropriate pans
Induction cooking requires a pan with a thick flat bottom (minimum 2.25 mm). Use pans made
of ferromagnetic material or pans with a sandwich bottom. The best pans to use have the
Class Induction quality mark. Other pans provide a lower performance. Pans made of copper,
aluminum or ceramic material are not appropriate.
In pan selection mode, a pan that is not appropriate shows in a grey
color with an exclamation mark. Touch the exclamation mark to show
the info message.
The maximum pan diameter that you can use is 350 mm.
Only use pans with a flat bottom. A hollow or rounded bottom can interfere with the
operation of the empty cooking protection, causing the appliance to become too hot.
This may lead to damages. Damage caused by using pans that are not appropriate or
that boil dry is excluded from the guarantee.
Pans that have been used on a gas hob cannot be used on an induction hob.
Be careful with thin enamelled sheet-steel pans! The enamel may become damaged at
high settings if the pan is too dry. High power level settings may cause the bottom of the
pan to warp.
BEFORE FIRST USE
EN 9
Pan detection
The pan detection system determines the position of a pan and activates the induction coils that
are needed to supply the correct power levels. Each induction coil can supply a maximum power
of 2.1 kW if more than 60% of the surface is covered by ferromagnetic material.
Pan positioning
Attention
Hot pans can cause damage to the display and the On/Off key. Only put pans on the
‘Free-Area’ cooking zone.
• You can put max. 6 pans on the hob.
• The pan detection system searches for round pans (from Ø 100 mm to 280 mm). Larger or
differently shaped pans (such as a grill plate or Teppan Yaki), are only detected if they are
put on the hob if the hob is already switched on.
• In special cases, a pan that is already put on the hob is detected as two pans after
switching on the hob. In that case, lift the pan for at least 2 seconds and put it back on the
hob.
• Pans larger than 100 mm and smaller than 145 mm cannot be used on every position
on the hob (see ‘Conflict management/Pan conflict’). The best position for small pans is
concentrically on an induction coil.
• Tilting a grill plate or Teppan Yaki might in rare cases lead to wrong detection.
BEFORE FIRST USE
EN 10
BEFORE FIRST USE
Minimum distance
Be sure that there is enough distance between two pans when you put them on the same
induction coil. If the distance between the pan bases is too small, the display shows a conflict
(see ‘Conflict management’). This conflict only occurs when power levels are set.
Added during
operation
min. 50 mm
Before operation
(in standby mode)
min. 90 mm
Do and don’ts
2 1+21
1 2 1+2
1+2
Do not place metal objects such as knives, forks, spoons and lids on the surface of the
hop, they may become hot.

EN 11
SAFETY
Power management
A power management prevents the mains connection from overloading. The power management
is prioritizing, i. e. the pan with the last increased power level, will get the desired power level.
Another pan that is put on the same induction coil will be reduced in its power if the total power
request of the two pans exceeds 3.7 kW. In that case you hear an audio signal and the power
level of the pan will be reduced to the maximum possible power.
For safety reasons, the power level will not be increased to the power level that was set
before.
Cooling
‘Free Area’ Induction provides an efficient cooling concept using 1 fan per generator. The fans
operate with 2 different speeds to provide a low-noise operation. The fans also continue to
operate for a certain period of time if the hob switches to standby mode (after-cooling).
Cooking time limiter
The cooking time limiter is a safety feature of your hob. This limiter is activated when the cooking
time, as indicated in the table, is exceeded. Depending on the program or power level you have
chosen, the cooking time will be limited as follows:
Program / Power level Automatic switch off after a cooking time
of:
Melting / Keep warm / Simmering 2 hours
1 / 1.5 10 hours
2 /2.5 / 3 / 3.5 5 hours
4 / 4.5 4 hours
5 / 5.5 3 hours
6 / 6.5 / 7 / 7.5 / 8 / 8.5 2 hours
9 1 hour
P 10 minutes (then it switches back to level 9)
Attention. If you have set a cooking timer with a cooking time that is longer as
indicated in the table, the time that is set for the cooking timer has priority.

EN 12
SAFETY
Empty Cooking Protection
The hob is equipped with sensors that measure the temperature of the bottom of the pan to
avoid any risk of overheating. In case of a temperature that is too high, the power of the hob is
decreased automatically or the hob is switched off automatically.
Induction noises
Generally, induction cooking may cause some audible noises, e. g. chirping, wheezing and
humming. These noises cannot be avoided completely and are not harmful to your appliance.
Pans are making noise
Pans can make some noise during cooking. This is caused by the energy flowing from the hob
to the pan. At high settings this is perfectly normal for some pans. It will not damage either the
pans or the hob.
The fan is making noise
To enlarge the lifespan of the electronics, the appliance is equipped with fans. If you use the
appliance intense, the fan is activated to cool down the appliance and you will hear a buzzing
sound. The fan runs on for several minutes after the hob has been switched off.

EN 13
Please read the chapter ‘Before first use’ very carefully before you start cooking.
This prevents incorrect use of the hob.
Switch the appliance on / Switch the appliance to standby mode
1. Touch the On/Off key until you hear an audio signal.
The appliance switches on; the main screen shows on the display.
2. Touch the On/Off key again until you hear an audio signal.
The appliance switches to standby mode. The real time clock
shows on the display for several seconds.
The appliance switches to standby mode automatically after 20 seconds when all power
levels are set to ‘0’ and no operation is done by the user.
You can adjust the time of the real time clock in the settings menu, see chapter
‘Settings / Clock’.
Set the power level
Use high power levels to boil water or vegetables or to fry meat and fish. Use low power levels to
simmer and for gently cooking/heating.
1. Put a pan on the hob.
2. In pan selection mode; set a power level.
The power level shows on the display for the pan in selection mode
and the heating starts.
If you put a pan on the hob, the pan selection mode automatically shows for 4 seconds.
If a pan is not in pan selection mode, touch the corresponding pan shape.
OPERATION

EN 14
Power level boost (B)
Use power level boost to heat with the highest power level for a short
period of time. After 10 minutes, power level boost is set to level 9
automatically.
Risk of fire
Only use power level boost to heat up or boil a large amount of water. Oil or fat may
reach extremely high temperatures with power level boost. Risk of fire!
Stop cooking
In pan selection mode; set the power level to ‘0’ to stop the cooking.
The residual heat indication shows on the display.
A ‘quick stop’
In pan selection mode; touch a pan shape twice.
The power level is set to ‘0’ immediately. The residual heat indication
shows on the display.
Residual heat indication
The residual heat indication indicates which areas of the hob still have a
temperature that is 60 °C or higher. The display shows an ‘H’ in the left,
middle or right part on the display.
Attention
If you touch an area on the hob with the residual heat indication, you can get burned.
The residual heat indication shows only on the display if no pans are standing on the
affected area. If you put a pan in this area, the residual heat indication goes out of view.
When the temperature is less than 55 °C, the residual heat indication goes out of view.
2x
OPERATION

EN 15
In standby mode, the residual heat indication shows on the display as long as the
temperature is 55 °C or higher. The real time clock shows on the display for several
seconds when the residual heat indication goes out of view.
Start a program
You can select three different programs.
• Melting: used for melting chocolate (44 °C).
• Keep warm (70 °C).
• Simmering (94 °C).
Touch the symbol of a program.
The symbol shows in the pan shape for the pan in selection mode and
the program starts.
Stop a program
Touch the pan shape with the program and select power level ‘0’. You
can also touch the pan shape twice for a ‘quick stop’.
Close the program menu
Touch the symbol ‘x’ on the display.
OPERATION

EN 16
Start a cooking timer
The cooking timer is used to set the power level to ‘0’ automatically after a period of time. You
can set a cooking timer for every pan on the hob (from 1 minute to 9 hours and 59 minutes).
Set the hours and the minutes and touch the confirm key to save the
settings.
The cooking timer shows in the pan shape for the pan in selection mode
and starts counting rearward.
When the cooking timer expires, you hear an audio signal and the cooking timer starts
flashing. The power level is set to ‘0’.
Touch the flashing cooking timer or remove the pan.
The audio signal stops and the display shows the pan selection mode
for a few seconds.
After 30 seconds, the audio signal stops automatically and the display shows the pan
selection mode for a few seconds.
Change the setting of a cooking timer / Stop a cooking timer
During cooking, you can always change the setting of a cooking timer or stop a cooking timer.
1. Touch the cooking timer and adjust the hours and/or minutes.
Touch the reset symbol to set the cooking timer to ‘00:00’.
2. Touch the confirm key to save the settings.
OPERATION

EN 17
Start the minute minder
You can set the minute minder from 1 minute to 9 hours and 59 minutes. The minute minder
works independently and has no effect on the cooking zone.
Set the hours and the minutes and touch the confirm key to save the
settings.
The minute minder shows on the display and starts counting rearward.
When the minute minder expires, you hear an audio signal and the minute minder starts
flashing.
Touch the flashing minute minder.
The audio signal stops and the display shows the minute minder
symbol.
After 30 seconds, the audio signal stops automatically and the display shows the minute
minder symbol.
In standby mode, a minute minder in operation continues counting rearward and shows
on the display. Also the real time clock shows on the display during the operation of the
minute minder.
Change the setting of the minute minder / Stop the minute minder
1. Touch the minute minder and adjust the hours and/or minutes.
Touch the reset symbol to set the minute minder to ‘00:00’.
2. Touch the confirm key to save the settings.
OPERATION

EN 18
Pause function
This function stops the cooking activity temporarily (max. 10 minutes); cooking timers and the
minute minder are also paused.
When the pause function lasts longer than 10 minutes, the hob switches to standby
mode.
1. Touch the pause key.
The pause function is active; the display shows the ‘continue’
symbol.
2. Touch the ‘continue’ symbol to stop the pause function.
The hob continues all cooking activities with the same settings as
before.
Child safety lock
With the child safety lock the control panel can be locked during use of the hob (with exception
of the On/Off key).
1. Touch the child lock key.
The child lock is active; the control panel is locked.
2. Touch the child lock key for three seconds to unlock the control
panel.
OPERATION

EN 19
SETTINGS
Settings menu
This menu contains various settings which you can adjust. Move your fingertip from the left side
to the right side or vice versa to see the available settings.
Touch the symbol of a setting.
The corresponding sub menu shows on the display.
The menu closes when you do not touch a setting within 10 seconds.
Touch the confirm key in the sub menu if you want to save your changes.
Touch the symbol ‘x’ key to close a menu. Any changes you made in the menu are
cancelled. Previous settings will be kept.
Personalise
You can select which (and in which order) the symbols show on the main screen:
• Child safety lock.
• Minute minder.
• Pause.
Remove a symbol
The sub menu shows the symbols (in the outlined rectangle) which show on the main screen.
Touch a symbol in the rectangle to remove it. The symbol shows below the rectangle.

EN 20
SETTINGS
Add a symbol
To add a symbol that shows below the rectangle, touch it (in the required order if you want to add
more symbols). The symbol moves to the rectangle.
Child safety lock
Set the child safety lock to ‘on’. Now the main screen does not
immediately show when the hob switches on; this prevents the hob
from being operated accidentally.
Every time you switch on the hob, the display shows the child safety
lock symbol first. Touch the symbol for three seconds; then the main
screen shows on the display.
Sound
You can set the volume of the audio signals.
Audio signals for errors always have the maximum volume.
This manual suits for next models
1
Table of contents
Other Atag Hob manuals