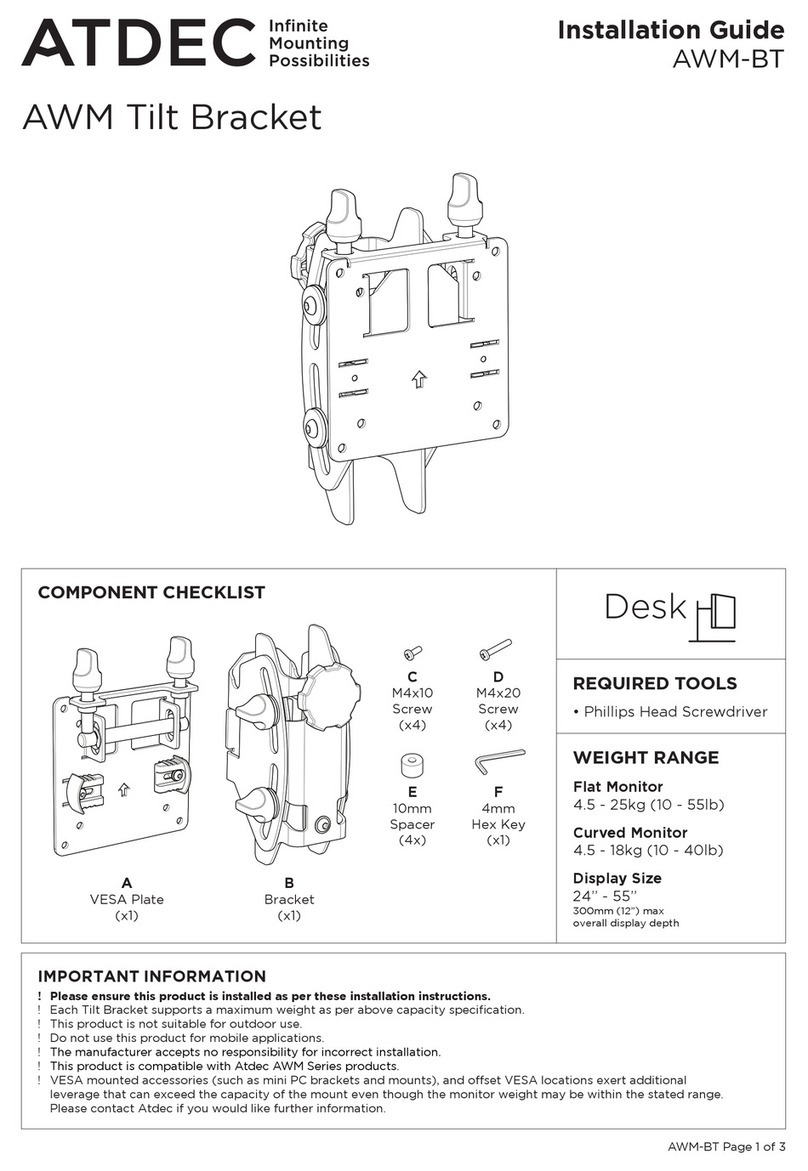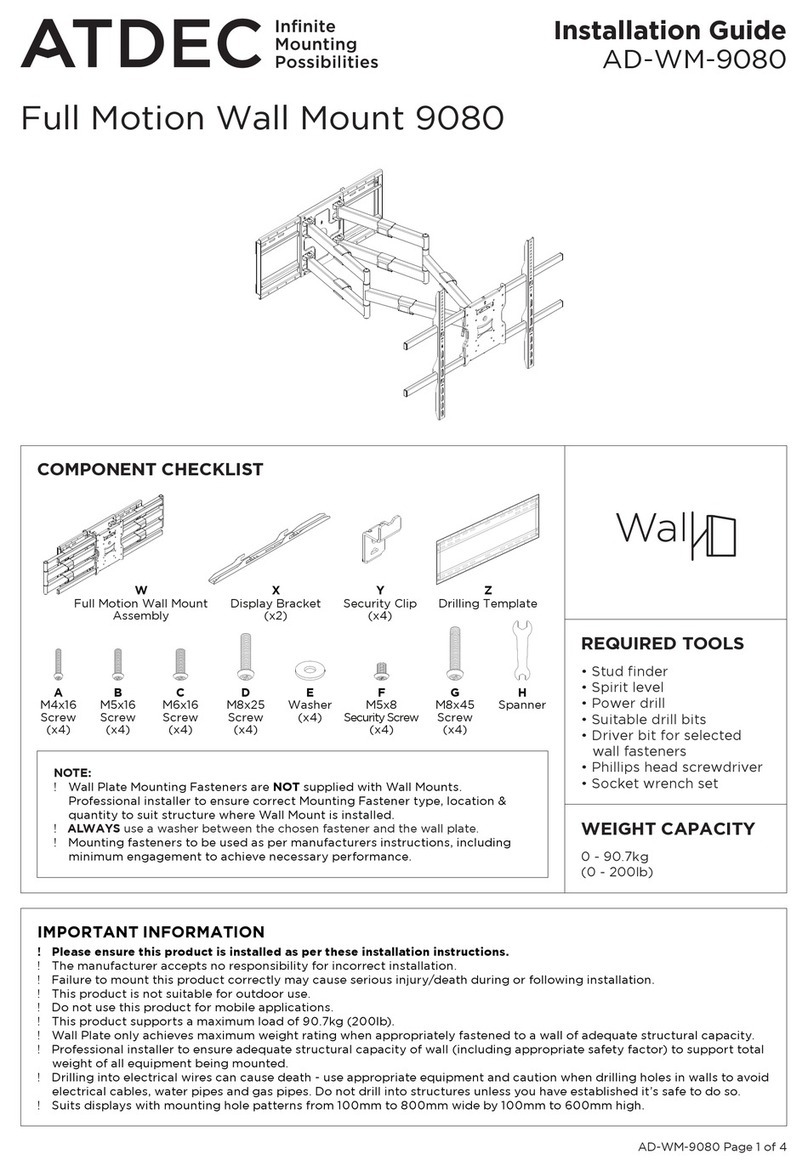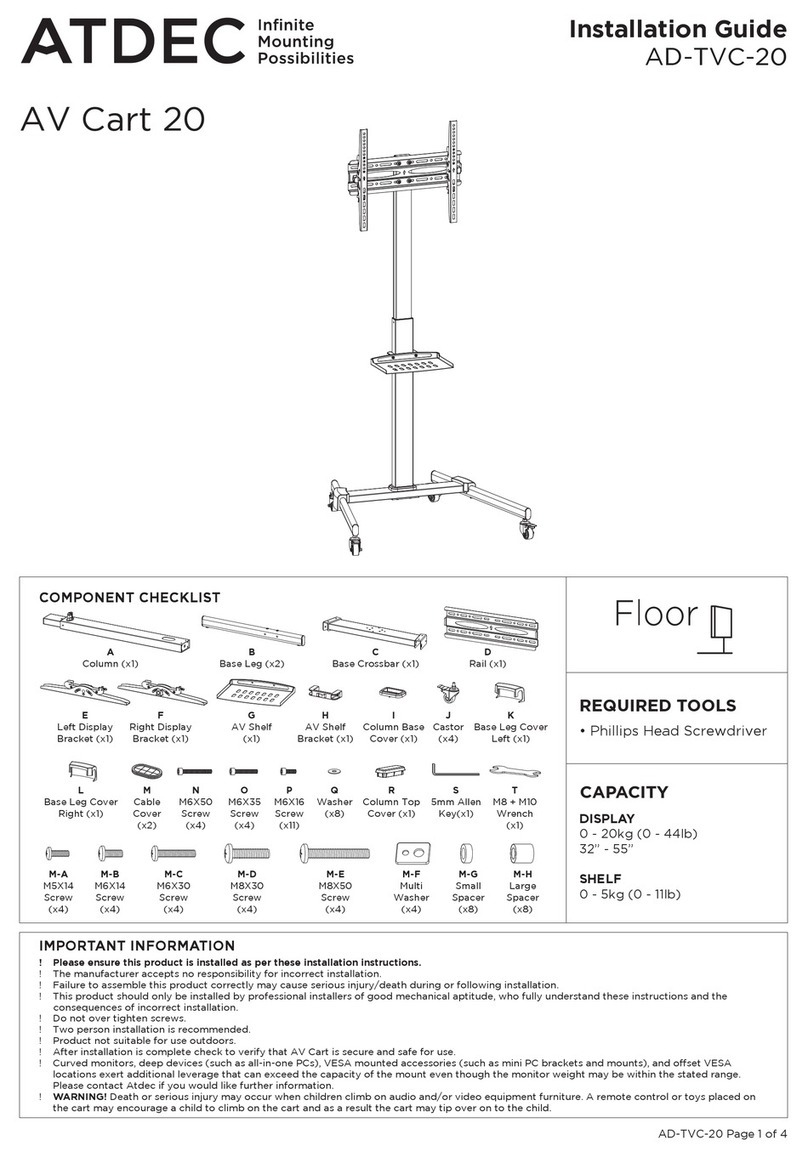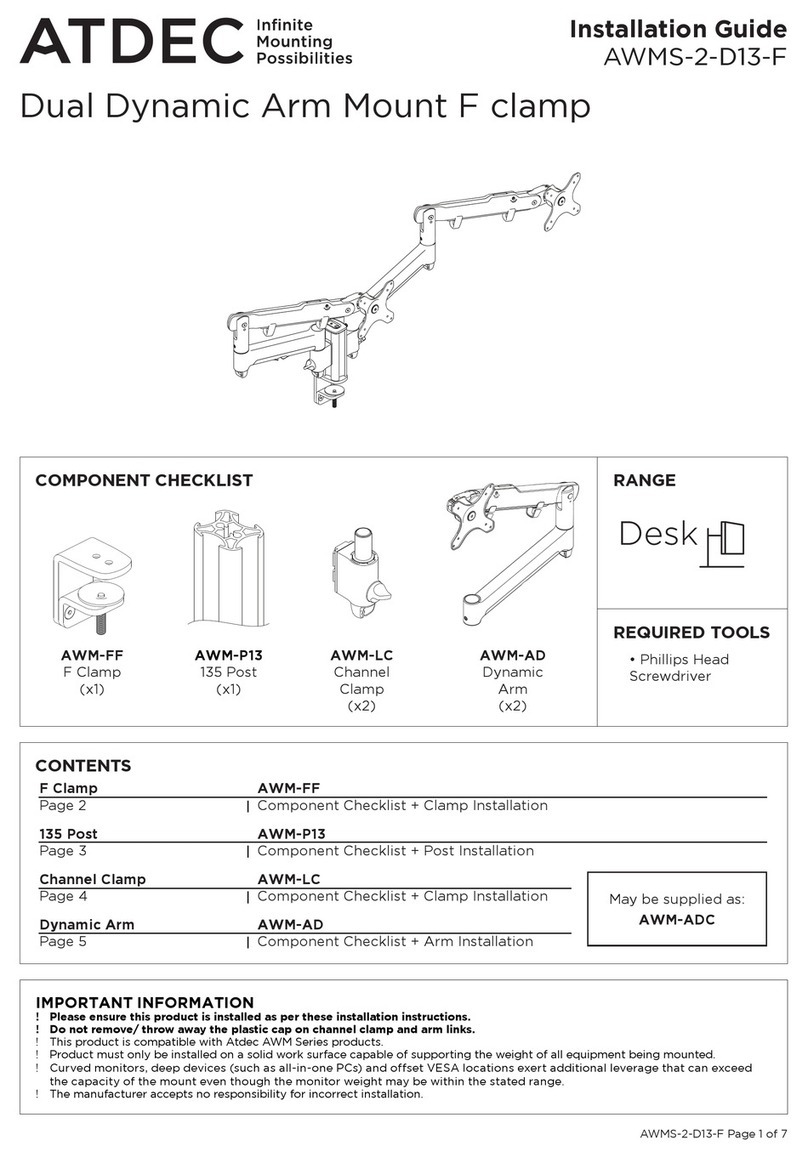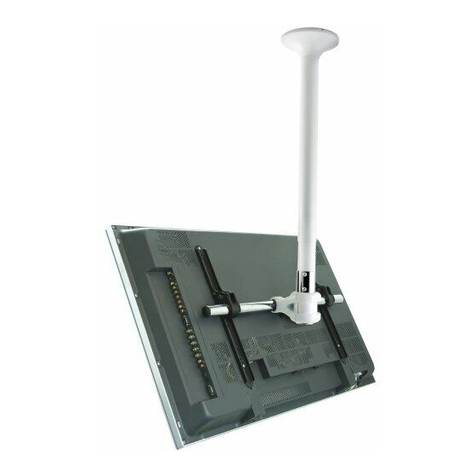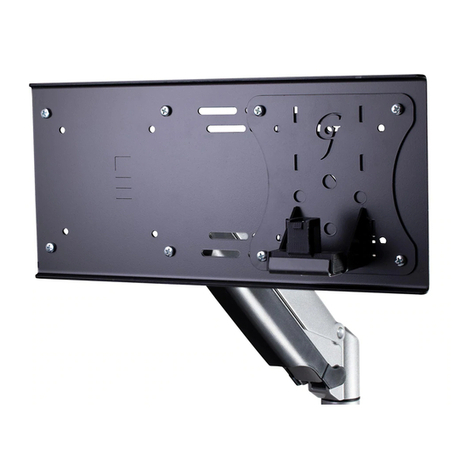
AWM-BT Page 2 of 2
2. SlideBracketontoPost,SetHeightandMountDisplay
1.1 VESAcompatibility
1. AttachVESAPlatetoDisplay
75mm
100mm
75mm
100mm
For 75mm VESA unscrew
5mm to access top
holes.
A
D
E
1.2 AttachVESAPlatewith
M4x10Screws.
A
C
TOP
WARNING:
Do not loosen
hand knob once
2.3 SetVESAPlateto
openposition.
2.4 LiftdisplayuntilVESA
Plateisabovetheheightof
theBracket.
2.5 WithPostcentered,
slowlylowerdisplayuntil
baronVESAPlatesitsin
saddleinBracket.
2.6SetVESAPlate
to closedposition
byslidingclipson
bothsidesinwards.
3. FineAdjustment
Noportionofthisdocumentoranyartworkcontainedhereinshouldbereproducedinanywaywithout
theexpresswrittenconsentofAtdecPtyLtd.Duetocontinuingproductdevelopment,themanufacturer
reservestherighttoalterspecicationswithoutnotice.©20221101
2.2Firmlytighten
handknobatchosen
height.
B
AWM POST
(not supplied)
TIGHTEN
2.7Adjustdisplay
tiltanglebygripping
edgesofscreenand
rollingupordownto
desiredposition.
2.8Tightentiltknobs
tosetdisplayangle.
1.2 ForrecessedVESAuse10mm
SpacersandM4x20Screws.
OR
Arrow side
towards user
OPEN
CLOSED
3.1Tocorrecthorizontalangleof
display+/-3°:
Turnasingleneadjustmentknob
toadjustangleofdisplay.
3.2Toclosesmallgapbetweendisplays
+/-6mm(1/4”):
Turnbothneadjustmentknobs-
alternatingsidesafewrotationsatatime.
Clockwise=Higher
Anti-clockwise=Lower
FINE ADJUSTMENT
KNOBS
NOTE:
Ensure slide clips in
CLOSED position after
fine adjustment complete
2.1Lineuptheinnerguide
onrearofBracketwith
rearchannelonPost.
Slideinnerguideinto
channeland
lowerBracket.
Clockwise = More friction
Anti-clockwise = Less friction
OPTIONAL ADJUSTMENT
- TILT FRICTION
4mm Hex Key can be used
to reduce tilt friction (for
light screen) or increase tilt
friction (for heavy screen).
F
TILT
KNOBS
CLOSED
NOTE:
Somedisplaysrequire
the use of a VESA
adapter before
attachingtheVESA
Plate.ThisVESA
adapter may ship
intheboxwiththe
display.Consultyour
display’sinstallation
guide for further
information.
WARNING:
Usetwopeopleto
installdisplay
