manuals.online logo
Brands
  1. Home
  2. •
  3. Brands
  4. •
  5. Atdec
  6. •
  7. TV Mount
  8. •
  9. Atdec AWM-A13H User manual

Atdec AWM-A13H User manual

AWM-A13H Page 1 of 3
Installation Guide
AWM-A13H
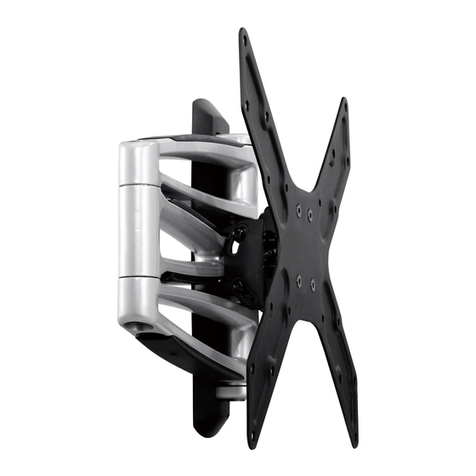
AWM 130 Arm Heavy Duty
IMPORTANT INFORMATION
! Please ensure this product is installed as per these installation instructions.
! Do not remove or throw away the plastic sleeve on the channel clamp.
! The manufacturer accepts no responsibility for incorrect installation.
! This product is compatible with Atdec AWM Series products except the Wall Channel products (including AWM-W6
and AWM-W35)
! Curved monitors, deep devices (such as all-in-one PCs), VESA mounted accessories (such as mini PC brackets and mounts),
and offset VESA locations exert additional leverage that can exceed the capacity of the mount even though the monitor
weight may be within the stated range. Please contact Atdec if you would like further information.
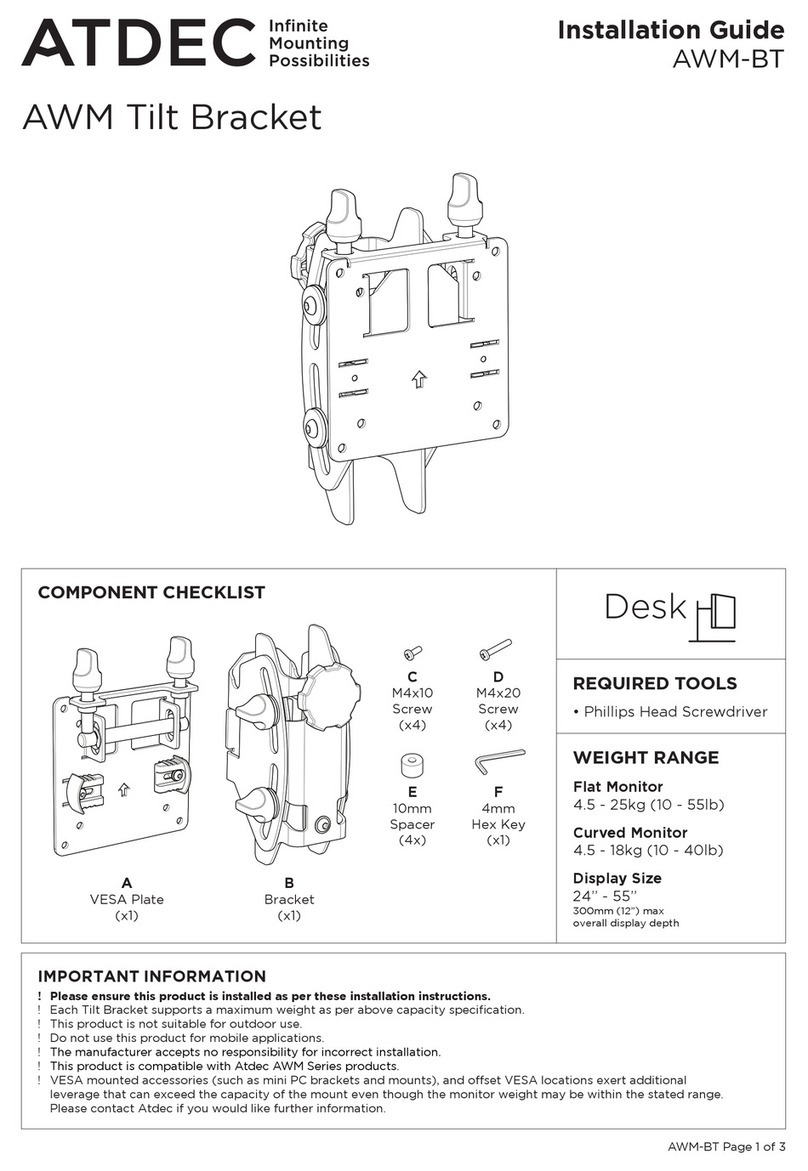
COMPONENT CHECKLIST
D
Screw
M4x16mm
(x4)
E
Screw
M4x12mm
(x4)
C
Screw
M4x25mm
(x4)
F
Spacer
(x4)
G
Security
screw
(x4)
H
4mm
Hex Key
(x1)
B
Channel Clamp
(x1)
A
Heavy Duty Tilt Head
(x1)
REQUIRED TOOLS
WEIGHT RANGE
Flat Monitors
0 - 18kg
(0 - 40lbs)
Curved Monitors
0 - 12kg
(0 - 26.5lbs)
• Phillips Head Screwdriver
Monitor weight should be within
the weight range of all modular
elements that make up the complete
monitor mounting solution.
AWM-A13H Page 2 of 3
1. Fix clamp to Post
1.1 Ensure knob is undone. 1.2 Slide post clamp into
channel.
Push knob to
aid insertion
1.3 Hold clamp in desired position
on channel and turn knob to lock in
place.
2. Set arm rotation to 180° (optional)
Note rotation is set to 360 by default.
2.3 Place rotation ring in desired
position and replace plastic
sleeve.
2.1 Remove plastic
sleeve from channel
clamp.
2.2 Remove
rotation ring.
NOTE: Rotation ring placement
depends on the position of the
clamp on the post. The tag on the
ring should always face toward
the user.
1. Press
2. Lift
180°
360°
OR
Default
Position
Flipped
Position
Tag
3. Adjust rotation tension (Optional)
Re-attach
Tighten
Remove
NOTE: In most cases,
monitor should balance in
a level position with factory
settings. If it droops to one
side follow these steps to
adjust the rotation tension.
3.1 Remove VESA head
from monitor.
3.3 Re-attach VESA head
to monitor as per Step 4.
3.2 Tighten the two
screws on the front of
the VESA plate using
4mm Hex Key.
4. Lock monitor rotation (Optional)
4.1 Ensure VESA Plate is in this
orientation before installing screws.
4.2 Install the four Rotation Security
Screws Ginto the front of the VESA Head.
OPTIONAL To lock monitor
rotation screw the four M5x16
screws into the four holes on
the front of the VESA Head.
G
Note position
of dimple
0°
Screen Rotation
AWM-A13H Page 3 of 3
No portion of this document or any artwork contained herein should be reproduced in any way without
the express written consent of Atdec Pty Ltd. Due to continuing product development, the manufacturer
reserves the right to alter specications without notice. ©20221104
7. Adjust tilt tension
Use the knob to tighten and
loosen the tilt tension to suit
your monitor weight.
NOTE: Always support the
monitor whilst adjusting
to prevent it from falling
forward sharply.
IMPORTANT
If extra tilt
tension is
required for your
monitor, use
4mm Hex Key to
tighten second
tilt screw.
Loosen
Tighten
Loosen
Tighten
6. Mount monitor onto arm
6.1 Push tilt head onto the shaft at the
end of the monitor arm, grub screw
must be backed off at this time.
6.3 Tighten the joint screw with
4mm Hex Key to secure the tilt
head and monitor in place.
NOTE: Check the head pan
adjustment is smooth after tightening.
6.2 Ensure tilt head is fully pushed
onto shaft.
NOTE: Ensure plastic sleeve is on
shaft before tting tilt head.
5. Attach VESA head to monitor
Flush
Too long Too short
Spacer
5.2 Attach
VESA head onto
monitor with
provided screws.
5.1 Check VESA mounting
compatibility
100mm
75mm
100mm
75mm
NOTE: For other sizes, use a suitable
adaptor plate (sold separately).
NOTE: Spacers
may be required for
curved, recessed
or uneven monitor
surfaces.
NOTE: be sure to use a screw
length that suits the monitor.

Other Atdec TV Mount manuals

Atdec TH-VA-2X2-NEC X463 User manual

Atdec

Atdec TH-VA-2X2-NEC X463 User manual

Atdec 5060 User manual

Atdec

Atdec 5060 User manual

Atdec TH-VWP-050 User manual

Atdec

Atdec TH-VWP-050 User manual
Atdec TH-3270-UFM User manual

Atdec

Atdec TH-3270-UFM User manual

Atdec telehook TH-3070-CTL User manual

Atdec

Atdec telehook TH-3070-CTL User manual

Atdec AD-WT-5040 User manual

Atdec

Atdec AD-WT-5040 User manual

Atdec Telehook TH-3070-CTW User manual

Atdec

Atdec Telehook TH-3070-CTW User manual

Atdec AWM-ADTC User manual

Atdec

Atdec AWM-ADTC User manual

Atdec AW-ORA-F User manual

Atdec

Atdec AW-ORA-F User manual

Atdec AWM-BT User manual

Atdec

Atdec AWM-BT User manual

Atdec AV Cart 20 User manual

Atdec

Atdec AV Cart 20 User manual

Atdec AWM-P40X User manual

Atdec

Atdec AWM-P40X User manual

Atdec AWM-W User manual

Atdec

Atdec AWM-W User manual

Atdec AD-TVC User manual

Atdec

Atdec AD-TVC User manual

Atdec spacedec SD-DP-420 User manual

Atdec

Atdec spacedec SD-DP-420 User manual

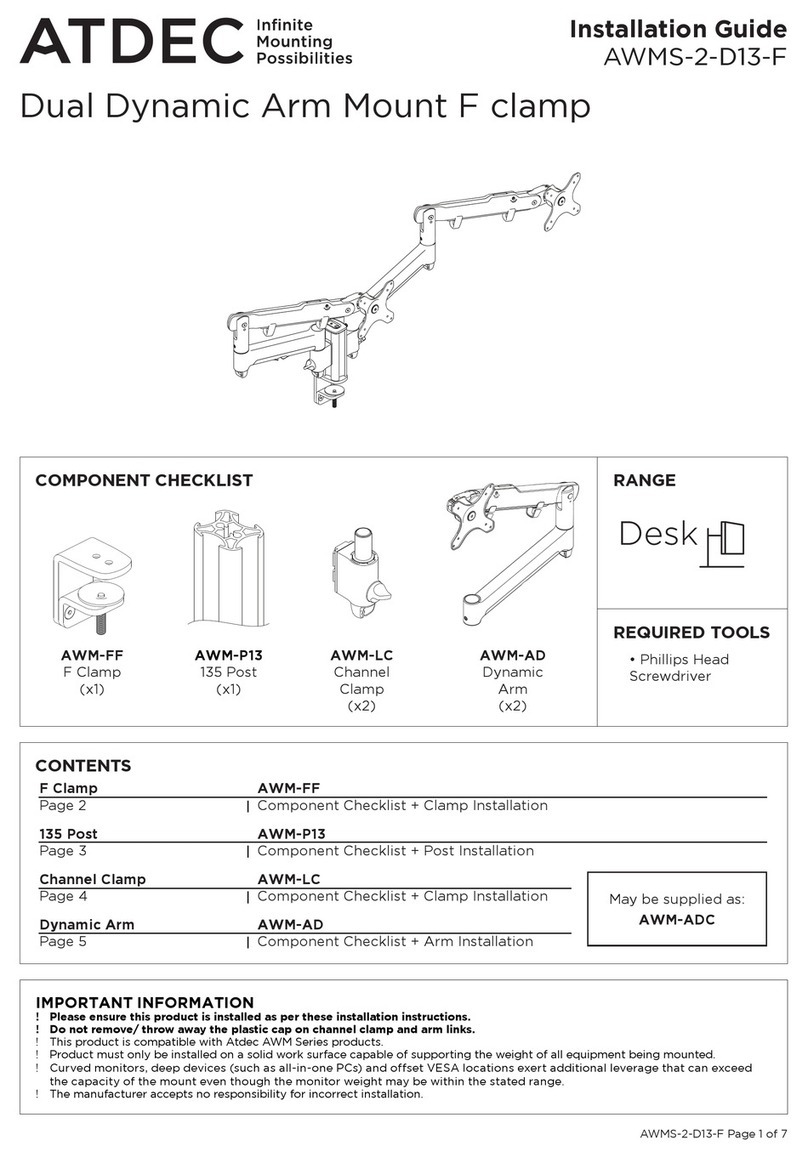
Atdec AWMS-2-D13-F User manual

Atdec

Atdec AWMS-2-D13-F User manual

Atdec AD-WF-5040 User manual

Atdec

Atdec AD-WF-5040 User manual

Atdec telehook TH-2250-VTP User manual

Atdec

Atdec telehook TH-2250-VTP User manual

Atdec telehook TH-2050-VFM User manual

Atdec

Atdec telehook TH-2050-VFM User manual

Atdec AD-WF-10090 User manual

Atdec

Atdec AD-WF-10090 User manual

Atdec AD-WM-9080 User manual

Atdec

Atdec AD-WM-9080 User manual
Atdec AWM-BT User manual

Atdec

Atdec AWM-BT User manual

Atdec VF-AT-W User manual

Atdec

Atdec VF-AT-W User manual
Atdec 5060 User manual

Atdec

Atdec 5060 User manual
Popular TV Mount manuals by other brands

Stell SHO 5410 manual

Stell

Stell SHO 5410 manual

e+p Elektrik Handels DHS 12 Quick installation guide

e+p Elektrik Handels

e+p Elektrik Handels DHS 12 Quick installation guide

ricoo S3911 quick start guide

ricoo

ricoo S3911 quick start guide

ACME MT102S installation guide

ACME

ACME MT102S installation guide

Vivo MOUNT-VW02 instruction manual

Vivo

Vivo MOUNT-VW02 instruction manual

AVF NZL2500 Leaflet

AVF

AVF NZL2500 Leaflet

Sanus Systems Sanus Foundations FS46 instruction manual

Sanus Systems

Sanus Systems Sanus Foundations FS46 instruction manual

S-5! ProteaBracket Install Instruction

S-5!

S-5! ProteaBracket Install Instruction

AVF JZL4701 Instruction leaflet

AVF

AVF JZL4701 Instruction leaflet

Bell'O 7610 instruction manual

Bell'O

Bell'O 7610 instruction manual

LG AM-ST19BA owner's manual

LG

LG AM-ST19BA owner's manual

ricoo N4564 quick start guide

ricoo

ricoo N4564 quick start guide

CHIEF XVM1X1U installation instructions

CHIEF

CHIEF XVM1X1U installation instructions

Equip Universal 650201 Quick installation guide

Equip

Equip Universal 650201 Quick installation guide

Mounting Solutions WBM-500 installation guide

Mounting Solutions

Mounting Solutions WBM-500 installation guide

Kindermann DisplayShift2 Wings 55-78 Mounting instructions

Kindermann

Kindermann DisplayShift2 Wings 55-78 Mounting instructions

ONKRON N2L user guide

ONKRON

ONKRON N2L user guide

Kanto PDX650 user manual

Kanto

Kanto PDX650 user manual

manuals.online logo
manuals.online logoBrands
  • About & Mission
  • Contact us
  • Privacy Policy
  • Terms and Conditions

Copyright 2025 Manuals.Online. All Rights Reserved.