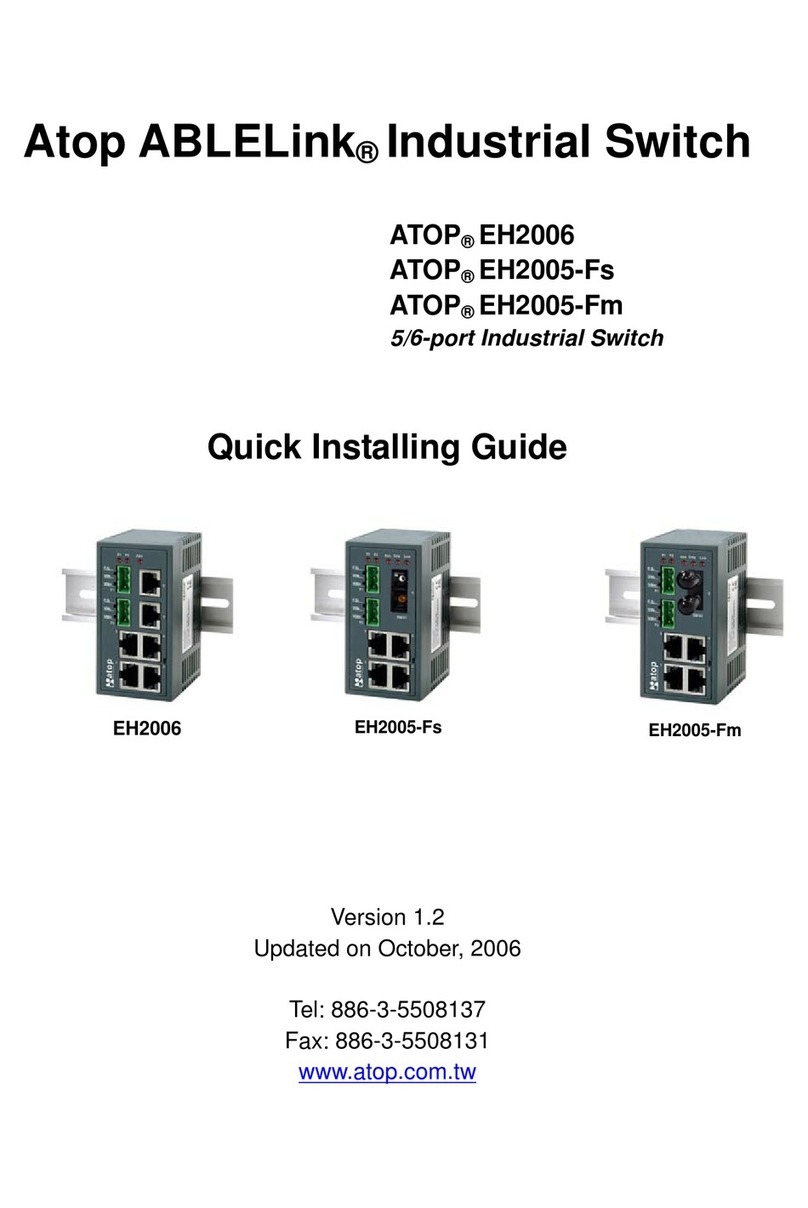
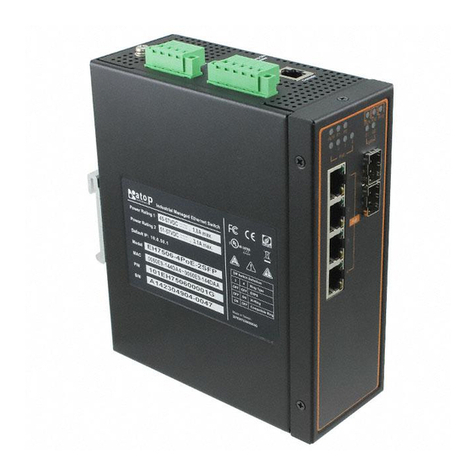
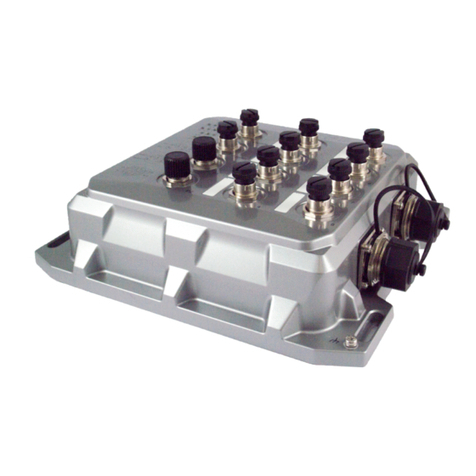
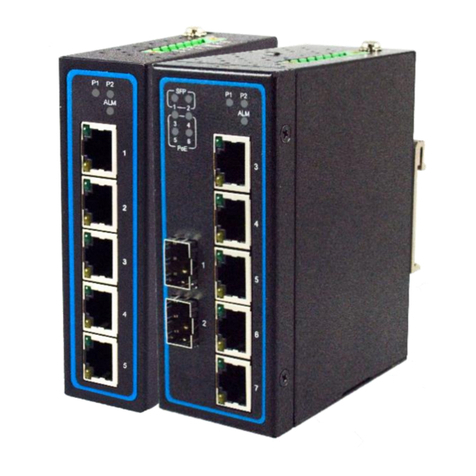
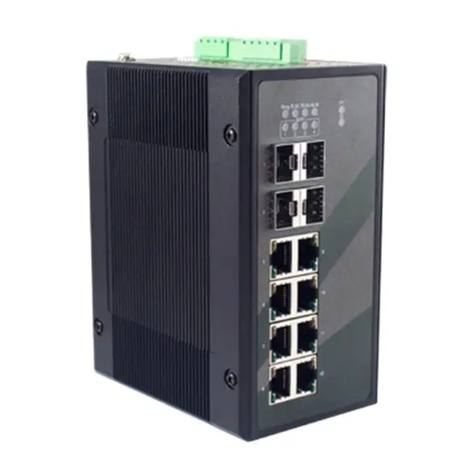
Atop EMG8510 Series Manual

Industrial Managed Gigabit Ethernet Switch
EMG8508 / EMG8510 Series
EMG8608 / EMG8610 Series
Version 2.0
Updated in September , 2017
P/N:89900497G
Inside the package you will find the following items:
■ Industrial Managed Gigabit Ethernet Switch x 1
■ Protective caps for all SFP ports (Depend on purchased model)
■ Installation Guide with Warranty Card x 1
Never install or work on electrical or cabling during periods of lightning activity.
Never connect or disconnect power when hazardous gases are present.
Warning:Hot Surface Do Not Touch.
Caution: CLASS 1 LASER PRODUCT. Do not stare into the laser!
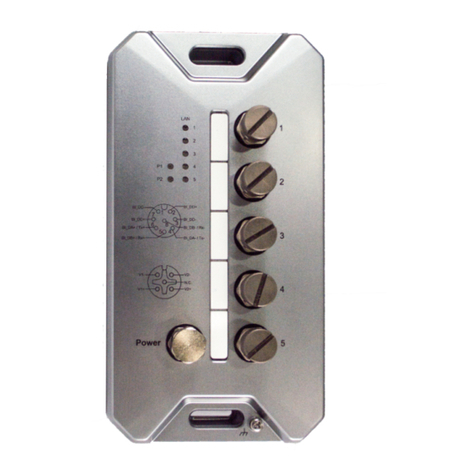
EMG8508 / EMG8510 Series
EMG8608 / EMG8610 Series
BI_DC-
BI_DC+
BI_DA+ / Tx+ / V+
BI_DA- / Tx- / V+
BI_DD-
BI_DD+
BI_DB- / Rx- / V-
BI_DB+ / Rx+ / V-
P1 RUN 1 5 9
P2 ALM 2 6
Ring 3 7
R.M. 4 8
10
2
3
1
4
5RxD
GND
N.C.
TxD
N.C.
2
3
1
4
5
Relay2
N.C.
Relay2
Relay1
Relay1
2
3
1
F.G.
V+
V-N.C.
Console
Relay
P1
P2
1
2
3
4 8
5
6
7
12345
6
7
8
9
10
11
12
13
14
1. M12 A-Coding Console Port
2. SFP Ports LEDs (for EMG8510 Series)
3. M12 X-coding Ethernet ports and/or PoE LEDs
4. RUN LED
5. PWR1 LED
6. PWR2 LED
7. ALM LED
8. Ring LED
9. Ring Master LED
10. M12 A-Coding Alarm relay or alarm output
11. M12 S-Coding PWR1 connector
12. M12 S-Coding PWR2 connector
13. 1000 BASE-X SFP Slots (for EMG8510 Series)
14. 10/100/1000 BASE-T(X) M12 X-coding Ethernet ports and/or
10/100/1000 BASE-T(X) PoE M12 X-coding Ethernet Ports
(EMG8508-4PoE/ EMG8510-4PoE-2SFP, PoE ports at Port 1,2,5,6)
Note: is for function ground
5
2
You can then choose whether to plug in the other
peripheral ports at this point or do it later depending
on the actual location of the device or level of
comfort for performing such operation.
Remeber to plug in the protective caps for the
unused SFP.
4.
If you have purchased the DIN-Rail kit, Once the
plate has been firmly put in place, proceed to mount
the whole device as shown in (Fig. 4).Proceed to
(Fig. 5) if you want to remove the device from
DIN-Rail.
5.
Next we can then proceed to connect the device to
the LAN (switch or PC, depending on the case), take
care on using the M12 connector; after this we can
then proceed to the device’s settings
6.
Proceed to place the screws on the back
of the device as show in (Fig. 1).
1.
If you have the VESA kit, proceed to place
the screws on the back of the device as
show in (Fig. 2)
2.
3. Although internal grounding has been
done inside, in order to ensure overall
maximum performance and protect your
device, it is still strongly advised to ground
the device properly; hazardous ESD can
come into contact and damage your
equipment. On the power terminal block,
there is a terminal for Frame Ground, you
can choose whether to connect it to the
grounding or you may opt to connect to
the grounding screw next to the terminal
block ( the one chosen should be connect-
ed at all times ) (Fig. 3)
1
2
1
2
Message
■ The housing has a good thermal conductivity material, so the heat can be
dissipated to the outside through the housing by conduction-convection .
■ This switch’s factory IP by default is 10.0.50.1 you can access the device by its
Web UI once it is connected to a physical network (or using Management Utility,
for more information on Management Utility, please refer to its manual). Please
be aware that the PC needed for this procedure needs to be in the same
subnet, or you may refer yourself to the device User’s Manual.
*Management Utility only support user name, password and IP address change.
Detail setting please set on Web UI.
Color Status
Name Message
P1
P2
Alarm
RUN
LAN
Ring
R.M
SFP
Green
Red
Green
Green
Amber
Green
Green
Green
On
Off
On
Off
Blinking
Off
On
Blinking
Off
On
Off
On
Blinking
Off
On
Off
On
Blinking
Off
Power is supplied from PWR1/PWR2
No power input detected from PWR1/PWR2
Alarm is triggered by user defined events
Alarm is not triggered by user defined events
AP firmware is running normally
System is not ready or halt
Ethernet is linked
Ethernet is active and data is being transmitted
Ethernet is not linked
Power is being supplied to a Powered Device (PD)
Power is not supplied to a PD
Ring is enabled
Ring is connected successfully
Ring is disabled
The device is a Master of the ERPS or IA-Ring
The device is a Slave of the ERPS or IA-Ring
Port is linked
Data is transmitting on this port
No data is transmitting
If the device requires servicing of any kind, you may need to disconnect and
remove it from its mounting. The initial installation should be done in a way that
makes this as convenient as possible.
■ Voltage/Power lines should be properly insulated as well as other cables. Be
careful when handing the so as to not trip over
■ Do not under any circumstance open the device for any reason. Please
contact your dealer for any repair needed or follow the instructions on section
of your User’s Manual.
Field Maintenance and Service
■ Power input :
12– 57 VDC, 1.1A max, 13.2W max(For Non-PoE Models)
45– 57 VDC, 3.1A max, 139.5W max(For 802.3af Models)
51– 57 VDC, 5.1A max, 260.1W max(For 802.3at Models)
50-145 VDC, 0.27A max, 13.5W max(For High voltage Models)
50-145 VDC, 0.30A max, 15.0W max(For High voltage SFP Models)
■ Alarm output : 1A@24A VDC SELV for signal use only
■ The Normal Voltage device is open type , designed redundant input and
supplied by SEL V power source.
The High Voltage device is open type , designed redundant input and supplied
by IEC/EN/UL 61010-2-201 certified power supply isolated from MAINS by
double insulation.
■ Cable Assembly Requirement : Minimum suitable used at 90°C
■ Cable Assembly Information :
14
85
23
76
M12
X-coded
Tx+ Tx- Rx+ Rx-
V+ V+ V- V-
10/100/1000Base-T(X) Ethernet, PoE port Pinouts
1000Base-T
10/100Base-T(x)
PoE
M12
A-coded
TXD RXD NC NC GND
2
4
5
3
1
RS232 Console port Pinouts
RS232-Console
Company
Phoenixcontact
Phoenixcontact
Phoenixcontact
Weidmueller
1411043
1413991
1404642
Cat no Suitable
AWG26 Lan Port-M12-X
AWG26 Lan Port-M12-A
AWG26 Power Port-M12-S
2059890050 SFP Port
Cat no Suitable
2
3
1
M12
S-coded
VIN+ VIN-
Power
NC FG
Power port Pinouts
M12
A-coded
Relay1_2 Relay2_1 Relay2_2 Relay1_1 NC
2
4
5
3
1
Relay output port Pinout
Relay output
Attention
1. The device needs to be installed in an area of pollution degree 2 or less.
2. If the equipment is used in a manner not specified by the manufacturer,
the protection provided by the equipment may not be impaired.
3. Clean the device with soft cloth with dry.
4. The installation that the safety of any system incorporating the equipment is
the responsibility of the assembler of the system
5. It should be installed suitable Enclosure (at least Type 1 or equal rating)
6. Before powering the device, the Functional Ground (Grounding Screw)
shall be connected with Y type wiring to the ground and torque with 0.2 Nm.
7. Power +/- pins can't cross-connect to equipment that this device connects to.
8.Wear on suitable personal safety protection suit
(safety working shoes / working gloves).
9. It should be installed suitable fiber transceiver
(Avago AFCT-57X5 / AFBR-57X5 series family or equal type)
Environmental Limits
■ Operating Temperature: -40 to 70° C (-40° F to 167° F)
■ Storage Temperature: -40 to 85°C (-40 to 185°F)
■ Ambient Relative Humidity: 5 to 95%, 55°C (non-condensing)
■ Altitude: up to 2,000 m
■ IP67
■ Lan and Power Port Cap Information(Indoor use only)
Company
Atop
Atop
Atop
Phoenixcontact 3990079G
Phoenixcontact 59908571G
Phoenixcontact 3990078G
Cat. No.
1560251 Power port Plastic 0.2 Nm
1430488 Power port Metal 0.2 Nm
1553129 Lan port Plastic 0.2 Nm
Atop Phoenixcontact 59908561G 1503302 Lan port Metal 0.2 Nm
Type Torque
Front View
Side View (for EMG8510 Series)
Bottom View
125.0165.0
217.0
232.0
216.0
64.0
59.0
71.4
Din rail kit
Customers shall always obtain an authorized "RMA" number from Atop before
shipping the goods to be repaired to Atop. When in normal use, a sold product
shall be replaced with a new one within 3 months after purchase. The shipping
cost from the customer to Atop will be reimbursed by Atop.
After 3 months and still within the warranty period, it is up to Atop whether to
replace the unit with a new one; normally, as long as a product is under warranty,
all parts and labor are free of charge to the customers.
After the warranty period, the customer shall cover the cost for parts and
labor.Three months after purchase, the shipping cost from the customer to Atop
will not be reimbursed, but the shipping cost from Atop to the customer will be
paid by Atop.
Atop shall not be held responsible for any consequential losses from using Atop’s
product.
Warranty Policy
The warranty certification will not be effective until an authorized stamp issued by
Atop’s overseas agents.
Purchase Date: / / (yyyy/mm/dd)
Serial Number
Product CategoriesWarranty WarrantyProduct Categories
Media Converters
Embedded Device Servers
Ethernet Switches
Wireless
Serial Device Servers
Modbus Gateways
DIN-Rail Power Supplies
Power Adaptors
Antennas
Other Accessories
Warranty Conditions
RMA and Shipping Costs Reimbursement
Limited Liability
1. Please contact your local dealers or Atop Technical Support Center at the
following numbers.
+ 886-3-550-8137 (Atop Taiwan)
+ 86-21-6495-6232 (Atop China)
2. Please report the defected problems via Atop’s Web site or E-mail account
3. Company Addr: 2F, No. 146, Sec. 1, Tung-Hsing Rd., Jubei, Hsinchu 30261,
Taiwan, R.O.C.
Manufacturer Addr: 1st FL 30 R&D RD II,SCIENCE-BASED INDUSTRIAL
PARK,HSINCHU 300 TAIWAN, R.O.C
Atop Customer Services and Supports
Products supplied by Atop Technologies are covered in this warranty for
sub-standard performance or defective workmanship. The warranty is not,
however, extended to goods damaged in the following circumstances:
(a) Excessive forces or impacts
(b) War or an Act of God: wind storm, fire, flood, electric shock, earthquake
(c) Use of unqualified power supply, connectors, or unauthorized parts/kits
(d) Replacement with unauthorized parts
Warranty Period
─ Any changes to this material will be announced on Atop website. ─
This manual suits for next models
3
Other Atop Switch manuals

Atop
Atop EH7506-4PoE-2SFP User manual

Atop
Atop RHG7528 Series Manual

Atop
Atop CloudProof M1000 serious User manual

Atop
Atop EHG7305 Series User manual

Atop
Atop EH3408ls User manual

Atop
Atop EMG8508 Series Manual

Atop
Atop EHG75 series User manual

Atop
Atop EH9711 Series User manual

Atop
Atop EHG3005 Series Manual

Atop
Atop EMG8305 Series Manual
Popular Switch manuals by other brands

GE
GE MC-4TX1FXMM-2K user manual

Huawei
Huawei CloudEngine 7800 Series Hardware description

HPE
HPE FlexNetwork 10500 SERIES Configuration guide

Rockwell Automation
Rockwell Automation Allen-Bradley DeviceNet 800E user manual

FlowLine
FlowLine Switch-Tek LV41 Series manual

Ruijie
Ruijie RG-S6120 Series Hardware installation and reference guide