TELEPHONE TIPS
A Quick Reference Guide for the Avaya MultiVantage Telephone System
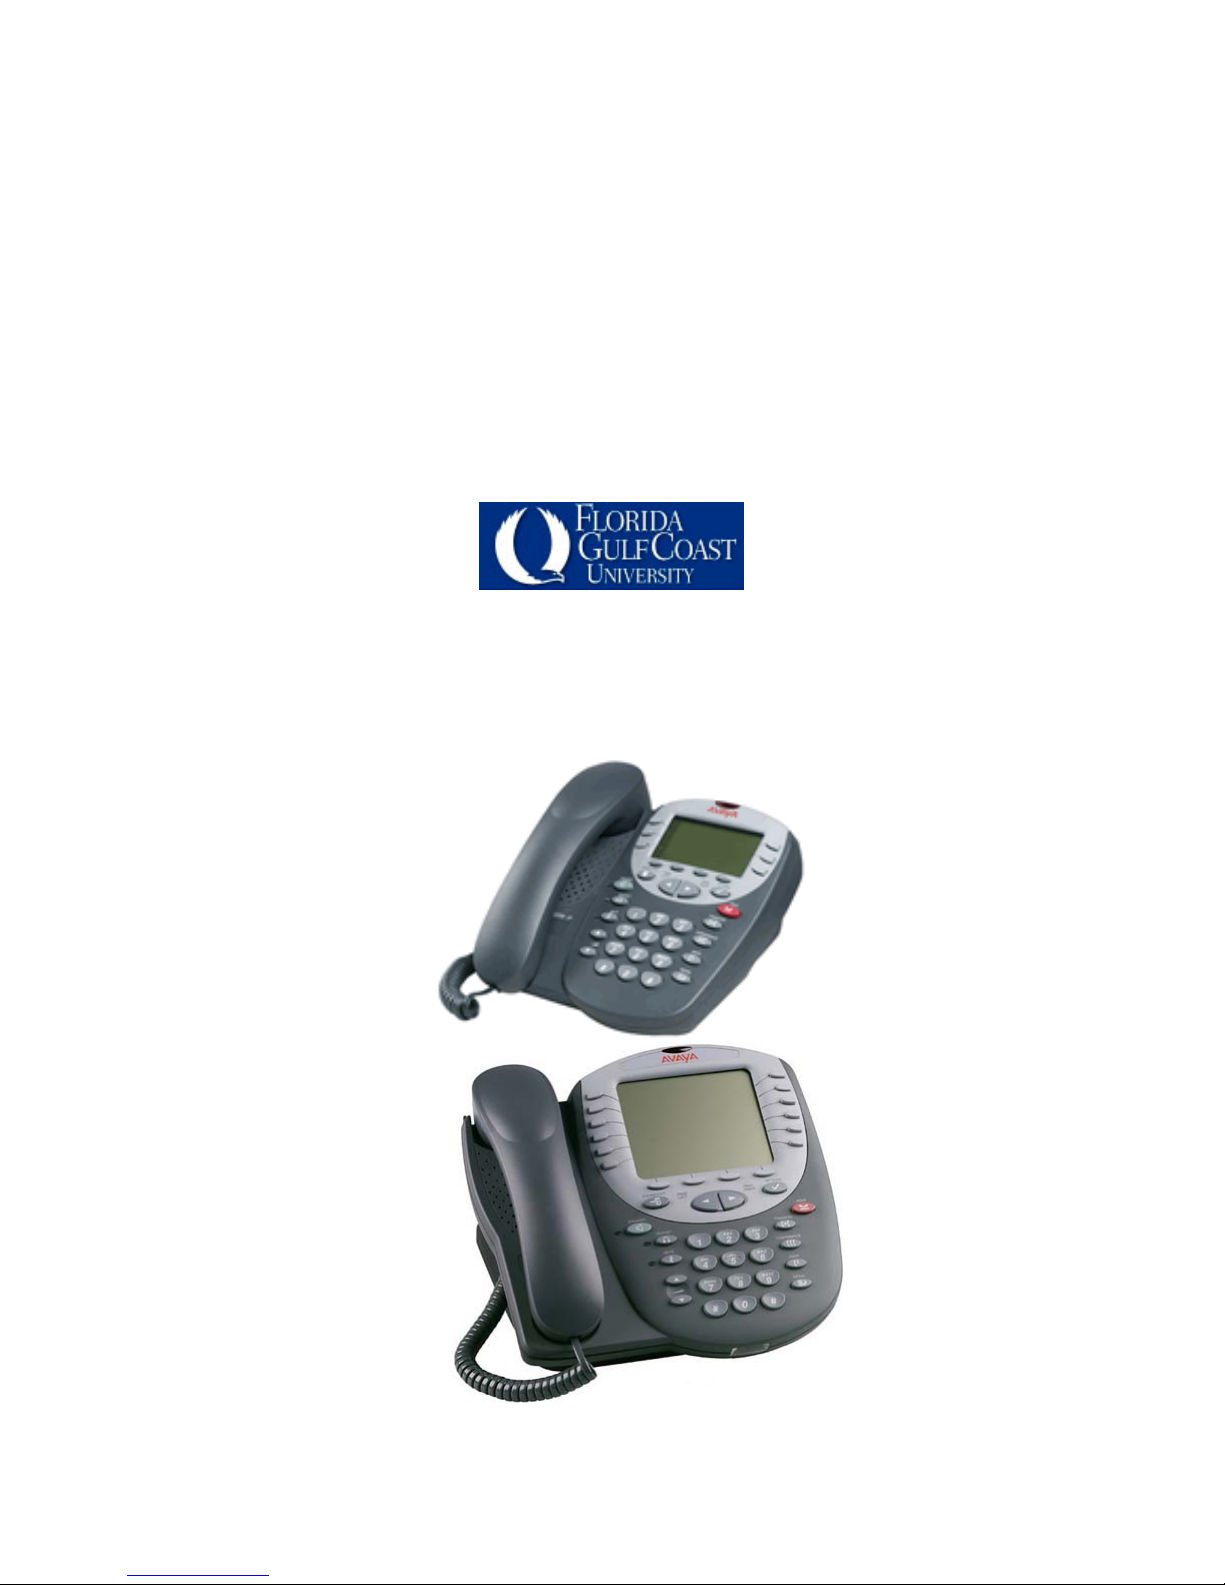
46xx Model IP-Telephones
Telephone Features Summary:
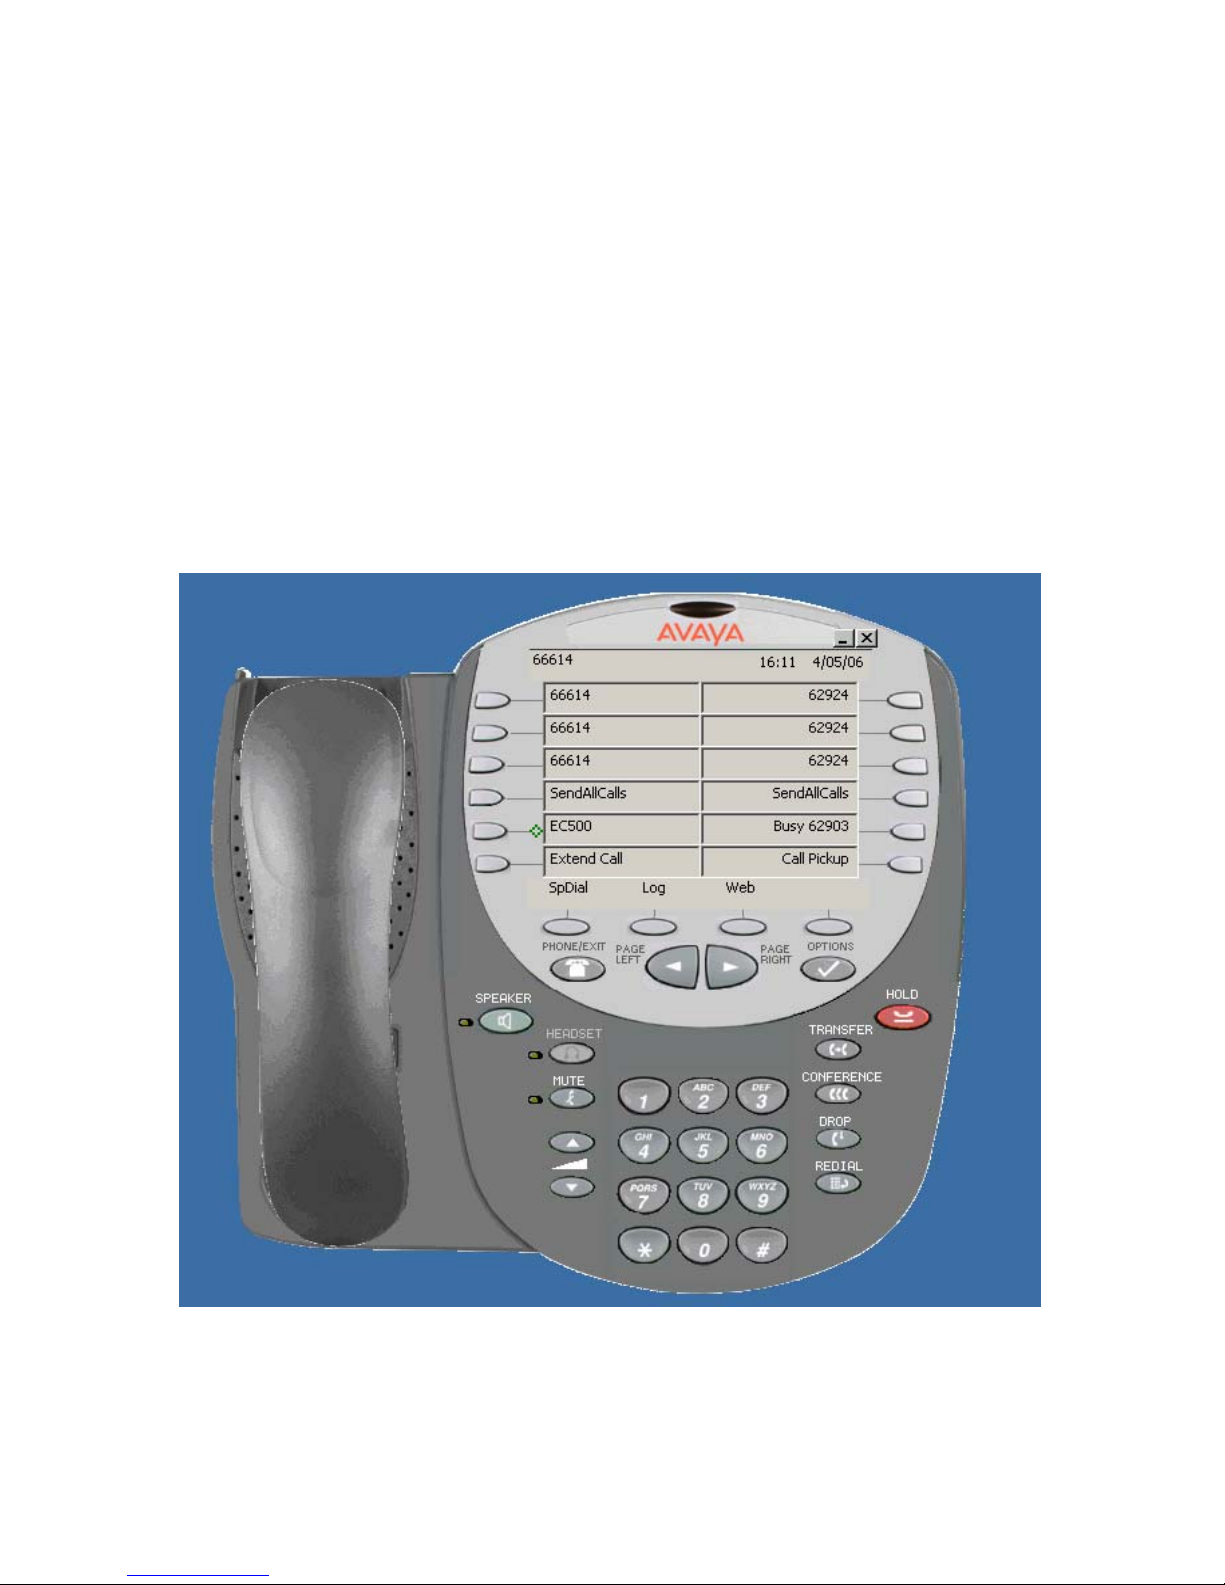
•Send All Calls – The Send All Calls (SendAllCalls) feature button activates the
Coverage Feature and sends all of your calls to a Receptionist, Assistant, or Voice
Mail depending on individual telephone parameters.
oThis button can be toggled on/off to send a call to Coverage after
incoming caller ID inspection while the line is ringing.
oWhen a call covers to an Assistant, the call is bridged on both your phone
and Assistant’s phone. Either of you may pick up the call.
•Intercom – Depending on how the Telephone Administrator for your area setup
the Intercom, there are two ways to use the Intercom when it is provided:
oAuto-Intercom (AutoIc) – Depression of this button places a call on the
intercom to one telephone (usually the Assistant).
oDial-Intercom (Dial Icom) – Depression of this button provides a Dial
Tone. A 2-digit code is then dialed for the telephone desired.
oYour Telephone Administrator can have the Intercom configured for
hands-free answer on the Intercom.
•EC500 – For Business Continuity/Disaster Recovery and enhanced ability to
receive calls, the Extension-to-Cellular (EC500) feature is available. When
requested by your Telephone Administrator, this feature provides the ability to
have incoming calls to your desk phone, ring at the same time on your Cell
Phone. The feature is activated by depressing the (EC500) feature button on your
phone.
oTo Activate:
Be sure that your (SendAllCalls) button/feature is not activated.
Depress the (EC500) Feature button.
This feature can be activated/cancelled remotely as detailed later in
this document under Telecommuting Features.
oIf you answer a call on the cell phone, you may pickup the call on the desk
phone and hang up the cell phone.
oUsing the (Extend Call) feature button, a call in progress on the desk
phone can be extended to the cell phone, so that the desk phone can be
hung up and the call continued on the cell phone.
oWhen calling an office location from the cell phone, the called party sees
your Name and Extension number rather than your cell phone number.
This occurs regardless of whether or not your EC500 feature button is
active for incoming calls. However, this will only work for Offices that
are part of the Avaya system.
Revised 05/13/06– JTM © 2006 JTM Associates, Inc. ® Page 8 of 43