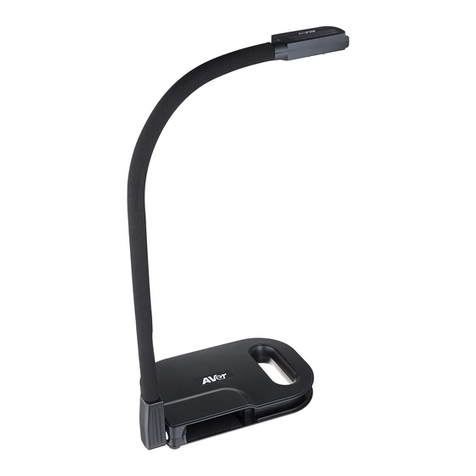
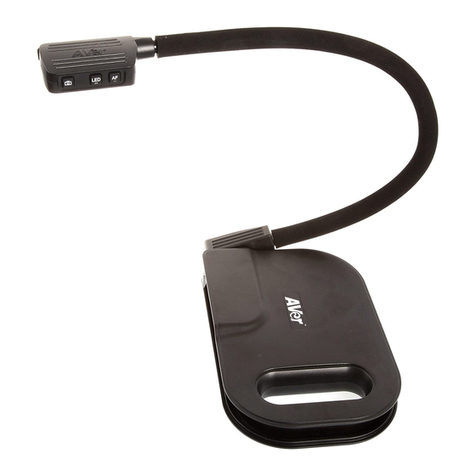
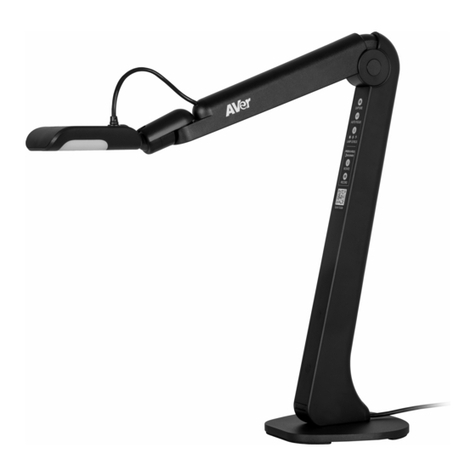
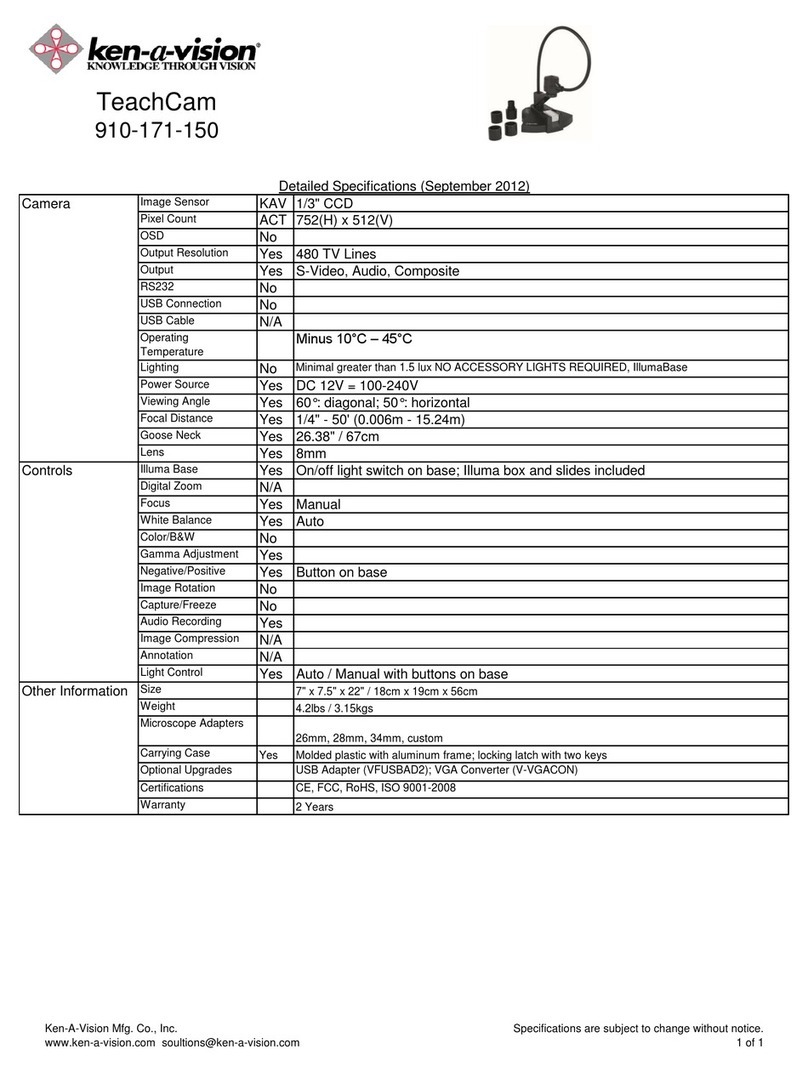
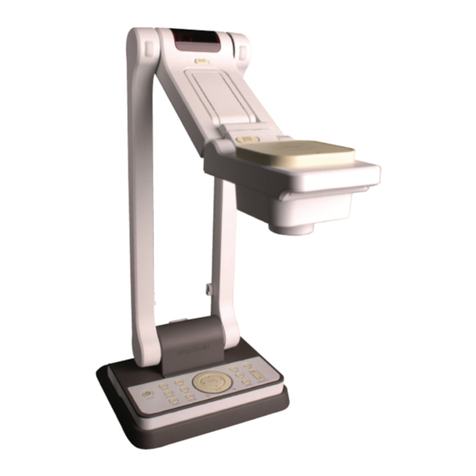
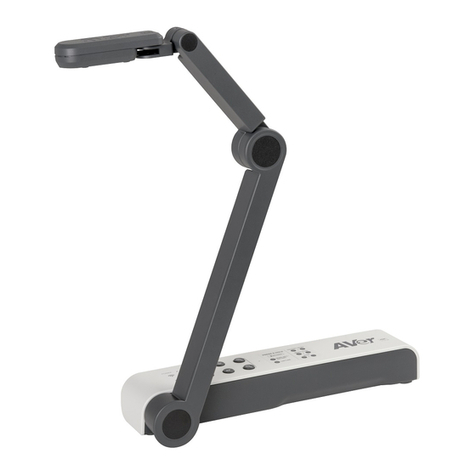
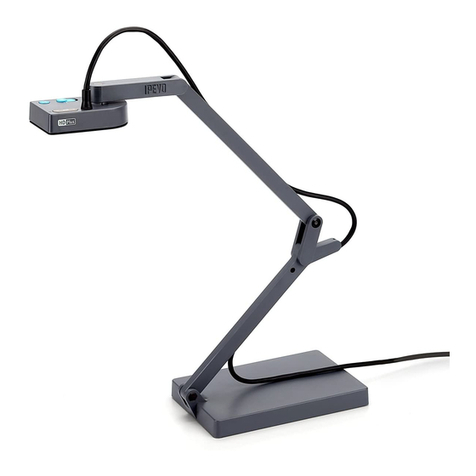
AVer M15-13M User manual

M15-13M
Instruction Manual Bedienungsanleitung
Mode d'emploi Manual de instrucciones
安裝指南
安装指南

English……..……………………………………..……….….....1
Deutsch……..…………………..………………..……….…... 10
Français...…………………………………………….…….…..18
Español.………………………………………………..….…... 26
繁體中文………………………………………………….….… 34
简体中文..……………………………..…………………..……42

English-1
Package Contents
The items below are included with this product. If any item is missing,
contact the dealer from whom you purchased this product.
M15-13M unit Power adapter/ Power plug USB cable
Warranty card* Instruction manual
*Only for Japan, Taiwan, China and Europe
Optional Accessories
Carrying bag Anti-glare sheet

English-2
Hardware Parts
1
2
3
4
56 7
1. Camera head
2. LED lighting
3. Arm
4. Control panel
5. USB port
6. HDMI output
7. DC power jack
Control Panel
1
2 4 6
3 5 7
8
1. Power indicator
2. Power button(on/off/standby)
3. Freeze
4. Lamp(on/off)
5. Auto focus
6. Zoom in
7. Zoom out
8. Built-in MIC
LED Indicator
Power Solid green: Power on
No light: Power off
Solid red: Standby mode
[Note] To complete turn off the camera, press and hold the power button
about 10 seconds to turn off.

English-3
Compound Key
Press and hold for 3 seconds to operate the compound key function.
: Display system information.
: Snapshot the current screen image to software or
cloud.
Press keys to operate the compound key function.
:Back to factory default settings.
: Press to switch between following modes:
- Auto detects the best resolution(4K, 720P, 1080P)
- 1024x768 (If HDMI device support)
- 4K 60Hz (If HDMI device support)
:Press to switch between following modes:
- Normal: Adjust the gradient of image.
- Motion: Increase frame rate. Sufficient lighting is
required when using this mode.
- High quality: Better image quality.
Power Connection
Plug in power adapter and turn on M15-13M.
[Note] Press + when the camera doesn't work properly. The
camera back to standby mode.
Devices Connection
When M15-13M is connected to a laptop/PC via a USB cable and switched
to USB mode, a connection message will be displayed on the connected
HDMI monitor screen.

English-4
Using the Camera
Storage the Camera
Using Angle of the Camera
180°
180°
135°
Mounting the Camera on a Flat Surface
75mm

English-5
Rotate the Camera Head
Move the camera head as figure shown.
[CAUTIION] To avoid damage the camera head, hold the edge of the
camera head to rotation the camera head.
90°
90°
Shooting Area
When camera position is 330mm high, the shooting area will be A3 size.
Place the object as illustrate show, the object image is in positive direction.
330mm
Object direction
Image Shooting Direction
To shoot people, adjust the camera lens as illustrate shown; the people
image is in positive direction.

English-6
Specification
Sensor
1/3.06" CMOS
Pixel Count
13 megapixels
Frame Rate
60 fps (max.)
Preview mode
Normal /Motion/High Quality
Effect
Color / B.W / Negative
HDMI Output 4K; Full HD 1080p 60Hz; HD 720p 60Hz
Focusing
Auto / Manual
Shooting Area 426mm x313mm @ 330 mm
Zooming Total 23X maximum
Power Source
DC5V/ 2A, AC 100-240V
Consumption
4 Watts(lamp on)
3.5 Watts(lamp off)
USB Bus Power
Yes(Standby mode only)
Lamp Type
LED light
USB USB Type mini-B x 1
DC 5V Input
Power Jack
MIC
Built-in
Operating
518mm(L)*84 mm(W)*351mm(H) (+/-2mm
include rubber foot)
Folded 280mm(L)*84mm(W)*42mm(H)
(+/-2mm include rubber foot)
Net Weight 0.68 kg (about 1.5 lbs)
Gross Weight 1.4 (about 3.1 lbs)
Software Supported
ePTZ
Image/ Area capture
Picture by Picture
Timer
Cloud library
Recording
Annotation

English-7
Federal Communications Commission Statement
NOTE: This equipment has been tested and found to comply with the limits for
a Class A digital device, pursuant to part 15 of the FCC Rules. These limits are
designed to pro-vide reasonable protection against harmful interference when
the equipment is operate din a commercial environment. This equipment
generates, uses, and can radiate radiofrequency energy and, if not installed
and used in accordance with the instruction manual, may cause harmful
interference to radio communications. Operation of this equipment in a
residential area is likely to cause harmful interference in which case the user
will be required to correct the interference at his own expense.
FCC Caution: Any changes or modifications not expressly approved by the
party responsible for compliance could void the user's authority to operate this
equipment.
This device complies with part 15 of the FCC Rules.
Operation is subject to the following two conditions:
(1) This device may not cause harmful interference, and
(2) this device must accept any interference received, including interference
that may cause undesired operation.
CE Class A
Warning:
This is a class A product. In a domestic environment this product may cause
radio interference in which case the user may be required to take adequate
measures.
NOTICE
SPECIFICATIONS ARE SUBJECT TO CHANGE WITHOUT PRIOR NOTICE.
THE INFORMATION CONTAINED HEREIN IS TO BE CONSIDERED FOR
REFERENCE ONLY.
COPYRIGHT
©2023 AVer Information Inc. All rights reserved. | July 14, 2023
The information contained in this documentation is subject to change without
notice.
TRADEMARKS
“AVer” is a trademark owned by AVer Information Inc. Other trademarks used
herein for description purpose only belong to each of their companies.
DISCLAIMER
No warranty or representation, either expressed or implied, is made with
respect to the contents of this documentation, its quality, performance,
merchantability, or fitness for a particular purpose. Information presented in
this documentation has been carefully checked for reliability; however, no
responsibility is assumed for inaccuracies. The information contained in this
documentation is subject to change without notice.
In no event will AVer be liable for direct, indirect, special, incidental, or
consequential damages arising out of the use or inability to use this product or
documentation, even if advised of the possibility of such damages.
English-8
WARNING
Do not drop the camera or subject it
to physical shock.
Use the correct power supply
voltage to avoid the damaging
camera.
Do not place the camera where the
cord can be stepped on as this may
result in fraying or damage to the
lead or the plug.
Do not pull the mechanical arm and
camera part in the opposite
direction.
To reduce the risk of fire or electric
shock, do not expose this appliance
to rain or moisture. Warranty will be
void if any unauthorized
modifications are done to the
product.
Hold the bottom of the camera with
both hands to move the camera. Do
not grab the lens or mechanical arm
to move the camera.
THE MARK OF CROSSED-OUT WHEELED BIN INDICATES THAT
THIS PRODUCT MUST NOT BE DISPOSED OF WITH YOUR
OTHER HOUSEHOLD WASTE. INSTEAD, YOU NEED TO DISPOSE
OF THE WASTE EQUIPMENT BY HANDING IT OVER TO A
DESIGNATED COLLECTION POINT FOR THE RECYCLING OF
WASTE ELECTRICAL AND ELECTRONIC EQUIPMENT. FOR
MORE INFORMATION ABOUT WHERE TO DROP OFF YOUR
WASTE EQUIPMENT FOR RECYCLING, PLEASE CONTACT YOUR
HOUSEHOLD WASTE DISPOSAL SERVICE OR THE SHOP
WHERE YOU PURCHASED THE PRODUCT.

English-9
More Help
For FAQs, technical support, software and instruction manual download,
please visit:
Headquarters
Europe Branch Office
Download
Center
https://www.aver.com/download
-
center
https://www.avereurope.com/downloa
d-center
Technical
Support
https://www.aver.com/technical
-
support
https://www.avereurope.com/technica
l-support
CONTACT INFORMATION
Headquarters
AVer Information Inc.
https://www.aver.com
8F, No.157, Da-An Rd., Tucheng Dist., New Taipei City 23673, Taiwan
Tel: +886 (2) 2269 8535
Europe Branch office
AVer Information Europe B.V.
https://www.avereurope.com
Westblaak 134, 3012 KM, Rotterdam, The Netherlands
Tel: +31 (0) 10 7600 550
Japan Branch Office
アバー・インフォメーション株式会社
https://jp.aver.com
〒160-0023 日本東京都新宿区西新宿 3-2-26 立花新宿ビル 7 階
Tel: +81 (0) 3 5989 0290
テクニカル・サポート: https://jp.aver.com/technical-support
Vietnam Branch Office
Công ty TNHH AVer Information (Việt Nam)
Tầng 5, 596 Nguyễn Đình Chiểu, P.3, Quận 3, Thành phốHồChí Minh
700000, Việt Nam
Tel: +84 (0)28 22 539 211

Deutsch-10
Inhalt Der Verpackung
Die folgenden Artikel sind Bestandteile dieses Produktes. Falls ein Teil
fehlen sollte, wenden Sie sich bitte an den Händler, bei dem Sie dieses
Produkt erworben haben.
M15-13M-Gerät Netzadapter/Netzstecker USB-Kabel
Garantiekarte* Bedienungsanleitung
*Nur für Japan, Taiwan und Europa
Optionales Zubehör
Tragetasche Blendschutz

Deutsch-11
Hardware-Teile
1
2
3
4
5 6 7
1. Kamerakopf
2. LED-Leuchte
3. Arm 4. Bedienfeld
5. USB-Anschluss
6. HDMI-Ausgang
7. DC-Buchse
Bedienfeld
1
2 4 6
3 5 7
8
1. Stromanzeige
2. Ein-/Ausschalter(Ein/Aus/Standby)
3. Anhalten
4. Lampe (Ein/Aus)
5. Auto-Fokus
6. Zoom in
7. Zoom out
8. Eingebautes Mikrofon
LED-Leuchte
Leistung Statisch Grün: Strom ein
Kein Licht: Ausgeschaltet
Statisch Rot: Standby-Modus
[Hinweis] Zum Abschalten der Kamera die Netztaste gedrückt halten.

Deutsch-12
Verbundtaste
Gedrückt halten(3 sekunden)
: Systeminformationen anziegen
: Schnappschuss des aktuellen Bildschirms für die Software
oder die Cloud.
Drücken Sie die Tasten, um die Funktion der Verbundtasten zu aktivieren.
: Zurück zu Werkseinstellungen
Für die Umschaltung zwischen den folgenden Modi drücken:
- Autom. Erkennung der besten Auflösung (4k, 720P, 1080P)
- 1024x768 (bei HDMI-Geräteunterstützung)
- 4K 60 Hz (bei HDMI-Geräteunterstützung)
Für die Umschaltung zwischen den folgenden Modi drücken:
- Normal: Bildgradient anpassen
- Bewegung: Framerate erhöhen. In diesem Modus muss die
Beleuchtung ausreichend sein.
- - Hohe Qualität, bessere Bildqualität
Stromanschluss
Netzadapter einstecken und M15-13M einschalten.
[Hinweis]Wenn die Kamera nicht richtig arbeiten sollte, drücken Sie auf
+ . Die Kamera schaltet wieder in den Standby-Modus.
Geräteanschluss
Wenn M15-13M über ein USB-Kabel mit einem Laptop/PC verbunden ist
und in den USB-Modus geschaltet wird, wird am angeschlossenen
HDMI-Monitorbildschirm eine Meldung angezeigt.

Deutsch-13
So Verwenden Sie Die Kamera
Aufbewahrung Der Kamera
Verwendung des Kamerawinkels
180°
180°
135°
Kameramontage auf einer flachen Oberfläche
75mm

Deutsch-14
Kamerakopf drehen
Kamerakopf wie in der Abbildung bewegen
[VORSICHT] Zur Vermeidung von Schäden am Kamerakopf halten Sie den
Kamerakopf an der Kante fest, wenn Sie den Kamerakopf drehen möchten.
90°
90°
Aufnahmebereich
Wenn die Kameraposition eine Höhe von 330mm hat, ist der
Aufnahmebereich A3-Größe. Platzieren Sie den Gegenstand wie in der
Abbildung gezeigt. Das Objektbild ist in positiver Richtung.
330mm
Object direction
Bildaufnahmerichtung
Für die Aufnahme von Personen passen Sie das Kameraobjektiv wie
abgebildet an. Das Bild der Personen ist in positiver Richtung.
Objektrichtung

Deutsch-15
Technische Daten
Sensor
1/3.06" CMOS
Pixel
13 Megapixel
Bildrate 60 fps (max.)
Bildmodus
Normal/High Frame/Hohe Qualität
Effekt
Farbe/ SW / Negativ
HDMI-Ausgang 4K; Full HD 1080p 60Hz; HD 720p 60Hz
Fokussierung
Autom./Manuell
Aufnahmebereich 426 mm x313 mm @ 330 mm
Zoom Gesamt 23-fach max.
Stromquelle
DC5V/ 2A, AC 100-240V
Stromverbrauch
4 Watt (Lampe ein)
3,5 Watt (Lampe aus)
USB Bus-Leistung
Ja (nur Standby-Modus)
Lampentyp
LED-Leuchte
USB
USB Type mini-B x 1
DC 5V Eingang Strombuchse
MIC
Eingebaut
Betrieb
518 mm (L)*84 mm (B)*351 mm (H) (+/-2 mm,
einschließlich Gummifuß)
Gefaltet
280 mm(L)*84 mm(B)*42 mm (H)
(+/-2 mm, einschließlich Gummifuß)
Gewicht 0.68 kg(1.5 lbs)
Bruttogewicht 1.4 (3.1 lbs)
Software-Unterstütz
ung
ePTZ
Bild/Bereichserfassung
Bild-für-Bild
Timer
Cloud-Bibliothek
Aufnahme
Kommentieren

Deutsch-16
HINWEIS
DIE TECHNISCHEN DATEN UNTERLIEGEN ÄNDERUNGEN OHNE
VORANKÜNDIGUNG. DIE ANGABEN IN DIESER UNTERLAGE DIENEN NUR
ZUR INFORMATION.
COPYRIGHT
© 2023 AVer Information Inc. Alle Rechte vorbehalten.
Die Informationen in diesem Dokument können sich, ohne dass darauf
hingewiesen wird, ändern.
WARENZEICHEN
„AVer" ist ein Warenzeichen von AVer Information Inc. Andere in diesem
Dokument genannten Warenzeichen dienen lediglich der Information und sind
Eigentum der entsprechenden Unternehmen.
WARNUNG
Zur Vermeidung der Brandgefahr bzw. von Elektroschocks setzen Sie das
Gerät weder Regen noch Feuchtigkeit aus. Die Gewährleistung verfällt, wenn
am Produkt unautorisierte Änderungen vorgenommen werden.
Die Kamera keinen Schlägen oder starker Vibration aussetzen.
Die richtige Stromspannung wählen, um Schäden an der Kamera zu
vermeiden.
Die Kamera muss so aufgestellt werden, dass niemand auf das Kabel
treten kann, weil das Kabel eventuell ausfranst und die Drähte oder der
Stecker beschädigt werden können.
Um die Kamera zu bewegen,
halten Sie sie mit beiden Händen
an der Unterseite fest. Die
Kamera nicht mithilfe von
Objektiv oder flexiblem Arm
bewegen.
Den mechanischen Arm und das
Kamerateil nicht in die
entgegengesetzte Richtung
ziehen.

Deutsch-17
Mehr Hilfe
Für FAQs, technische Unterstützung, Software und für den Download der
Bedienungsanleitung besuchen Sie bitte:
Download Center:
https://www.avereurope.com/download-center
Technischer Support:
https://www.avereurope.com/technical-support
Kontaktinformationen
AVer Information Europe B.V.
https://www.avereurope.com
Westblaak 134, 3012 KM, Rotterdam, The Netherlands
Tel: +31 (0) 10 7600 550

Français-18
Contenu de L'emballage
Les éléments ci-dessous sont fournis avec ce produit. Si un élément venait
à manquer, adressez-vous au revendeur auquel vous avez acheté le
produit.
Appareil M15-13M
Adaptateur secteur /
Prise d'alimentation
Câble USB
Carte de garantie* Mode d'emploi
*Japon, Taiwan et Europe seulement
Accessoires En Option
Sacoche de transport Film antireflet
Other manuals for M15-13M
2
Table of contents
Languages:
Other AVer Document Camera manuals

AVer
AVer AVerVision M17-13M User manual

AVer
AVer AVerVision F35 User manual

AVer
AVer AVerVision M50 User manual

AVer
AVer M70W User manual

AVer
AVer AVerVision F50+ User manual

AVer
AVer M15W User manual

AVer
AVer AVerVision F70W User manual

AVer
AVer TabCam User manual

AVer
AVer U70 Quick start guide

AVer
AVer AVerVision300AF+ User manual

AVer
AVer M15-13M User manual

AVer
AVer M70Wv2 User manual

AVer
AVer M5 User manual

AVer
AVer M90UHD User manual

AVer
AVer AVerVision M70 User manual

AVer
AVer M15-13M User manual

AVer
AVer AVerVision300AFHD User manual

AVer
AVer AVerVision F17-8M User manual

AVer
AVer AVerVision F70W User manual

AVer
AVer Vision F50+ User manual