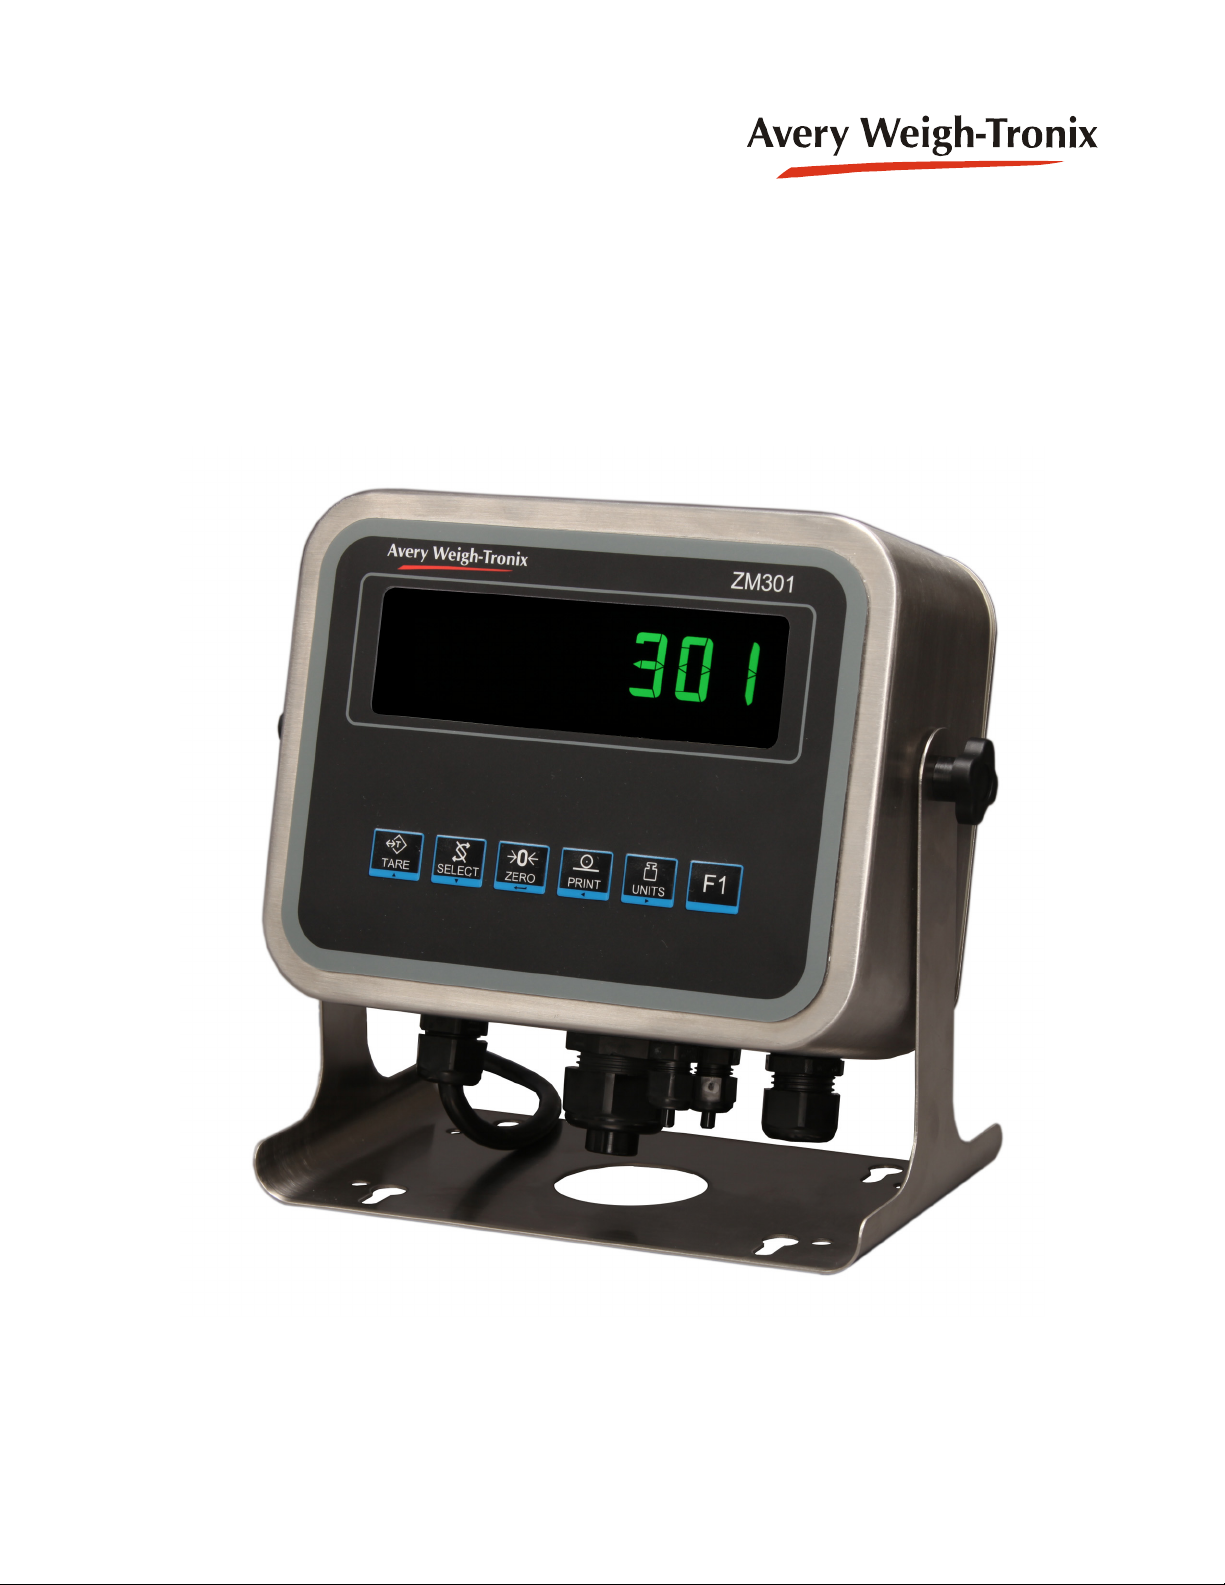
4 ZM301 Indicator User Instructions
Batching application ......................................................................................................... 27
SELECT key default function .................................................................................... 27
Special key functions ................................................................................................. 27
Batching operation .................................................................................................... 27
2-Speed filling ............................................................................................................ 28
Ingredient filling ......................................................................................................... 28
Independent setpoints ............................................................................................... 28
Fill/Discharge ............................................................................................................. 29
Peak hold application ....................................................................................................... 30
SELECT key default function .................................................................................... 30
Special key functions ................................................................................................. 30
Peak hold operation .................................................................................................. 30
Remote display application .............................................................................................. 31
Chapter 4 Menus ...................................................................................................................................... 32
Accessing the menus ....................................................................................................... 32
Menu annunciators .......................................................................................................... 32
Exiting the menus ............................................................................................................ 33
USER level menus ........................................................................................................... 33
User menu ....................................................................................................................... 34
Time .......................................................................................................................... 34
Date ...........................................................................................................................35
Site ID ........................................................................................................................36
Seal ...........................................................................................................................36
About menu ...................................................................................................................... 37
Boot ...........................................................................................................................37
Firm and App ............................................................................................................. 38
Serial .........................................................................................................................38
Option ........................................................................................................................ 38
Enet ...........................................................................................................................39
Dload ......................................................................................................................... 40
Audit menu ....................................................................................................................... 41
Counter ...................................................................................................................... 41
Print ........................................................................................................................... 42
Chapter 5 Communications .................................................................................................................... 43
Default print formats ......................................................................................................... 43
Chapter 6 Error messages ...................................................................................................................... 44
Chapter 7 Supervisor menu .................................................................................................................... 45
General Weighing application supervisor menu .............................................................. 46
Setpoint ..................................................................................................................... 46
Annunciators ....................................................................................................... 47
Outputs ............................................................................................................... 47
Inputs .................................................................................................................. 48
Print ..................................................................................................................... 48
Reset ................................................................................................................... 48
Battery ....................................................................................................................... 49
Enable ................................................................................................................. 49
Timeout ............................................................................................................... 49
Accumulator application supervisor menu ....................................................................... 51
Accumulator .............................................................................................................. 52
Print total ............................................................................................................. 52
Total format ......................................................................................................... 52
Clear total ............................................................................................................ 53
Print ..................................................................................................................... 53
Reset ................................................................................................................... 53