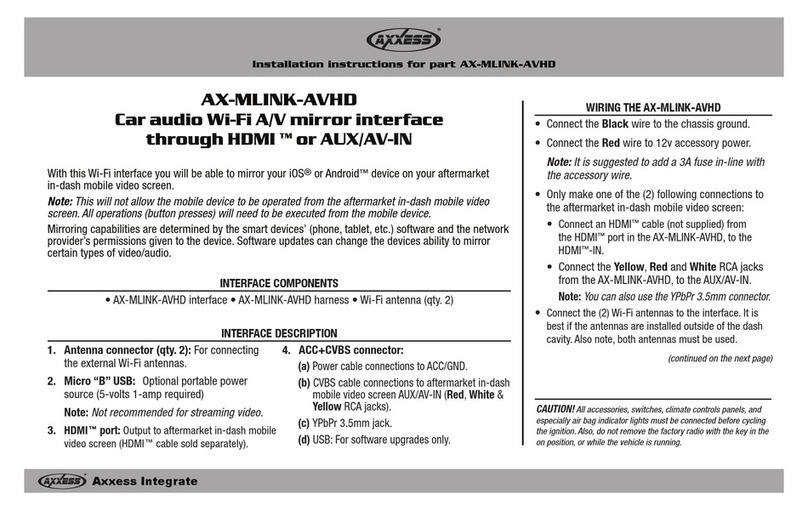
manuals.online logo
Brands
  1. Home
  2. •
  3. Brands
  4. •
  5. Axxess
  6. •
  7. Recording Equipment
  8. •
  9. Axxess CHTO-02 User manual

Axxess CHTO-02 User manual

CAUTION!
All accessories, switches, climate
controls panels, and especially air bag indicator
lights must be connected before cycling the
ignition. Also, do not remove the factory radio
with the key in the on position, or while the
vehicle is running.
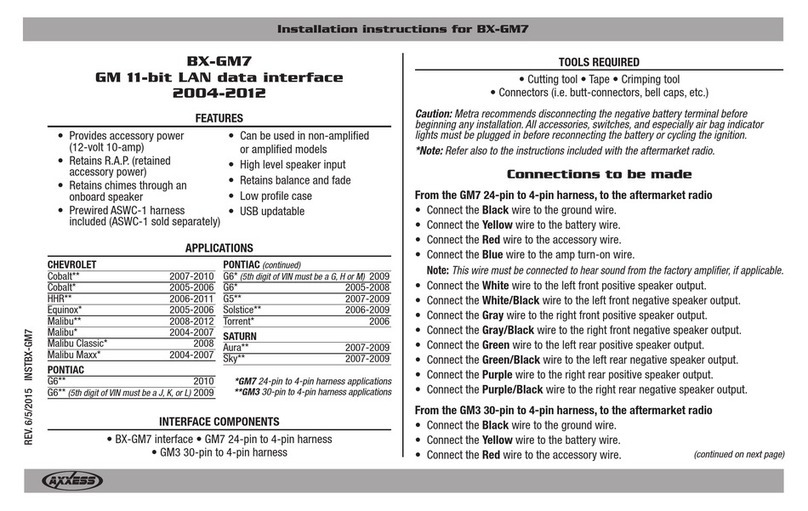
CHTO-02
INSTALLATION INSTRUCTIONS
axxessinterface.com © COPYRIGHT 2017 METRA ELECTRONICS CORPORATION REV. 6/20/17 INSTCHTO-02
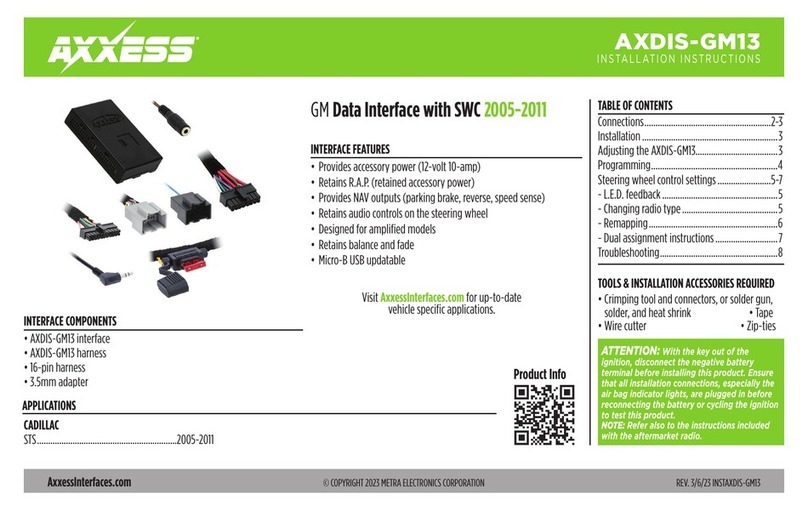
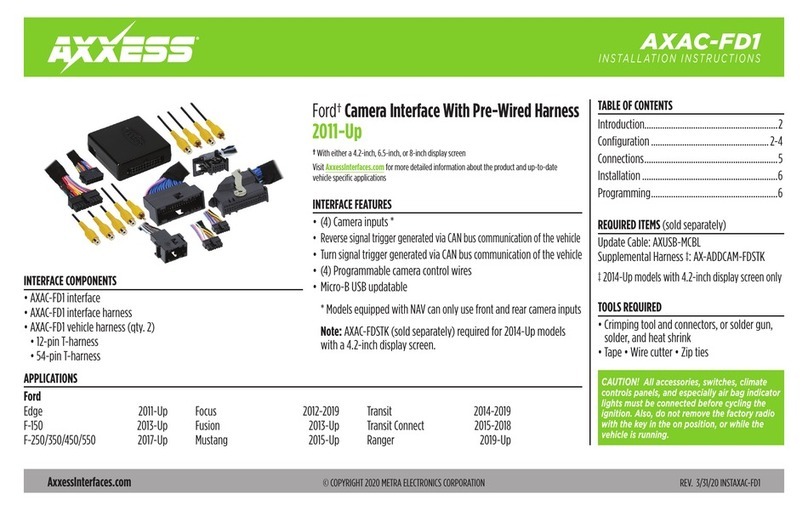
INTERFACE FEATURES
INTERFACE COMPONENTS
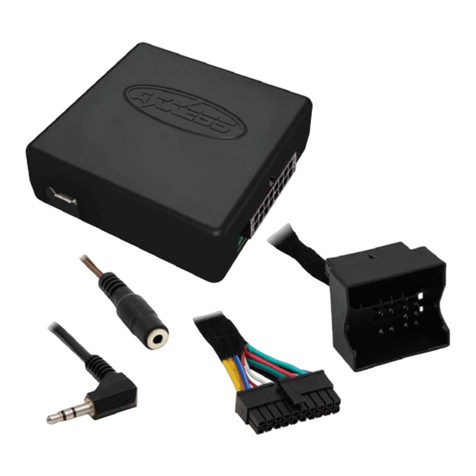
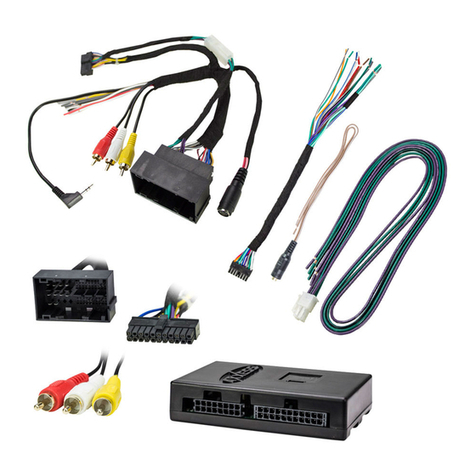
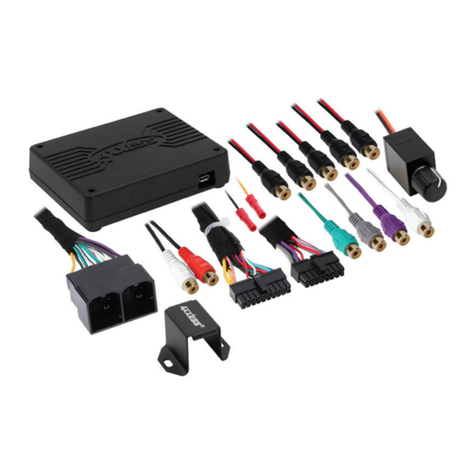
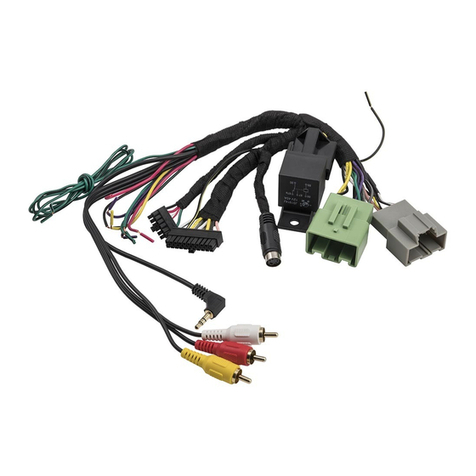
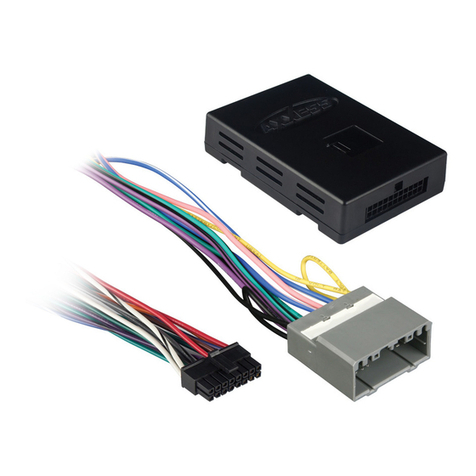
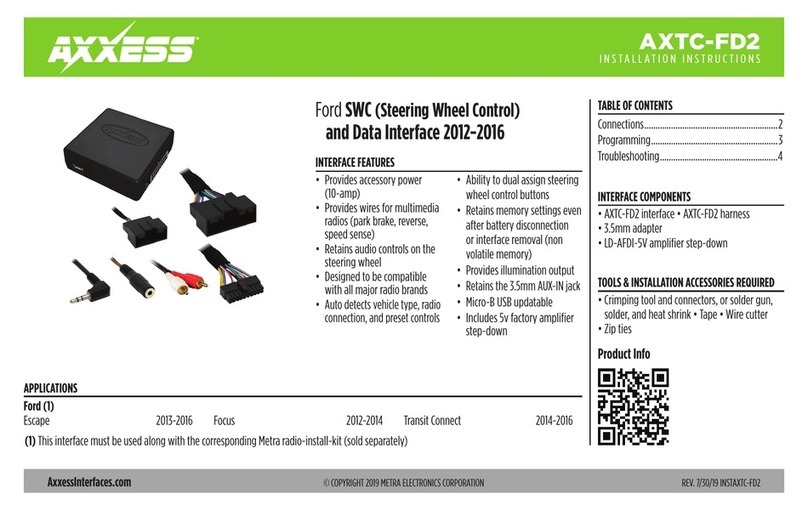
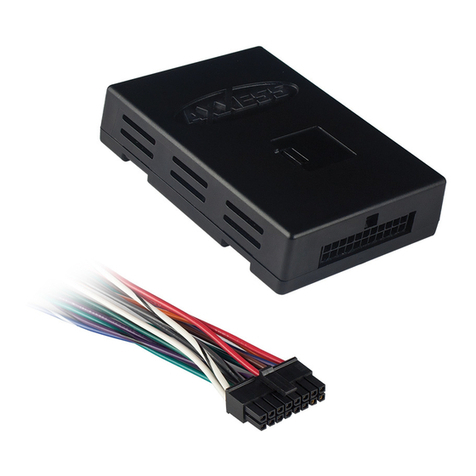
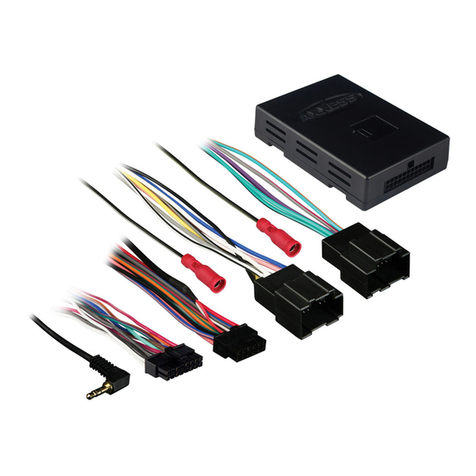
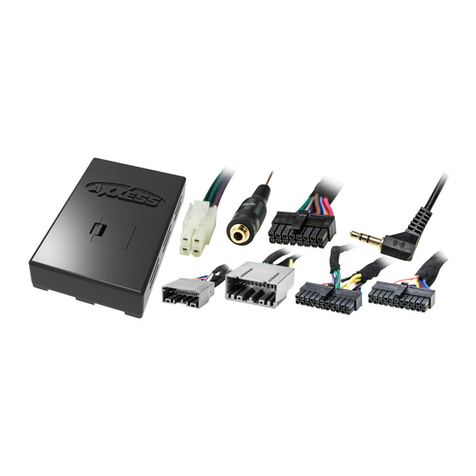
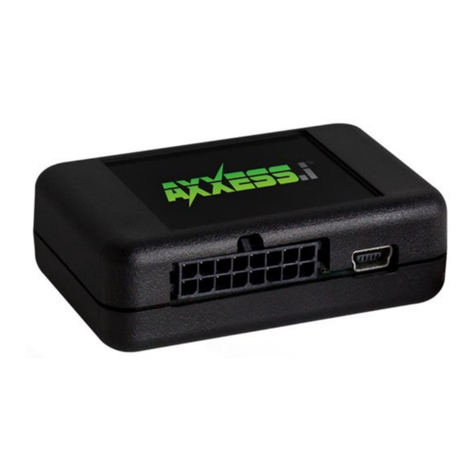
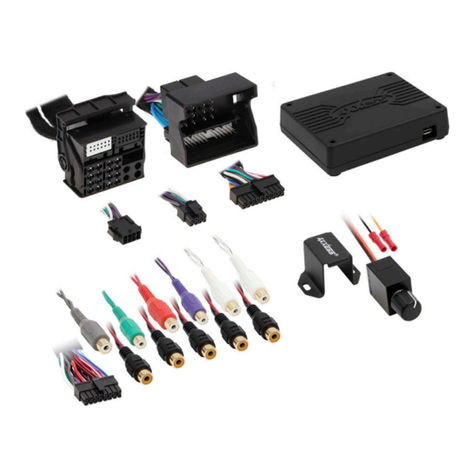
• CHTO-02 interface
• 16-pin harness with stripped leads
• 14-pin harness to 22-pin Chrysler harness with stripped leads
TOOLS REQUIRED
• Cutting tool • Crimping tool • Tape
• Connectors (example: butt-connectors, bell
caps, etc.)
TABLE OF CONTENTS
Connections to be made.......................................2
Installing the CHTO-02...........................................3
Testing the CHTO-02 ..............................................3
Chrysler/Dodge amplified data interface 2002-2008
APPLICATIONS
• Provides accessory (12-volt 10-amp)
• Retains R.A.P. (retained accessory power)
• Used in amplified systems
• Provides NAV outputs (parking brake, reverse, mute
& vehicle speed sense.)
• Includes prewired ASWC-1 harness (ASWC-1 sold separately)
• High level speaker input
• USB updatable
• Retains balance and fade
CHRYSLER
Pacifica 2004-2008
DODGE
Ram 1500 2002-2004
Ram 2500/3500 2003-2004
2
CONNECTIONS TO BE MADE
From the 16-pin harness to the aftermarket radio:
• Connect the Red wire to the ignition wire.
• Disregard the Orange/White wire, it will not be used in this application.
• Connect the White wire to the left front positive speaker output.
• Connect the White/Black wire to the left front negative speaker output.
• Connect the Gray wire to the right front positive speaker output.
• Connect the Gray/Black wire to the right front negative speaker output.
• Connect the Green wire to the left rear positive speaker output.
• Connect the Green/Black wire to the left rear negative speaker output.
• Connect the Purple wire to the right rear positive speaker output.
• Connect the Purple/Black wire to the right rear negative speaker output.
• Connect the Blue/White wire to the amp turn on wire.
• Connect the Brown wire to the mute wire. If the aftermarket radio does not have a “mute”
wire, tape off the Brown wire.
The following (3) wires are for aftermarket multimedia/navigation radios that provide these
wires (if not required, tape them off and disregard them):
• Connect the Light Green wire to the parking brake wire (if applicable).
• Connect the Blue/Pink wire to the speed sense wire (if applicable).
• Connect the Green/Purple wire to the reverse wire (if applicable).
• Plug the 16-pin harness into the CHTO-02.
From the 22-pin Chrysler harness to the aftermarket radio:
• Connect the Yellow wire to the 12-volt battery or memory wire.
• Connect the Black wire to the ground wire.
• Connect the Orange wire to the illumination wire. If the aftermarket radio has no
illumination wire tape off the Orange wire.
• Plug the 14-pin harness into the CHTO-02.
12-pin pre-wired ASWC-1 harness:
• This harness is to be used in along with the optional ASWC-1 (sold separately) to retain
steering wheel audio controls. If the ASWC-1 is not being used, disregard this harness. If it
will be used, please refer to the ASWC-1 instructions for radio connections and programming.
Note:
Disregard the harness that comes with the ASWC-1.
3
REV. 6/20/2017 INSTCHTO-02
INSTALLING THE CHTO-02 TESTING THE CHTO-02
• With all connections completed to the aftermarket radio, plug the 22-pin harness into the
vehicles wiring harness.
• Reconnect the negative battery terminal.
• Cycle the key, by turning the ignition on for 30 seconds. Then “off” and “on” again to test
the radio.
• Turn the ignition on if not already, and then turn the radio “on” to verify that the radio
works. Check balance and fader controls for proper operation.
• To adjust the overall volume of your audio system, rotate the potentiometer which is located
on the 16-pin side of the interface clockwise.
KNOWLEDGE IS POWER
Enhance your installation and fabrication skills by
enrolling in the most recognized and respected
mobile electronics school in our industry.
Log onto www.installerinstitute.com or call
800-354-6782 for more information and take steps
toward a better tomorrow.
®
Metra recommends MECP
certified technicians
IMPORTANT
If you are having difficulties with the installation of this product,
please call our Tech Support line at 1-800-253-TECH. Before doing
so, look over the instructions a second time, and make sure the
installation was performed exactly as the instructions are stated.
Please have the vehicle apart and ready to perform troubleshooting
steps before calling.
axxessinterface.com © COPYRIGHT 2017 METRA ELECTRONICS CORPORATION REV. 6/20/17 INSTCHTO-02
INSTALLATION INSTRUCTIONS
CHTO-02

Other Axxess Recording Equipment manuals

Axxess GMOS-04 User manual

Axxess

Axxess GMOS-04 User manual

Axxess GMOS-LAN-09 User manual

Axxess

Axxess GMOS-LAN-09 User manual

Axxess MITO-03 User manual

Axxess

Axxess MITO-03 User manual

Axxess AXDSPL-BM1 User manual

Axxess

Axxess AXDSPL-BM1 User manual

Axxess AXDIS-GM13 User manual

Axxess

Axxess AXDIS-GM13 User manual

Axxess ASWC-1 User manual

Axxess

Axxess ASWC-1 User manual

Axxess GMOS-05 User manual

Axxess

Axxess GMOS-05 User manual

Axxess GMOS-LAN-10 User manual

Axxess

Axxess GMOS-LAN-10 User manual

Axxess TYTO-02 User manual

Axxess

Axxess TYTO-02 User manual

Axxess GMOS-08 User manual

Axxess

Axxess GMOS-08 User manual

Axxess AXTC-FD2 User manual

Axxess

Axxess AXTC-FD2 User manual

Axxess AX-AM-AU94 User manual

Axxess

Axxess AX-AM-AU94 User manual

Axxess AXTC-VW1 User manual

Axxess

Axxess AXTC-VW1 User manual

Axxess AXDSPX-GM30 User manual

Axxess

Axxess AXDSPX-GM30 User manual

Axxess AX-CH013-SWC User manual

Axxess

Axxess AX-CH013-SWC User manual

Axxess BX-GM7 User manual

Axxess

Axxess BX-GM7 User manual

Axxess LC-CHRC-01 User manual

Axxess

Axxess LC-CHRC-01 User manual

Axxess LC-GMRC-05 User manual

Axxess

Axxess LC-GMRC-05 User manual

Axxess GMOS-09 User manual

Axxess

Axxess GMOS-09 User manual

Axxess CHTO-02 User manual

Axxess

Axxess CHTO-02 User manual

Axxess AX-FD1-SWC User manual

Axxess

Axxess AX-FD1-SWC User manual

Axxess BX-GM6 User manual

Axxess

Axxess BX-GM6 User manual

Axxess AXDSPX-BM1 User manual

Axxess

Axxess AXDSPX-BM1 User manual

Axxess XSVI-2004 User manual

Axxess

Axxess XSVI-2004 User manual

Popular Recording Equipment manuals by other brands

Inovance GL20-RTU-PN user guide

Inovance

Inovance GL20-RTU-PN user guide

Telit Wireless Solutions GE310-GNSS user guide

Telit Wireless Solutions

Telit Wireless Solutions GE310-GNSS user guide

Cedar DNS3000 manual

Cedar

Cedar DNS3000 manual

360 Systems Digicart-E E-3000 owner's manual

360 Systems

360 Systems Digicart-E E-3000 owner's manual

TCS FBI4500-0100 Product information

TCS

TCS FBI4500-0100 Product information

Linear Acoustic UMPAX v4 user guide

Linear Acoustic

Linear Acoustic UMPAX v4 user guide

Speech Technology Center Gnome-P STC-H368 user guide

Speech Technology Center

Speech Technology Center Gnome-P STC-H368 user guide

Toa MW-41BT-AM operating instructions

Toa

Toa MW-41BT-AM operating instructions

Focusrite Clarett+ 4Pre user manual

Focusrite

Focusrite Clarett+ 4Pre user manual

Yamaha POCKETRAK PR7 owner's manual

Yamaha

Yamaha POCKETRAK PR7 owner's manual

DS18 DSP4.8BTM owner's manual

DS18

DS18 DSP4.8BTM owner's manual

Symetrix Radius NX 4x4 Quick start guides

Symetrix

Symetrix Radius NX 4x4 Quick start guides

Audio enhancement Sentinel System CA-70 quick start guide

Audio enhancement

Audio enhancement Sentinel System CA-70 quick start guide

National Instruments SC-2043-SG user manual

National Instruments

National Instruments SC-2043-SG user manual

Audio Technology NAGRA-SD user manual

Audio Technology

Audio Technology NAGRA-SD user manual

Flock Audio PATCH LT Connecting

Flock Audio

Flock Audio PATCH LT Connecting

DAPAudio D1260 instruction manual

DAPAudio

DAPAudio D1260 instruction manual

Simplex 2100 installation instructions

Simplex

Simplex 2100 installation instructions

manuals.online logo
manuals.online logoBrands
  • About & Mission
  • Contact us
  • Privacy Policy
  • Terms and Conditions

Copyright 2025 Manuals.Online. All Rights Reserved.