Warning Hot Surface
TOOLS
NEEDED:
By Others
HP2& CO2 SERIES
MR16 / ES16
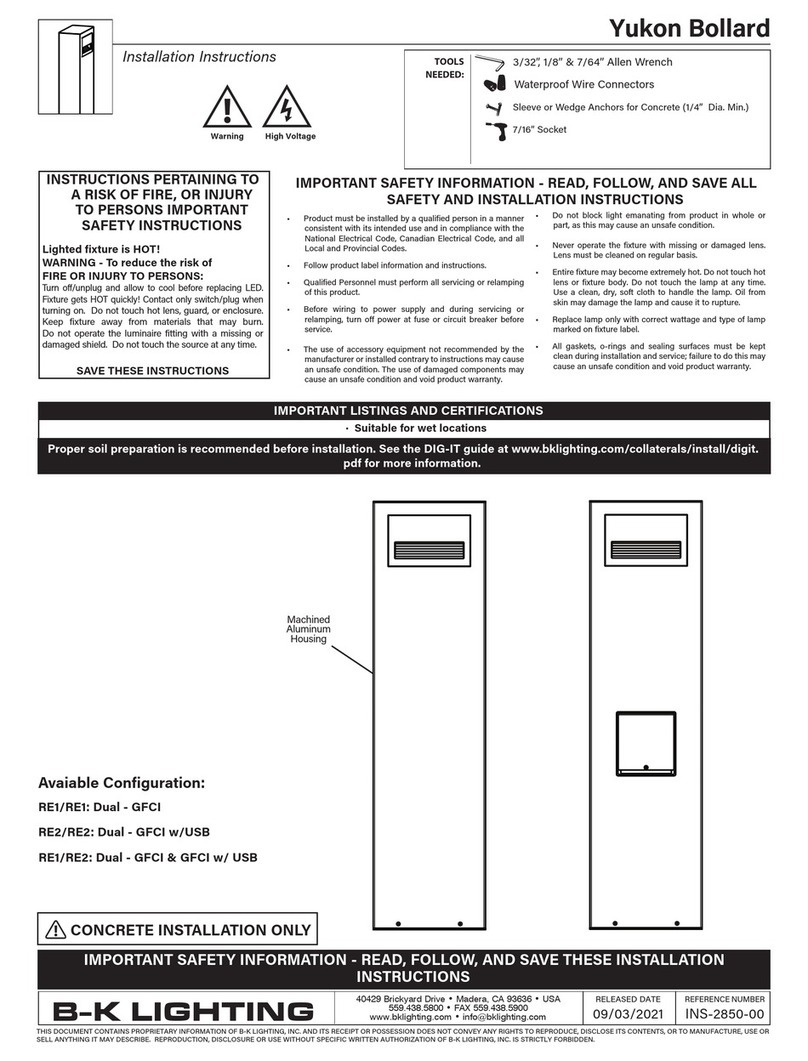
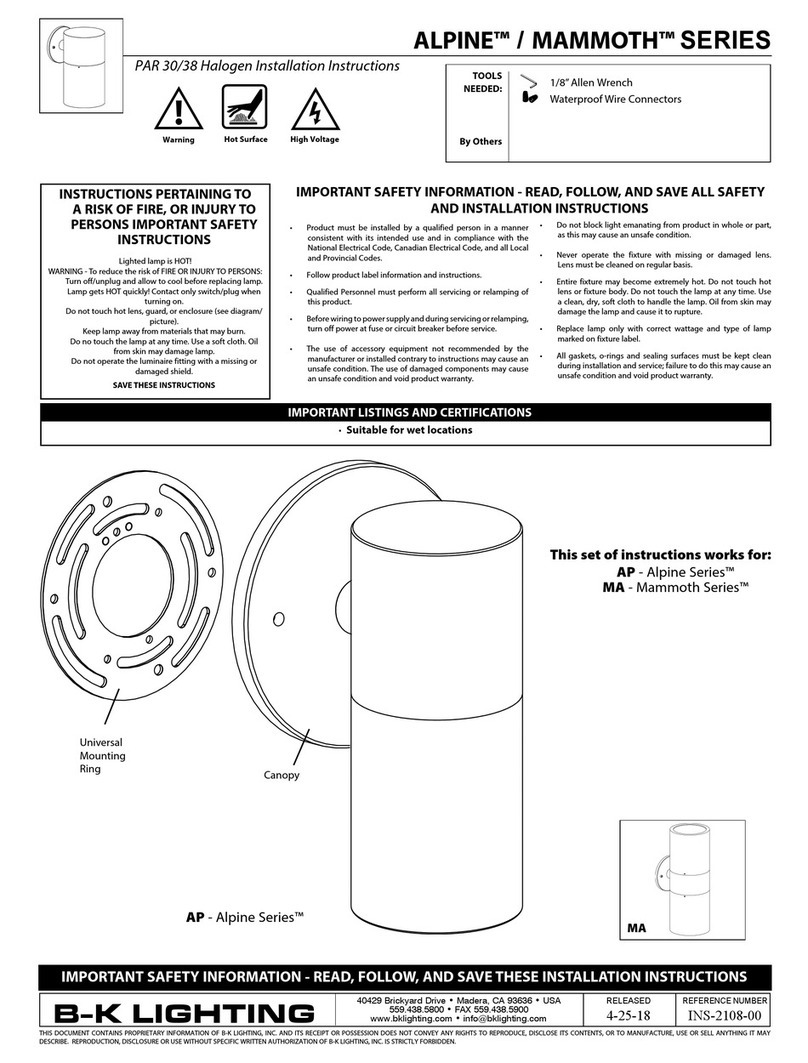
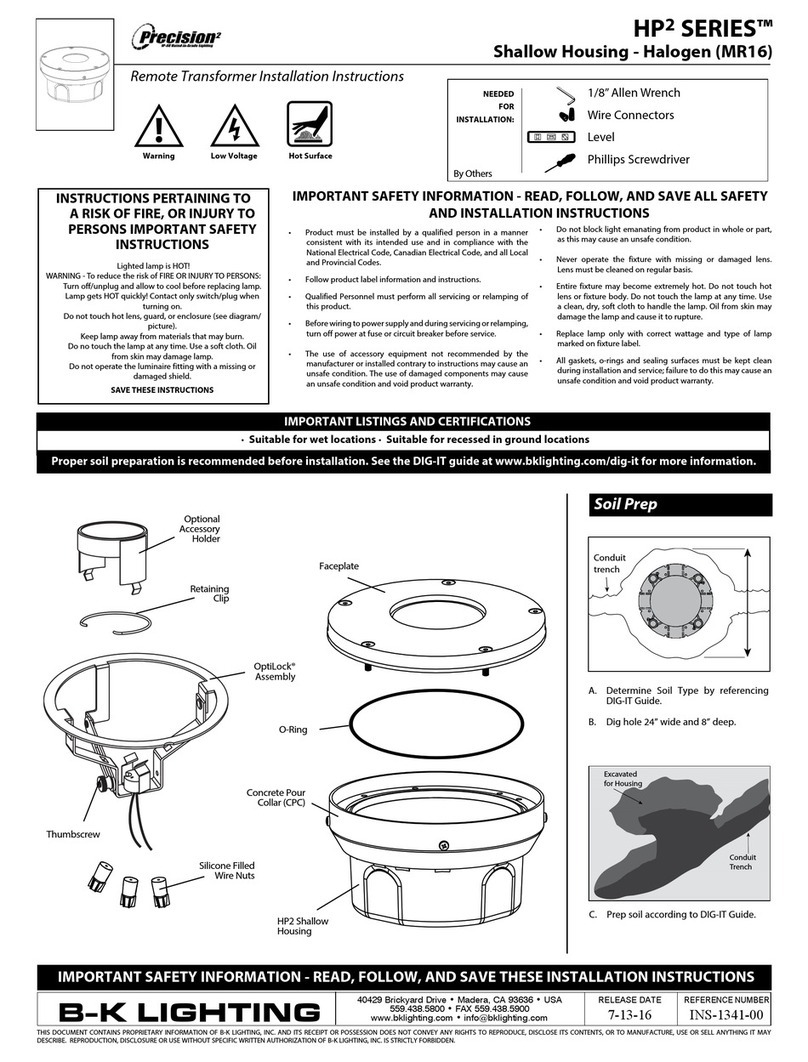
Lamp and Accessory Holder Installation
• Product must be installed by a qualified person in a manner
consistent with its intended use and in compliance with the
NationalElectricalCode,CanadianElectricalCode,andallLocal
andProvincialCodes.
• Followproductlabelinformationandinstructions.
• QualifiedPersonnelmustperformallservicingorrelampingof
thisproduct.
• Beforewiringtopowersupplyandduringservicingorrelamping,
turnoffpoweratfuseorcircuitbreakerbeforeservice.
• The use of accessory equipment not recommended by the
manufacturerorinstalledcontrarytoinstructionsmaycausean
unsafecondition.Theuseofdamagedcomponentsmaycause
anunsafeconditionandvoidproductwarranty.
IMPORTANT SAFETY INFORMATION - READ, FOLLOW, AND SAVE ALL SAFETY
AND INSTALLATION INSTRUCTIONS
• Donotblocklightemanatingfromproductinwholeorpart,
asthismaycauseanunsafecondition.
• Never operate the fixture with missing or damaged lens.
Lensmustbecleanedonregularbasis.
• Entire fixture may become extremely hot. Do not touch hot
lensorfixturebody.Donottouchthelampatanytime.Use
aclean,dry,softclothtohandlethelamp.Oilfromskinmay
damagethelampandcauseittorupture.
• Replace lamp only with correct wattage and type of lamp
markedonfixturelabel.
• All gaskets, O-rings and sealing surfaces must be kept clean
duringinstallationandservice;failuretodothismaycausean
unsafeconditionandvoidproductwarranty.
INSTRUCTIONS PERTAINING TO
A RISK OF FIRE, OR INJURY TO
PERSONS IMPORTANT SAFETY
INSTRUCTIONS
LightedlampisHOT!
WARNING-ToreducetheriskofFIREORINJURYTOPERSONS:
Turnoff/unplugandallowtocoolbeforereplacinglamp.
LampgetsHOTquickly!Contactonlyswitch/plugwhen
turningon.
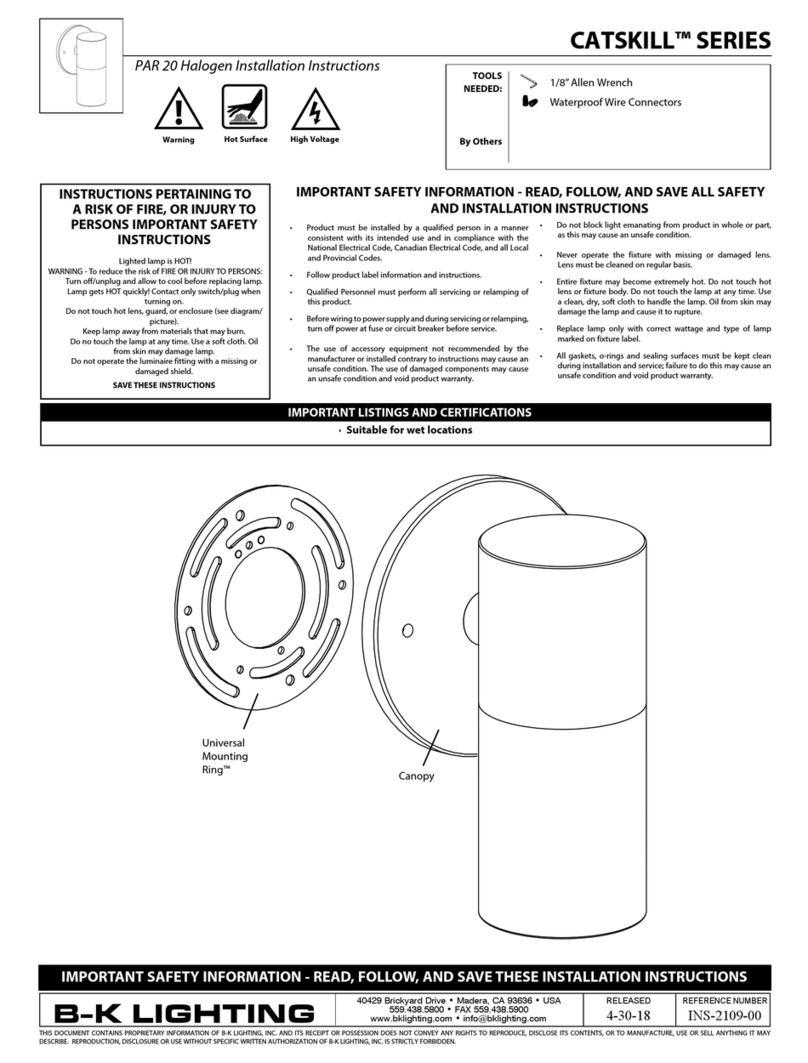
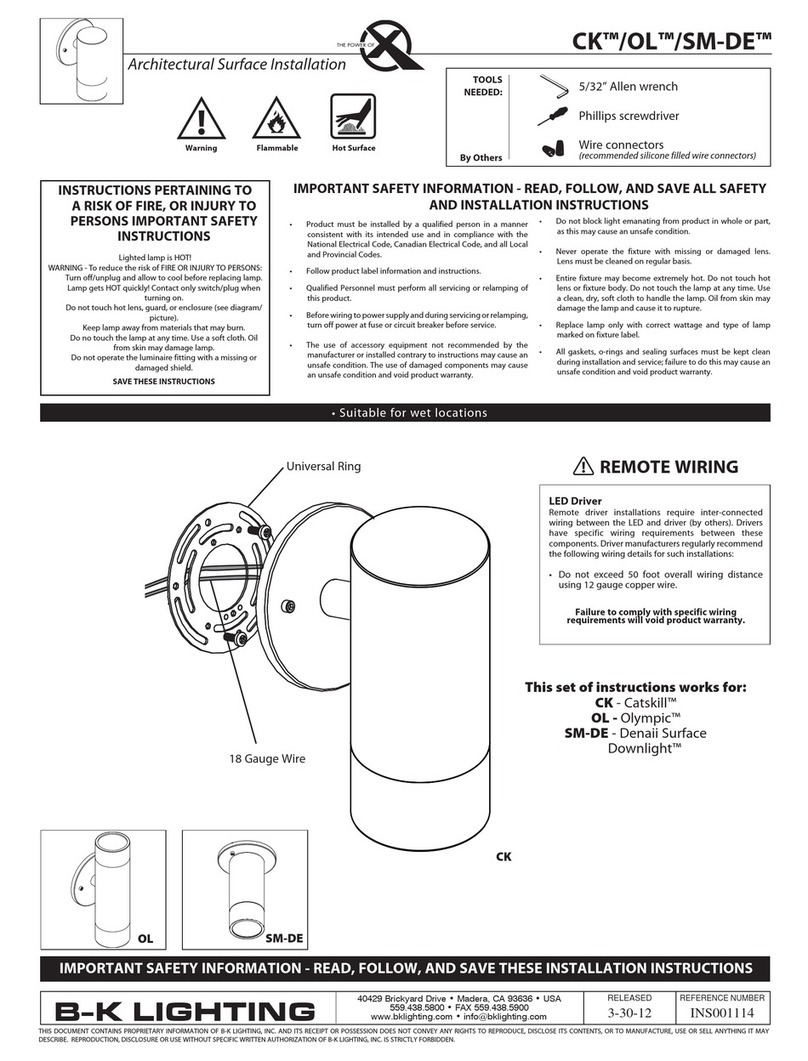
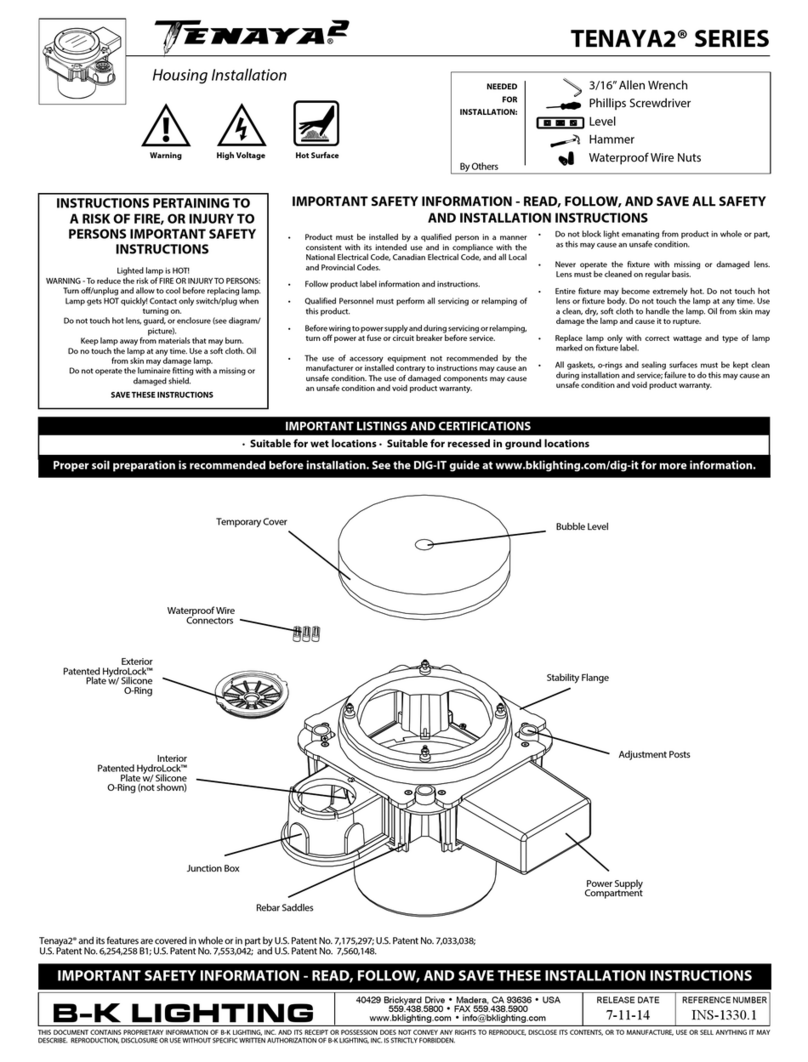
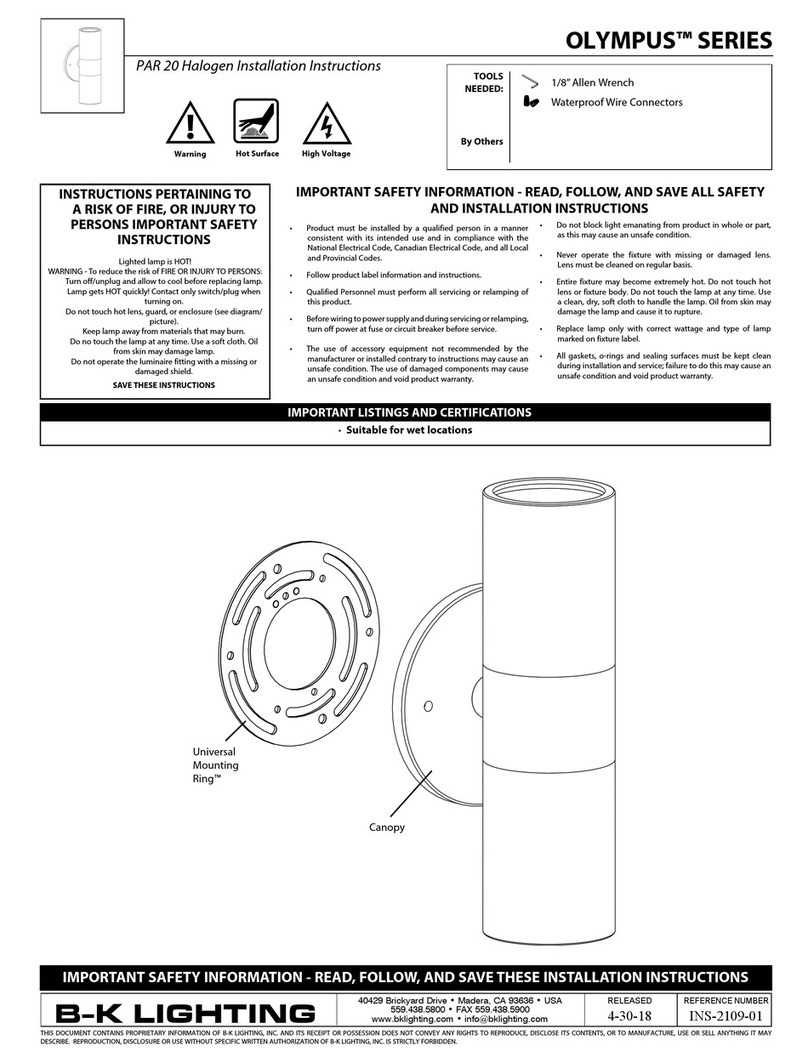
Donottouchhotlens,guard,orenclosure(seediagram/
picture).
Keeplampawayfrommaterialsthatmayburn.
Donotouchthelampatanytime.Useasoftcloth.Oil
fromskinmaydamagelamp.
Donotoperatetheluminairefittingwithamissingor
damagedshield.
SAVE THESE INSTRUCTIONS
· Suitable for wet locations · Suitable for recessed in ground locations
IMPORTANT LISTINGS AND CERTIFICATIONS
1/8”AllenWrench
RELEASED
7-13-16
REFERENCE NUMBER
INS-2151-00
40429 Brickyard Drive • Madera, CA 93636 • USA
559.438.5800 • FAX 559.438.5900
B-K LIGHTING
THISDOCUMENTCONTAINS PROPRIETARY INFORMATION OFB-KLIGHTING, INC. AND ITSRECEIPTORPOSSESSION DOES NOT CONVEYANYRIGHTS TO REPRODUCE, DISCLOSE ITSCONTENTS,OR TO MANUFACTURE, USEORSELLANYTHING IT MAY
DESCRIBE.REPRODUCTION,DISCLOSUREORUSEWITHOUTSPECIFICWRITTENAUTHORIZATIONOFB-KLIGHTING,INC.ISSTRICTLYFORBIDDEN.
IMPORTANT SAFETY INFORMATION - READ, FOLLOW, AND SAVE THESE INSTALLATION INSTRUCTIONS
1. Removefaceplateusing1/8”Allenwrench.Ifthereis
anoptionalaccessoryholder,carefullysqueezetabs
onsidesandgentlypullfromslotsonOptiLock®.
2a. FirmlyinsertproperMR16lampintosockettomake
connection.
Do not exceed the maximum wattage listed on
the fixture label before installing.
3. For Optional Accessory Holder: Insert accessory
holdertabsintoslotsonOptiLock®.
2b. FirmlyinsertproperES16lamppinsintosocket,then
gentlytwisttomakeconnection.
Do not exceed the maximum wattage listed on
the fixture label before installing.
Lamp Installation Or Re-Lamping if Required for MR16 / ES16 Lamp
MR16 Lamp Installation ES16 Lamp Installation
4.
Aim vertically by turning the thumbscrew on
OptiLock®assembly.
5. RemoveanydirtordebrisinO-ringgrooveneartop
ofhousing.PlaceO-Ringinsideofgroove.
Failure to clean groove of debris will cause fixture
to fail and void product warranty.

