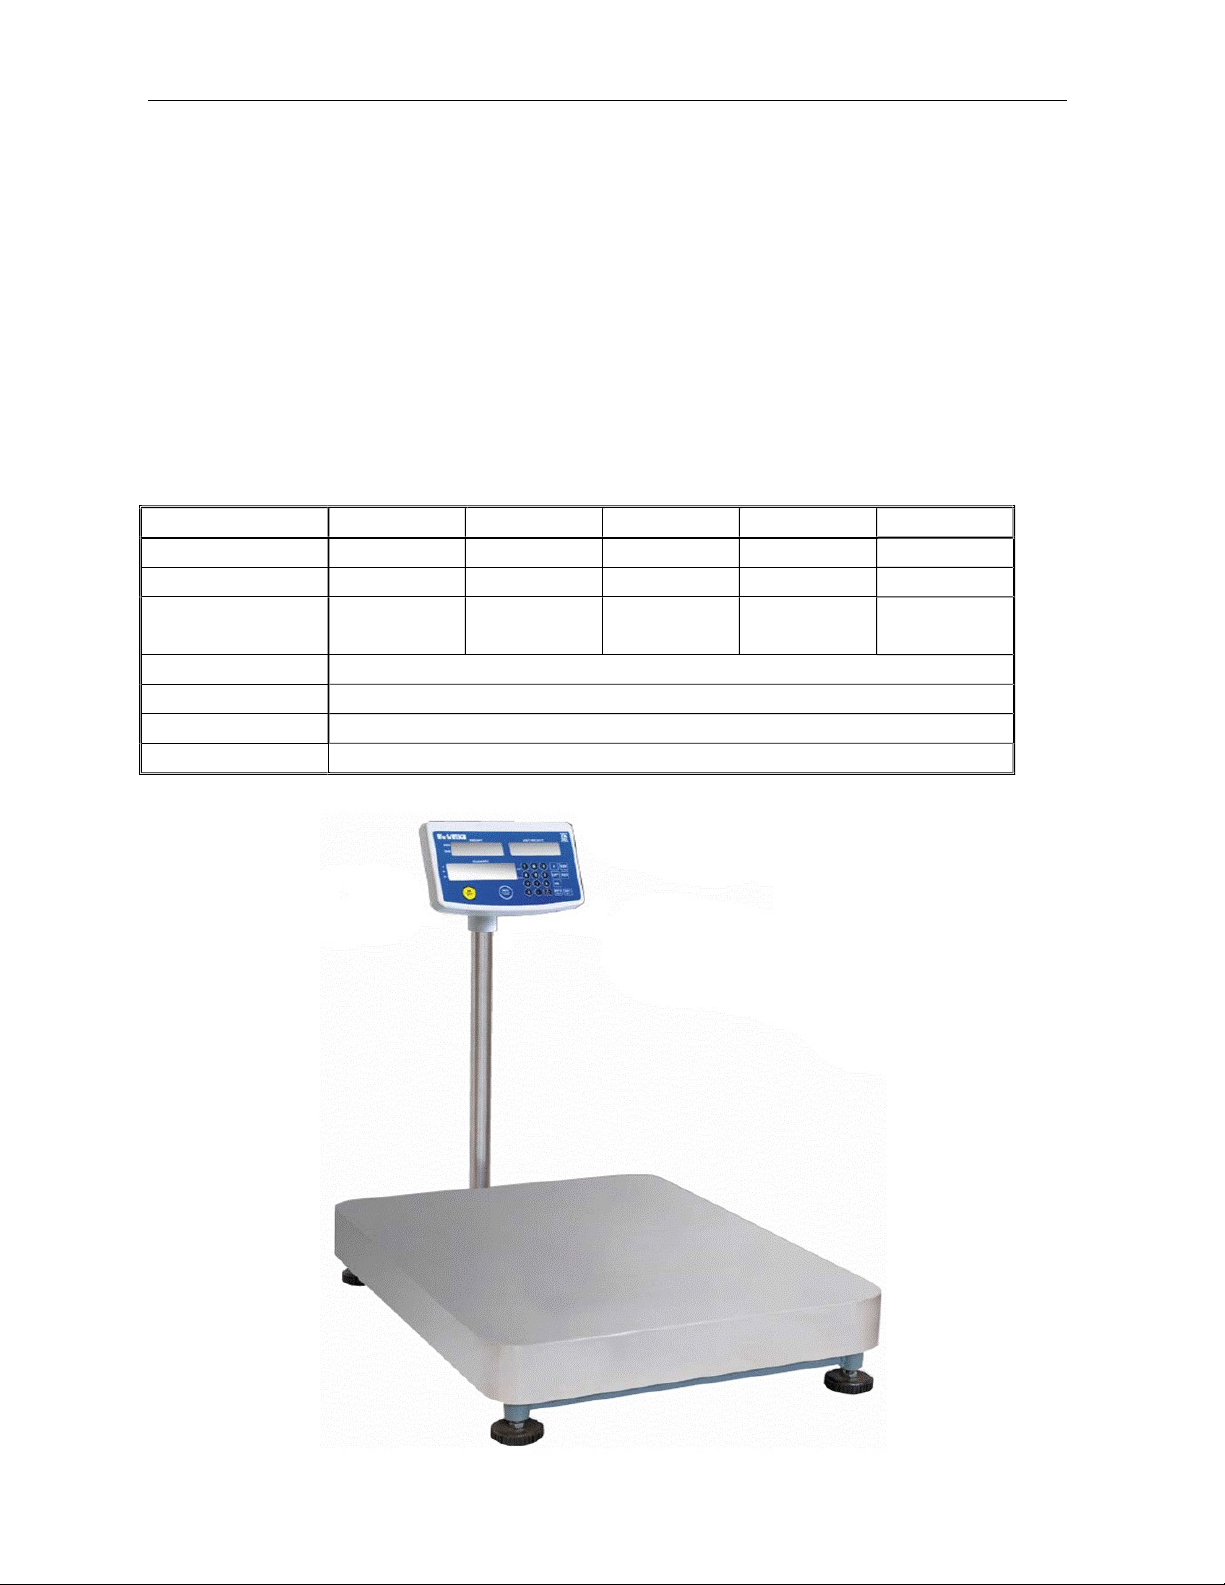
C200 series bench scales service manual
SECTION 4 BEEP SIGNALS AND CONDITION SYMBOLS
C200 signals, various messages by four different beep signals and four
symbolic letter as shown as below. These signals and symbol tell you;
(a) instruction to the next operation, (b) warning for faulty operation,
( c ) indication of unsuitable data, (d) indication of measuring condition.
4. 1 Messages by beep
Beep Signal Conditions
Short beep (one time) : Confirmation for pressing the key.
Long beep (one time) : Completion for set data storing.
Short beep (two times) : Warning for faulty key operation. (Try to re-input)
Short beep (three times) : Warning for miss key operation. (Stop the operation)
Long beep (continuously): in check weighing mode, when OK indicator on, beep will
be on, also when set low limit higher than high limit, beep also will be on.
4. 2 Messages by symbolic letters
ZERO : zero indicator, when scale in zero point, this indicator will be on.
TARE: tare indicator, after tare operation, scale in net weight mode, this indicator
will be on
○: stable indicator, please read data only when this indicator is on.
M: when enter factory mode, this indicator will display.
Hi: when this indicator is on, current weight more than high limit (only valid in check
weighing mode)
OK: when this indicator is on, current weight is between hi limit and low limit (only
valid
in check weighing mode)
lo: when this indicator on, current weight less than low limit (only valid in check
weighing mode)
TOTAL: when this indicator on, quantity window data is total counts
LIGHT: unit weight too low, when unit weight less then 0.2d, this indicator will flash,
scale can’t accept the unit weight, when unit weighing more than 0.2d and less
than 2d, this indicator will light, scale will still accept the unit weight.
BUSY: write memory or calculate data
: charging status display,
when use AC adapter directly, this indicator will blink
when charge battery, this indicator will blink
when full charge(with AC adapter), this indicator will be full
when battery full (with out AC adapter), this indicator will be full
when battery low, this indicator will be half.