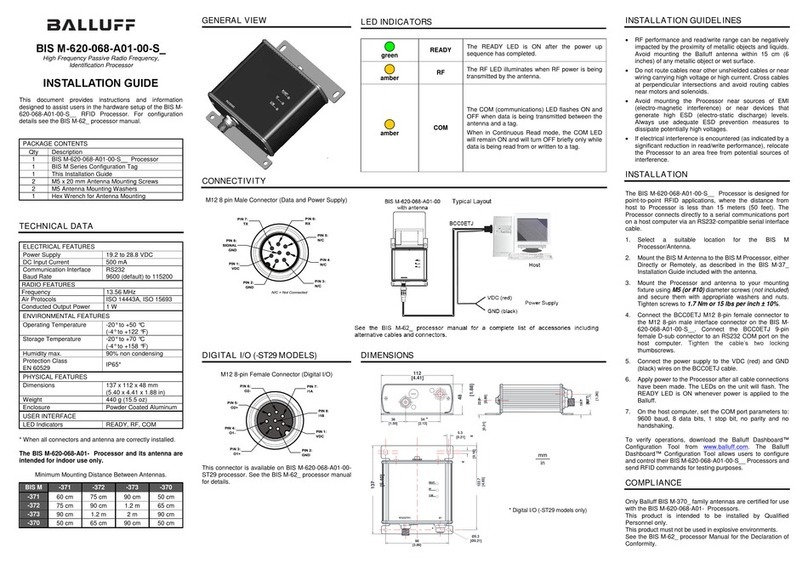
INSTALLATION GUIDELINES
•RF performance and read/write range can be negatively
impacted by the proximity of metallic objects and liquids.
Avoid mounting the BIS U-3x… antenna within 15 cm (6
inches) of any metallic object or wet surface.
•Do not route cables near other unshielded cables or
near wiring carrying high voltage or high current. Cross
cables at perpendicular intersections and avoid routing
cables near motors and solenoids.
•Avoid mounting the Processor near sources of EMI
(electro-magnetic interference) or near devices that
generate high ESD (electro-static discharge) levels.
Always use adequate ESD prevention measures to
dissipate potentially high voltages.
•If electrical interference is encountered (as indicated by
a significant reduction in read/write performance),
relocate the Processor to an area free from potential
sources of interference.
INSTALLATION
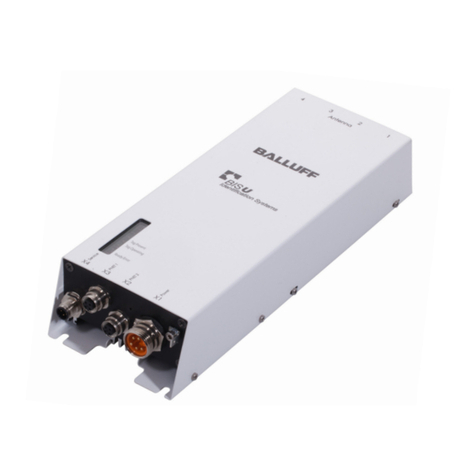
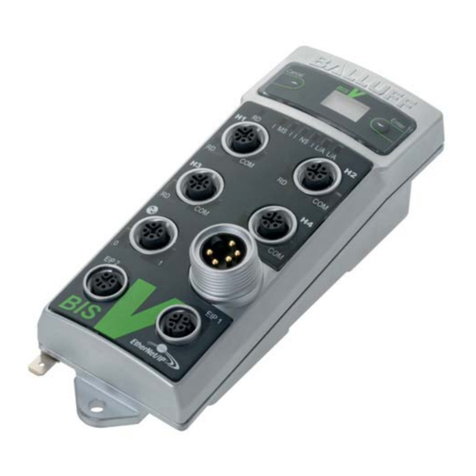
The BIS U-626-069-1x1-06-S3x Processor is designed for
Industrial Ethernet RFID applications, where the Processor
is connected in an Industrial Ethernet or TCP/IP network via
compatible cables through a hub or directly to an Industrial
Ethernet host.
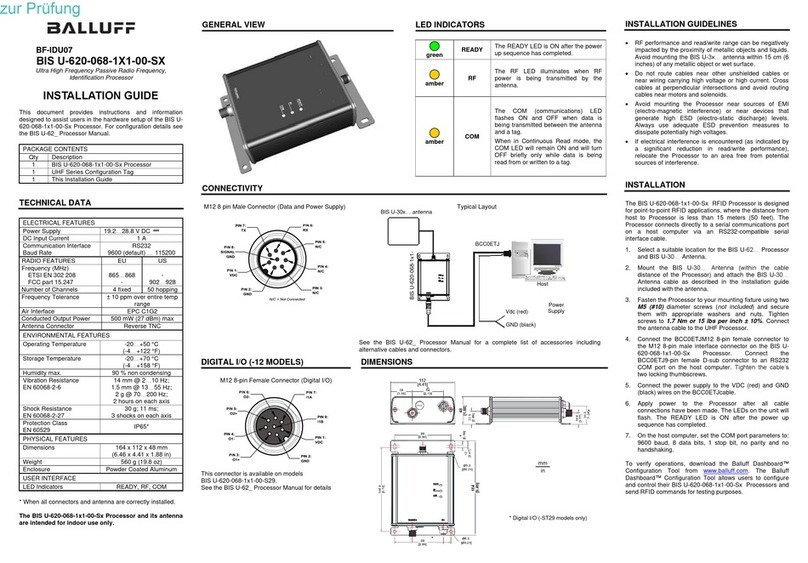
1. Select a suitable location for the BIS U-62… Processor
and BIS U-30… Antenna.
2. Mount the BIS U-30… Antenna (within the cable
distance of the Processor) and attach the BIS U-30…
Antenna cable as described in the installation guide
included with the antenna.
3. Fasten the Processor to your mounting fixture using
two M5 (#10) diameter screws (not included) and
secure them with appropriate washers and nuts.
Tighten screws to 1.7 Nm or 15 lbs per inch ± 10%.
Connect the antenna cable to the UHF Processor .
4. Connect the BCC0CT1 M12 4-pin male connector to
the M12 4-pin female interface connector on the BIS U-
626-069-1x1-06-S3x Processor. Connect the BCC0CT1
RJ45 male connector to the LAN hub/switch. If
connecting directly to the host computer you will need
to use an additional crossover cable.
5. Build a power supply cable using the BCC06ZF M12 5-
pin female connector. Use minimum 24 AWG wires for
connection to the power supply lines according to the
Vdc connector pinout. Connect the BCC06ZF M12 5-
pin female connector to the M12 5-pin male connector
on the Processor . Connect the other end of the cable
(wires or user-supplied connectors) to the power
supply.
6. Apply power to the Processor after all cable
connections have been made. The LEDs on the unit will
flash. The READY LED is ON after the power up
sequence has completed. Then one of the Industrial
Ethernet Address LEDs will remain on either Default or
Custom.
To verify operations, download the Balluff Dashboard™
Configuration Tool from www.balluff.com. The Balluff
Dashboard™Configuration Tool allows users to configure
and control their BIS U-626-069-1x1-06-S3x Processor s
and send RFID commands for testing purposes.
For connection details see the BIS U-62_ Processor
Manual and the Balluff Dashboard™Configuration Tool
Manual.
