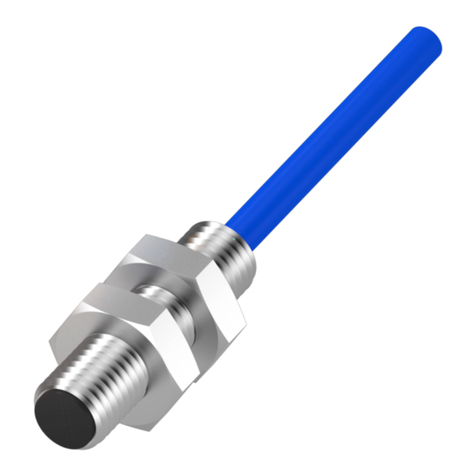
Der Einsatz dieser Geräte in Anwendungen,
wo die Sicherheit von Personen von der
Gerätefunktion abhängt, ist nicht zulässig.
These Proximity Switches are not suited for
safety related applications.
Ces appareils de détection optique ne
peuvent pas être utilisés pour des
applications de sécurité des personnes.
The sensor has 2 outputs
a) Analogue output 0 ... 10 V (pin 2 - white)
The measuring range is 20 ... 80 mm and cannot
be changed.
b) Switching output PNP, 100 mA (pin 4 - black)
A switching window for the switching output can
be set.
The switching limit (switching on and switching
off) can be set by "Teach-in" process.
Screening range setting
1.) "Switching on" point:
Line up the sensor to the "switching on" point.
Press the button 3 s until both LEDs are ashing
synchronously. 3 s
The "switching on" point is taught.
2.) "Switching off" point:
Move the object to the "switching off" point.
Press the button 1 s. 1 s
The "switching off" point is set.
N.O. / N.C. setup
1.) Press the button for 13 s. 13 s:
Both LEDs are ashing alternately.
2.) Release the button: the green LED is on.
3.) While the green LED is ashing, the output is
inverted by pressing the button. If the button is
not pressed during 10 s, the present output
function
is saved, the sensor is ready to operate.
Der Sensor besitzt 2 Ausgänge
a) Einen Analogausgang 0 ... 10 V (Pin 2 - weiß).
Der Messbereich beträgt 20 ... 80 mm. Er
kann nicht verändert werden.
b) Einen Schaltausgang PNP, 100 mA
(Pin 4 - schwarz)
Für den Schaltausgang kann ein Schaltfenster
(Einschaltpunkt und Ausschaltpunkt) eingestellt
werden. Die beiden Schaltpunkte werden per
"Teach-in" festgelegt.
Schaltfenster einstellen
1.) Schaltpunkt (Einschaltpunkt):
Objekt in die gewünschte Einschaltposition
bringen. Sensor auf Objekt ausrichten.
Taste ca. 3 s drücken bis beide LEDs (gelb und
grün) gleichzeitig blinken. 3 s
Sobald beide LEDs gleichzeitig blinken ist der
Schaltpunkt erfasst.
2.) Schaltpunkt (Ausschaltpunkt):
Objekt in die gewünschte Ausschaltposition
bringen. Taste ca. 1 s drücken. 1 s
Der Ausschaltpunkt ist eingestellt.
Ausgangsfunktion einstellen (N.O. / N.C.)
1.) Taste ca. 13 s drücken. 13 s:
LEDs blinken abwechselnd
2.) Taste loslassen, grüne LED blinkt.
3.) Während die grüne LED blinkt, wird bei jedem
Tastendruck die Ausgangsfunktion invertiert.
Dies wird durch die gelbe LED angezeigt. Wenn
die Taste während 10 s nicht betätigt wird, ist die
aktuelle Ausgangsfunktion gespeichert.
Der Sensor ist betriebsbereit.
Le capteur possède 2 sorties
a) Sortie analogique 0 à10 V (broche 2 - blanche)
La distance de travail est 20 à 80 mm et ne peut
pas être modiée.
b) Sortie de commutation PNP, 100 mA
(broche 4 - noire)
Pour cette sortie, une fenêtre de commutation
peut être réglée (point d'ouverture et point de
fermeture).
Les deux points de commutation sont réglées
par teach-in.
Régler fonction de commutation
1.) Point d'ouverture de commutation:
Amener l'objet à la position choisie comme point
d'ouverture. Appuyer sur la touche pendant 3 s
jusqu'à ce que les deux LEDs (verte et jaune)
clignotent simultanément 3 s
Le point d'ouverture de commutation a été saisi.
2.) Point de ferméture de commutation
Amener l'objet à la position choisie comme point
de fermeture. Appuyer sur la touche pendant 1 s.
1 s
Le point de fermeture de commutation a été saisi.
Réglage N.O. / N.C.
1.) Appuyer sur la touche pendant 13 s. 13 s:
Les deux LEDs clignotent à tour de rôle.
2.) Lâcher la touche: la LED verte est allumée.
3.) Pendant que la LED verte est allumée, la
fonction de sortie est invertie à chaque
pression sur la touche. Si la touche n'est pas
activée pendant 10 s, la fonction de sortie
actuelle est enregistrée. Le capteur est
opérationnel.
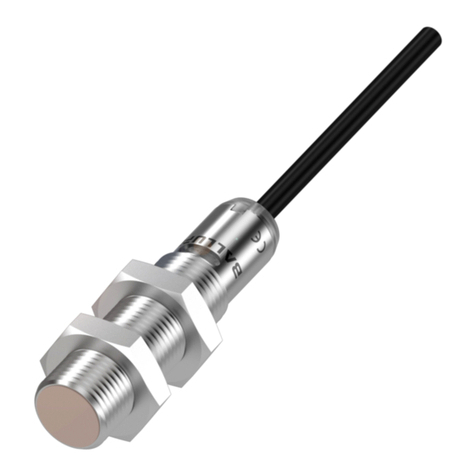
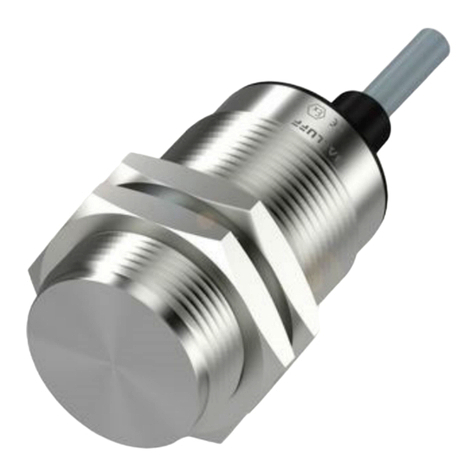
Proximity switch with analogue and
switching output
Capteur de proximité avec sortie analogique et
sortie de commutation
Reexionslichttaster mit Analog- und
Schaltausgang
Balluff GmbH
BOD 6K-RA01-...
Printed in GermanyD-73765 Neuhausen/Filder, Tel. 07158 173-0, Fax 07158 5010
Nr./No. 821913 D/E/F Ausgabe/Edition 0901; Ersetzt Ausgabe/replaces edition/Remplace l'édition 0510; Änderungen vorbehalten/Subject to modication/Sous réserve de modications
Ausgang (voreingestellt)
Output (preset) PNP N.O. PNP N.O.
Sortie (réglée)
Anschluss Stecker Kabel
Connection Connector Cable
Raccordement Connecteur Câble
Anschlussbild
Wiring diagram
12
Schéma de raccordement
Bestellcode / Typ BOD000H BOD000F
Order code / Type BOD 6K-RA01-S75-C BOD 6K-RA01-C-02
Code de commande / Type
