manuals.online logo
Brands
  1. Home
  2. •
  3. Brands
  4. •
  5. Belnick
  6. •
  7. Indoor Furnishing
  8. •
  9. Belnick SL-BK5-T-B-GG User manual

Belnick SL-BK5-T-B-GG User manual

Thank you for your purchase!
PLATFORM BED FRAME
ASSEMBLY INSTRUCTIONS
Before You Begin:
Please indentify all component parts and hardware pieces required before you begin. Carefully remove
all of the components from the packaging and set aside for assembly. Assemble on a soft surface to
prevent scratching during assembly.
Caution:
Tighten all components securely before use. Failure to do so may result in personal injury.
DO NOT use any sharp objects to open plastic wrapped components as damage to product or
components may result.
Warning:
CHOKING HAZARD - Small Parts. Adult Assembly Required.
DO NOT ALLOW CHILDREN TO CLIMB ON FURNITURE
Serious or fatal injuries can occur from furniture tipping over. You must install Tipping Restraint Hardware (where
included) to help prevent the unit from tipping and causing accidental injury, instability, death or damage. The
tipping restraint is intended only as a safety measure, it is not a substitute for proper adult supervision.
To help prevent furniture from tipping over it must be permanently attached to the wall. Anti-Tip Safety Wall Straps
suitable for the unit weight and wall materials (if not included) should be purchased and installed.
................................................................................................................................................................
Customer Service Email: [email protected] |Phone: 866-552-2810
SL-BK5-T-B-GG / SL-BK5-T-BK-GG / SL-BK5-T-DG-GG / SL-BK5-T-LG-GG / SL-BK5-F-B-GG / SL-BK5-F-BK-GG
SL-BK5-F-DG-GG / SL-BK5-F-LG-GG / SL-BK5-Q-B-GG / SL-BK5-Q-BK-GG / SL-BK5-Q-DG-GG / SL-BK5-Q-LG-GG
SL-BK5-K-B-GG / SL-BK5-K-BK-GG / SL-BK5-K-DG-GG / SL-BK5-K-LG-GG
500
LBS 600
LBS
600
LBS
900
LBS
900
LBS
TWIN SIZE FULL SIZE QUEEN SIZE KING SIZE
400
LBS
400
LBS
Have a Question/Concern?
Quality products and first-class customer service are the
cornerstone of long-lasting consumer relationships. We
strive toward excellence in all we do and want you to be
completely satisfied with your purchase. Please contact
our exceptional Customer Experience Agents at the email
address or phone number shown below to assist you with
any product questions or issues before requesting a
return. We look forward to serving you in a friendly,
efficient manner to resolve any issues you may have.
Customer Service Email: [email protected]
Customer Service Phone: 866-552-2810
For warranty information, please visit www.belnick.com
PLATFORM BED FRAME
INSTRUCTION
2
KK
D
B
C
A
LMN
L
G
HG
I
F
M
N
L
I
1
3 4
Components
AHeadboard
BHeadboard
Side Legs
1pc
2pcs
CHeadboard
Middle Leg
DFootboard1pc
1pc
ESiderails
FMiddle Brace
4pcs
1pc
GMiddle
Cross Beam
HMiddle Leg
2pcs
1pc
IMiddle Brace Feet
JSlats 2pcs
28pcs
KBed Legs
LWasher
f
8
2pcs
11pcs
MScrew
f
8*40
NAllen Wrench
11pcs
1pc
OOuter Slat
Holders
PMiddle Slat
Holders
28pcs
14pcs
STEP 1: Attach Headboard Side Legs
(Part B) and Headboard Middle Leg
(Part C) to Headboard (Part A) using
(6) Washers (Part L) and (6) 8*40
Screws (Part M). Tighten withAllen
Wrench (Part N)
STEP2: Insert Bed Legs (Part K) into Footboard
(Part D) and turn clockwise to tighten.
Note: Screws preassembled
on the footboard
STEP 3: Attach Middle Cross Beam (Part
G) to Middle Leg (Part H) using (2)
Washers (Part L) and (2) 8*40 Screws
(Part M). Tighten with Allen Wrench (Part
N)
STEP 4: Attach Middle Brace (Part
F) to Middle Brace Feet (Part I)
using (2) Washers (Part L) and (2)
8*40 Screws (Part M). Tightenwith
Allen Wrench (PartN)
NOTE: Ensure
brackets face
outward with slots
point up.
MN
L
G
F
H
I
G
I
J
P
JO
5 6
7 8
9 10
E
E
E
E
E
E
E
E
Note: Screws preassembled
on the leg Note: Screws preassembled
on the siderail
STEP 5: Attach Middle Brace (Part F) toMiddle
Cross Beam (Part G) using (1) Washer (PartL) and
(1) 8*40 Screw (Part M). Tighten with Allen Wrench
(Part N)
STEP 6A: Remove preassembled screws from middle leg. Attach Middle
Cross Beam (Part G) to Middle Headboard Leg using preassembled screws.
STEP 6B: Remove preassembled
screws from Footboard. Attach
Middle Brace to Footboard (PartD)
using preassembled screws.
STEP 7: Remove remaining preassembled screws from Headboard
Side Legs and Footboard. Attach Siderails (Part E) to Headboard and
Footboard using preassembled screws.
STEP 8: Loosen preassembled screws from Siderails (Part E). Insert
screws into the slots of the Middle Legs then tighten screws.
STEP 9: Insert (28) Slats (Part J) into the left and right sides of the Middle
Slat Holders (Part P). Insert Slats into Outer Slat Holders (Part O). Push
down on slat holders to secure.
STEP 10: Ensure all screws and slats are secure.
PLATFORM BED FRAME
INSTRUCTION
2
KK
D
B
C
A
LMN
L
G
HG
I
F
M
N
L
I
1
3 4
Components
AHeadboard
BHeadboard
Side Legs
1pc
2pcs
CHeadboard
Middle Leg
DFootboard1pc
1pc
ESiderails
FMiddle Brace
4pcs
1pc
GMiddle
Cross Beam
HMiddle Leg
2pcs
1pc
IMiddle Brace Feet
JSlats 2pcs
28pcs
KBed Legs
LWasher
f
8
2pcs
11pcs
MScrew
f
8*40
NAllen Wrench
11pcs
1pc
OOuter Slat
Holders
PMiddle Slat
Holders
28pcs
14pcs
STEP 1: Attach Headboard Side Legs
(Part B) and Headboard Middle Leg
(Part C) to Headboard (Part A) using
(6) Washers (Part L) and (6) 8*40
Screws (Part M). Tighten withAllen
Wrench (Part N)
STEP2: Insert Bed Legs (Part K) into Footboard
(Part D) and turn clockwise to tighten.
Note: Screws preassembled
on the footboard
STEP 3: Attach Middle Cross Beam (Part
G) to Middle Leg (Part H) using (2)
Washers (Part L) and (2) 8*40 Screws
(Part M). Tighten with Allen Wrench (Part
N)
STEP 4: Attach Middle Brace (Part
F) to Middle Brace Feet (Part I)
using (2) Washers (Part L) and (2)
8*40 Screws (Part M). Tighten with
Allen Wrench (Part N)
NOTE: Ensure
brackets face
outward with slots
point up.
MN
L
G
F
H
I
G
I
J
P
JO
5 6
7 8
9 10
E
E
E
E
E
E
E
E
Note: Screws preassembled
on the leg Note: Screws preassembled
on the siderail
STEP 5: Attach Middle Brace (Part F) toMiddle
Cross Beam (Part G) using (1) Washer (PartL) and
(1) 8*40 Screw (Part M). Tighten with Allen Wrench
(Part N)
STEP 6A: Remove preassembled screws from middle leg. Attach Middle
Cross Beam (Part G) to Middle Headboard Leg using preassembled screws.
STEP 6B: Remove preassembled
screws from Footboard. Attach
Middle Brace to Footboard (PartD)
using preassembled screws.
STEP 7: Remove remaining preassembled screws from Headboard
Side Legs and Footboard. Attach Siderails (Part E) to Headboard and
Footboard using preassembled screws.
STEP 8: Loosen preassembled screws from Siderails (Part E). Insert
screws into the slots of the Middle Legs then tighten screws.
STEP 9: Insert (28) Slats (Part J) into the left and right sides of the Middle
Slat Holders (Part P). Insert Slats into Outer Slat Holders (Part O). Push
down on slat holders to secure.
STEP 10: Ensure all screws and slats are secure.

This manual suits for next models

15

Other Belnick Indoor Furnishing manuals
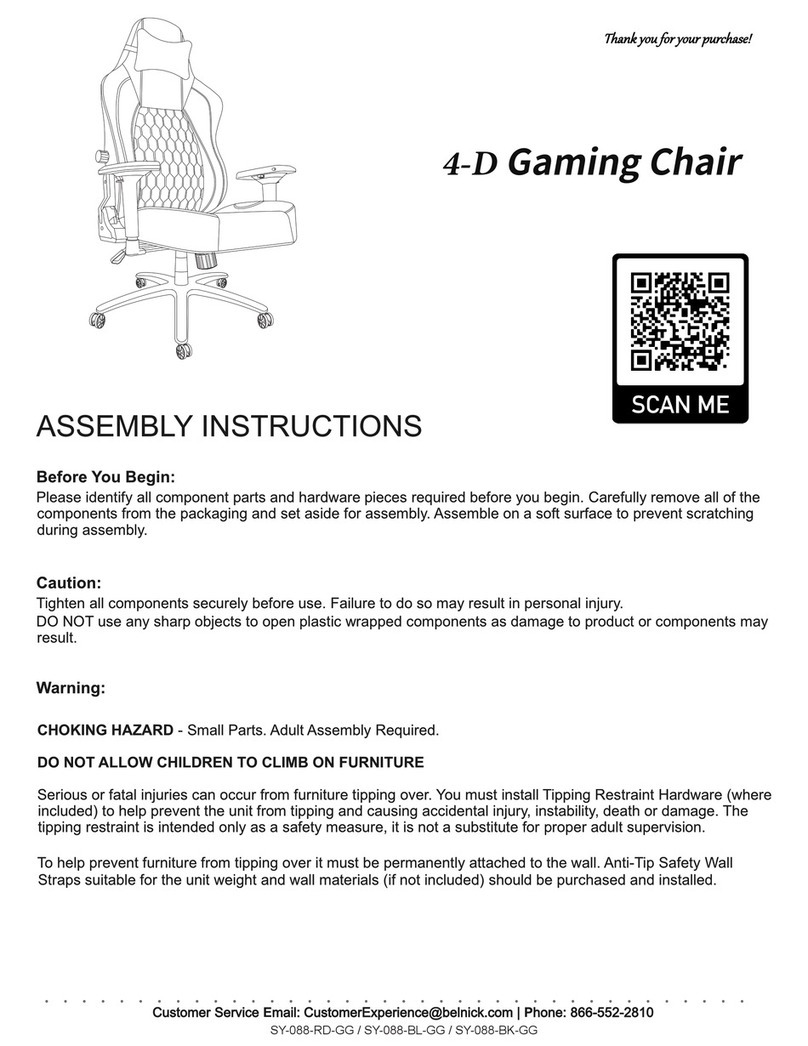
Belnick SY-088-RD-GG User manual

Belnick

Belnick SY-088-RD-GG User manual
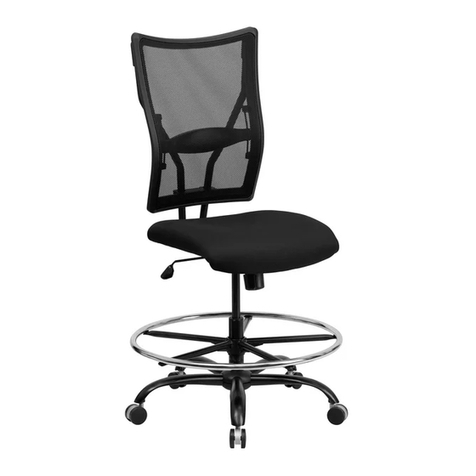
Belnick HERCULES Series User manual

Belnick

Belnick HERCULES Series User manual

Belnick ZG-035-GY-GG User manual

Belnick

Belnick ZG-035-GY-GG User manual
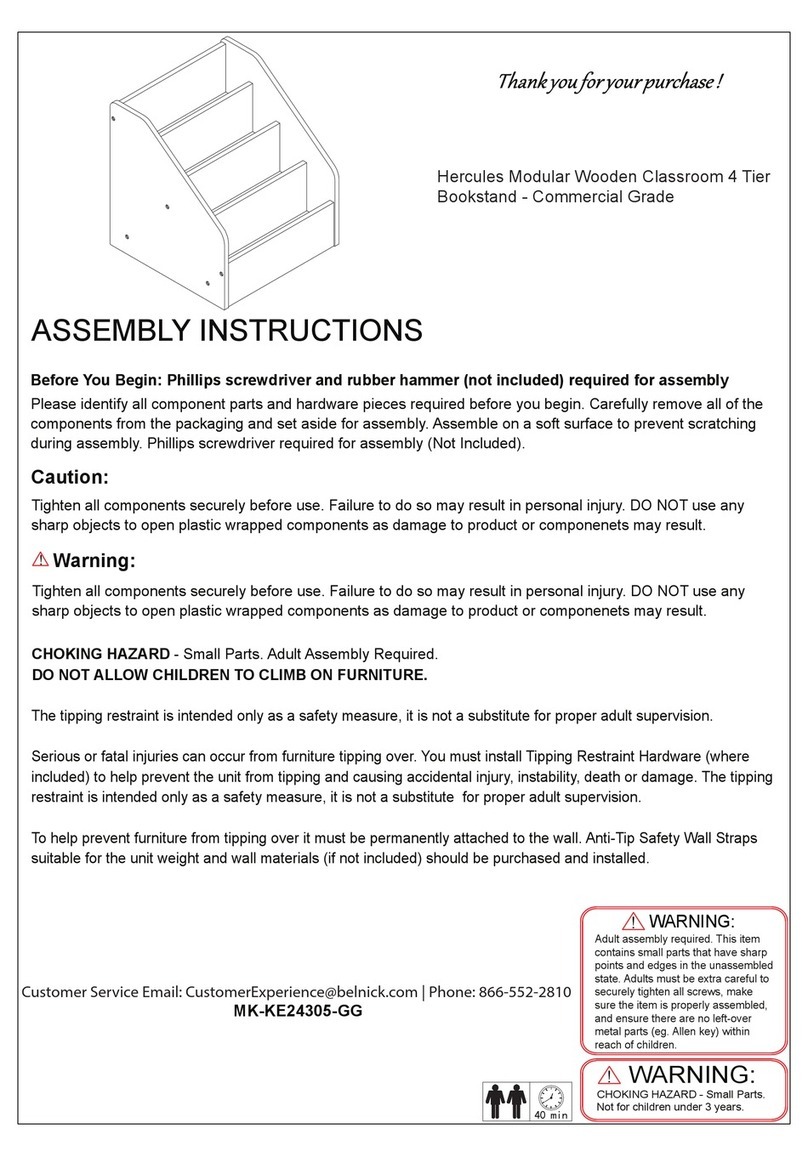
Belnick Hercules User manual

Belnick

Belnick Hercules User manual
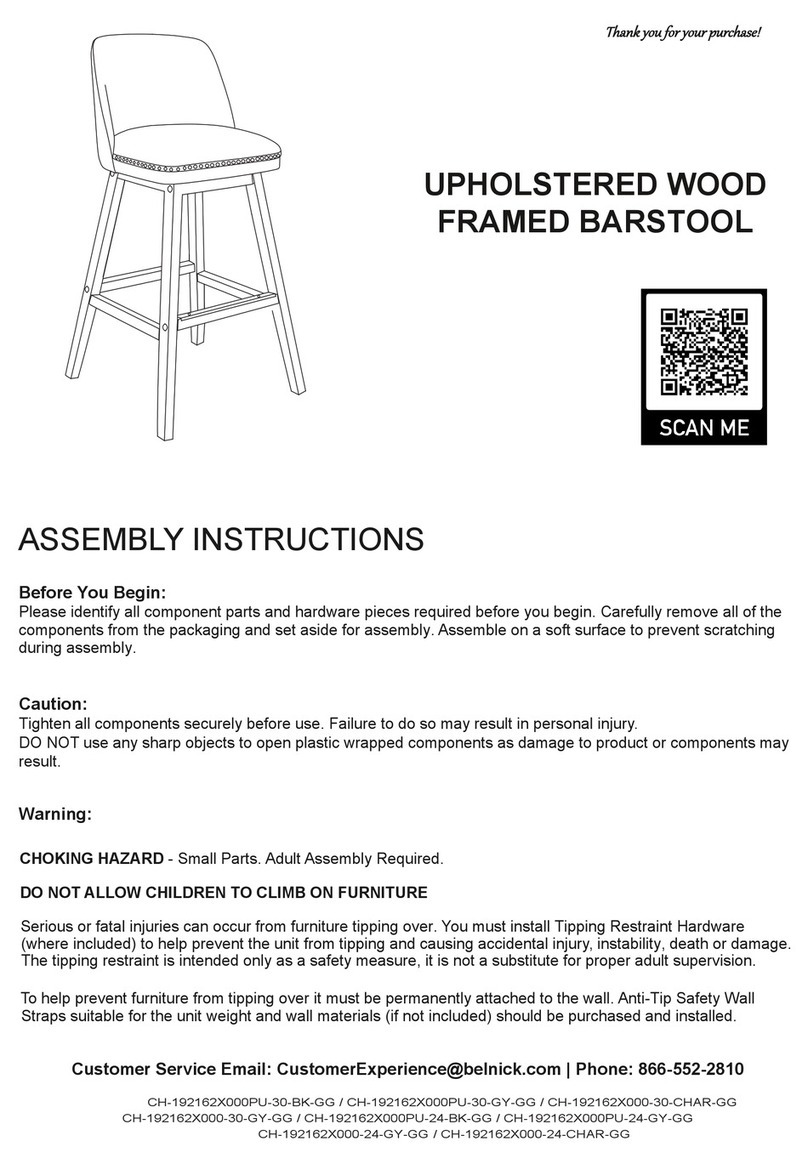
Belnick CH-192162X000PU-30-BK-GG User manual
Belnick

Belnick CH-192162X000PU-30-BK-GG User manual

Belnick WL-3958SYG-BK-GG User manual

Belnick

Belnick WL-3958SYG-BK-GG User manual
Belnick 2-ET-ER18345-30-DB-GG User manual
Belnick

Belnick 2-ET-ER18345-30-DB-GG User manual

Belnick Modern Bar Height Stool User manual
Belnick

Belnick Modern Bar Height Stool User manual

Belnick ET-ER18345-18-LB-GG User manual
Belnick

Belnick ET-ER18345-18-LB-GG User manual

Belnick Contemporary Plastic Adjustable Height Barstool with Rounded Cutout Back and Chrome... User manual
Belnick

Belnick Contemporary Plastic Adjustable Height Barstool with Rounded Cutout Back and Chrome... User manual

Belnick AL-DM0201-TXL-GG User manual

Belnick

Belnick AL-DM0201-TXL-GG User manual

Belnick SY-807-30-BK-GG User manual

Belnick

Belnick SY-807-30-BK-GG User manual
Belnick BO-BS7002-1-GY-GG User manual

Belnick

Belnick BO-BS7002-1-GY-GG User manual

Belnick SG-SX-80415N-BR-GG User manual

Belnick

Belnick SG-SX-80415N-BR-GG User manual

Belnick Parsons User manual

Belnick

Belnick Parsons User manual
Belnick Accent Table User manual

Belnick

Belnick Accent Table User manual

Belnick ZG-037-LTGY-GG User manual

Belnick

Belnick ZG-037-LTGY-GG User manual
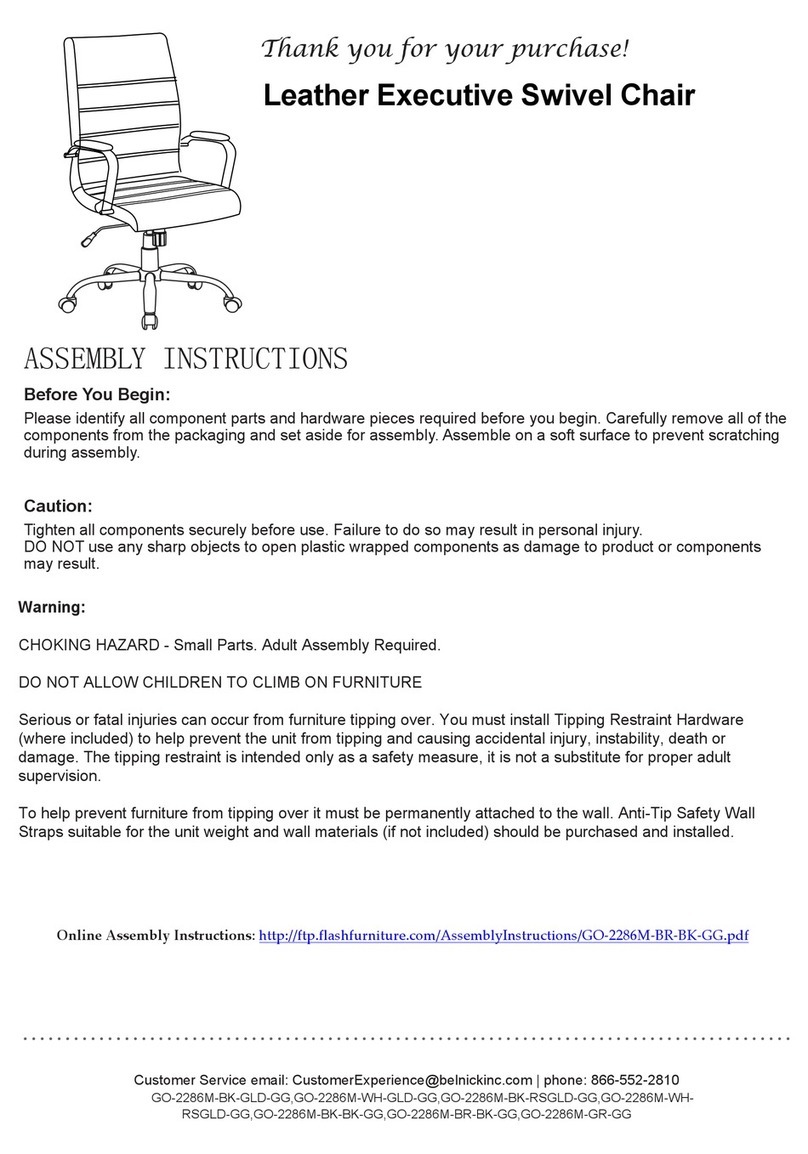
Belnick GO-2286M-BK-GLD-GG User manual

Belnick

Belnick GO-2286M-BK-GLD-GG User manual

Belnick NAN-JH-1787ET-GG User manual

Belnick

Belnick NAN-JH-1787ET-GG User manual

Belnick BT-7615-BK-CURV-GG User manual

Belnick

Belnick BT-7615-BK-CURV-GG User manual

Belnick CX-1179H-BK-GG User manual

Belnick

Belnick CX-1179H-BK-GG User manual

Belnick HC-1035-NV-GG User manual

Belnick

Belnick HC-1035-NV-GG User manual

Belnick WX-5L200-BK-GR-GG User manual

Belnick

Belnick WX-5L200-BK-GR-GG User manual

Belnick WX-5L203-X-BK-GR-GG User manual

Belnick

Belnick WX-5L203-X-BK-GR-GG User manual

Popular Indoor Furnishing manuals by other brands

Finori MAN/137 Assembly instructions

Finori

Finori MAN/137 Assembly instructions

Acme Furniture 27330Q-HB Assembly instruction

Acme Furniture

Acme Furniture 27330Q-HB Assembly instruction

Mocka Portia Console Table Assembly instructions

Mocka

Mocka Portia Console Table Assembly instructions

modway EEI-4894 Assembly instructions

modway

modway EEI-4894 Assembly instructions

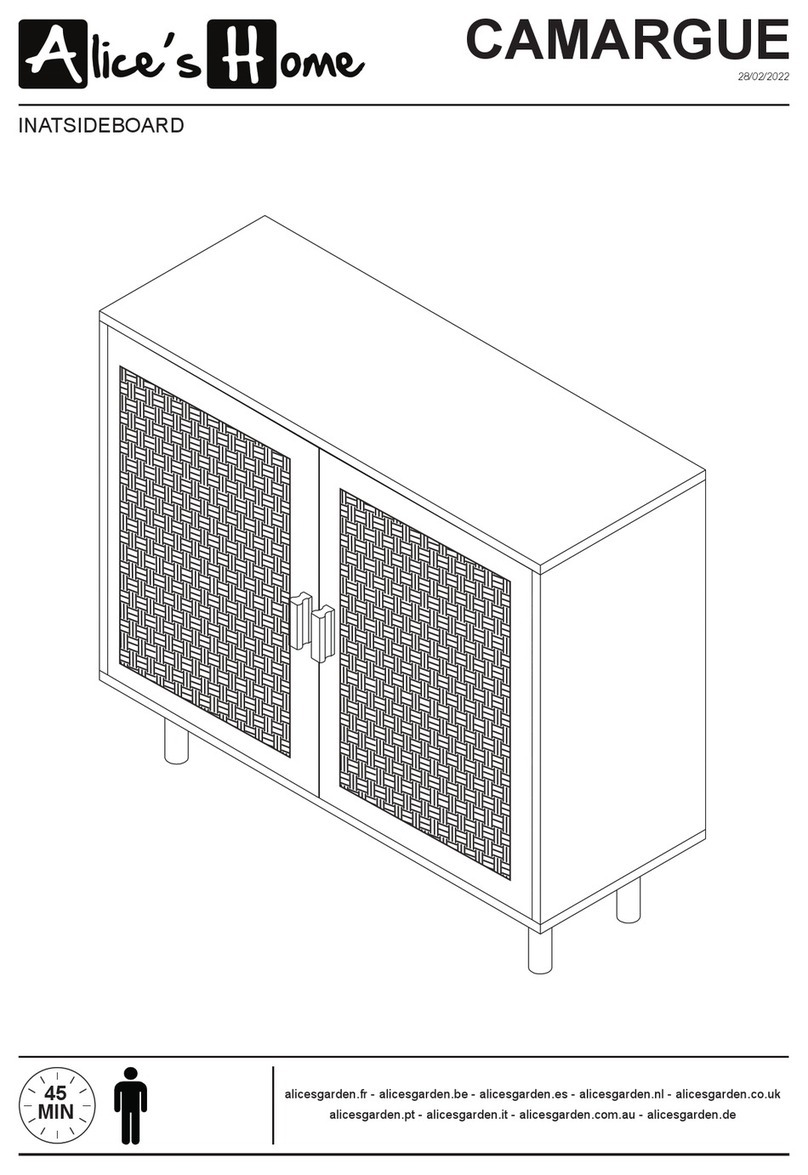
Alice's Home CAMARGUE quick start guide

Alice's Home

Alice's Home CAMARGUE quick start guide

Dj MOVEIS 10.089 Assembly instructions

Dj MOVEIS

Dj MOVEIS 10.089 Assembly instructions

Courtyard Creations XTM011X Assembly instructions
Courtyard Creations

Courtyard Creations XTM011X Assembly instructions

Bergeron By Design Height Right Chair Assembly guide
Bergeron By Design

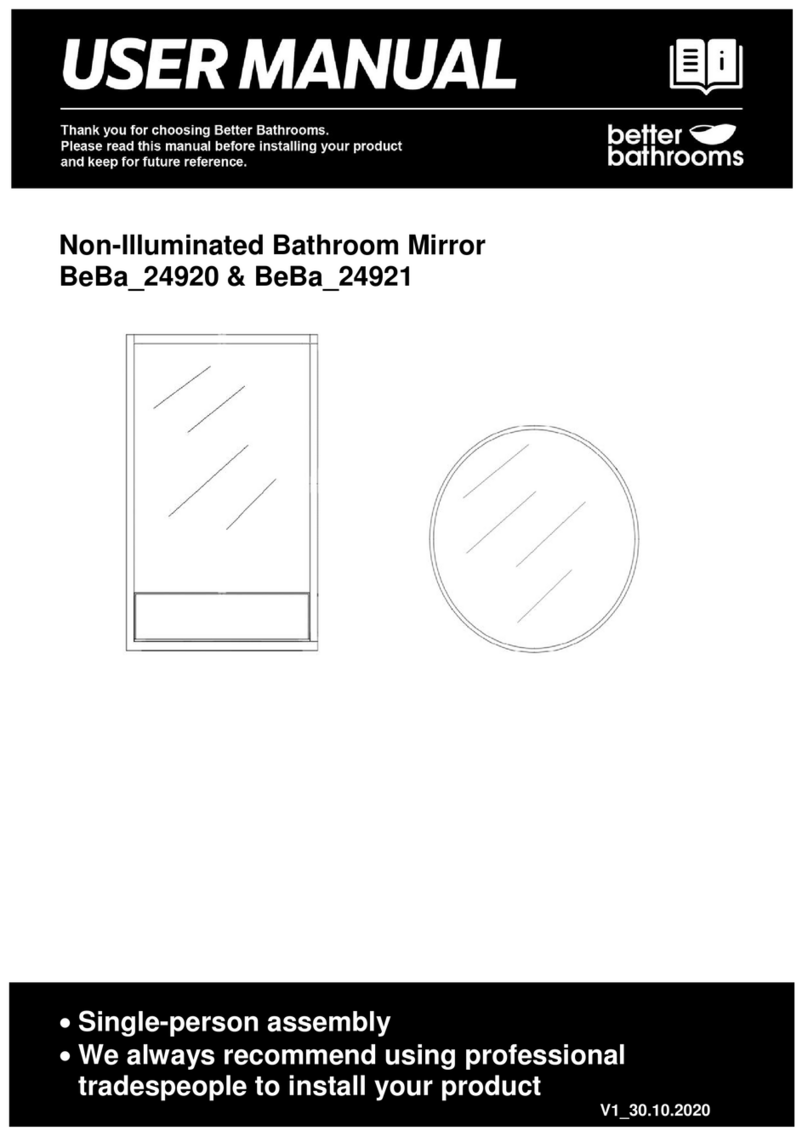
Bergeron By Design Height Right Chair Assembly guide

Better Bathrooms BeBa_24920 user manual
Better Bathrooms

Better Bathrooms BeBa_24920 user manual

Inside Weather JORN SIDE TABLE manual

Inside Weather

Inside Weather JORN SIDE TABLE manual
BITO Shelving L Instructions for assembly and use

BITO

BITO Shelving L Instructions for assembly and use

HDX SL-THDUS-006C Use and care guide

HDX

HDX SL-THDUS-006C Use and care guide

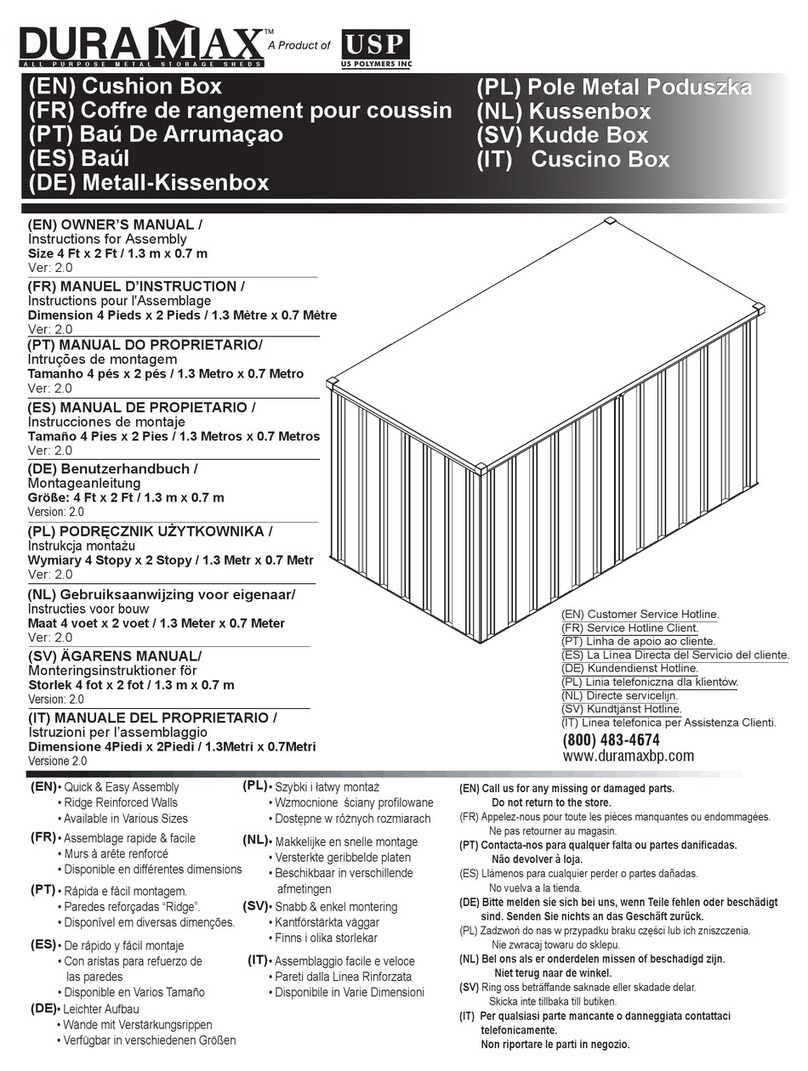
USP Duramax owner's manual

USP

USP Duramax owner's manual

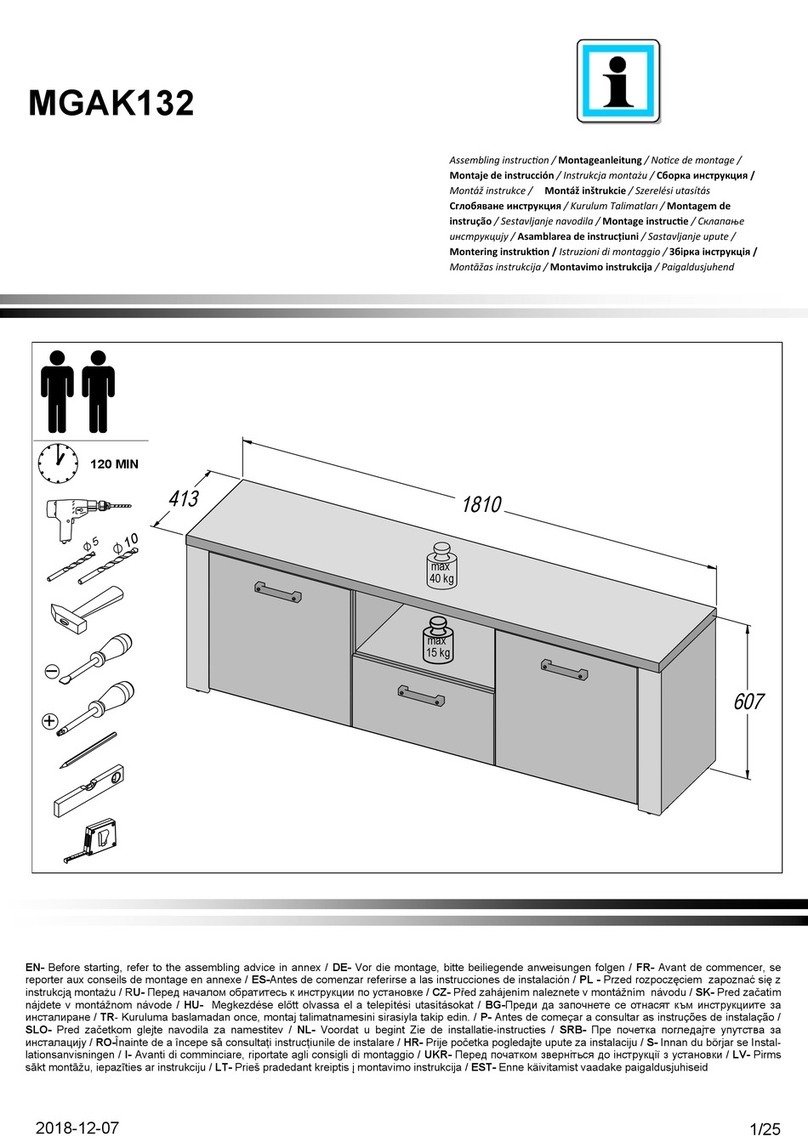
Forte MGAK132 Assembling Instruction

Forte

Forte MGAK132 Assembling Instruction

Poliman KITCHEN D12000 Assembly instructions

Poliman

Poliman KITCHEN D12000 Assembly instructions

Living Earth Crafts MIND-SYNC user manual

Living Earth Crafts

Living Earth Crafts MIND-SYNC user manual

FURNITUREBOX SORRENTO 4 Assembly guide

FURNITUREBOX

FURNITUREBOX SORRENTO 4 Assembly guide

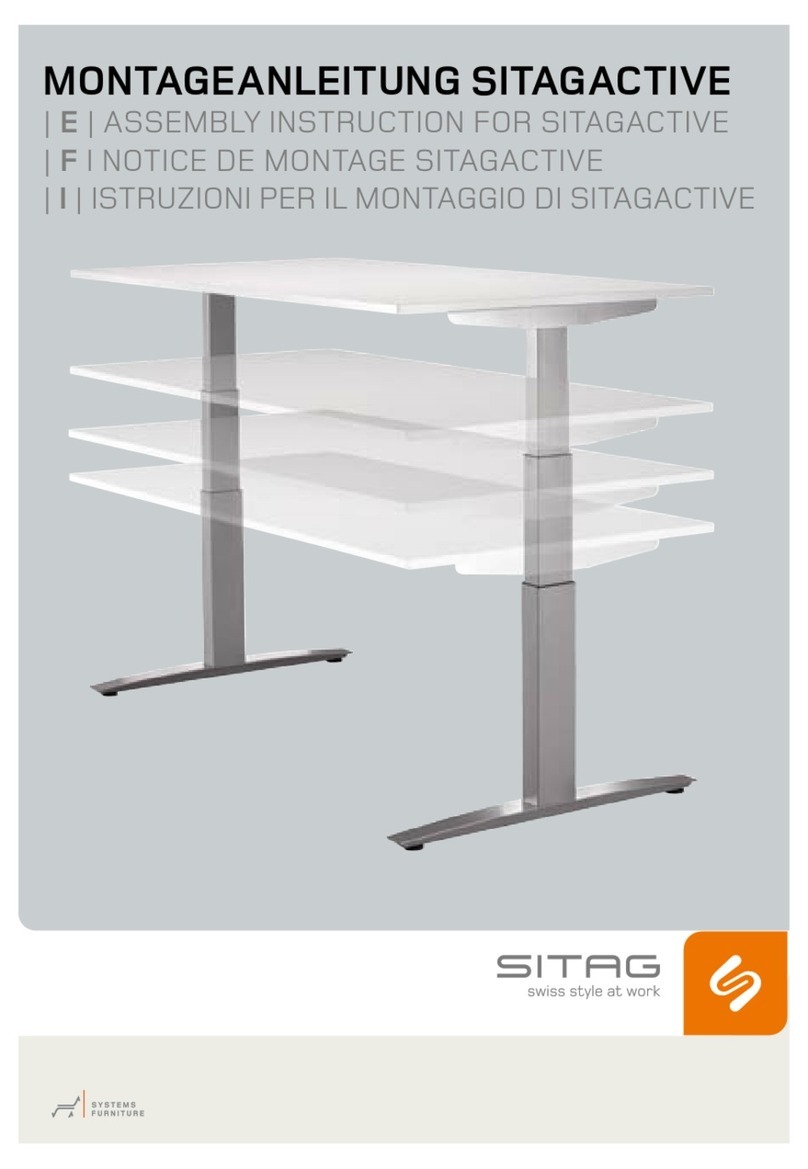
Sitag SItagactive Assembly instruction

Sitag

Sitag SItagactive Assembly instruction

manuals.online logo
manuals.online logoBrands
  • About & Mission
  • Contact us
  • Privacy Policy
  • Terms and Conditions

Copyright 2025 Manuals.Online. All Rights Reserved.