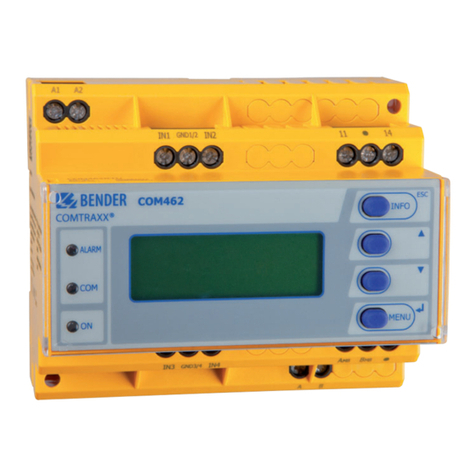
Bender COMTRAXX COM463BC User manual

Kurzanleitung/Quickstart guide DE/EN
COM463BC_D00427_01_Q _DEEN/ 12.2020
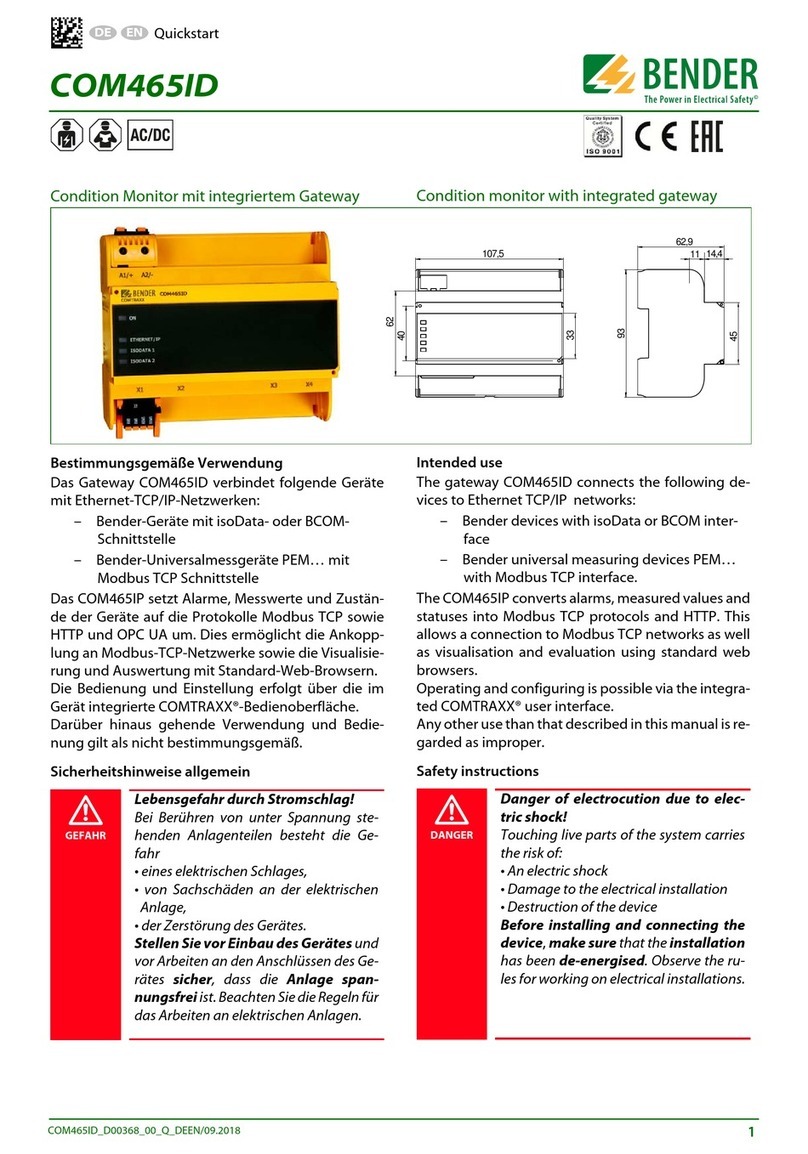
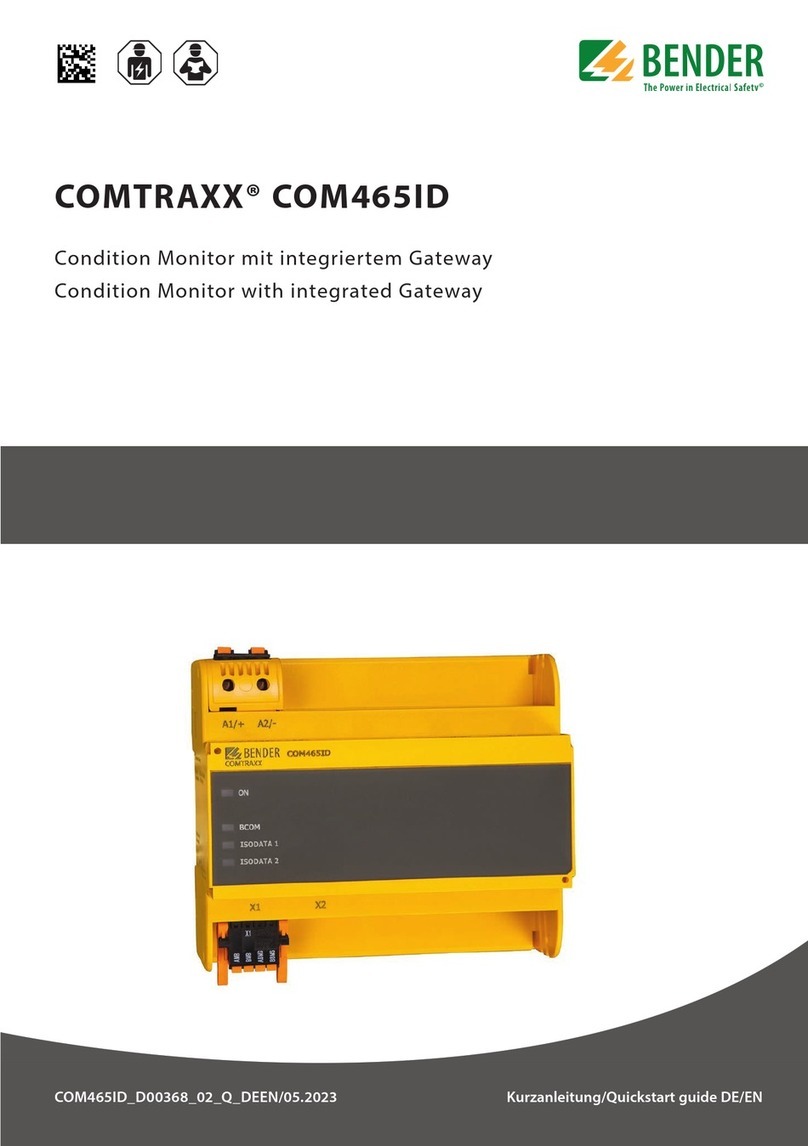
COMTRAXX® COM463BC
Gateway
für den Datenaustausch zw. den Schnittstellen BCOM und BMS extern
for data exchange between the interfaces BCOM and external BMS

2 COM463BC_D00427_01_Q _DEEN/ 12.2020
COMTRAXX® COM463BC
COM463BC Gateway BCOM und BMS e
i
Bestandteil der Gerätedokumentation sind neben
dieser Kurzanleitung die „Sicherheitshinweise für
Bender-Produkte“ und das dazugehörige
Handbuch, herunterladbar unter https://www.
bender.de/service-support/downloadbereich.
Lieferumfang
• ein Gateway COM463BC
• eine gedruckte Kurzanleitung
• die Handbücher „COMTRAXX® COM463BC“ und
„BCOM“ als PDF-Dateien zum Download (s. o.)
Bestimmungsgemäße Verwendung
Das COM463BC verbindet Geräte über die Schnittstellen
BCOM und BMS extern. Die Bedienung und Einstellung
erfolgt über die im Gerät integrierte Web-
Bedienoberfläche. Eine andere oder darüber hinausge-
hende Benutzung gilt als nicht bestimmungsgemäß.
Sicherheitshinweise
I Lebensgefahr durch Stromschlag!
Bei Berühren von unter Spannung stehenden
Anlagenteilen besteht die Gefahr
- eines elektrischen Schlages,
- von Sachschäden an der elektrischen Anlage,
- der Zerstörung des Gerätes.
Stellen Sie vor Einbau des Gerätes und vor
Arbeiten an den Anschlüssen des Gerätes sicher,
dass die Anlage spannungsfrei ist. Beachten Sie
die Regeln für das Arbeiten an elektrischen
Anlagen.
I Lebensgefahr und Zerstörungsgefahr durch
Nässe!
Gerät so installieren, dass es vor Feuchtigkeit ge-
schützt ist.
I fehLfunktion durch doppelte Adressen!
Eine Doppelbelegung mit Adressen kann in den
betroffenen Bus-Systemen zu schwerwiegenden
Fehlfunktionen führen. Sorgen Sie für eine kor-
rekte Adresseinstellung und Terminierung des
COM463BC.
i
Wenn Sie mit dem Konfigurieren von Computer-
Netzwerken vertraut sind, können Sie den
Anschluss des COM463BC selbst durchführen.
Anderenfalls wenden Sie sich bitte an ihren EDV-
Administrator!
COM463BC gateway BCOM and BMS e
i
Part of the device documentation, in addition to
this quickstart, are the enclosed "Safety instruc-
tions for Bender products" and the corresponding
manual, available for download at https://www.
bender.de/en/service-support/downloads.
Scope of delivery
• A COM463BC gateway
• A printed quickstart
• The manuals "COMTRAXX® COM463BC" and
"BCOM" as PDF files for download (see above)
Intended use
The COM463BC connects devices via the interfaces
BCOM and external BMS. It is operated and configured
using the web user interface integrated into the device.
Any other use than that described in this manual is re-
garded as improper.
Safety instructions
I risk of fatal injury due to electric shock!
Touching live parts of the system carries the risk
of:
- An electric shock
- Damage to the electrical installation
- Destruction of the device
Before installing and connecting the device,
make sure that the installation has been de-ener-
gised. Observe the rules for working on electrical
installations.
I MortaL danger and risk of irreparable damage
due to moisture!
Install device such that it is protected against
moisture.
I MaLfunction due to duplicated addresses!
Assigning addresses that are already used by ex-
isting devices in the bus systems concerned may
cause serious malfunctions. Make sure the
COM463BC is correctly addressed and terminat-
ed.
i
If you are familiar with the configuration of com-
puter networks, you can carry out the connection
of the COM463BC yourself. Otherwise please con-
tact your EDP administrator!

COMTRAXX® COM463BC
COM463BC_D00427_01_Q _DEEN/ 12.2020 3
Hutschiene/Schraubmontage/Anschluss
108
54
108
107, 3
100
72
54
!
3 x M4
Gerät anschließen
1Spannungsversorgung
2LED „ON“
- Blinkt während des Startvorgangs.
- Leuchtet dauerhaft, sobald das Gerät be-
triebsbereit ist.
3LEDs zeigen Aktivitäten auf den verschiedenen
Schnittstellen
4Stecker X1 : BMS-Bus (Bender-Messgeräte-
Schnittstelle) Klemmen ABMS und BBMS
5Stecker X2 : Ethernet-Anschluss (RJ45) zum
Anschluss an das PC-Netzwerk sowie an BCOM
6Schalter Abschlusswiderstand BMS-Bus
Schließen Sie wie folgt an:
1. Klemmenabdeckungen des Geräts entfernen
2. Anschluss BMS-Bus: Verbinden Sie die Klemmen
ABMS und BBMS (4) mit dem BMS-Bus (A auf A, B auf
B). Befindet sich das COM463BC an einem Ende des
BMS-Busses, so müssen Sie den Terminierungsschalter
des Gerätes (7) auf „ON“ schalten.
3. Anschluss Ethernet (BCOM): Ethernet-Kabel (RJ45) in
das COM463BC einstecken (5) und mit Netzwerk ver-
binden. Es wird empfohlen, mindestens ein Ethernet-
Kabel der Kategorie 5 (Cat. 5) zu verwenden.
4. Spannungsversorgung anschließen: Verbinden Sie
die Klemmen A1/+ und A2/- (1) mit einer
Speisespannung (siehe Typenschild). Die Spannung
muss über eine 6 A-Vorsicherung zugeführt werden.
5. Klemmenabdeckungen anbringen und sicher einras-
ten.
COMTRAXX
A1/+
X1 X2
A2/-
ON
BCOM
BMS
COM463BC
OFFON
R
MB
OFFON
R
BMS
X1 X2
1
2
3
45 6
X1 X2
DIN rail/screw mounting/connection
Connecting the device
1Voltage supply
2"ON" LED
- Flashes during start-up.
- Lights permanently as soon as the device is
ready for operation.
3LEDs show activities on the different interfaces
4Plug X1: BMS bus (Bender measuring device
interface) terminals ABMS and BBMS
5Plug X2: Ethernet port (RJ45) for connection to
the PC network as well as to BCOM
6Terminating resistor BMS bus switch
Make the connection as follows:
1. Remove terminal covers of the device
2. BMS bus connection: Connect the terminals ABMS
and BBMS (4) to the BMS bus (A to A, B to B). If the
COM463BC is at the end of the BMS bus, the terminat-
ing switch on the device (7) must be switched to "ON".
3. Ethernet connection (BCOM): Connect Ethernet cable
(RJ45) to the COM463BC (5) and connect to the net-
work. It is recommended to use at least a Category 5
(Cat. 5) Ethernet cable.
4. Connect power supply: Connect terminals A1/+ and
A2/- (1) to a power supply (see nameplate). The power
supply must be protected using a 6 A fuse.
5. Position the terminal covers and click them into
place.

Alle Rechte vorbehalten.
Nachdruck und Vervielfältigung
nur mit Genehmigung des Herausgebers.
Bender GmbH & Co. KG
Postfach 1161 • 35301 Grünberg • Deutschland
Londorfer Str. 65 • 35305 Grünberg • Deutschland
Tel.: +49 6401 807-0 • Fax: +49 6401 807-259
All rights reserved.
Reprinting and duplicating
only with permission of the publisher.
Bender GmbH & Co. KG
PO Box 1161 • 35301 Grünberg • Germany
Londorfer Str. 65 • 35305 Grünberg • Germany
Tel.: +49 6401 807-0 • Fax: +49 6401 807-259
COM463BC_D00427_01_Q _DEEN/ 12.2020/ pdf / © Bender GmbH & Co. KG, Germany – Subject to change!The specied standards take into account the edition valid until 12/2020 unless otherwise indicated.
Gerät in Betrieb nehmen
1. Spannungsversorgung einschalten:
2. Web-Bedienoberfläche starten: Internetbrowser
öffnen und IP-Adresse eingeben
• PC im 192.168.0.0-IT-Subnetz: werksseitig ein-
gestellte IP-Adresse 192.168.0.254.
• PC in anderem IT-Subnetz:
Verbindung zum Netzwerk trennen und
COM463BC direkt an PC anschließen. Fest einge-
stellte IP-Adresse: 169.254.0.1. Am PC muss
dazu lediglich DHCP aktiviert sein. In der Web-
Bedienoberfläche können Sie die IP-Adresse des
COM463BC beliebig einstellen.
Technische Daten
Isolationskoordination nach IEC 60664-1/IEC 60664-3
Bemessungsspannung ........................................................AC 250 V
Bemessungs-Stoßspannung/Überspannungskategorie .........4 kV/III
Verschmutzungsgrad ......................................................................3
Sichere Trennung (verstärkte Isolierung) zwischen
..............(A1/+, A2/-) - [(AMB, BMB), (ABMS, BBMS), (X2), (X3, X4)]
Versorgungsspannung
Versorgungsspannung US................................................24…240 V
Frequenzbereich US.........................................................50…60 Hz
Eigenverbrauch .......................................................≤ 9,6 VA/≤ 4 W
Commissioning the device
1. Switch on the supply voltage:
2. Start web user interface: Open Internet browser
and enter IP address
• PC in the 192.168.0.0 IT subnet: factory-set IP
address 192.168.0.254.
• PC in different IT subnet:
Terminate network connection and connect
COM463BC directly to PC. Fixed IP address:
169.254.0.1.
For this purpose, DHCP must be enabled on the
PC. On the web user interface, the IP address of
the COM463BC can be set as required.
Technical data
Insulation coordination in acc. with IEC 60664-1/IEC 60664-3
Rated voltage...................................................................... AC 250 V
Rated impulse voltage/overvoltage category ........................ 4 kV/III
Pollution degree .............................................................................3
Protective separation (reinforced insulation) between
..............(A1/+, A2/-) - [(AMB, BMB), (ABMS, BBMS), (X2), (X3, X4)]
Supply voltage
Supply voltage US............................................................24…240 V
Frequency range US.........................................................50…60 Hz
Power consumption ................................................≤ 9.6 VA/≤ 4 W
Other manuals for COMTRAXX COM463BC
3
Other Bender Gateway manuals
Bender
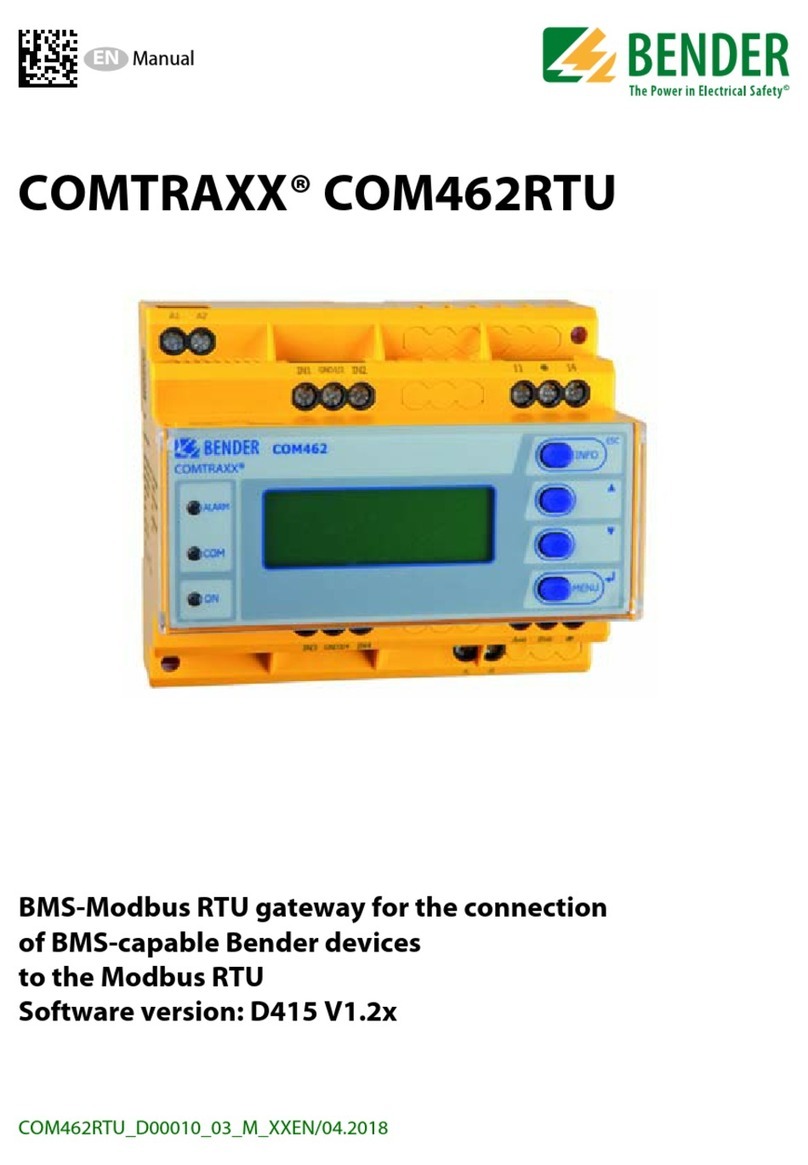
Bender COMTRAXX COM462RTU User manual
Bender
Bender COMTRAXX COM463BC User manual
Bender
Bender COMTRAXX COM465ID User manual
Bender
Bender COM465IP User manual
Bender
Bender COM461MT User manual
Bender
Bender COMTRAXX COM465ID User manual

Bender
Bender COMTRAXX COM463BC User manual

Bender
Bender COM465IP User manual

Bender
Bender COMTRAXX COM463BC User manual
Bender
Bender COMTRAXX COM460IP User manual
