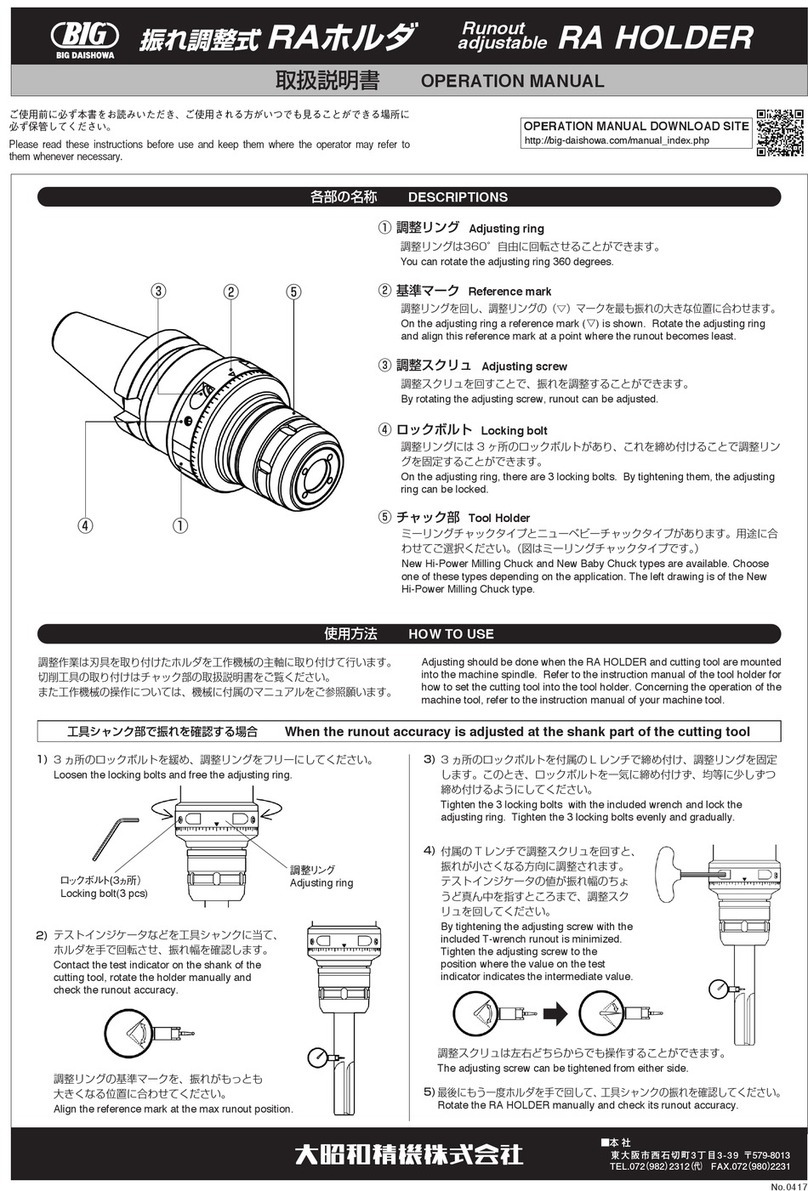
Big Daishowa Point Master PMC-20S User manual

取扱説明書OPERATION MANUAL
ポイントマスター
POINT MASTER
電池のセット方法 TO INSERT BATTERY
主な仕様 MAIN SPECIFICATIONS
シャンク底面のバッテリ−キャップ(BBT・BTタイプはプルボルト)を取り外し、付属のバッ
テリ−の+側を先に入れバッテリーキャップを締め込んでください。
Remove the screw at the end of the shank (the pullstud in case of (B)BT, (B)CV, (B)DV or similar
shanks for machining centers) and insert the accessory battery with the positive + end first. Then
insert the above screw back in place.
●φ2 0 、φ3 2シャンク
ø20 and ø32 diameter shank
●BBT,BTシャンク
(B)BT, (B)CV, (B)DV shank
BBT40,BT40・・・・LR1×2(IEC)orN(ANSI)batteries
BBT50,BT50・・・・LR03×2(IEC)orAAA(ANSI)batteries
●φ10、MT2シャンク
ø10 diameter and MT2 shank
LR1×2(IEC)orN(ANSI)batteries
パナソニックリチュ−ムBR435バッテリ−
PanasonicRithumBR435battery
プルボルトのネジ部端面およびクランプ部が黒染めさ
れている場合はサンドペ−パ−等で磨いて通電性を良く
してください。
In case the pull stud is chemically oxidized, please remove
the chemically oxidized surface to increase the conductivity.
+−
+−
磨く箇 所
+−
removethe
chemically
oxidized
L2L1
38
φ29
φD
L2L1
38
φD
φ29
測定子復元精度
Repeatability(Probe)
オ ー バ ート ラ ベ ル 量
Over-travel
測定圧
MeasuringPressure
バッテリーアラーム機能(PMCのみ)
BatteryAlarm(PMConly)
シャンク
Shank
スタイラス(付属品)
Stylus(Standardaccessory)
± 1 μ m( 2 σ )
XY:±12mm Z:5mm
XY:0.6N Z:2.7N
2.7V以下でワーク測定時にLED点滅
LEDflickersat2.7Vorlesswhenstylus
touchesworkpiece.
φ1 0 、φ2 0 、φ3 2
MT2、(B)BT40、(B)BT50
ST38-6P
ご注意
CAUTION
PMC(LED・電子音)PMC(LED & ELECTRONIC SOUND) PMG(LED)PMG(LED)
Model
PMC-20(S)
PMC-32(S)
バッテリー
Battery
LR1×2(単5)
20 110 50
32 102 58
φDh7 L1L2バッテリー
Battery
L
(B)BT50-PMC-160(S)
(B)BT40-PMC-130(S)
160
130
BT50
BT40
BTNo.
LR1×2(単5)
LR03×2(単4)
PMG-20(S)
PMG-32(S)
バッテリー
Battery
LR1×2(単5)
20 90 50
PMG-10(S) 10 75 50
32 80 60
φDh7 L1L2
バッテリー
Battery
L
PMG-MT2(S) 80MT2
MTNo.
パ ナ ソ ニ ックリ チ ュー ム
BR435×1SPECIAL
(SeeNOTE3)
パ ナ ソ ニ ックリ チ ュー ム
BR435×1SPECIAL
(SeeNOTE3)
(注)1.型式末尾に(S)の付くタイプは、ST38-6×6の円筒スタイラス付です。
2.PMG-10およびPMG-MT2は、バッテリ−寿命の関係でLEDは1ヵ所のみです。
(NOTE) 1.The model that hasSat end of model includes the stylus ST38-6×6.
2.To increase the battery life, PMG-10 and PMG-MT2 have one LED only.
3.please contact our agent for REPLACEMENT BATTERIES.
型 式
Model
型 式
Model
型 式
Model
型 式
お手持ちのミ−リングチャックまたはコレットチャックに締め付けてご使用ください。モ−ルステ−パシャンクのポイントマスタ−をMTホルダに取付ける場合
は、MTホルダのテ−パ部およびポイントマスタ−シャンク部の油分を完全に拭き取ってホルダに押し込み、図の様にホルダを下にして木の台にホルダシャン
ク側を軽く打ち付けて、自重で圧入する様にしてください。
Hold 20 and 32 mm diameter shanks in HMC Milling Chuck, NEW BABY CHUCK colllet chuck or any other high precision milling chuck or collet chuck. In the case off the
Morse Taper version all traces of grease should be removed before placing into the MT Holder, The Holder Shank should then be struck on a wooden block, as illustrated, to
ensure the correct engagement.
ポイントマスタ−の取付 HOW TO SET POINT MASTER
(mm) (mm)
L
38
φ29
(B)BTNo. (mm)
(mm)
交換用スタイラス(別売品) STYLUS FOR THE EXCHANGE(Optional accessories)
本製品はスタイラス部分が分離できるように、M3のネジ込み式になっています。スタイラスが傷付いた時や、
ワ−クの形状によりスタイラスの交換ができます。別売品として下記のスタイラスを用意しております。
The screw-in(M3) stylus is replaceable. Please change a stylus according to its wear and tear, and also when a different
type of stylus is required. The following styluses are available as options.
L1
φd
L2測定範囲
L1
φd
L1
φd
L2
図
Fig. L1φd L2
ST28−1P 1 2
2P 2 8
3P 3
4P 4
ST38−6P 2
6×636
型 式
Model
1
2
6
28
38
図1 Fig.1 図2 Fig.2 図3 Fig.3
(mm)
(注)スタイラス型式ST38-6×6はPMGS及びPMCSシリーズ専用です。
(S)の付かないPMG・PMCシリーズに使用すると振れ精度が悪くなる場合があります。
(NOTE) Stylus model ST38-6X6 is exclusive for PMG S and PMC S series.
Runout accuracy may worsen when used on PMG or PMC series withoutS.
Measurement
Depth
L
38
φ29
MTNo.
38
φ6
φ29
±0.001
オーバートラベル量
5mm
Overtravel5mm
オーバートラベル量±12mm
Overtravel±12mm
M3ネジ部
M3SCREW
センサヘッド
SENSORHEAD
4-芯出しボルト
4-CENTERINGSCREW
シャンク(別記)
SHANK
LED
ブザ−(PMC)
BUZZER
MODEL:PMC
バッテリ−キャップ
バッテリ−
BATTERY
BATTERYCAP
スタイラス
STYLUS
OPERATION MANUAL DOWNLOAD SITE
http://big-daishowa.com/manual_index.php
・ご使用前に必ず本書をお読みいただき、ご使用される方がいつでも見ることができる場所に必ず保管してください。
・本商品は、弊社の厳密なる品質および精度検査に合格した事を証明致します。
・Pleasereadtheseinstructionsbeforeuseandkeepthemwheretheoperatormayrefertothemwhenevernecessary.
・Wecertifythisproducthaspassedourrigorousinspectionsofqualityandaccuracy.
■本社
東大阪市西石切町3丁目3-39〒579-8013
TEL.072(982)2312(
代)
FAX.072(980)2231
Z
XY
®

The head is adjusted to zero before delivery. However. should it be necessary to
recenter the head, 4 screws are located around the head circumference for this purpose.
Place the Point Master in the machine spindle amd use a dial test indicator whose
measuring pressure is 0.2N or less at the stylus. Turn the spindle by hand and check
the runout. The head can then be adjusted to zero by tightening and loosening the
above mentioned screws.
The Point Master will not function if the workpiece is not
electrically conductive.
Do not press the stylus with excessive sideward finger pressure.
(Do not give a shock exceeding 3G.)
Alternatively, the runout can compensated as follows;
Obtain the two different positions by turning the spindle by 180°
and contacting between the stylus and the workpiece surface
respectively. Then caleulate (A+B-6)/2 to find out the exact location of workpiece.
(Fig.1)
The precision electronic parts are contained with the head. Take care not to splash with
any coolant, and avoid any accidental collisions. Please avoid splashing the
coolant-liquid over the buzzer.
Should the Point Master fail, kindly return to the manufacturer for repair through our
authorized agents. Do not attempt to dismantle the unit yourselves.
Store the batteries in a safe place out of reach of babies to prevent swallowing.
Replace the batteries when the voltage becomes low.
Pullstuds with a through coolant hole cannot be used.
Whenever mounting a stylus, calibration for centering is needed.
Make sure that the stylus mounting screw is not loose.
Remove the battery if the unit is not used for a long period.
Wipe off dirt from the unit body by means of a dry soft cloth.
Store the unit in a dry place free from high temperature.
Replace both (2) LR-1 or LR-03 batteries if the battery alarm function blinks the LED at
the time of measurement.
Use under low temperature below 5℃ may worsen movement of the stylus.
・
・
・
・
・
・
・
・
・
・
・
・
・
・
・
・
・
通電性が悪い加工物を測定したり、通電性の悪い機械や治具、測定面の汚れた本器を使
用して測定した場合は、測定できなかったり誤差が生じます。そのまま加工に入ると刃具、
加工物、機械等を破損する恐れがあり、又その破片で人体に危険を及ぼす恐れがあります。
・加工物に本器を早送りで近づける時は余裕のある位置で止め、残りはゆっくりハ
ンドルで送ってください。万一、早送りのままで本器にぶつかった場合、本器や
刃具、加工物、機械等を破損する恐れがあり、又その破片で人体に危険を及ぼす恐
れがあります。
・
本器をミーリングチャック等に脱着する時は落下などに十分気を付けてください。
Measurement may not be possible or may be in error if the cutwokpiece or machine, jig is a
poor conductor of electricity. The same may apply if the sensor plate of the POINT MASTER
is soiled. Any attempt to commence machining after a false reading may lead to damage of
the tools, workpiece, machine etc. and broken parts could endanger persons in the area.
When the POINT MASTER approaches the workpiece at a hight feed rate, then it should
be a arrested at a sufficiently safe distance to allow the final approach at fine feed by
hand. Should the POINT MASTER collide with the workpiece at a hight feed then
damage may be caused and broken parts cold endanger persons in the ares.
Take care when loading or dismantling the POINT MASTER to or from the milling chuck
in order to prevent it falling.
・
・
・
180°
B
A180°
B
A
・本体外周にある4箇所のボルトはヘッドの取付け兼芯出しボルトですが、出荷時に
ゼロ調整してあるため触らないでください。万一、芯出しの必要が生じた時はス
タイラスにテストインジケ−タ(測定圧0.2N以下)を当て、主軸を手で回して、振
れを測定しながら4箇所のボルトを締め緩めして、振れをゼロに調整してください。
・通電性のないワークはランプが点灯しません。
・測定子を指で左右に大きく押し付けないでください。
(3G以上の衝撃を与えないでください。)
・何等かの原因により振れが発生した場合は主軸を180°
回転させてワークに接触させ計測値の(A+B−6)/2
により、ワーク位置を求めることができます。(図1)
・精密電子部品を使用しておりますので、クーラントをかけたり、衝撃を与えた
りしないでください。特にブザーにはクーラントをかけないでください。
・万一、異常が発生した場合は分解せず当社へご返送ください。
・
電池は幼児が飲み込まないよう手の届かない所に保存し、不要になった電池は所定
の方法で処理してください。
・電池の電圧が低下した時は交換してください。
・センタスルー用のプルボルト(穴あき)は使用できません。但し、センタスルー
仕様の機械の給油ノズルの関係上穴あきプルボルトしか使用できない場合は、
最寄りの営業所にご相談ください。
・スタイラスを付け変えた時は、芯出し調整が必要です。
・スタイラス取付けネジに緩みがないか確認してください。
もし、緩みがある場合は精度がでませんので締め直してください。
・長期間使用しない場合は、電池を取り外してください。
・本体の汚れは、乾いた柔らかい布で拭いてください。
ガソリン、シンナー、石油類での清掃は、本体をいためます。
・高温にならない乾燥した場所で保管してください。また、水洗いは絶対に
しないでください。
・測定時に、バッテリーアラーム機能によりLEDが点滅した場合には、
2本(LR-1×2,LR-03×2)同時にバッテリーを交換してください。
・
低温下(5℃以下)でのご使用は、スタイラスの動きに影響を及ぼす恐れがあります。
ご注意
CAUTION
使用上の注意 CAUTIONS IN USE
危険
DANGER
●通常の使用方法
スタイラスをワーク測定面に微細送りで押し当てると、PMGタイプはタッチした瞬間に
LEDが点灯し、PMCタイプはタッチした瞬間にLEDが点灯しブザーが鳴ります。最初に点
灯した位置が主軸中心位置より3mm(スタイラスの半径)の所にあります。主軸回転を停
止させた状態でご使用ください。
As soon as the stylus contacts the surface of the workpiece in fine feed, the LED turns on.
PMC type will also make an electronic sound. The position where the LED illuminates at
first contact between the probe and a workpiece surface is 3mm, which is the radius of the
spindle centerline. Use the point Master while machine spindle rotation is stopped.
使用方法 HOW TO USE
No.1018 PS
リングゲージを機械に取付け、別売品のセンタリングツール又はテストインジケータで中
心座標を求めます。
主軸を定位置で停止させ(M19:主 軸 オ リ エ ント )機械主軸にポイントマスターを取付けます。
リングゲージの中心位置からX,Y方向を測定し,テストインジケータで求めた中心位置とポ
イントマスターで求めた中心位置の差を記録に残し、実際のワーク測定の時に演算します。
巾計測の場合は、リングゲージに明記された寸法とポイントマスターで計測した寸法との
差(ボール径による差)を記録に残し、実際のワーク測定の時に演算します。
●高精度な測定が必要な場合
ポイントマスターをチャックにセットした状態で機械主軸にドライブキー位相を180°間違
えて取付けますと大きな測定誤差が発生します。スタイラスに振れがある場合は、精度の良
い測定ができませんので、使用上の注意に明記された方法で芯出し調整を実施してくださ
い。また、スタイラスの変形およびキズなどがある場合は、スタイラスを交換してください。
ご注意
CAUTION
Attach the ring gauge to the machine. Determine the center of coordinates by means of the
optional centering tool or test indicator.Attach Point Master to the machine spindle and stop the
spindle in the specified position. (M19 : spindle orientation)
Take measurements in X and Y directions from the center position of the ring gauge. Record
the difference between the center position determined by the test indicator and that obtained by
Point Master Pro, which is to be used for operation in the phase of actual work measurement.In
case of width measurement, record the difference between the dimension indicated on the ring
gauge and that measured by Point Master (difference owing to ball diameter).
●If highly accurate measurement is required :
A large measurement error will be caused if Point Master, set to the chuck, should be
attached to the machine spindle in a by 180
°
deviated drive key phase.
Runout of the stylus, if any, makes accurate measurement impossible. Center it in the
method as specified in the Cautions for Use.
Replace the stylus if it is deformed or scratched.
(図1)
(Fig.1)
This manual suits for next models
15
Table of contents
Other Big Daishowa Industrial Equipment manuals
Big Daishowa
Big Daishowa BBT30 User manual
Big Daishowa
Big Daishowa C-CUTTER MINI User manual

Big Daishowa
Big Daishowa NEW BABY CHUCK User manual
Big Daishowa
Big Daishowa BBT 40 User manual
Big Daishowa
Big Daishowa KAISER CK PRESETTER User manual
Big Daishowa
Big Daishowa BBT30 User manual

Big Daishowa
Big Daishowa FCR16 User manual
Big Daishowa
Big Daishowa C-CUTTER User manual
Big Daishowa
Big Daishowa BASE MASTER mini User manual

Big Daishowa
Big Daishowa BBT50-AG90-FMA25.4S-190S User manual
