biochrom Libra S32 PC User manual

Libra S32 PC
User Manual
Italiano
Español
Français
Deutsch
English

Declaration of Conformity
This is to certify that the Libra S32 PC UV/Visible Spectrophotometer
Part number 80-2115-40
Serial number 81000 onwards
manufactured by Biochrom Ltd. conforms to the requirements of the following
Directives-: 73/23/EEC & 89/336/EEC
Standards to which conformity is declared
EN 61 010-1: 2001
Safety requirements for electrical equipment for measurement, control and
laboratory use.
EN 61326: 1998
Electrical equipment for measurement, control and laboratory use – EMC
requirements
Signed: Dated: 23nd October 2002
David Parr
Managing Director
Biochrom Ltd.
Postal address Telephone Telefax
Biochrom Ltd +44 1223 423723 +44 1223 420164
22 Cambridge Science Park
Milton Road e mail: enquiries@biochrom.co.uk website: http://www.biochrom.co.uk
Cambridge CB4 0FJ
England
Registered in England No: 3526954
Registered Office: 22 Cambridge Science Park, Milton Road, Cambridge CB4 0FJ, England.
Biochrom Ltd
Certificate No. 890333


CONTENTS
Unpacking, Positioning and Installation 1
Essential Safety Notes 2
OPERATION 3
Introduction 3
Acquire Applications Software 4
Messages 5
ACCESSORIES 6
Multiple Cell Holder Accessories 6
Single Cell Holder Accessories 7
Other Accessories 8
Consumables and other items 8
MAINTENANCE 9
After Sales Support 9
Lamp Replacement 10
Deuterium Lamp Warranty 12
Fuse Replacement 12
Cleaning and General Care 13
APPENDIX 14
Pharmacopoeia 14
Good Laboratory Practice 15
Specification 16
Warranty 16

___________________________________________________________________
Issue 02 - 12/2003 Libra S32PC, English 1
Unpacking, Positioning and Installation
•Inspect the instrument for any signs of damage caused in transit. If any damage
is discovered, inform your supplier immediately.
•Ensure your proposed installation site conforms to the environmental conditions
for safe operation:
Indoor use only
Temperature 10°C to 40°C
Maximum relative humidity of 80 % up to 31°C decreasing linearly to 50 %
at 40°C
•The instrument must be placed on a hard flat surface, for example a laboratory
bench or table, which can take its weight (13 kg) such that air is allowed to
circulate freely around the instrument.
•Ensure that the cooling fan inlets and outlets are not obstructed; position at least
2 inches from the wall.
•This equipment must be connected to the power supply with the power cord
supplied and must be earthed (grounded). It can be used on 90 - 240V supplies.
•Switch on the instrument and check the status of the power/progress indicators;
flashing amber is calibrating and green is normal operating mode; refer to
Messages for more information.
•The instrument is delivered with a stored baseline. This is required to correct
for the wavelength/energy profile of the light source.
This is a “press to read” instrument, whereas other deuterium / tungsten lamp
instruments measure continuously. The lamps will switch off from stand by
mode automatically if the instrument is not used for 15 minutes; the message
“Turning lamp on…” will appear for a few seconds when the instrument is re-
used.
If this equipment is used in a manner not specified or in environmental conditions
not appropriate for safe operation, the protection provided by the equipment may be
impaired and instrument warranty withdrawn.

___________________________________________________________________
2 Libra S32PC, English Issue 02 – 12/2003
Essential Safety Notes
There are a number of warning labels and symbols on your instrument. These are
there to inform you where potential danger exists or particular caution is required.
Before commencing installation, please take time to familiarise yourself with these
symbols and their meaning.
Caution (refer to accompanying documents).
Background colour is yellow, symbol and outline are black.
UV RADIATION UV RADIATION IS HARMFUL TO YOUR EYES
HOT If power is restored with this cover removed,
eye protection must be worn
Accessories
•Care should be taken when handling all heated accessories.
•Ensure that the cell compartment lid is closed when operating cell changers and
the sipper.
•It is essential that the baseplate plug supplied with single cell accessories is
fitted to optimise air flow and to prevent light ingress.
WARNING
WARNING

___________________________________________________________________
Issue 02 - 12/2003 Libra S32PC, English 3
OPERATION
Introduction
Your UV/Visible spectrophotometer is a general purpose, modular instrument that is
controlled by a PC via a serial interface.
It works on the basis of light from either of the light sources being directed by a
motorised mirror through the monochromator inlet slit. This passes through one of
several (dependent on wavelength selected) filters mounted on a filter quadrant; the
filtered light is then directed onto the holographic grating, which produces light of
the selected wavelength. The light then leaves the monochromator via the exit slit,
and mirrors focus and direct the light into the sample compartment. This passes
through your cell containing the sample of interest and a de-focussing lens to a solid
state detector unit. The resulting signal is then amplified and displayed.
The instrument meets the requirements of the British Pharmacopeia (BP) test (A88
Appendix IIB). This states that a spectrophotometer recording the spectrum of a
0.02% volume/volume solution of toluene in hexane is able to show that ratio of the
absorbance at the maximum wavelength (269 nm) to that at the minimum (266 nm) is
at least 1.5. Typically, this requires a bandwidth of 1.8 nm.
A range of accessories further enhances the capability of the instrument.

___________________________________________________________________
4 Libra S32PC, English Issue 02 – 12/2003
Acquire Applications Software
The instrument is entirely controlled by a PC with Acquire software installed; refer
to the Acquire User Manual for further information.
80-2115-31 Acquire Applications Software
Wavelength Scanning, Reaction Kinetics, Quantification, Time Drive, Multi
Wavelength
Recommended PC for proper operation
For optimum performance, an IBM compatible 486 or greater personal computer
running Microsoft Windows 95, 98 or NT is required. The PC should have a
minimum of 8MB RAM, 200Mb hard disk, a 1.44 MB 3.5 inch floppy disk drive,
CD-ROM, a serial mouse installed, and free COMMS serial port and VGA graphics.
Any printer supported by Microsoft Windows 95 can be used. Contact your supplier
for further information.

___________________________________________________________________
Issue 02 - 12/2003 Libra S32PC, English 5
Messages
The spectrophotometer goes through a multi step calibration sequence which is
indicated by a flashing amber light until normal operating mode (green) is reached; it
is solid green when communicating with the PC, flashing green when awaiting
connection to the PC or when waiting to communicate with the PC. (Note: If the
instrument has been GLP enabled, it will flash amber/green during the waiting
period). A flashing red light indicates a recoverable fault (see below). A continuous
red light relates to a serious fault condition that will require a service engineer from
your local supplier.
Fault Possible Cause Remedy
Continuous red System failure Service engineer
Flashing red Light in cell compartment Close lid and restart
Beam blocked Remove obstruction and
restart
Tungsten lamp failure Check Acquire Instrument
Control. If red indicator
off, replace tungsten lamp
UV lamp failure Check Acquire Instrument
Control. If blue indicator
off, replace deuterium lamp
Flashing red / green Baseline lost Re-run baseline
New EPROM installed Re-run baseline
Flashing green Not communicating Check serial connections
Bright green Under computer control OK

___________________________________________________________________
6 Libra S32PC, English Issue 02 – 12/2003
ACCESSORIES
All cell holders accommodate 10 mm pathlength cell as standard, unless stated
otherwise. Refer to Essential Safety Notes.
Multiple Cell Holder Accessories
•Install by removing accessory in place, replacing with the new one, turning the
central mounting screw until it is finger tight followed by clicking on Accessory
in Instrument Control.
Description Part number Comments
4 position cell changer 80-2106-01 Accommodates cells 10-50mmm in
pathlength
8 position water heated
cell changer 80-2109-70 Requires a water-circulating bath.
Locate round extension of tube
restrainer into top of cell changer
thumb screw. Attach the tube guide
to the instrument base using the
screws provided. Replace the front
blanking plug on the cell
compartment lid with the new one
that is provided.
6 position Peltier heated
cell changer 80-2106-04 Requires Temperature Control Unit
(80-2112-49). Insert into socket 1.
8 position cell changer 80-2108-01 Spare, if required

___________________________________________________________________
Issue 02 - 12/2003 Libra S32PC, English 7
Single Cell Holder Accessories
•Install by removing accessory in place, replacing, if necessary, the baseplate
plug supplied and positioning the single cell holder so that the arrow is on the
front face and it locates in place. Then push the finger locks backwards so that
they lock into position. Click on Accessory in Instrument Control.
Description Part number Comments
Cell holder, 10mm pathlength 80-2106-05
Cell holder, for sample stirring 80-2108-10 Requires magnetic flea and
controller
Cell holder, 50mm pathlength 80-2106-07
Cell holder, 100 mm pathlength 80-2107-14
Cylindrical cell holder 80-2106-10 Up to 100 mm pathlength
cylindrical cells
Water heated cell holder 80-2106-08 10-40 mm pathlength.
Requires a water-circulating
bath. Replace the front
blanking plug on the cell
compartment lid with the new
one that is provided..
HPLC cell holder 80-2106-11 Flowcell volume is 8 µl,
pathlength is 2.5mm. Thread
wires through front blanking
plug and attach to instrument
base using the screws supplied
Peltier cell holder 80-2106-13 Set required temp in range 20-
49 °C. Insert into socket 2.
Electrical cell holder 80-2106-12 Set required temperature: off,
25, 30, 37 °C. Insert into
socket 2.

___________________________________________________________________
8 Libra S32PC, English Issue 02 – 12/2003
Other Accessories
Description Part number Comments
Sipper 80-2112-25 Use if a large number of samples for
single readings is required.
Requires single cell holder (80-2106-05
or 80-2106-13). 10mm flowcell and
tubing supplied, together with separate
user instructions.
Temperature Control
Unit 80-2112-49 Required to supply the extra power
required by the 6 position Peltier heated
cell changer (80-2106-04).
Printer stand 80-2112-18 For thermal printer
Dust cover 80-2106-19 Spare
Consumables and other items
Pump head tubes (6) for Sipper 80-2080-74
PTFE flowcell tubing with connectors 80-2055-13
Replacement flowcell (including tubing) 80-2080-60
Autosampler Interface kit 80-2104-96
Serial interface cable for connection to PC 80-2105-97
(D9 male instrument to D9 PC)
Spreadsheet Interface Software 80-2112-23
Centronics parallel printer interface cable 80-2071-87
Separate information giving details on serial and parallel interface connections, if
required, is available from a Service Engineer with your local supplier, whom you
should contact for further details.

___________________________________________________________________
Issue 02 - 12/2003 Libra S32PC, English 9
MAINTENANCE
After Sales Support
We supply support agreements that help you to fulfil the demands of regulatory
guidelines concerning GLP/GMP.
•Calibration, certification using filters traceable to international standards
•Certificated engineers and calibrated test equipment
•Approved to ISO 9001 standard
Choice of agreement apart from break down coverage can include
•Preventative maintenance
•Certification
When using calibration standard filters, insert such that the flat surface is facing
away from the spring end of the cell holder.
Observe all necessary precautions if dealing with hazardous samples or solvents
User maintenance is restricted to changing the instrument lamps and mains fuse. For
any other maintenance operation or rectification contact your local supplier.

___________________________________________________________________
10 Libra S32PC, English Issue 02 – 12/2003
Lamp Replacement
Replacement lamps are available from your supplier using the following part
numbers:
Deuterium lamp 80-2106-17 (includes tungsten lamp as well)
Tungsten lamp 80-2106-16
The deuterium lamp is supplied fitted into a mounting and pre-adjustment plate; a
new tungsten lamp is also included.
NOTE:
•Although deuterium lamps are covered by their own warranty, an engineer’s
call out fee is not, and users are advised to change their own lamps. Lamp
replacement is very easy, and the process has been designed so that the user can
do it without the need to call out a local service engineer. No lamp alignment
is required as the lamp select mirror is automatically aligned for maximum
lamp energy throughput during the instrument calibration procedure.
•The lamps become very hot in use. Ensure they are cool before changing.
•Do not touch the optical surfaces of either lamp with your fingers (use tissue);
if touched, the area should be cleaned with iso-propanol.

___________________________________________________________________
Issue 02 - 12/2003 Libra S32PC, English 11
To change a lamp, proceed as follows:
1. Switch off the instrument, remove sample from cell holder and disconnect the
power supply cord. Allow time for lamps to cool.
2. Locate the lamp access cover on the left-hand side of the instrument, and push
the cover back.
3. Undo the black knurled screw on the lamp cover plate with your fingers and
remove the plate.
4. Slide the lamp plate out and unplug the cable connector.
•If the tungsten lamp has failed, the replacement should be inserted onto the
plate, pushing it all the way down into its holder *.
•If the deuterium lamp has failed, insert the tungsten lamp onto the plate as
above and then replace the whole assembly with the new one.
5. Reconnect the cable connector and slide the lamp plate in until it locates.
6. Replace the lamp cover plate by attach by re-tightening the black knurled screw.
7. Replace the lamp access cover.
8. Reconnect the power supply cord and switch the instrument on.
9. After the lamp has warmed up sufficiently (30 minutes), run a new baseline
(Instrument Control/configure/baseline).
10. Reset lamp life to zero and take an original energy reading as appropriate by
clicking on Instrument Control/configure/reset.
* For reliable tungsten lamp alignment fit the tungsten lamp as shown in the diagram
below, with the straight length of wire A closest to the deuterium lamp.

___________________________________________________________________
12 Libra S32PC, English Issue 02 – 12/2003
Deuterium Lamp Warranty
Criteria for lamp replacement are that it must:
-be less than 15 months old
Fuse Replacement
1) Switch off the instrument and disconnect the power supply cord. The fuse
holder can only be opened if the power supply plug has been removed, and is
located between the power input socket and the on/off switch on the back panel
of the instrument.
2) Slide the fuse holder open by pulling at the notch.
3) Place fuses (1.6A, 5mm x 20mm, FST) into the fuse holder and slide back into
position.
4) Reconnect the power supply cord and switch on the instrument.
Fuses are not normally consumed in an instrument's lifetime. If they blow repeatedly
contact your supplier.

___________________________________________________________________
Issue 02 - 12/2003 Libra S32PC, English 13
Cleaning and General Care
External cleaning
•Switch off the instrument and disconnect the power cord.
•Use a soft damp cloth.
•Clean all external surfaces
•A mild liquid detergent may be used to remove stubborn marks.
•Sample compartment spillages
•Switch off the instrument and disconnect the power cord.
•The cell holders, baseplate and sample compartment are coated in a chemical
resistant finish. Strong concentration of sample, however, may affect the
surface, and spillages should be dealt with immediately.
•Observe all necessary precautions if dealing with samples or solvents that are
hazardous.
•There is a small drain hole in the sample compartment to allow excess liquid to
drain away. Liquids will drain onto the bench or table under the
spectrophotometer or if preferred, this drain hole can be connected to waste
using suitable tubing.
•Remove the cell holder and clean separately.
•Use a soft dry cloth to mop out the sample compartment. Replace the cell
holder.
•Reconnect the power cord and switch on the instrument.

___________________________________________________________________
14 Libra S32PC, English Issue 02 – 12/2003
APPENDIX
Pharmacopoeia
In general, there has been an increase in laboratory requirements to conform with
Good Laboratory Practice techniques; this is particularly the case in Pharmaceutical
companies and in Biotechnology facilities, where the interest in finding solutions to
gene therapy opportunities is great. Typically, scientists working in pharmaceutical
and bio-pharmaceutical research, be it University or Industry, require a high
specification instrument with the ability to develop methods.
The British Pharmacopoeia (A88 Appendix II B) states that for resolution:
•To verify the resolution of the instrument, the spectrum of a 0.02% (v/v)
solution of toluene in hexane should b recorded; the ratio of the absorbance at
the maximum (269nm) and minimum (266nm) should be at least 1.5. It can be
shown that this requires an instrument having 1.8nm bandwidth or less.
The European Pharmacopoeia (1984, v.6.19, 2nd Edition) states that for stray light:
•To verify the stray light of the instrument, the absorbance of a 1.2 % w/v
solution of potassium chloride with a pathlength of 1cm should be more that
2.000 when compared with water as reference liquid.
This instrument fulfils the requirements of the Pharmacopoeia, and is delivered with
the appropriate factory final test certificate to show this. An “Instrument
Qualification and Performance Verification Logbook” is also included; this details
the various tests that have to be done to prove Pharmacopoeia compliance and
enables the results to be plotted as a function of time.

___________________________________________________________________
Issue 02 - 12/2003 Libra S32PC, English 15
Good Laboratory Practice
Good laboratory Practice (GLP) concerns being able to trace experimental results to
an instrument, an operator and the time the result was obtained so that a laboratory
can prove that the instrument was functioning correctly or not. Laboratory, operator
and internal instrument reference names can be entered via the software.
GLP Diagnostic Tests
On calibration or re-calibration, the instrument self-checks its integrity for GLP
purposes. This is quantified from:
-the calibration status of the instrument
-the age and % energy of the lamps compared to their values when new
-the wavelength accuracy by comparing to the 656nm deuterium line
-the values of a built in absorbance filter compared to when the instrument was
manufactured (or last serviced by an accredited engineer).
-the bandwidth at 656nm
-the instrumental stray light
The expected values are given in parentheses on the GLP print out after calibration,
and the range of acceptance is defined in the technical specification of the
instrument.
In the unlikely event that the instrument fails calibration or goes out of specification,
a sequence of error messages will appear on the PC, the final message being "GLP
CALIBRATION FAIL".
The following should be checked:-
-is the cell compartment lid closed properly
-is a sample in the light beam - if so, remove it
-is the baseplate plug in place (single cell accessory)
-is the blanking plug at the front of the cell compartment in place
Pressing OK after the message "GLP Calibration Fail" appears confirms that you
have accepted the instrument status. If you are working in a regulated environment
such as a drug discovery laboratory that generates data for GLP/GMP activities or
reports, you should not use the instrument and contact your local service engineer.

___________________________________________________________________
16 Libra S32PC, English Issue 02 – 12/2003
Specification
Wavelength range 190 - 1100nm, in 0.1 nm steps
Monochromator 1200 lines/mm Aberration corrected concave grating
Spectral bandwidth 1.8 nm
Scan speeds 6200 nm/minute survey scan at 1.0 nm steps down to 405
nm/minute fine detail scan at 0.1 nm steps
Wavelength accuracy ± 0.7 nm
Wavelength reproducibility ± 0.2nm
Light sources tungsten halogen and deuterium lamps
Detector silicon photodiode
Photometric range - 3.000 to 3.000A, 0.01 to 99999 concentration units, 0.1
to 200%T
Photometric accuracy
(linearity) ± 0.5% or ± 0.003A to 2.000A at 546 nm, whichever is
the greater
Photometric reproducibility within 0.5% of absorbance value to 3.000A at 546nm
Noise ± 0.001A near 0A at 546nm,
± 0.002A near 2A at 546nm
Baseline flatness ± 0.003A
Stability ± 0.001A per hour at 340nm near OA after warm-up
(tungsten lamp)
Stray light < 0.025 %T at 220nm using NaI and < 0.025 %T at
340nm using NaNO2
Digital output 9 pin Serial
Sample compartment size 210 x 140 x 80mm
Dimensions 500 x 360 x 190mm
Weight 13kg
Power requirements 90-265 V AC, 50/60Hz, 150VA
Safety Standard EN61010-1
EMC emissions EN 50 081-1 Generic emissions part 1
EMC immunity EN 50 082-1 Generic immunity part 1
Mains harmonies EN 61000-3-2
Quality System Designed and manufactured in accordance with an
ISO9001 approved quality system
Specifications are measured after the instrument has warmed up at constant ambient
temperature and are typical of a production unit. As part of our policy of continuous
development we reserve the right to alter specifications without notice.
Warranty
Your supplier guarantees that the product supplied has been thoroughly tested to ensure that it
meets its published specification. The warranty included in the conditions of supply is valid
for 12 months only if the product has been used according to the instructions supplied. They
can accept no liability for loss or damage, however caused, arising from the faulty or incorrect
use of this product.
This product has been manufactured by Biochrom Ltd, 22 Cambridge Science Park, Milton
Road, Cambridge CB4 0FJ, UK.
Table of contents
Other biochrom Laboratory Equipment manuals
biochrom
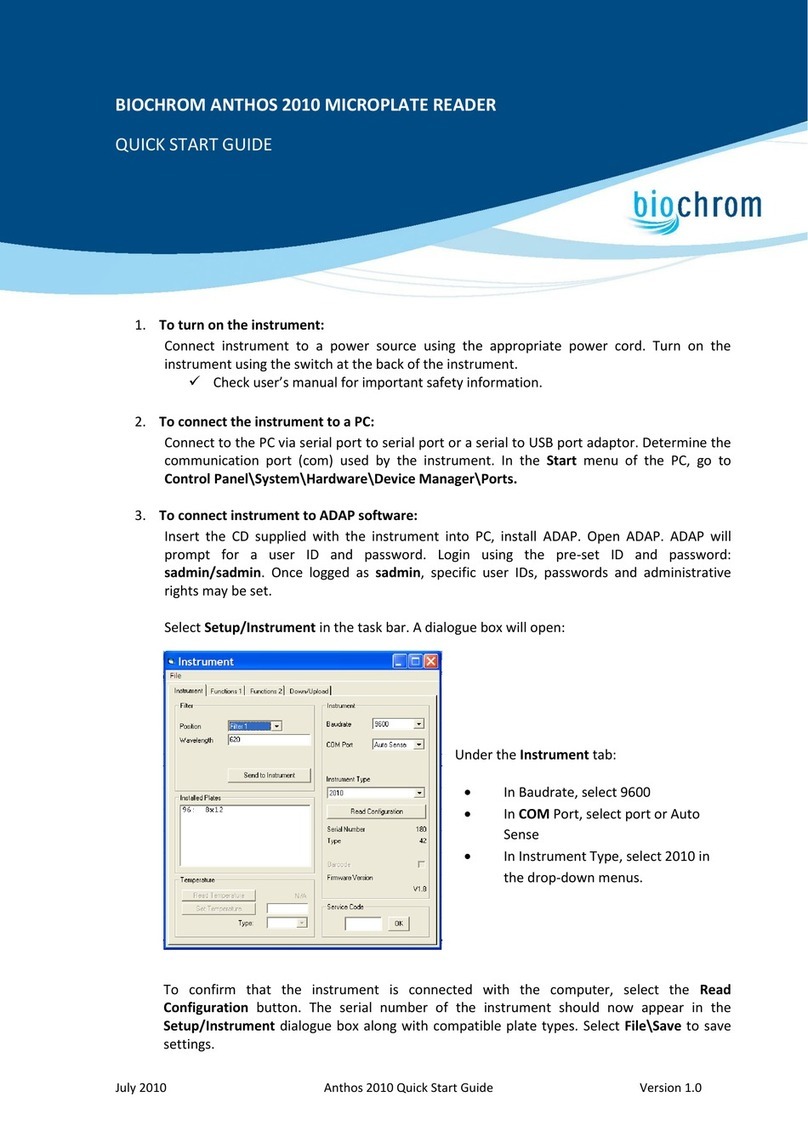
biochrom GeneQuant 1300 User manual
biochrom
biochrom Anthos 2010 User manual
biochrom
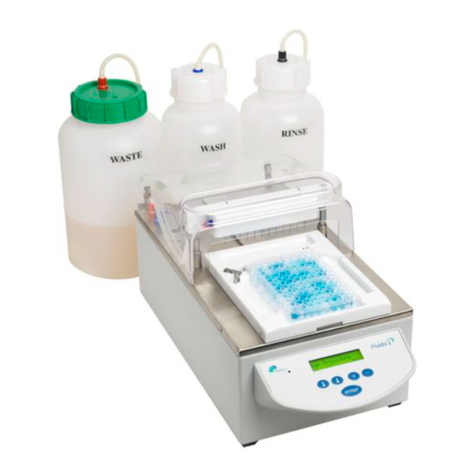
biochrom Anthos Fluido 2 User manual
biochrom
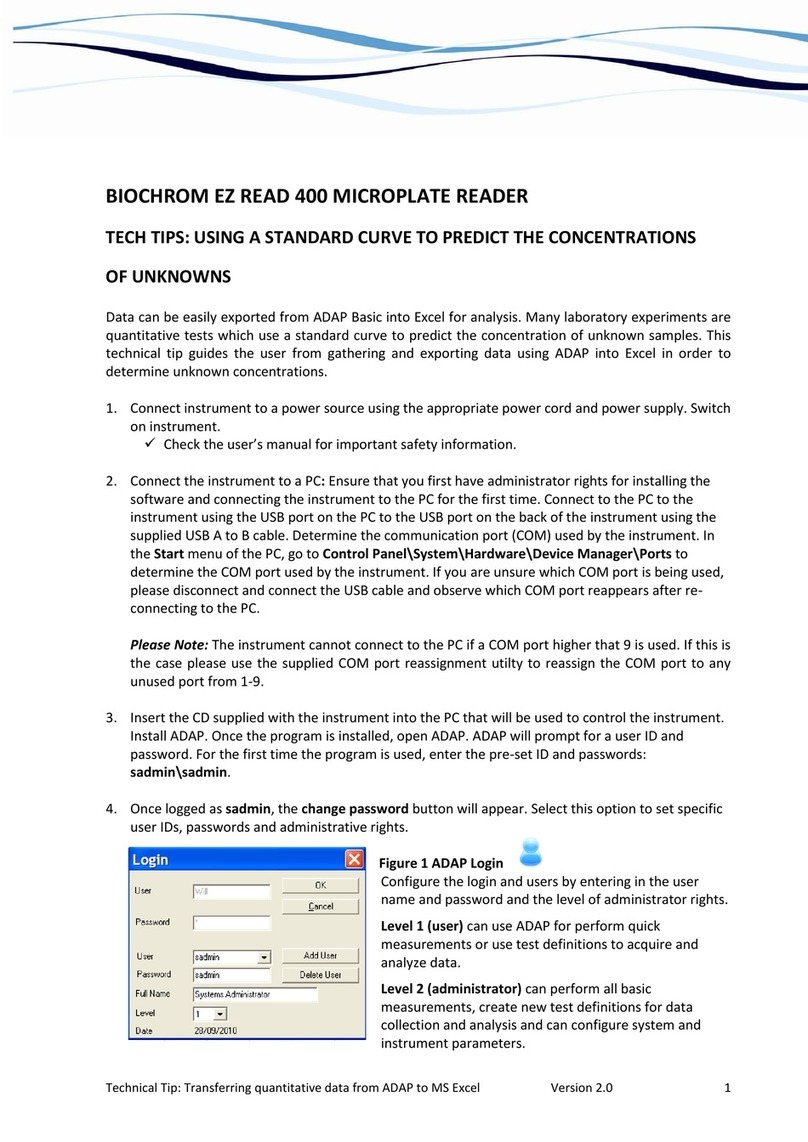
biochrom EZ Read 400 User manual
biochrom
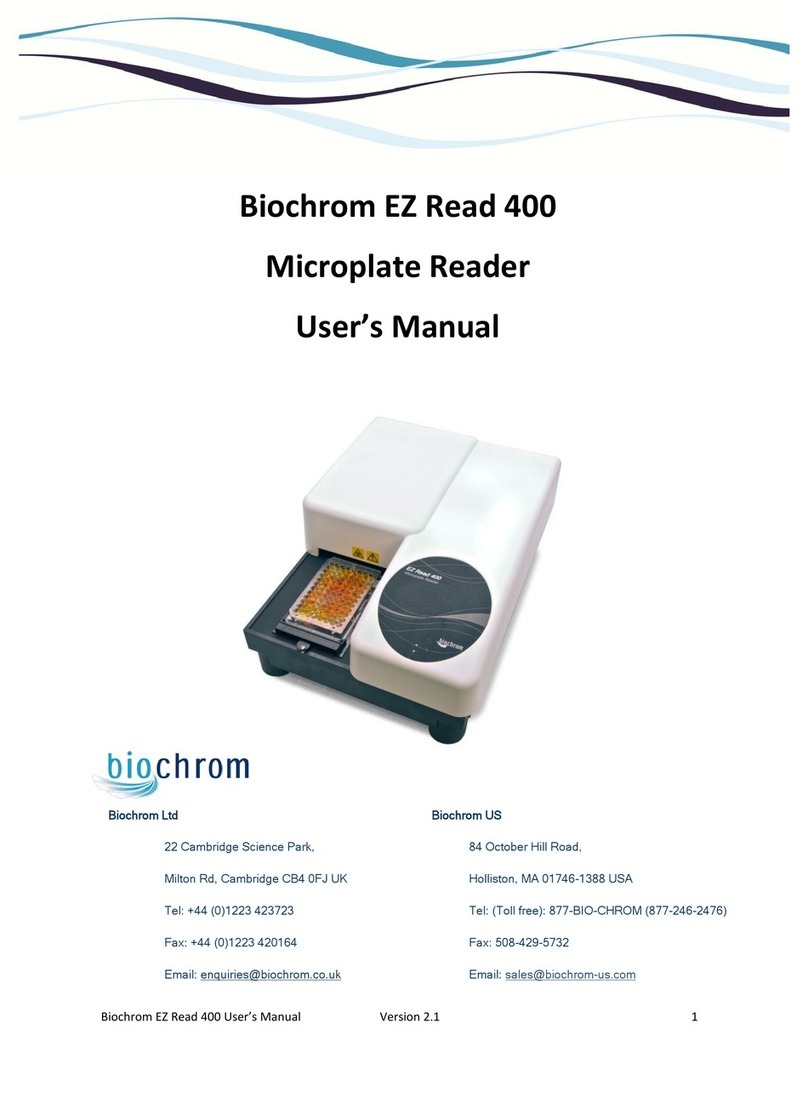
biochrom EZ Read 400 User manual
biochrom
biochrom ANTHOS MULTIREAD 400 User manual
biochrom
biochrom ASYS EXPERT PLUS User manual

biochrom
biochrom EZ Read 400 User manual
Popular Laboratory Equipment manuals by other brands
dosatron
dosatron D14MZ10 Troubleshooting

Cole Parmer
Cole Parmer CB-200 Series instruction manual
Swan Analytical Instruments
Swan Analytical Instruments AMI Codes-II CC Operator's manual
GE
GE AKTA pilot 600 user manual
Endress+Hauser
Endress+Hauser Analytik Jena Biometra TSC ThermoShaker manual
IKA
IKA Dry Block Heater 1 operating instructions

