manuals.online logo
Brands
  1. Home
  2. •
  3. Brands
  4. •
  5. Birlea
  6. •
  7. Indoor Furnishing
  8. •
  9. Birlea Arlo 1 Drawer Bedside User manual

Birlea Arlo 1 Drawer Bedside User manual

Other Birlea Indoor Furnishing manuals
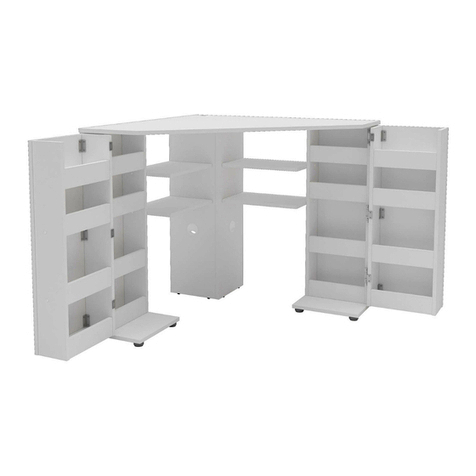
Birlea OLIVIA User manual

Birlea

Birlea OLIVIA User manual

Birlea PHONENIX User manual

Birlea

Birlea PHONENIX User manual
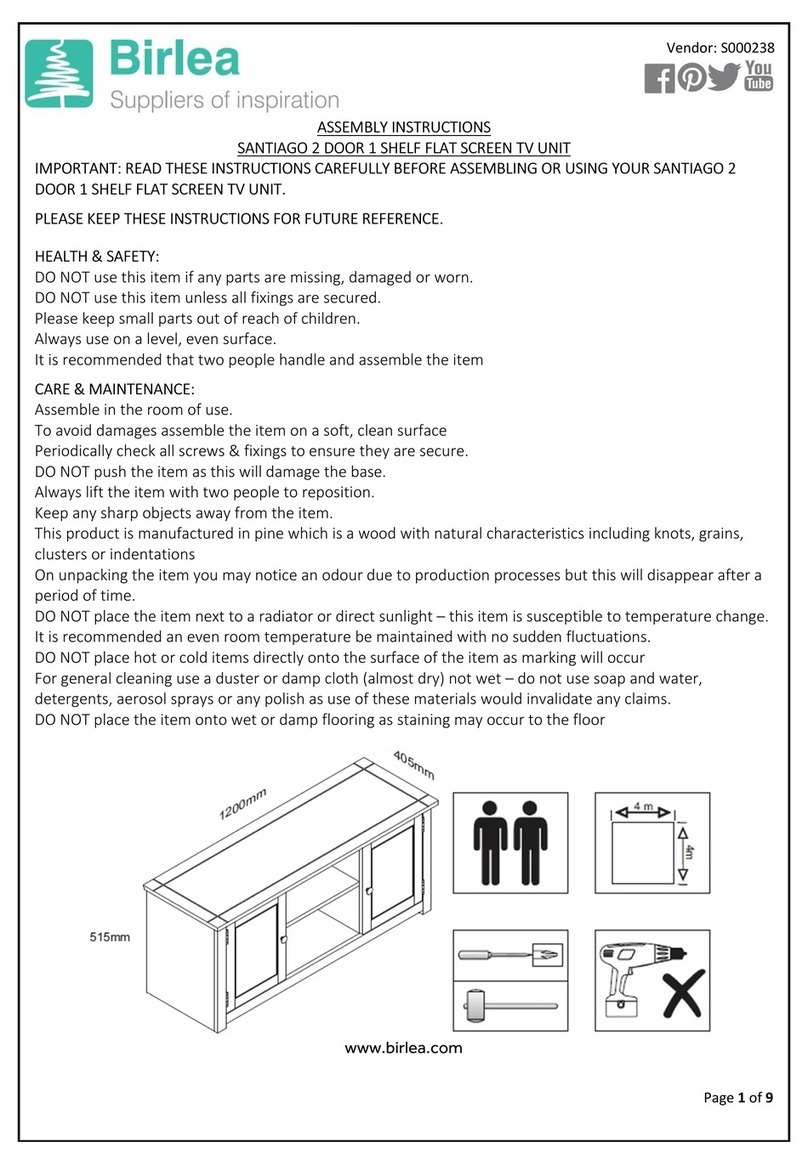
Birlea SANTIAGO User manual

Birlea

Birlea SANTIAGO User manual

Birlea RICHMOND 6 DRAWER CHEST User manual
Birlea

Birlea RICHMOND 6 DRAWER CHEST User manual

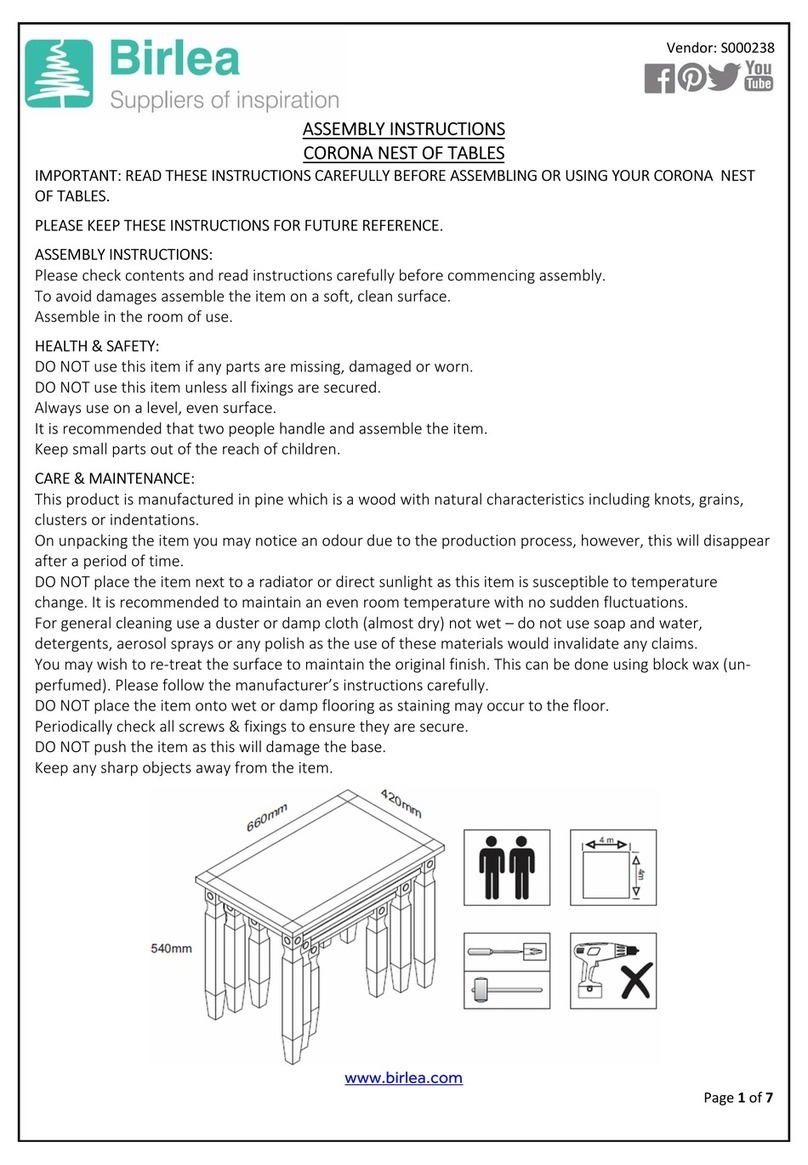
Birlea Sienna Fabric Bed Double User manual
Birlea

Birlea Sienna Fabric Bed Double User manual

Birlea CORONA NEST OF TABLES User manual
Birlea

Birlea CORONA NEST OF TABLES User manual

Birlea CORONA 3+2 User manual

Birlea

Birlea CORONA 3+2 User manual
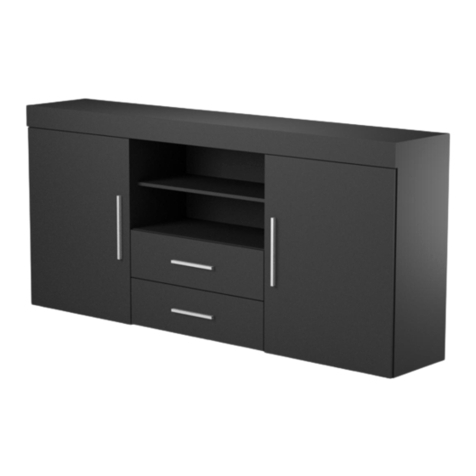
Birlea EDG2SBBLK User manual

Birlea

Birlea EDG2SBBLK User manual
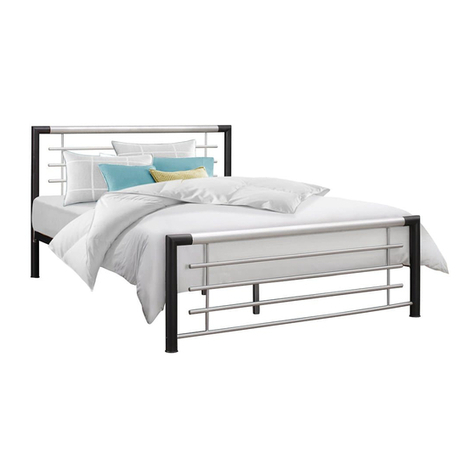
Birlea Faro Bed User manual

Birlea

Birlea Faro Bed User manual
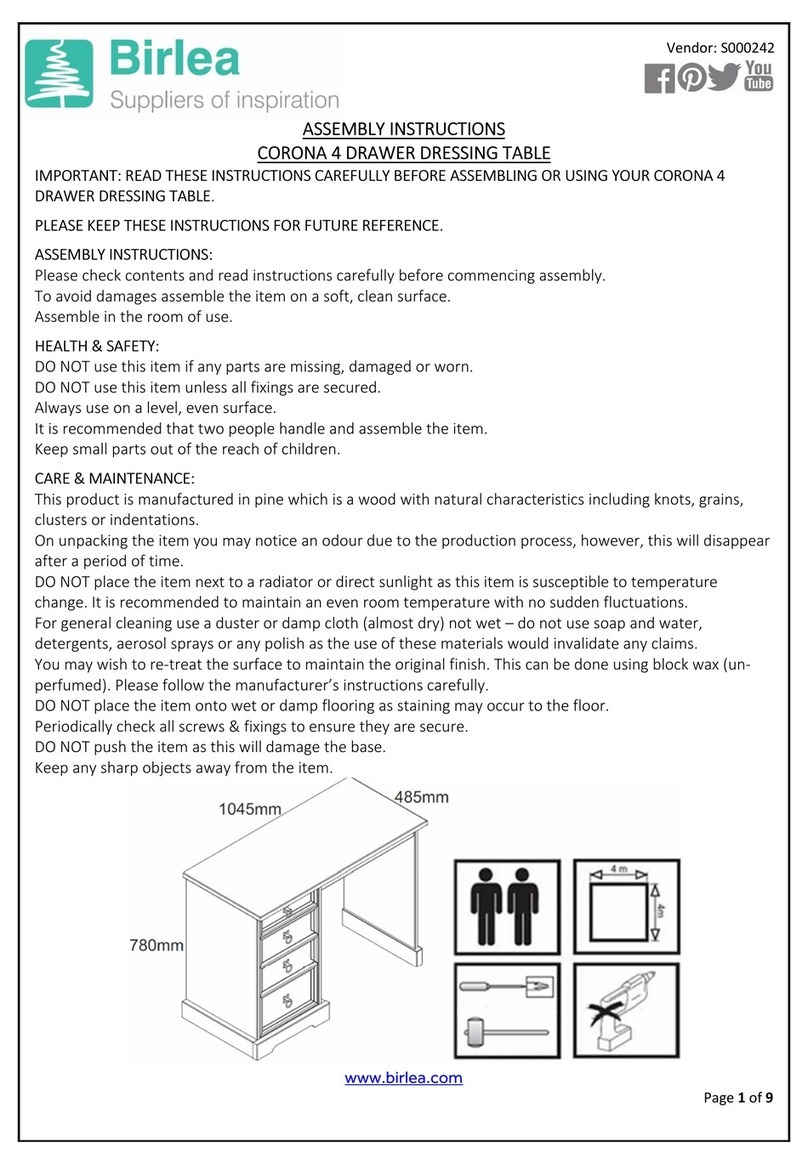
Birlea corona User manual

Birlea

Birlea corona User manual

Birlea ATLAS User manual

Birlea

Birlea ATLAS User manual

Birlea DENVER 3' BED PINE User manual

Birlea

Birlea DENVER 3' BED PINE User manual
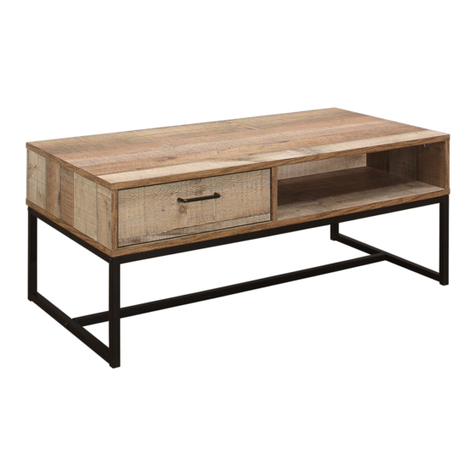
Birlea URB1CTRUS User manual

Birlea

Birlea URB1CTRUS User manual

Birlea corona User manual

Birlea

Birlea corona User manual

Birlea CORONA 2 DOOR 5 DRW SIDEBOARD User manual

Birlea

Birlea CORONA 2 DOOR 5 DRW SIDEBOARD User manual

Birlea ATLAS User manual

Birlea

Birlea ATLAS User manual
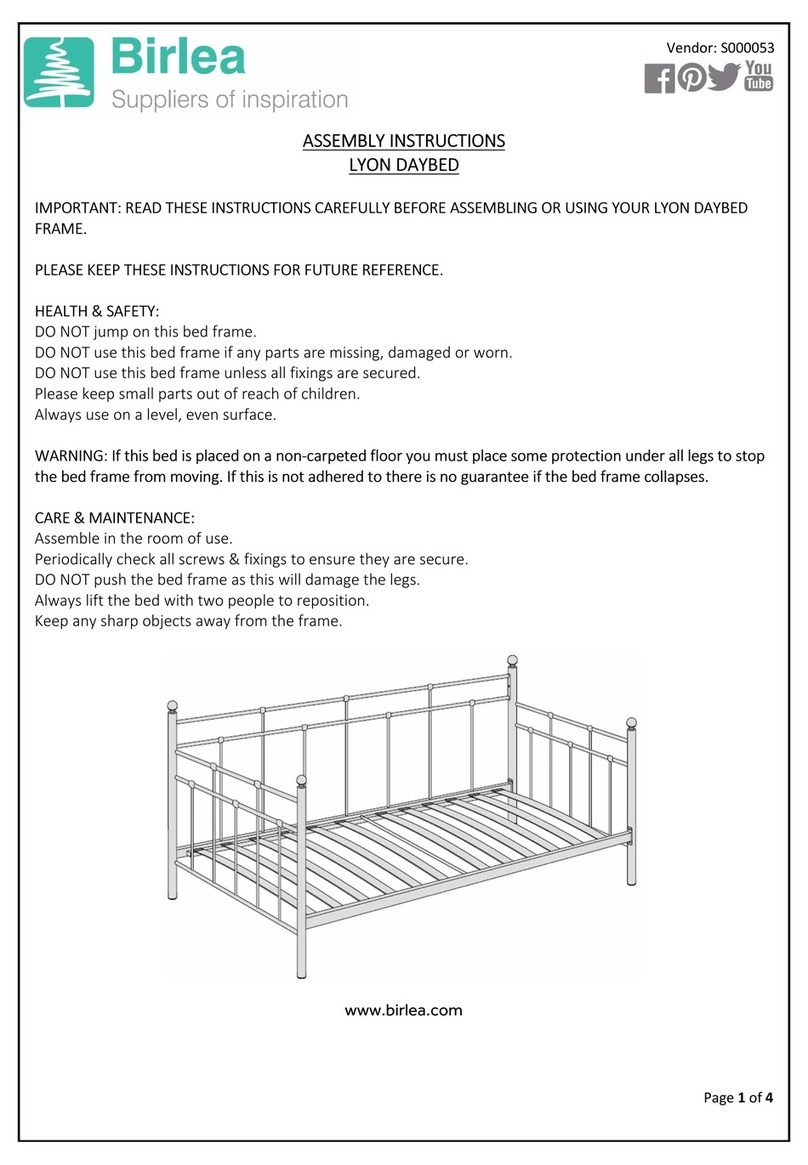
Birlea LYON S000053 User manual

Birlea

Birlea LYON S000053 User manual
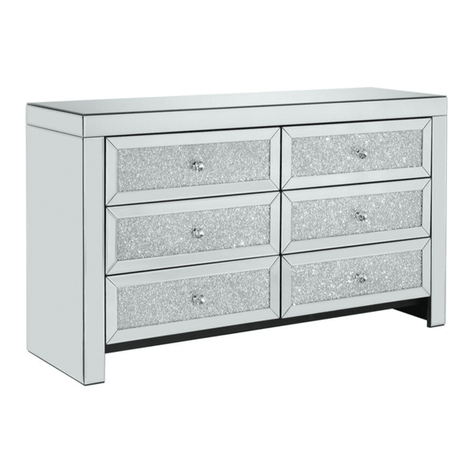
Birlea VIENNA User manual

Birlea

Birlea VIENNA User manual
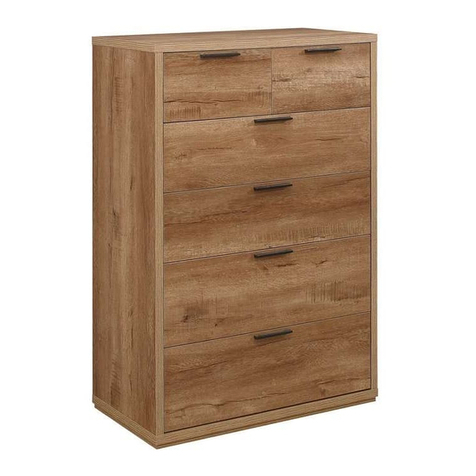
Birlea STOCKWELL 4+2 CHEST User manual

Birlea

Birlea STOCKWELL 4+2 CHEST User manual

Birlea Merlin User manual

Birlea

Birlea Merlin User manual

Birlea Ava 5 Drawer Dressing Table & Mirror User manual

Birlea

Birlea Ava 5 Drawer Dressing Table & Mirror User manual

Birlea CORONA 2+2 DRAWER CHEST User manual

Birlea

Birlea CORONA 2+2 DRAWER CHEST User manual

Birlea DIS-DAVHCGCH User manual

Birlea

Birlea DIS-DAVHCGCH User manual

Birlea Valencia 2 Drawer Sideboard User manual

Birlea

Birlea Valencia 2 Drawer Sideboard User manual

Popular Indoor Furnishing manuals by other brands

Regency LWMS3015 Assembly instructions

Regency

Regency LWMS3015 Assembly instructions

Furniture of America CM7751C Assembly instructions

Furniture of America

Furniture of America CM7751C Assembly instructions

Safavieh Furniture Estella CNS5731 manual

Safavieh Furniture

Safavieh Furniture Estella CNS5731 manual

PLACES OF STYLE Ovalfuss Assembly instruction

PLACES OF STYLE

PLACES OF STYLE Ovalfuss Assembly instruction

Trasman 1138 Bo1 Assembly manual

Trasman

Trasman 1138 Bo1 Assembly manual

Costway JV10856 manual

Costway

Costway JV10856 manual
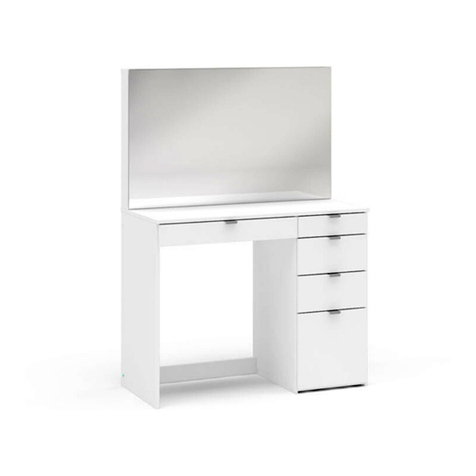
moss DESIGN Caisson Credenza Assembly instructions

moss DESIGN

moss DESIGN Caisson Credenza Assembly instructions

Aquaglide FULL DECK 15.0 owner's manual

Aquaglide

Aquaglide FULL DECK 15.0 owner's manual

AREBOS AR-HE-SW30 user manual

AREBOS

AREBOS AR-HE-SW30 user manual

Till-Hilft Fulda 87005.330 Assembly instructions

Till-Hilft

Till-Hilft Fulda 87005.330 Assembly instructions

Twoey Outside 2010 quick start guide

Twoey Outside

Twoey Outside 2010 quick start guide

Hettich Easys 200 operating instructions

Hettich

Hettich Easys 200 operating instructions

The bedboss RELAX 404 Series owner's manual

The bedboss

The bedboss RELAX 404 Series owner's manual

Oeseder Möbelindustrie Bern 991 720 Assembly instructions

Oeseder Möbelindustrie

Oeseder Möbelindustrie Bern 991 720 Assembly instructions

Costway HW68469 user manual

Costway

Costway HW68469 user manual

Next ALIX A27743 Assembly instructions

Next

Next ALIX A27743 Assembly instructions

BROSA Hans Assembly guide

BROSA

BROSA Hans Assembly guide

Prodigg MINIKA PBA015T-FUR installation manual

Prodigg

Prodigg MINIKA PBA015T-FUR installation manual

manuals.online logo
manuals.online logoBrands
  • About & Mission
  • Contact us
  • Privacy Policy
  • Terms and Conditions

Copyright 2025 Manuals.Online. All Rights Reserved.

Assembly Instructions
Thank you for
purchasing a
Birlea product.
For a chance to win a Love 2 Shop
voucher simply post a picture of your
new product on your preferred social
channels tagging Birlea Furniture and
using the hashtag #ShareYourStyle
and #Birlea. One winner will be
selected at random each month.
To view our full terms and conditions please visit www.birlea.com
Are you happy with your purchase?
Yes: That’s great, we would love to hear more from you. Please leave us a review on our
social media channels or Trustpilot. Your feedback will be greatly appreciated.
No: If for any reason there is something missing, indifferent or incorrect with your order,
please contact the retailer you purchased the item from. We will work with the retailer
to resolve your issue as quickly as possible.
Arlo - 1 Drawer Bedside
Assembly Instructions
Page 2 of 8
For Care and Maintenance of your
bedside...
• Always assemble in your desired room of use.
• Always check all screws and fixings periodically
to ensure they are still secure.
• Do not push or pull this bedside as it will cause
damage.
• Always lift this bedside with a second person to
prevent damage or injury.
• Keep any sharp objects away from this bedside.
• Do not use any power tools as this will void your
guarantee.
For your Health and Safety...
• Assemble this product laying flat, not upright.
• Do not use this product if you find missing,
damaged or worn parts. Please contact your
retailer.
• Please do not use this product until you have fully
secured all fixings.
• Please keep all small components away from
children.
• Please ensure this product is on an even, level
surface.
Also...
If your desired room of choice has a non-carpeted surface please ensure that you use some form of
protection and do not place directly on the wooden floor. This will prevent the product from moving and
therefore collapsing which will void your guarantee..
Before you begin...
1. Please check you have received the correct product.
2. Unpack all boxes and lay out each component on the floor.
3. Check your product for any damage that may be immediately obvious. If damage is identified,
please contact your retailer.
4. Please read through these instructions thoroughly to ensure you have constructed your bed
correctly.
Page 3 of 8
Parts
01. Top Panel (x1)
Hardware
02. Bottom Panel (x1) 03. Left Side Panel (x1) 04. Right Side Panel (x1)
05. Back Panel (x1) 06. Drawer Front (x1) 07. Drawer Side (x2) 08. Drawer Back (x1)
09. Drawer Bottom (x1)
A1. Cam Lock (x4) A2. Minifix Screw (x4) A3. Plastic Cap (x4) B. M8x30mm Wood Dowel (x8)
C. M6x50mm Wood Screw (x4) D. M4 Allen Key (x1) E. M3x12mm C.B Screw (x2)
F. M3.5x16mm C.B Screw (x28) G. M4x38mm C.B Screw (x8) H. 5/8 Nail (x20) I. Handle (x1)
K. Metal Leg (x4)
J1. 14" Drawer Slide - Left/Right (x2) J2. 14" Drawer Slide - Left/Right (x2)
Page 4 of 8
Step 1
Unpack all components from the boxes and check you are not missing anything. Please check these against the list on
page 3. Should you identify any missing components, please contact the retailer you purchased the bed from.
Step 2
Firstly, attach 4x Minifix Screw (A2) to 1x Top Panel (01). Please do not use any power tools for this assembly as it will
void your guarantee.
A2 x4
01
Page 5 of 8
Step 3
Next, attach 1x 14" Drawer Runner - Left (J1) to 1x Left Side Panel (03) using 3x M3.5x16mm C.B Screw (F). Next attach
1x 14" Drawer Runner - Right (J1) to 1x Right Side Panel (04) using 3x M3.5x16mm C.B Screw (F).
J1
FF
F
J1
J1
A1
A1
B
B
x2
x2
x4
x4
03
04
x2 x2
x2
Step 4
Attach 8x M8x30mm Wood Dowel (B) to either end of 1x Left Side Panel (03) and 1x Right Side Panel (04). Finally,
attach 2x Cam Lock (A1) to 1x Left Side Panel (03) and 2x Cam Lock (A1) to 1x Right Side Panel (04).
J1
FF
F
J1
J1
A1
A1
B
B
x2
x2
x4
x4
03
04
x2 x2
x2
FOR UP
1st HOLE
MARKING
FOR FRONT
Top
Front
Top
Front
Top
Front
Page 6 of 8
Step 5
Attach 1x Left Side Panel (03) and 1x Right Side Panel (04) to 1x Top Panel (01) using 4x Cam Lock (A1) and 4x Minifix
Screw (A2) pre-attached in the previous step using a Screwdriver (Not Provided). Then cover 4x Minifix Screw (A2)
using 4x Plastic Cap (A3).
Step 6
Attach 1x Bottom Panel (02) to 1x Left Side Panel (03) and 1x Right Side Panel (04) using 4x M6x50mm Wood Screw (C)
and 1x M4 Allen Key (D).
A1 A2
A1
A3
01
03
04
C
D
01
02 03
04
Page 7 of 8
Step 7
Attach 1x Back Panel (05) to the entire body using 12x 5/8 Nail (H) and a Hammer (Not Provided).
Step 8
Attach 4x Metal Leg (K) to 1x Bottom Panel (02) using 16x M3.5x16mm C.B Screw (F) and Screwdriver (Not Provided).
Step 9
Attach 1x Handle (I) to 1x Drawer Front (06) using 2x M3.5x16mm C.B Screw (E). Then, attach 2x Drawer Side (07) using
8x M4x38mm C.B Screw (G). Finally, attach 1x Drawer Bottom (09) to the drawer bodies using 16x 5/8 Nail (H) and a
Hammer (Not Provided).
H
02 03
05
K
F
02
03
05
K
K
K
06
I
06
07
07
08
06
07
07
08
09
Page 8 of 8
Step 10
Attach 1x 14" Drawer Runner - Left (J2) to the base of the drawer bodies using 3x M3.5x16mm C.B Screw (F). Then
attach 1x 14" Drawer Runner - Right (J2) to the base of the small drawer body using 3x M3.5x16mm C.B Screw (F).
FF
F
F
F
F
F
08
08
07
09
13
Step 11
Assemble the drawer's along the drawer slides as shown below.
J2
J2
J2
J2
J2
J2
02
01
03
04
06
I
K
K