9/18
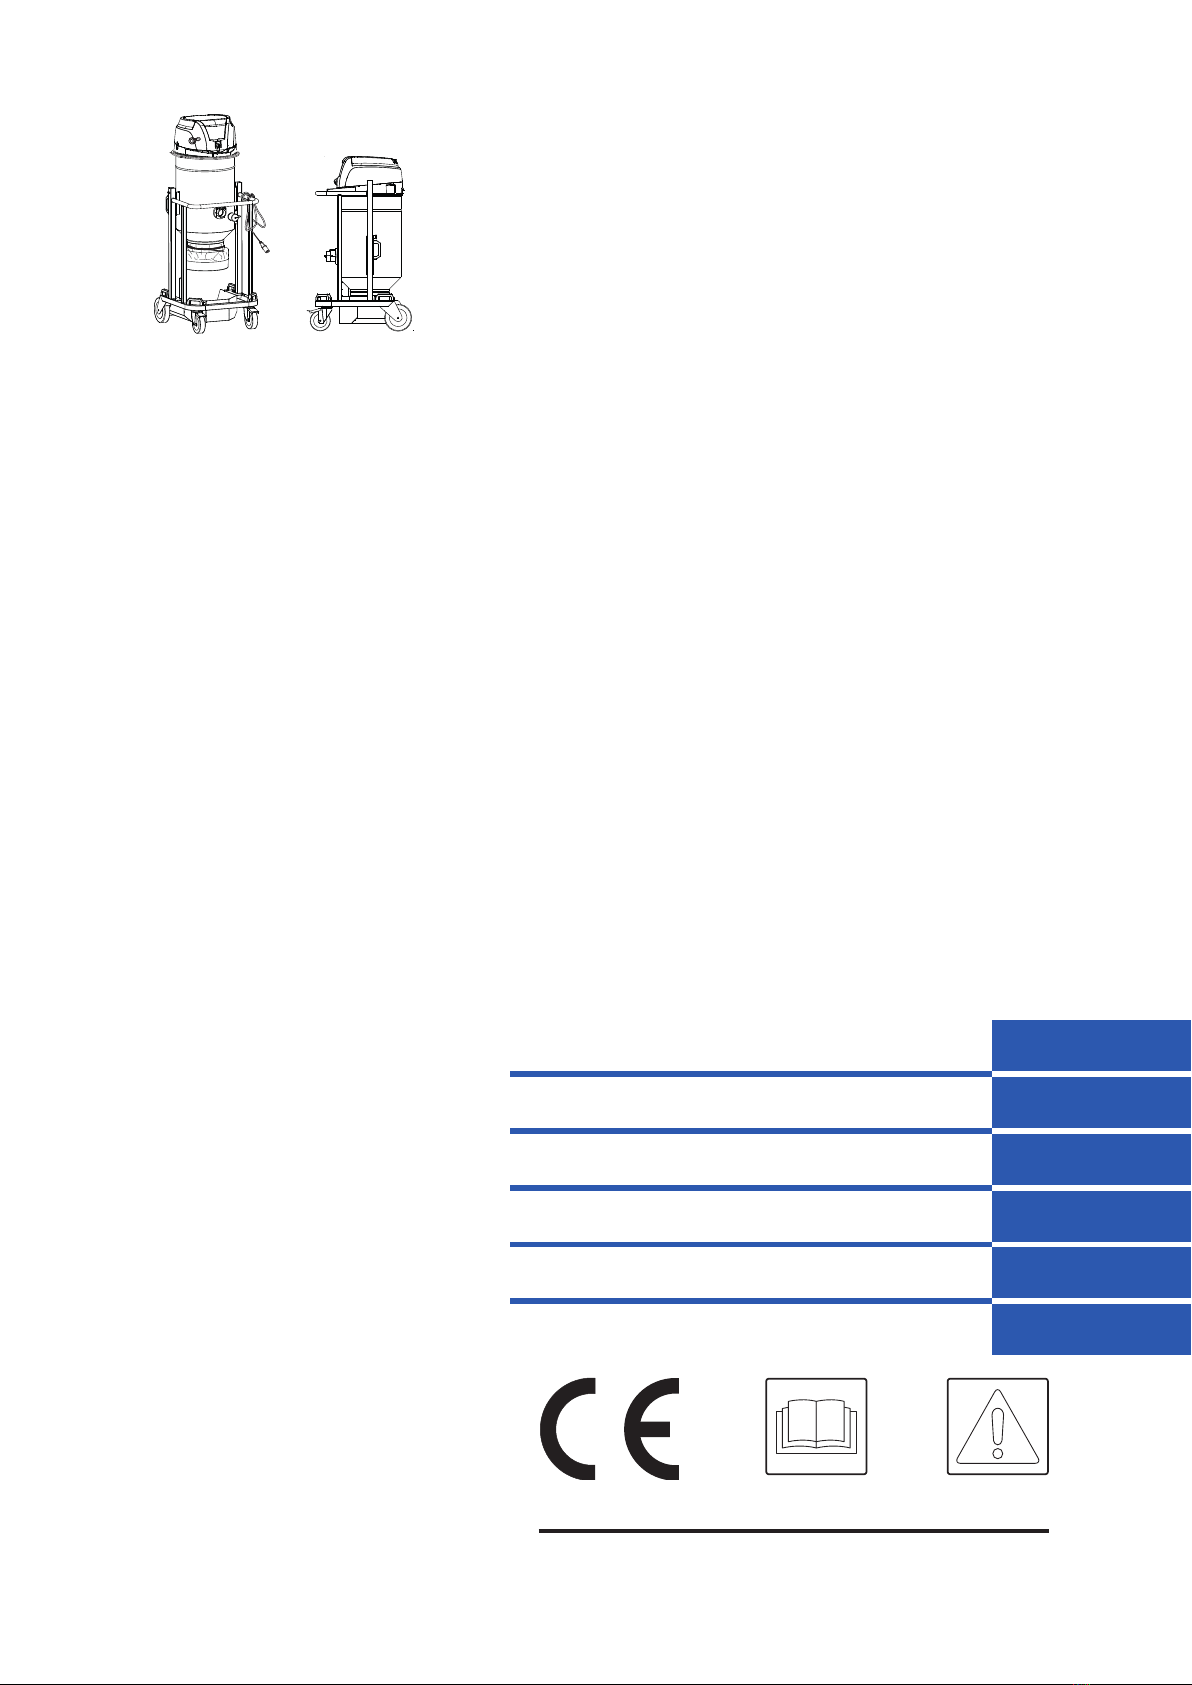
Operating manual BDC-133M / BDC-133H
GB
At the end of a cleaning session
■Turn the vacuum cleaner o with switch (1 - Fig. 5) and
disconnect the plug from the socket.
■Wind the connection cable up and hang it in the
relevant compartment (Fig. 9).
■Empty the container as described in the "Emptying the
container" paragraph.
■Clean the vacuum cleaner as described in the
"Maintenance, cleaning and decontamination"
paragraph.
■Wash the container with clean water if aggressive
substances have been vacuumed.
■Store the vacuum cleaner in a dry place, out of reach of
unauthorized persons.
■Shut the inlet with the appropriate plug (1 - Fig. 10)
when the vacuum cleaner is transported or not being
used.
■Turn to "Transport" position (POS.1 - Fig. 7) with the
vacuum cleaner lowered and the safety pins locked (2 -
Fig. 7).
■Check that the safety pins are fully inserted in the
relevant locking holes, before turning the vacuum
cleaner to "Transport" position.
See the instructions in START AND STOP.
Maintenance, cleaning and
decontamination
WARNING!
To guarantee the safety level of the vacuum
cleaner, only original spare parts supplied by the
manufacturer should be used.
WARNING!
The precautions described below must be taken
during all maintenance operations, including
cleaning and replacing the primary and absolute
lters.
WARNING!
The maintenance, cleaning and
decontamination operations must
only be performed with the vacuum
cleaner turned o with switch (1 -
Fig. 5) and the plug disconnected
from the power socket.
It is absolutely forbidden to
perform maintenance with the plug
connected to the socket.
Danger of electric shock!
■If the user is performing the maintenance operations,
the vacuum cleaner must be disassembled, cleaned
and overhauled as far as reasonably possible without
hazards for the maintenance personnel or other people.
The suitable precautions include decontamination before
disassembling the vacuum cleaner, adequate ltered
ventilation of the exhaust air from the room in which
it is disassembled, cleaning the maintenance area and
suitable personal protection.
■The external parts of the vacuum cleaner must be
decontaminated by cleaning and vacuuming methods,
dedusted or treated with sealant before being taken out
of a hazardous zone.
All parts of the vacuum cleaner must be considered
as contaminated when they are removed from the
hazardous zone and appropriate actions must be taken
to prevent dust from dispersing.
When maintenance or repair procedure are carried out,
all the contaminated elements that cannot be properly
cleaned, must be eliminated.
These elements must be disposed of in sealed bags in
accordance with applicable regulations and local laws on
the disposal of such material.
This procedure must also be followed when the lters
are eliminated (primary and absolute lters).
Compartments that are not dust-tight must be opened
with suitable tools (screwdrivers, wrenches, etc.) and
thoroughly cleaned.
■A check must be carried out by the manufacturer or
the personnel of the same at least once a year. For
example: Check the air lters to nd out whether the
air-tightness of the vacuum cleaner has been impaired
in any way and make sure that the electric control panel
operates correctly.
WARNING!
In particular, on Class H vacuum cleaners, the
ltering eciency of the vacuum cleaner must
be checked at least once a year, or more often if
required by national legislation.
The test method for checking the ltering eciency
of the vacuum cleaner is indicated in standard EN
60335-2-69, par. 22.AA.201.2.
If the test isn't passed, it must be repeated after
the class H lter has been changed.
WARNING!
This vacuum cleaner can vacuum dust hazardous
for the health. The procedures for servicing and
emptying the vacuum cleaner including removing
the dust container, must only be performed by
specialised personnel wearing protective clothing.
Do not use without the complete lter system in
place.