2. Installation
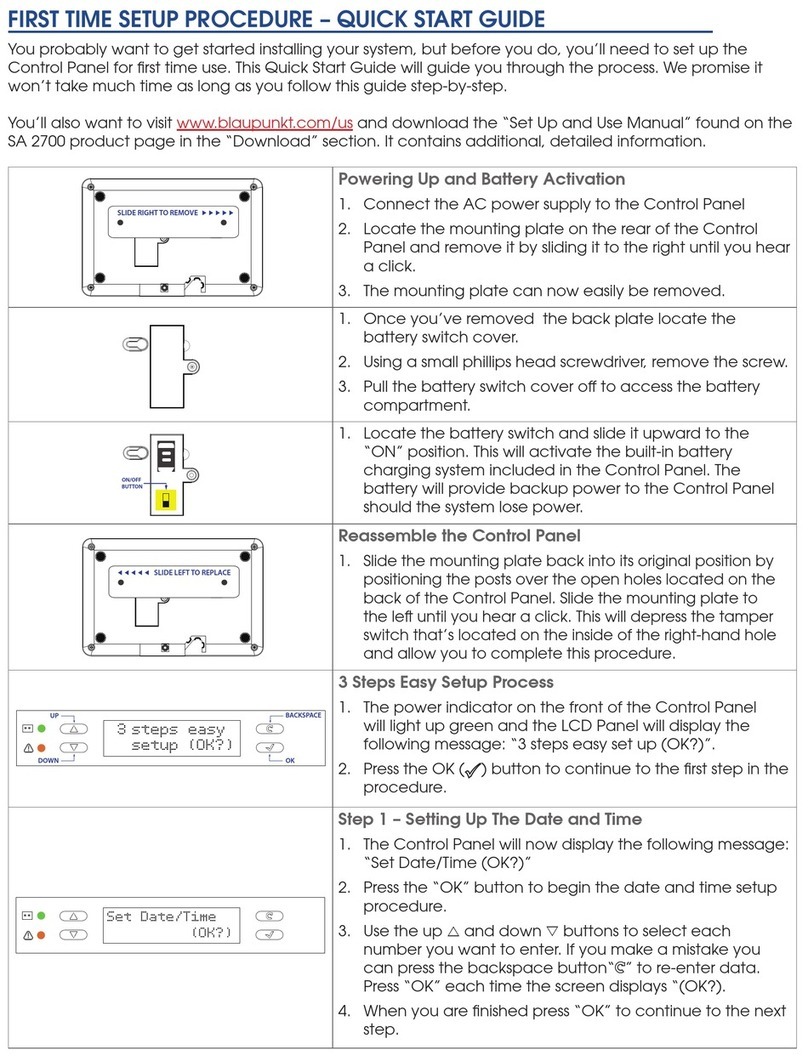
Before proceeding to install your accessory devices, you should first complete system
registration on Blaupunkt Home Connect server. Please refer to the Quick Start Guide or
server user manual to complete the registration process and log into your user account.
Signal Range and Walk Test
All accessory devices in the Q3000 alarm kit uses wireless radio protocol to communicate with the
Control Panel to save you from the extra labour of wiring the device to panel. All devices in the
alarm system have an approximate range of 30 meters in typical domestic environment. The range
may vary depending on different home condition. Before installing an accessory device, you should
test its signal range at selected mounting location first. To test signal range, use the Walk Test
function from Blaupunkt Home Connection server, then press the device’s test button to transmit
test signal. Refer to the server user manual for more info.
Home Arm Mode Planning
The alarm system functions according to its current “Mode”, which determines the system
behaviour when a sensor is activated. There are 3 modes:
Disarm Mode: The system will not activate alarm when a Burglar protection sensor, such as
Door/Window Contact, or PIR sensor is triggered. It will only activate alarm if the user does so
manually, or a Fire/Water sensor is triggered.
Away Arm Mode: The system will activate alarm when any sensor is triggered.
Home Arm Mode: The system will only activate Burglar alarm from specific sensors. Sensor set to
be ignored under Home Arm mode will not be activated alarm when triggered. With Home Arm
mode, you can keep your home perimeter under alert, and still be able to move freely within the
house.
Home Arm mode allows system to be partially armed by deactivating some sensors under Home
Arm mode. Before installation, you should plan ahead and determine which sensor should be
deactivated for Home Arm mode. Usually the sensor deployed at home perimeter and entry points,
such as Door Contact on the front gate, should be activate all the time. While sensors located in
internal space, such as 2nd floor can be deactivate for Home Arm mode. For more info about Home
Arm mode setting, please refer to server user manual.
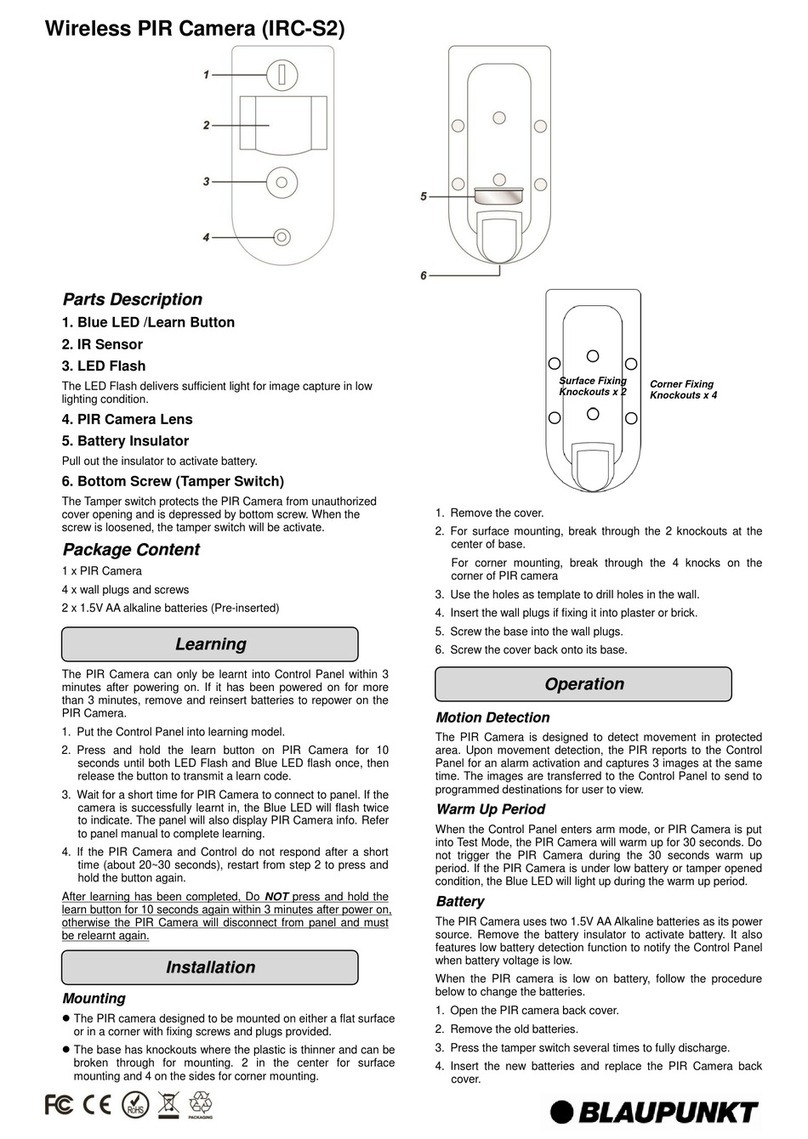
Tamper Protection
Your intrusion protection sensor (PIR Sensor and Door Contact) are protected from sabotage
attempt by a “tamper switch,” which is triggered when the device cover is opened, or removed from
mounted surface. When the tamper switch is triggered, the sensor will transmit signal to Control
Panel to alert user that the sensor may be either installed improperly or has been sabotaged. To
make sure the tamper switch functions properly, please make sure the switch is fully depressed
against the mounting surface when installing your accessory devices.
General Device Location Guideline
Avoid mounting the Control Panel and devices close to large metal objects or electrical
interference source, such as fridge and microwave oven as they could affect signal strength.
Wall material also plays a great role in signal penetration efficiency, for example, a brick wall
will reduce signal strength a lot more than wooden wall.
For devices that has tamper protection function, mount on even surface to ensure the tamper
is fully closed when mounted. For uneven surface, use extra packing material on the back.
