HOWTO INSTALLTHE SOAP RESERVOIR SYSTEM:
CAUTION:The following instructions are a general guide only.Variations in design and
construction of installations, such as location of plumbing, will affect the exact location of
different elements of the system.This system has been designed for great adaptability by
allowing on-site measuring and cutting of the black flexible hoses, clear elbows, and pipe
connections as required.
The wall surface on which the soap reservoir is to be mounted determines the specific
type of mounting required for best installation:
For plaster or dry wall on studs, provide concealed backing and 1/4'' (6mm) screws to
secure system to wall. Backing must comply with local building codes.
For brick, concrete, or solid tile walls, provide fiber plugs or expansion shields for use
with 1/4'' (6mm) mounting screws.
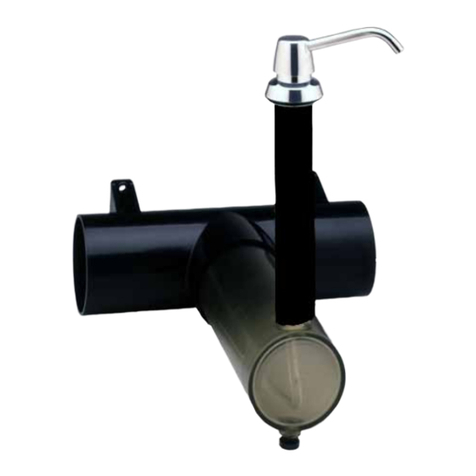
1. Mount one coupling tee for each soap dispenser.The centerline of the coupling tee
should be within 6'' (150mm) of the soap dispenser centerline.
Note:The black flexible
hose and supply tube compensate for any offset alignment.
Use one coupling tee as a
template to mark the mounting hole locations on the wall for 1/4'' (6mm) mounting
screws.
2. Layout and cut the pipe connections as required to connect all coupling tees and end-
caps. Pipe connections are to 3'' (75mm) ABS or PVC schedule 40 with 3-1/2'' (90mm)
outside diameter (88–90mm ABS or PVC Nominal pipe sizes).
3. Provide ABS/PVC or other multipurpose primer and pipe cement. Prime and glue pipe
connections to the coupling tees and end-caps to create a continuous line of piping.
4. Mount the piping
plumb and level
to insure a consistent soap depth throughout the
reservoir system.
5. Thread the plugs and o-rings into the drain holes on the underside of clear
elbows.
CAUTION:Do not overtighten the pipe plugs as this may cause the clear
elbows to crack.
6. Reduce the length of each clear elbow, if required, by cutting
from the large open end.
7. Use ABS/PVC primer and pipe cement to connect
each clear elbow to the appropriate coupling tee
with the small opening on top pointing up
toward the soap dispenser.
8. Place either end of the black flexible hose onto
the small opening on top of the clear elbow.Then
take the remaining length of hose and hold it up to the
shank of the appropriate soap dispenser to determine
where to cut the hose.The hose must overlap the shank 2''
(50mm)minimum.
9. Use ABS/PVC pipe cement to connect the bottom end of each black
flexible hose to the small opening of the clear elbow.Then slide the top end of
the black flexible hose up over the threaded shank of the soap dispenser.The
hose should overlap the shank 2'' (50mm) minimum.
CAUTION:Do not seal the top
end of hose — it must be left unsealed to allow for venting of soap reservoir.
10. Cut at an angle each soap dispenser's supply tube so the end reaches the bottom of
the clear elbow.
CAUTION:Do not stretch the supply tube tightly while cutting as this
may result in the supply tube being too short.
11. Insert supply tube through black flexible hose, making sure the angled end reaches
the bottom of the clear elbow and that the tube is not kinked.
12. After pipe cement has set, run water through the soap reservoir to test for leaks. Drain
the reservoir by removing the pipe plugs from the clear elbows.
HOWTO MOUNTTHE SOAP DISPENSER:
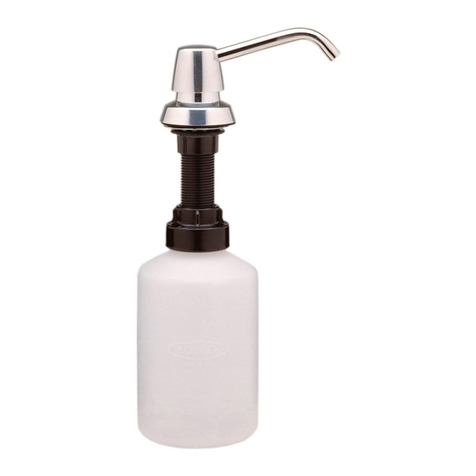
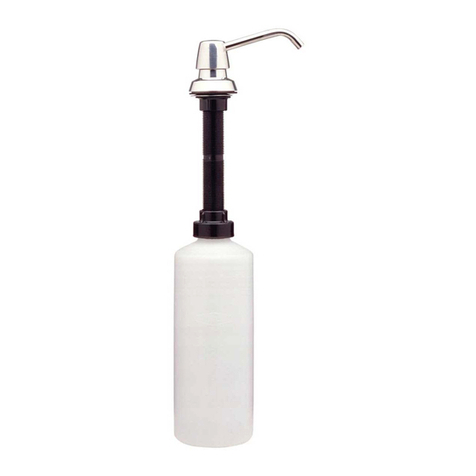
1. Unscrew the retaining nut from shank.Remove the spring washer.
2. Make sure the lavatory or countertop surface around the 1'' (25mm) diameter mounting
hole is clean and free of soap residue. Place supply tube and shank of soap dispenser
through mounting hole.
Make sure the plastic and rubber washers are in place between the
escutcheon and lavatory or countertop.
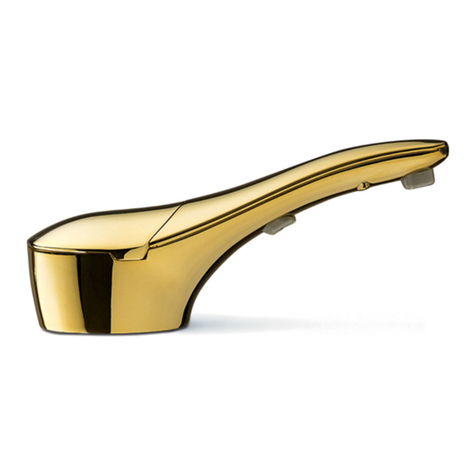
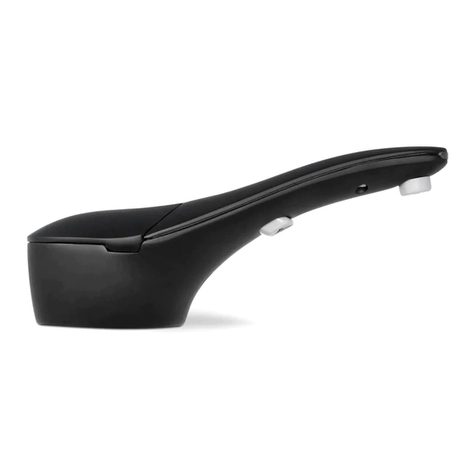
3. Position spout over lavatory.Make sure the spout is aligned with rectangular hole in
escutcheon (spout snaps into this position).
4. Place spring washer and retaining nut onto shank under the lavatory or countertop.Thread
the retaining nut up
only until finger-tight
against the underside of lavatory or countertop.
INSTRUCTIONS FOR INSTALLATION AND MAINTENANCE
Lavatory-Mounted Soap Dispensers with Under-the-Counter Soap Reservoir
Bobrick Models B-922 and B-9226
IMPORTANT NOTE: Mounting screws, end-caps, and
pipe connections are not furnished. Provide 1/4''
(6mm) screws, washers, and lock-washers. Purchase
end-caps and pipe connections locally from plumbing
supply wholesaler. Black ABS end-caps for 3'' (75mm)
standard pipe are available from Bobrick; order part
No. 922-45.
Piston, Spout &
Cover Assembly
Shank
Retaining Nut
Supply Tube
Lavatory o
Countertop
Escutcheon
Hole
Rubber Washer
Spring Washer
1±1/16" (25±1.6mm)
Dia. Mounting Hole
Soap
Dispenser
Shank
Black
Flexible
Hose
Supply
Tu b e
Underside of
Lavatory or
Countertop
Small Opening
on top of the
Clear Elbow
Plug and O-Ring
in Drain Hole
Finish Face of Wall
6"
150mm
Minimum
to
20"
510mm
Maximum
4-11/16"
120mm
continued
. . .
