manuals.online logo
Brands
  1. Home
  2. •
  3. Brands
  4. •
  5. Bonaldo
  6. •
  7. Indoor Furnishing
  8. •
  9. Bonaldo Giotto User manual

Bonaldo Giotto User manual

Giotto design: G. Carollo
1
scheda montaggio - assembly instruction - Aufbauanleitung - notice de montage
ATTENZIONE:
MANEggIArE cON MANI pulITE.
ATTENTION:
HANdlE wITH clEAN HANds.
AcHTuNg:
MIT sAubErEN HäNdEN ANfAssEN.
ATTENTION:
MANIpulEr AvEc lEs MAINs prOprEs.
Letto Girevole
Swivelling bed
Drehbett
Lit pivotant
Kit di montaggio / Assembly kit /
Montagezubehör / Kit de montage
Af
Ef
Bf
Df
Cf
cHIAvE AbrugOlA 5
HExAgON kEy, sIZE 5
INbusscHlüssEl 5
clé AllEN 5
N° 4
N° 1
vITE TspEI 8x20
8x20 flAT cOuNTErsuNk
HEAd scrEw
scHrAubE 8x20
vIs fHc 8x20
N° 8
vITE TspEI 8x35
8x35 flAT cOuNTErsuNk
HEAd scrEw
scHrAubE 8x35
vIs fHc 8x35
N° 14
N° 14
vITE TspEI 8x45
8x45 flAT cOuNTErsuNk
HEAd scrEw
scHrAubE 8x45
vIs fHc 8x45
rONdEllA dIAM.35
wAsHEr, dIAM 35
scHEIbE 35
rONdEllE dIAM. 35
N° 4
ruOTA
wHEEl
rAd
rOuTTE
ff
Giotto design: G. Carollo
scheda montaggio - assembly instruction - Aufbauanleitung - notice de montage
2
Ouvrir l’emballage et mettre la structure par terre, sur
une surface amortie, avec les trous et les pattes pour la
fixation de la base et de la tête orientés vers le haut.
Open the pack and lay the structure on the ground,
on a soft surface, with the holes and brackets for
attaching the base and headboard upwards.
1I
2
Aprire l’imballo e porre la struttura a terra, su un
piano morbido, coi fori e le staffe per l’aggancio
della base e della testata rivolte verso l’alto.
Auspacken und Gestell auf einer weichen Unterlage
am Boden so auflegen, dass die Löcher und Bügel zum
Einhängen von Basis und Kopfteil nach oben gerichtet sind.
1
GB
GB
D
F
A
Iniziare l’assemblaggio della base girevole fissando il
perno A al centro della struttura, utilizzando le 4 viti
AFin dotazione.
Start assembling the swivelling base by fixing pin A
in the centre of the structure, using the 4 screws AF
supplied.
Für den Zusammenbau der drehbaren Basis
Stift A mittig am Gestell befestigen; dazu die 4
mitgelieferten Schrauben AF verwenden.
Commencer l’assemblage de la base pivotante
en fixant le pivot A au centre de la structure, en
utilisant les 4 vis AF fournies.
I
GB
D
F
2
3 4
Pediera/ Back
Testiera/ Front
Giotto design: G. Carollo
3
scheda montaggio - assembly instruction - Aufbauanleitung - notice de montage
1
5
3
Inserire la rondella al perno fig. 6 e
succesivamente inserire il perno A nella boccola,
evidenziata in fig.7, posta al centro della base
circolare.
Insert the washer in the pin fig. 6 and then Insert
pin A in the bush, indicated in fig. 7, which is
located in the centre of the round base.
Stift die Beilagscheibe in der Buchse Abb. 6 und
dann stift A in der Buchse einsetzen, die in Abb. 7
gezeigt ist und sich in der Mitte der runden Basis
befindet.
Introduire la rondelle dans le pivot fig. 6 et
après introduire le pivot A dans la douille,
indiquée dans la fig. 7, située au centre de la base
circulaire.
I
GB
D
F
78
6
Giotto design: G. Carollo
scheda montaggio - assembly instruction - Aufbauanleitung - notice de montage
4
4
Fissare alla struttura le 4 ruote F posizionate come
illustrato nelle figure 8, 9A, 9B; utilizzando 4 viti BF.
Fix the 4 wheels F to the structure and position
them as shown in figures 8, 9A, 9B, using 4 BF
screws.
Die 4 Raeder F in der Anordnung laut Abb. 8, 9A,
9B, am Gestell befestigen; dazu 4 Schrauben BF
verwenden.
Fixer à la structure le 4 roues F placées comme
indiqué dans les figures 8, 9A, 9B, en utilisant 4 vis
BF.
I
GB
D
F
8
9 B
F
F
9 A
Giotto design: G. Carollo
5
scheda montaggio - assembly instruction - Aufbauanleitung - notice de montage
Après avoir retourné la structure, fixer le profil pied
du côté du pied (voir fig. 10) en utilisant 4 vis CF (fig.
11) et autant de rondelles DF.
After having turned the structure over, fix the
footboard section to the footboard end (see fig. 10)
using four screws CF (fig. 11) and 4 washers DF.
5I
6
Dopo aver ribaltato la struttura fissare nel lato
pediera (vedi fig.10) il profilo pediera utilizzando 4
viti CF(fig. 11) ed altrettante rondelle DF.
Gestell umdrehen und an der Fußseite (siehe Abb. 1)
die Fußteil-Profilleiste mit 4 Schrauben CF (Abb. 11)
und ebenfalls 4 Beilagen DF befestigen.
GB
GB
D
F
Procedere al fissaggio dei longoni utilizzando 8 viti
CF(fig. 11) ed altrettante rondelle DF.
Fit the side bars using 8 screws CF (fig. 11) and 8
washers DF.
Nun die Seitenteile mit 8 Schrauben CF (Abb. 11)
und ebenfalls 4 Beilagen DF befestigen.
Procéder à la fixation des longerons en utilisant 8 vis
CF (fig. 11) et autant de rondelles DF.
I
GB
D
F
10
11
12
13
Giotto design: G. Carollo
scheda montaggio - assembly instruction - Aufbauanleitung - notice de montage
6
17 Appoggiare il rivestimento alla struttura
pre-montata.
Lay the covering over the pre-assembled structure.
Überzug am vormontierten Gestell auflegen.
Poser le revêtement sur la structure prémontée.
I
GB
D
F
8
Iniziare il montaggio del rivestimento dai
due angoli della pediera, facendolo calzare
alla struttura come illustrato nelle fig. 16-17.
Start fitting the covering from the two
footboard corners, pulling it snugly over the
structure as shown in figs. 16-17.
Aufziehen des Überzugs an den beiden Ecken des
Fußteils beginnen, wobei dieser am Gestell aufliegen
muss, wie in Abb. 16-17 gezeigt ist.
Commencer le montage du revêtement par les deux
angles du pied de lit, en l’enfilant sur la structure
comme illustré sur les fig. 16-17.
I
GB
D
F
14
15
16 17
18
Giotto design: G. Carollo
7
scheda montaggio - assembly instruction - Aufbauanleitung - notice de montage
20
Revêtir les longerons en positionnant la couture du
revêtement au centre de ces derniers fig. 20.
Cover the side bars, positioning the seam of the cove-
ring in the centre of the bars, fig. 20.
9I
10
Rivestire i longoni posizionando la cucitura del
rivestimento al centro degli stessi fig. 20.
Seitenteile so überziehen, dass die Naht des Überzugs
mittig zu liegen kommt (Abb. 20).
GB
GB
D
F
Per fissare il rivestimento alla struttura utilizzare il
velcro, prima del fissaggio, sarà necessario togliere la
protezione al velcro del rivestimento, fig. 21.
in order to fix the cover to the frame, use the Velcro,
but you need previously to take out the Velcro’s
protection of the cover, fig. 21
Um den Bezug auf dem Gestell zu beziehen den
mitgelieferten Klettverschluss verwenden und bevor
ihn festzuhalten, die Schutzfolie an dem Klettver-
schluss des Bezueges entfernen. fig. 21.
Pour fixer le revetement (con l’accento circonflesso
sulla seconda e) à la structure, utiliser le velcro mis
avant sa fixation, mais il faut tout d’abord enlever la
protection du velcro du revetement, fig. 21.
I
GB
D
F
19
21
21
21
Giotto design: G. Carollo
scheda montaggio - assembly instruction - Aufbauanleitung - notice de montage
8
Introduire deux pattes de la tête de lit dans les cro-
chets oméga présents sous la structure du lit et les
fixer avec les 4 vis BF (fig. 25).
Insert the two headboard brackets into the omega
profiles located under the bed structure and secure
them with the 4 screws BF (fig. 25).
11 I
Inserire due staffe testata negli omega presenti
sotto la struttura letto e fissarli con le 4 viti BF
(fig.25).
Die beiden Kopfteil-Bügel in die unten am Bettgestell
angebrachten Omega-Profile einhängen und mit 4
Schrauben BF befestigen (Abb. 25).
GB
GB
D
F
23
24
25
Giotto design: G. Carollo
9
scheda montaggio - assembly instruction - Aufbauanleitung - notice de montage
112
Completare il fissaggio della testata con le due
viti CFe le due rondelle DF utilizzando i due fori
al centro della testata (Fig. 27).
Complete assembly of the headboard with the
two screws CF and two washers DF, using the two
holes in the centre of the headboard (Fig. 27).
Kopfteil mit den beiden Schrauben CF und Beila-
gen DF, die in den Bohrlöchern in der Mitte des
Kopfteils einzusetzen sind, endgültig befestigen
(Abb. 27).
Compléter la fixation de la tête avec les deux vis
CF et les deux rondelles DF en utilisant les deux
trous au centre de la tête (fig. 27).
I
GB
D
F
13
Bonaldo Spa
Via Straelle, 3 – P.O. Box n. 6 – 35010 Villanova Pd Italia
Tel. +39 049 9299011 Fax +39 049 9299000
www.bonaldo.it - [email protected]
Completare il montaggio facendo aderire il velcro
della testata fig. 28.
Complete assembly by attaching the Velcro on
the headboard (fig. 28).
Montage fertig stellen, indem das Velcroband des
Kopfteils am Gestell befestigt wird (Abb. 28).
Compléter le montage en faisant adhérer le vel-
cro de la tête de lit (fig. 28).
I
GB
D
F
26
27
28
29

Other Bonaldo Indoor Furnishing manuals

Bonaldo Prora User manual

Bonaldo

Bonaldo Prora User manual

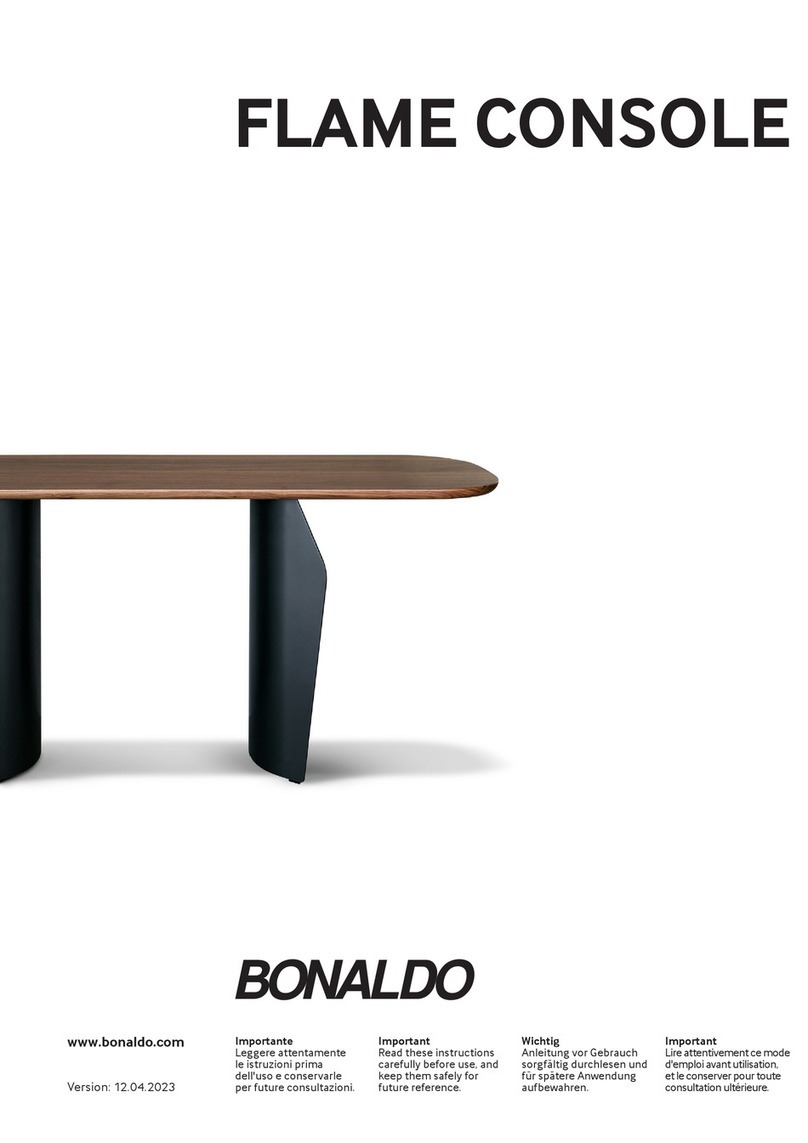
Bonaldo FLAME CONSOLE User manual

Bonaldo

Bonaldo FLAME CONSOLE User manual
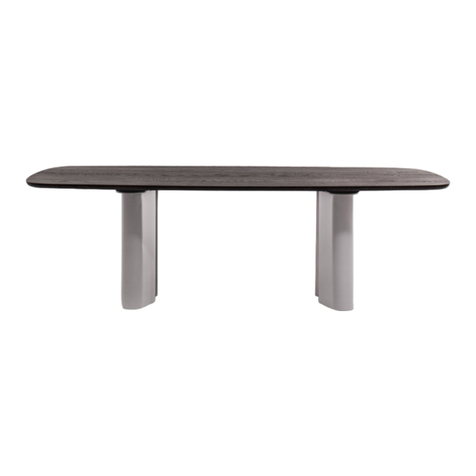
Bonaldo Geometric Dining Table User manual
Bonaldo

Bonaldo Geometric Dining Table User manual

Bonaldo Truly Fixed Table User manual

Bonaldo

Bonaldo Truly Fixed Table User manual

Bonaldo MELLOW User manual

Bonaldo

Bonaldo MELLOW User manual
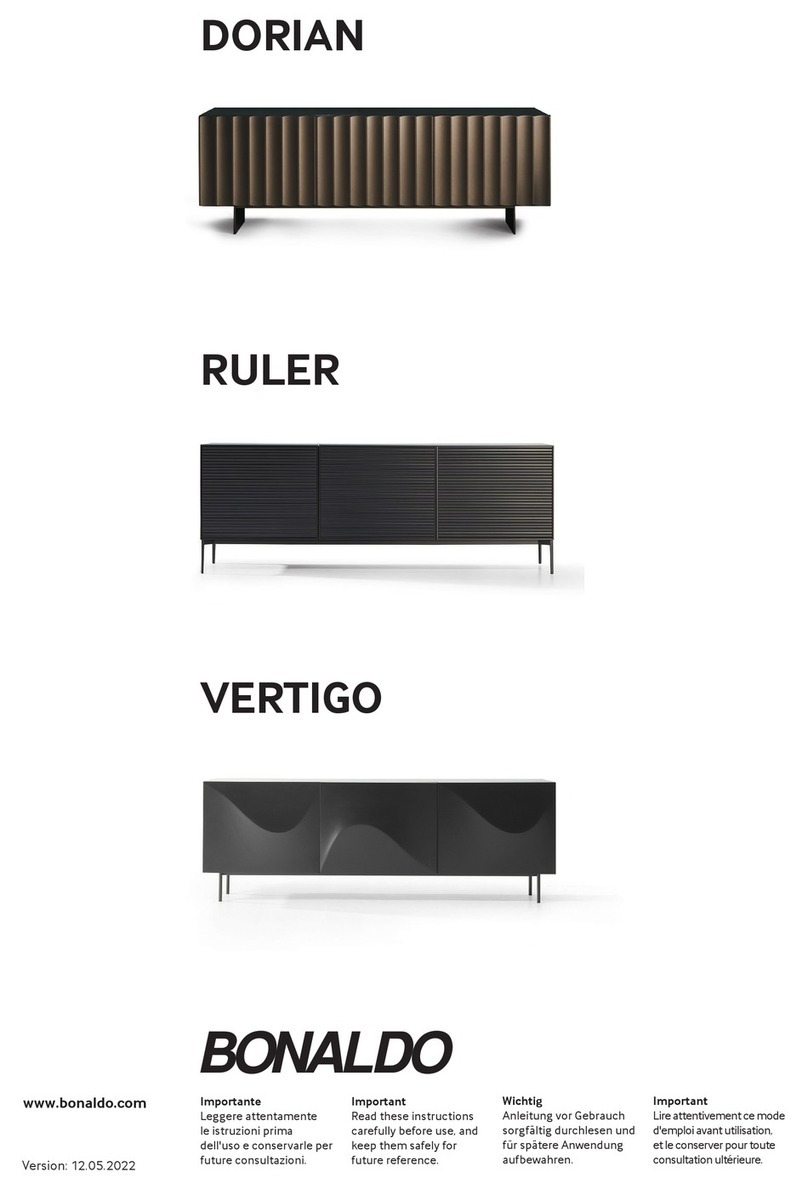
Bonaldo DORIAN CONSOLE User manual

Bonaldo

Bonaldo DORIAN CONSOLE User manual

Bonaldo AX Console User manual

Bonaldo

Bonaldo AX Console User manual

Bonaldo CURLING User manual

Bonaldo

Bonaldo CURLING User manual
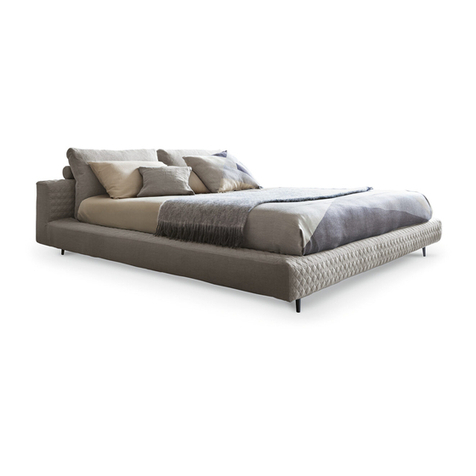
Bonaldo OWEN User manual

Bonaldo

Bonaldo OWEN User manual
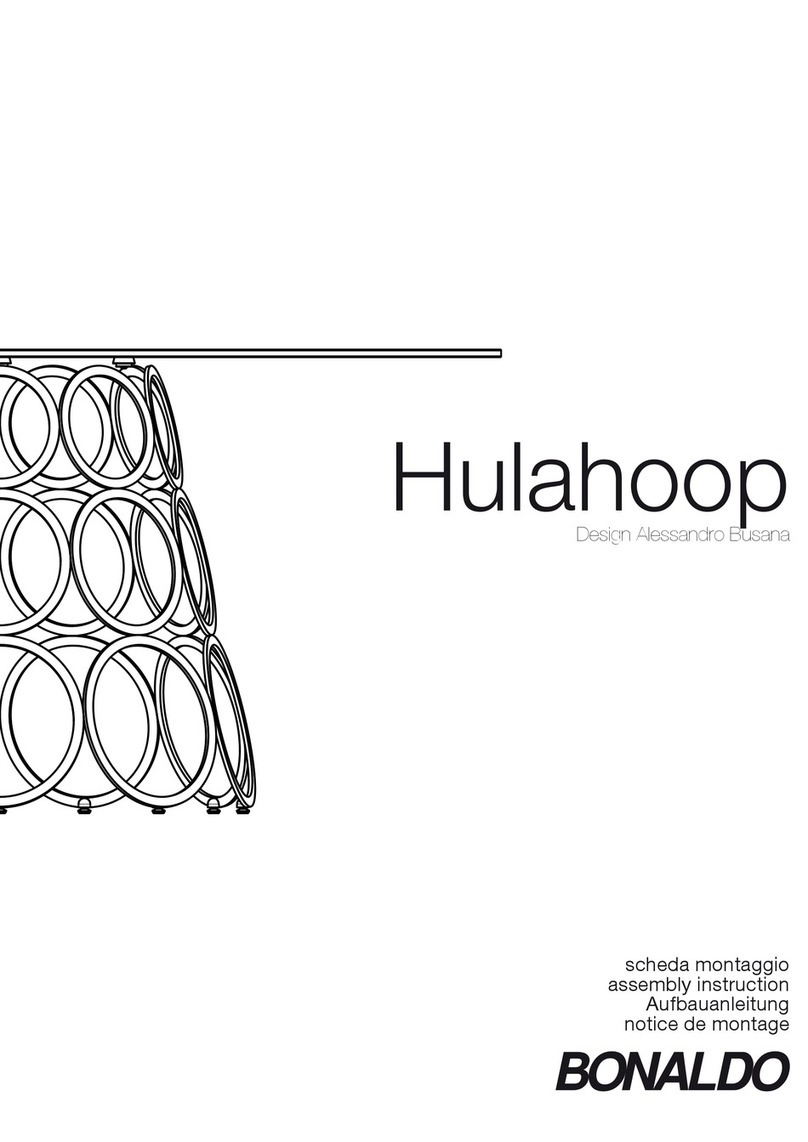
Bonaldo Hulahoop User manual

Bonaldo

Bonaldo Hulahoop User manual

Bonaldo BLABLA User manual

Bonaldo

Bonaldo BLABLA User manual
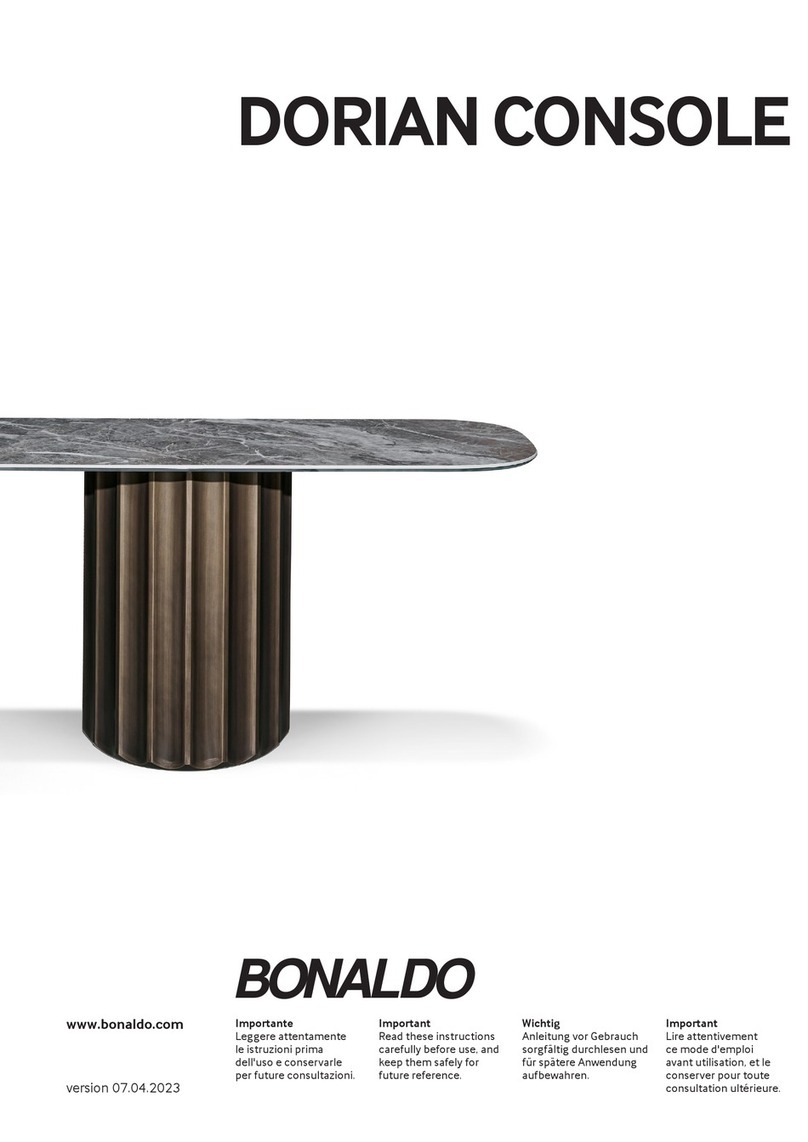
Bonaldo DORIAN CONSOLE User manual

Bonaldo

Bonaldo DORIAN CONSOLE User manual

Bonaldo CROSS 80079 User manual

Bonaldo

Bonaldo CROSS 80079 User manual
Bonaldo TRUE User manual

Bonaldo

Bonaldo TRUE User manual
Bonaldo Papillon User manual

Bonaldo

Bonaldo Papillon User manual

Bonaldo BLUSH User manual

Bonaldo

Bonaldo BLUSH User manual
Bonaldo CUFF OPEN User manual

Bonaldo

Bonaldo CUFF OPEN User manual
Bonaldo Octa User manual

Bonaldo

Bonaldo Octa User manual

Bonaldo Vanessa User manual

Bonaldo

Bonaldo Vanessa User manual

Bonaldo CAMPO User manual

Bonaldo

Bonaldo CAMPO User manual

Bonaldo CIRCUS User manual

Bonaldo

Bonaldo CIRCUS User manual

Bonaldo BLOOM STORAGE UNIT User manual

Bonaldo

Bonaldo BLOOM STORAGE UNIT User manual

Bonaldo ART User manual

Bonaldo

Bonaldo ART User manual

Bonaldo DREAM ON User manual

Bonaldo

Bonaldo DREAM ON User manual

Popular Indoor Furnishing manuals by other brands
Mamber's Mark TENTOFBB-BR Assembly manual
Mamber's Mark

Mamber's Mark TENTOFBB-BR Assembly manual

Kangaroo Kiwi K7107 Assembly instructions
Kangaroo

Kangaroo Kiwi K7107 Assembly instructions

Better Homes and Gardens DOVER BH17-084-098-26 Assembly instructions

Better Homes and Gardens

Better Homes and Gardens DOVER BH17-084-098-26 Assembly instructions
Enwork TI0036 installation guide

Enwork

Enwork TI0036 installation guide
Cooper Lighting Sure-Lites GFR specification
Cooper Lighting

Cooper Lighting Sure-Lites GFR specification

Sauder 414254 manual

Sauder

Sauder 414254 manual

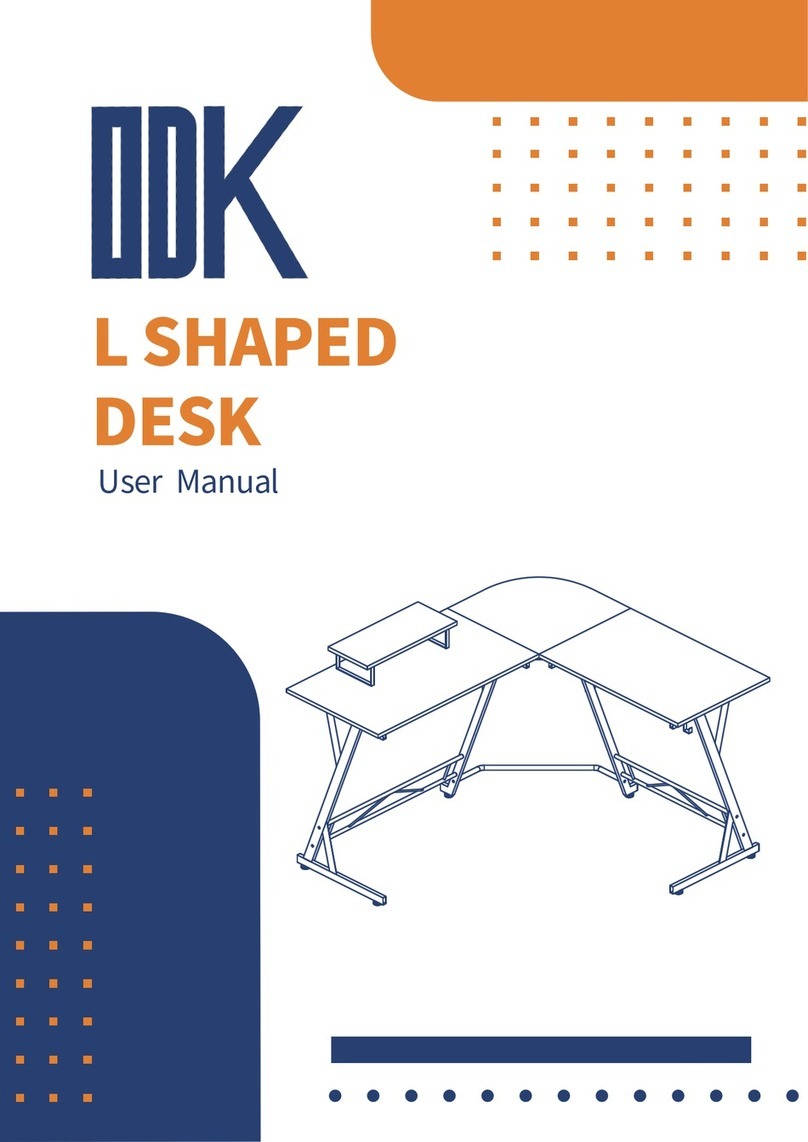
DDK L SHAPED user manual

DDK

DDK L SHAPED user manual

DOMPEL PARIS MANICURE STOOL instruction manual

DOMPEL

DOMPEL PARIS MANICURE STOOL instruction manual

Relita LUPO BE3151191-B90 manual

Relita

Relita LUPO BE3151191-B90 manual

Next BRONX 513013 Assembly instructions

Next

Next BRONX 513013 Assembly instructions

Berkley Jensen Storage Rack 20437 Assembly instructions

Berkley Jensen

Berkley Jensen Storage Rack 20437 Assembly instructions

Four Design FourCast 2 User information

Four Design

Four Design FourCast 2 User information

PRIMACARE adelphi user guide

PRIMACARE

PRIMACARE adelphi user guide

Project Source 105M manual

Project Source

Project Source 105M manual

Quantum ROLLERSHADE HARDWARE SYSTEM installation manual

Quantum

Quantum ROLLERSHADE HARDWARE SYSTEM installation manual

VISIONARY DESIGNS 41444 quick start guide

VISIONARY DESIGNS

VISIONARY DESIGNS 41444 quick start guide

Linon 0226LAV01U quick start guide

Linon

Linon 0226LAV01U quick start guide

Cefndy B43 User instruction

Cefndy

Cefndy B43 User instruction

manuals.online logo
manuals.online logoBrands
  • About & Mission
  • Contact us
  • Privacy Policy
  • Terms and Conditions

Copyright 2025 Manuals.Online. All Rights Reserved.