manuals.online logo
Brands
  1. Home
  2. •
  3. Brands
  4. •
  5. Bonaldo
  6. •
  7. Indoor Furnishing
  8. •
  9. Bonaldo Octa User manual

Bonaldo Octa User manual

Octa Design: Bartoli Design
scheda montaggio - assembly instruction - Aufbauanleitung - notice de montage 1
Tavolo fisso
Fixed table
Fixer Tisch
Table fixe
Kit di montaggio / Assembly kit / Montagezubehör / Kit de montage
ATTENZIONE:
MANEggIArE cON MANI pulITE.
ATTENTION:
HANdlE wITH clEAN HANds.
AcHTuNg:
MIT sAubErEN HäNdEN ANfAssEN.
ATTENTION:
MANIpulEr AvEc lEs MAINs prOprEs.
ATTENZIONE:
pEr MOvIMENTArE Il TAvOlO AlZArlO cOMplETAMENTE dA
TErrA prENdENdOlO dA sOTTO lE gAMbE: NON TrAscINArlO.
ATTENTION:
dONOT drAg THE TAblE AlONg THE flOOr AT ANy TIME - lIfT
frOM bOTH ENds usINg THE lEgs As yOur pOINT Of cONTAcT.
AcHTuNg:
uM dEN TIscH Zu bEwEgEN, HEbEN sIE IHN kOMplETT AN
dEN bEINEN Auf!bITTE dEN TIscH NIcHT scHIEbEN!
ATTENTION:
pOur déplAcEr lA TAblE, lA sOulEvEr cOMplèTEMENT du
sOl EN lA prENANT sOus lEs pIEds ; NE pAs lA TrAîNEr.
vITE M8 x20
scrEw M8 x20
scHrAubEN M8 x20
vIs M8 x20
N° 14
vITE M8 x35
scrEw M8 x35
scHrAubEN M8 x35
vIs M8 x35
N° 6
vITE M8 x45
scrEw M8 x45
scHrAubEN M8 x45
vIs M8 x45
N° 6
A
B
C
cHIAvE AbrugOlA 5
AllEN kEy 5
IMbusscHlÜssEl 5
clE AllEN 5
N° 1
D
Octa Design: Bartoli Design
scheda montaggio - assembly instruction - Aufbauanleitung - notice de montage2
1
2
Estrarre il telaio e la gambe dall’imballo e
posizionarle come in fig. 1.
Attenzione: posizionare la parte inclinata
verso il basso, come in fig. 2.
I
Take the legs and frame out of the box and
position them as illustrated in fig. 1.
Caution: place the tilted part towards the
bottom, as illustrated in fig. 2.
GB
Die Beine und den Rahmen aus der Verpackung
nehmen und wie in Abb.1 positionieren.
Achtung: Den schrägen Teil wie in Abb. 2 nach
unten positionieren.
D
Oter les pieds et le châssis de l’emballage et les
placer comme l’indique la fig. 1.
Attention : placer la partie inclinée vers le bas,
voir fig. 2.
F
2
4
1
Capovolgere le gambe e posizionarle al di
sopra del telaio come mostrato in fig. 3
Fissare le gambe al telaio usando le 14 viti A in
dotazione fig. 4-5
I
GB
Die Beine auf den Rahmen wie in Abb.3 stellen.
Die Beine mit den 14 mitgelieferten Schrauben
A am Rahmen festschrauben. Abb.4-5
Turn the legs over the frame as illustrated in
fig. 3
Now secure the base to the frame using the 14 A
screws provided. Fig. 4-5
D
Tourner à l’envers les pieds et les positionnare
sur le châssis, comme l’indique la fig. 3.
Fixer les pieds à la structure avec les 14 vis A
fournies. fig. 4-5
F
1
3
5
Octa Design: Bartoli Design
scheda montaggio - assembly instruction - Aufbauanleitung - notice de montage 3
3
4
Capovolgere la struttura. Estrarre dall`imballo
il piano, appoggiarlo sopra il telaio, facendo
combaciare i 6 fori del piano con quelli del
telaio.
I
Procedere con il fissaggio del piano alla
struttura mediante le 6 viti in dotazione.
- Utilizzare le viti B per il piano in cristallo o
in ceramica.
- Utilizzare le viti C per il piano in legno.
I
Turn upside down the base over. Take the top
out of the box, rest it on top of the frame,
aligning the 6 holes of the top with those on
the frame.
Now secure the top to the frame using the 6
screws provided.
- Use the B screws for the glass or ceramic top.
- Use the C screws for the wooden top.
GB
GB
Den Rahmen auf den Kopf stellen. Die
Tischplatte aus der Verpackung nehmen, auf
den Rahmen legen und die 6 Schraublöcher
der Tischplatte mit jenen des Rahmens
übereinander legen.
Die Tischplatte mit den 6 mitgelieferten
Schrauben am Rahmen festschrauben.
- Für Tischplatten aus Glas oder Keramik die
Schrauben B verwenden.
- Für Holztischplatten die Schrauben C
verwenden.
D
D
Touener à l’envers la structure. Oter le plateau
de l’emballage, le poser sur le châssis en
faisant correspondre les 6 trous du le plateau
avec ceux du châssis.
Fixer le plateaus à la structure avec des 6 vis
fournies.
- Utiliser les vis B pour le plateau en céramique
ou le plateau en cristal.
- Utiliser les vis C pour le plateau en bois.
F
F
7
6
Octa Design: Bartoli Design
scheda montaggio - assembly instruction - Aufbauanleitung - notice de montage4
Bonaldo Spa
Via Straelle, 3 – P.O. Box n. 6 – 35010 Villanova (Pd) Italia
Tel. +39 049 9299011 Fax +39 049 9299000
www.bonaldo.it - [email protected]
Octa
Bartoli design
scheda montaggio
assembly instruction
Aufbauanleitung
notice de montage
scheda montaggio - assembly instruction - Aufbauanleitung - notice de montage Octa
ATTENZIONE - ATTENTION - ACHTUNG - ATTENTION
KIT DI MONTAGGIO - ASSEMBLY KIT - MONTAGEZUBEHÖR - KIT DE MONTAGE
- Maneggiare con mani pulite.
- Per movimentare il tavolo alzarlo
completamente da terra prendendolo da
sotto le gambe, non trascinarlo.
- Handle with clean hands.
- Do not drag the table along the oor at any
time. Lift from both ends using the legs as
your point of contact.
- Mit sauberen Händen anfassen.
- um den Tisch zu bewegen, heben Sie ihn
komplett an den Beinen auf! Bitte den Tisch
nicht schieben!
- Manipuler avec les mains propres.
- Pour déplacer la table, la soulever
complètement du solen la prenant sous les
pieds ; ne pas la traîner.
!
2
A
grano lettato
Gewindestifte
schraube m 8
vis sans tête 12x 1x
B
chiave a brugola
allen key
inbusschlüssel
clé allen
scheda montaggio - assembly instruction - Aufbauanleitung - notice de montage
1
3
2Estrarre il basamento e posizionare le 6 estremità a sfera
inserendole nelle piastre del piano.
Remove the base and place the 6 spheric extremities in the plates
of the plan.
Togliere il piano dall’imballo e disporlo come in g. 1: le piastre
devono essere rivolte verso l’alto.
Remove the top from the packaging as shown in Fig.1:
The plates should be facing upwards.
Entfernen Sie die obere von der Verpackung, wie in Abb. 1
dargestellt: Die Platten sollten nach oben zeigen.
Entfernen Sie die Basis und legen Sie die 6 Kugel Extremitäten in
den Platten des Plans.
.1
.2
scheda montaggio - assembly instruction - Aufbauanleitung - notice de montage Octa4
Procedere con il ssaggio del basamento al piano utilizzando
i 12 grani lettati A
Proceed with the xing of the base to the plan using the 12
grub screws A
Fahren Sie mit der Befestigung der Basis, um den Plan mit
den 12 Gewindestifte A
3
.3
.4
scheda montaggio - assembly instruction - Aufbauanleitung - notice de montage 5
4Al termine raddrizzare il tavolo facendo in modo di non
gravarne il peso sul basamento.
Put the table in the right position and take care that the
weigh do not weight just on the base.
Legen Sie die Tabelle in der richtigen Position und darauf
achten, dass die wiegen nicht nur an der Basis zu gewichten.
.5
Bonaldo S.p.A. _ via Straelle, 3 35010 Villanova di Camposampiero (PD) Italy tel + 39 049.9299.011 [email protected] www.bonaldo.it
Octa
Bartoli design
Tavolo allungabile - Extendable table
Ausziehtisch - Table allongeable
scheda montaggio
assembly instruction
Aufbauanleitung
notice de montage
scheda montaggio - assembly instruction - Aufbauanleitung - notice de montage Octa
ATTENZIONE - ATTENTION - ACHTUNG - ATTENTION
KIT DI MONTAGGIO - ASSEMBLY KIT - MONTAGEZUBEHÖR - KIT DE MONTAGE
- Maneggiare con mani pulite.
- Per movimentare il tavolo alzarlo
completamente da terra prendendolo da
sotto le gambe, non trascinarlo.
- Handle with clean hands.
- Do not drag the table along the oor at any
time. Lift from both ends using the legs as
your point of contact.
- Mit sauberen Händen anfassen.
- um den Tisch zu bewegen, heben Sie ihn
komplett an den Beinen auf! Bitte den Tisch
nicht schieben!
- Manipuler avec les mains propres.
- Pour déplacer la table, la soulever
complètement du solen la prenant sous les
pieds ; ne pas la traîner.
!
2
Regolatori M16x20
Regulator M16x20
Regler M16x20
Distanziali
Spacer
Abstandshalter
A
B
C
D
G
F
TPSEI M6x14
screw M6x14
schraube M6x14
TBEI M8x25
screw M8x25
schraube M8x25
chiave a brugola 5
allen key 5
inbusschlüssel 5
chiave a brugola 4
allen key 4
inbusschlüssel 4
16x
4x
4x
8x
1x
1x
8x
E
TPSEI M8x60
screw M8x60
schraube M8x60
scheda montaggio - assembly instruction - Aufbauanleitung - notice de montage 3
1
2
3
Togliere il telaio dall’imballo e disporlo come in g.1.
Remove the frame from the packaging and position it as shown
in Fig. 1.
Fissare il basamento al telaio utilizzando le 12 viti Acome
mostrato in g. 2
Attach the base on the frame, use the Ascrews as shown in
Figs. 2.
Capovolgere il tavolo e disporlo in posizione normale.
Turn the table over and place it in the normal position.
Rahmen aus der Verpackung nehmen und wie in Abb. 1 gezeigt
anordnen.
Das Bein auf dem Rahmen befestigen, Sie die Schrauben A
verwenden, wie in den Abb. 2.
Tisch umdrehen und in seine normale Position bringen.
.1
.2
.3
scheda montaggio - assembly instruction - Aufbauanleitung - notice de montage Octa4
4Inserire i 4 Regolatori C come mostrato in gura 4-5.
Assicurarsi che sporgano dalla parte superiore di 10 mm,
come mostrato in g. 6.
Insert the 4 regulators C as shown in Figure 4-5.
Make sure they come out from the top of the frame of 10
mm, as shown in Fig. 6.
Stecken Sie die 4 Regulatoren C, wie in Abb. 4-5 gezeigt.
Stellen Sie sicher, sie kommen von der Oberseite des
Rahmens von 10 mm, wie in gezeigt. 6.
10
.4
.5
.6
scheda montaggio - assembly instruction - Aufbauanleitung - notice de montage 5
5
6
Estrarre il piano dall’imballo e capovolgerlo al di sopra del
telaio. Fissare il piano al telaio utilizzando le 4 viti B, senza
serrare completamente g. 7.
Remove the top from the packaging and turn it on top
of the structure. Attach the top to the frame using the 4
screws B, without tightening completely g. 7.
Allungare completamente il telaio. Procedere ssando le
due prolunghe alla struttura con le 8 viti Ee gli 8 distaziali D
come mostrato in g. 8-9.
Completely extend the frame. Proceed xing the two
extensions to the structure with the 8 screws Eand the 8
spacers D as shown in Fig. 8-9.
Komplett erweitern den Rahmen.
Fixieren der Verläng auf der Struktur mit der 8 Schrauben E
und des 8 Abstandshalter D, wie in Abb. 8-9.
Die Tischplatte aus der Verpackung nehmen und drauegen
auf den Rahmen. Fixieren Sie die obere auf den Rahmen mit
der 4 Schrauben B, ohne Anzugs vollständig Abb. 7.
.8
.9
.7
scheda montaggio - assembly instruction - Aufbauanleitung - notice de montage Octa6
7Accostare le prolunghe al piano (g. 10) e vericare il
corretto allineamento tra piano e prolunga (g. 11).
Pull over the extensions on the top (g. 10) and check the
correct alignment between top and extension (Fig. 11).
Ziehen Sie über die Verläng auf der Platte (Abb. 10),
die korrekte Ausrichtung zwischen Platte und Verläng
überprüfen (Abb. 11).
.10
.11
scheda montaggio - assembly instruction - Aufbauanleitung - notice de montage 7
8Per allineare il piano agire sui 4 regolatori B montati al punto 4.
To align the plan, act on 4 regulators B installed in step 4.
Um den Platte auszurichten, wirken auf 4 Regler B installiert
in Schritt 4 ist.
.12
Bonaldo S.p.A. _ via Straelle, 3 35010 Villanova di Camposampiero (PD) Italy tel + 39 049.9299.011 [email protected] www.bonaldo.it

Other Bonaldo Indoor Furnishing manuals

Bonaldo Vanessa User manual

Bonaldo

Bonaldo Vanessa User manual

Bonaldo Art Extension Dining Table User manual
Bonaldo

Bonaldo Art Extension Dining Table User manual

Bonaldo Truly Fixed Table User manual

Bonaldo

Bonaldo Truly Fixed Table User manual
Bonaldo CURLING User manual

Bonaldo

Bonaldo CURLING User manual

Bonaldo COLIBRI User manual

Bonaldo

Bonaldo COLIBRI User manual
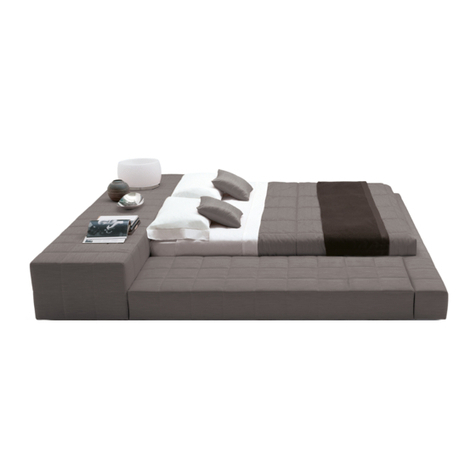
Bonaldo SQUARING 160 User manual

Bonaldo

Bonaldo SQUARING 160 User manual
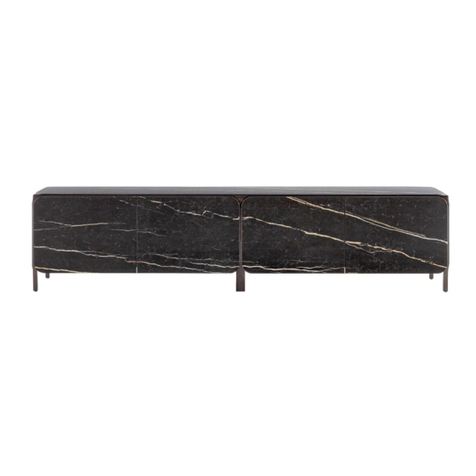
Bonaldo FRAME K SIDEBOARD User manual

Bonaldo

Bonaldo FRAME K SIDEBOARD User manual
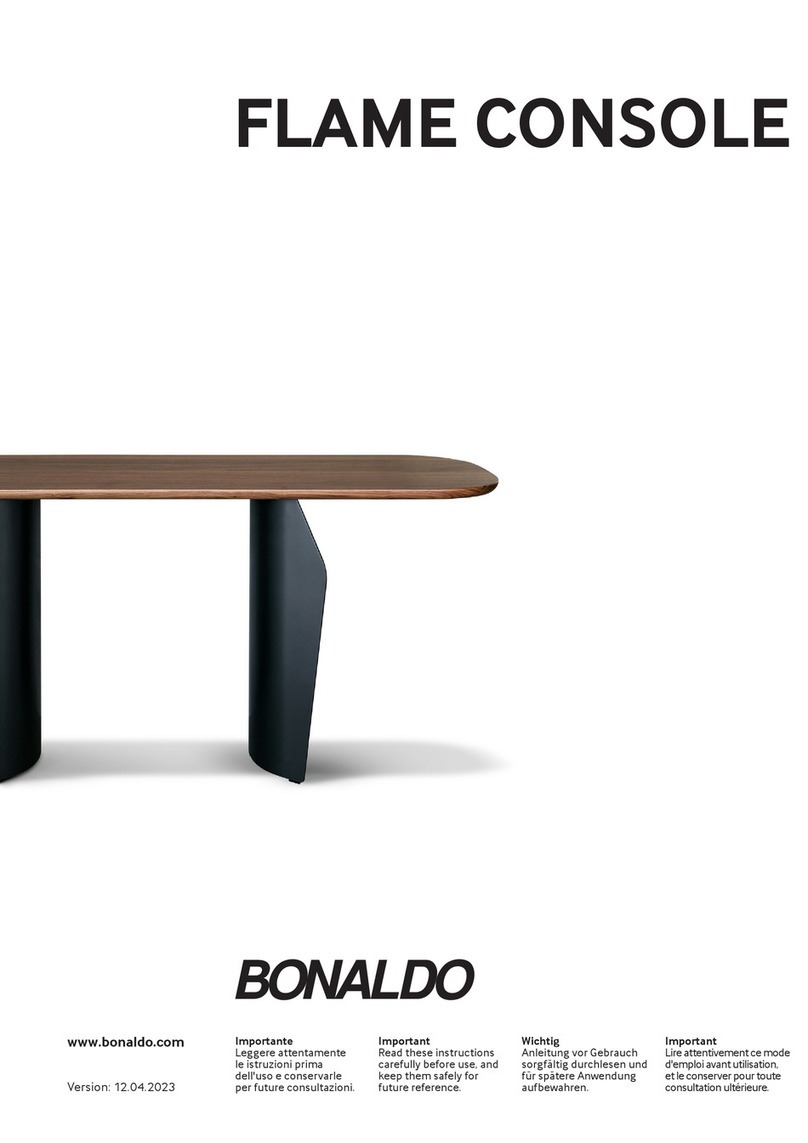
Bonaldo FLAME CONSOLE User manual

Bonaldo

Bonaldo FLAME CONSOLE User manual
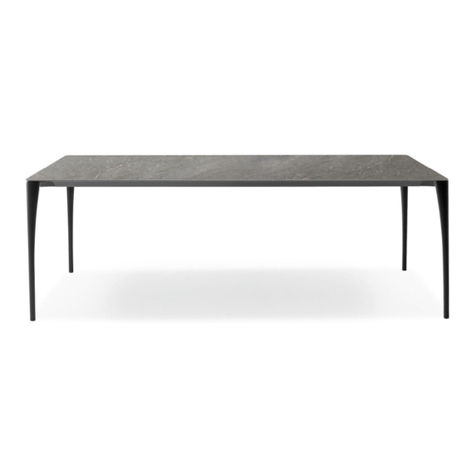
Bonaldo Sol User manual

Bonaldo

Bonaldo Sol User manual
Bonaldo ROLL User manual

Bonaldo

Bonaldo ROLL User manual

Bonaldo MELLOW User manual

Bonaldo

Bonaldo MELLOW User manual
Bonaldo AMLET User manual

Bonaldo

Bonaldo AMLET User manual

Bonaldo CAMPO User manual

Bonaldo

Bonaldo CAMPO User manual
Bonaldo Geometric Dining Table User manual

Bonaldo

Bonaldo Geometric Dining Table User manual

Bonaldo Hulahoop User manual

Bonaldo

Bonaldo Hulahoop User manual

Bonaldo TRUE User manual

Bonaldo

Bonaldo TRUE User manual

Bonaldo Adone User manual

Bonaldo

Bonaldo Adone User manual
Bonaldo Octa Extendable table User manual
Bonaldo

Bonaldo Octa Extendable table User manual

Bonaldo Thin User manual

Bonaldo

Bonaldo Thin User manual
Bonaldo ART User manual

Bonaldo

Bonaldo ART User manual

Bonaldo CUFF OPEN User manual

Bonaldo

Bonaldo CUFF OPEN User manual

Bonaldo BLOOM STORAGE UNIT User manual

Bonaldo

Bonaldo BLOOM STORAGE UNIT User manual

Bonaldo Hulahoop User manual

Bonaldo

Bonaldo Hulahoop User manual

Bonaldo DREAM ON User manual

Bonaldo

Bonaldo DREAM ON User manual

Popular Indoor Furnishing manuals by other brands

Regency LWMS3015 Assembly instructions

Regency

Regency LWMS3015 Assembly instructions

Furniture of America CM7751C Assembly instructions

Furniture of America

Furniture of America CM7751C Assembly instructions

Safavieh Furniture Estella CNS5731 manual

Safavieh Furniture

Safavieh Furniture Estella CNS5731 manual

PLACES OF STYLE Ovalfuss Assembly instruction

PLACES OF STYLE

PLACES OF STYLE Ovalfuss Assembly instruction

Trasman 1138 Bo1 Assembly manual

Trasman

Trasman 1138 Bo1 Assembly manual

Costway JV10856 manual

Costway

Costway JV10856 manual

moss DESIGN Caisson Credenza Assembly instructions

moss DESIGN

moss DESIGN Caisson Credenza Assembly instructions

Aquaglide FULL DECK 15.0 owner's manual

Aquaglide

Aquaglide FULL DECK 15.0 owner's manual

AREBOS AR-HE-SW30 user manual

AREBOS

AREBOS AR-HE-SW30 user manual

Till-Hilft Fulda 87005.330 Assembly instructions

Till-Hilft

Till-Hilft Fulda 87005.330 Assembly instructions

Twoey Outside 2010 quick start guide

Twoey Outside

Twoey Outside 2010 quick start guide

Hettich Easys 200 operating instructions

Hettich

Hettich Easys 200 operating instructions

The bedboss RELAX 404 Series owner's manual

The bedboss

The bedboss RELAX 404 Series owner's manual

Oeseder Möbelindustrie Bern 991 720 Assembly instructions

Oeseder Möbelindustrie

Oeseder Möbelindustrie Bern 991 720 Assembly instructions

Costway HW68469 user manual

Costway

Costway HW68469 user manual

Next ALIX A27743 Assembly instructions

Next

Next ALIX A27743 Assembly instructions

BROSA Hans Assembly guide

BROSA

BROSA Hans Assembly guide

Prodigg MINIKA PBA015T-FUR installation manual

Prodigg

Prodigg MINIKA PBA015T-FUR installation manual

manuals.online logo
manuals.online logoBrands
  • About & Mission
  • Contact us
  • Privacy Policy
  • Terms and Conditions

Copyright 2025 Manuals.Online. All Rights Reserved.