manuals.online logo
Brands
  1. Home
  2. •
  3. Brands
  4. •
  5. Bonaldo
  6. •
  7. Indoor Furnishing
  8. •
  9. Bonaldo BLOOM STORAGE UNIT User manual

Bonaldo BLOOM STORAGE UNIT User manual

– Scheda montaggio –
– Aufbauanleitung - Way of assembling – Feuille d’instruction assemblage -
A B C D E
F
G
AVite TBEI M8x50
M8x50 TBEI screw
Schraube TBEI M8x50
Vis TBEI M8x50
BVite TBEI M8x30
M8x30 TBEI screw
Schraube TBEI M8x30
Vis TBEI M8x30
CRondella D.8
D.8 washer
Scheibe D.8
Rondelle D.8
DChiave esagonale 5
5 Allen key
Sechskantschlüssel 5
Clé six pans 5 mm
EChiave 10/13
10/13 key
Schlüssel 10/13
Clé 10/13
FPiede
foot
Fuß
Pied
GDado 8
8 nut
Mutter 8
Écrou 8
Bloom Testata alta
Bloom Upper Headboard
Bloom hohes Kopfteil
Bloom Tête haute
Bloom Testata bassa
Bloom Lower Headboard
Bloom niedriges Kopfteil.
Bloom Tête basse
Bloom Ego
BLOOM CONTENITORE / BLOOM STORAGE UNIT
BLOOM BETTZEUGKASTEN / BLOOM CONTENEUR
Disporre i longheroni per terra come in fig.1 e , avvicinando l’elemento pediera (fig.2),
avvitare le 2 viti “A” su ognuno dei due angoli con la chiave D.
Lay the bars on the floor as shown in Fig. 1, and place the footboard part near them (Fig. 2).
Tighten the 2 screws A at both corners with the key D.
Legen Sie die Träger auf den Boden wie in Abb. 1 gezeigt, schieben Sie das Fußteil gegen die
Träger (Abb. 2) und schrauben Sie die 2 Schrauben "A" mit dem Schlüssel D an beiden Ecke
n
fest.
Disposer les longerons par terre, comme dans la figure 1 et en y approchant le pied de li
t
(fig.2), visser les 2 vis “A” sur chacun des deux angles avec la clé D.
Prendere i piedini e ,dei tre fori presenti ,usare il foro indicato nello schema (fig 4 - 5); fissarli con la vite A utilizzando la chiave D s
u
ogni staffa “Q“, in modo che i piedini risultino sotto la pediera e sotto la testiera col la smussatura rivolta all’esterno.
Take the feet and, of the three existing holes, use that shown in the diagram (Figs. 4 – 5), and attach the feet with the screw A, using the
key D, on each bracket Q, so that the feet are under the footboard and under the headboard, with the chamfer turned outwards.
Füße mittels Schlüssel D mit der Schraube A in die Löcher gemäß Schema (Abb. 4-5) in jeden Bügel Q so einschrauben, dass sich die
Füße mit der Abschrägung nach außen unter dem Fußteil bzw. Kopfteil befinden.
Prendre les pieds et, sur les 3 trous présents, utiliser celui qui est indiqué dans le schéma (fig. 4 – 5) ; les fixer avec la vis A en utilisan
t
la clé D sur chaque patte de fixation "Q" de manière que les pieds se trouvent sous le pied de lit avec la partie arrondie tournée vers
l’extérieur.
Pediera parte SX
Footboard, left side
Fußteil linke Seite
Pied de lit partie gauche
Pediera parte DX
Footboard, right side
Fußteil rechte Seite
Pied de lit partie droite
Testata parte SX
headboard left side
kopfteil linke seite
Tête de lit partie gauche
Fig. 1 Fig. 2
Fig. 3
Fig. 4
Q
Testata parte DX
headboard right side
kopfteil rechte seite
Tête de lit partie droite
Distendere l’abito su tutto il letto (fig.5), tirarlo agli estremi (fig.6) . Sistemare le cuciture verticali agli angoli pediera (vedi frecci
a
figura 7 ) , quindi procedere con la sistemazione delle estremità come indicato in fig 9.
Spread the cover over the whole bed (Fig. 5) and pull it taut at the ends (Fig. 6). Place the vertical seams at the footboard corners (see
arrow in Fig. 7) and then arrange the ends as shown in Fig. 9.
Bezug über das Bett breiten (Abb. 5) und von außen zurechtziehen (Abb. 6). Senkrechte Nähte an den Ecken des Fußteils korrek
t
anordnen (siehe Pfeil Abb. 7); nun an den Enden zurechtziehen wie in Abb. 9 gezeigt ist.
Étendre la housse sur tout le lit (fig. 5) et la tirer aux extrémités (fig. 6). Mettre les coutures verticales aux angles du pied de lit (voi
r
flèche fig. 7) puis adapter les extrémités, comme dans la fig. 9.
Fig. 5
Fig. 6 Fig. 7
Fissare quindi la testiera (fig.10) avvitando le 2
viti “A”con la chiave D .
Fix the headboard (Fig. 10) by tightening the 2
screws A with the key D.
N
un das Kopfteil mittels Schlüssel D (Abb. 10)
mit den 2 Schrauben "A befestigen.
Fixer la tête de lit (fig. 10) en vissant les 2 vis "A"
avec la clé D.
Fig. 10
A
A
A
A
Per il montaggio del sistema contenitore utilizzare la confezione ferramenta che si trova nella scatola meccanismi. L’elenco a fine
pagina
To assemble the storage unit system, use the kit of metal parts supplied in the box of mechanisms. The list is at the foot of the page.
Um den Bettzeugraum aufzubauen, die Befestigungsteile in der Packung der Mechanismen verwenden. Eine Aufstellung finden Sie
am Ende der Seite.
Pour l’assemblage du système conteneur il faut utiliser la quincaillerie qui se trouve dans la boîte des mécanismes. Liste en bas de page
Per finire togliere il negativo del velcro e attaccare il tessuto al letto (fig.
8 - 9) avendo cura di cominciare dal lato interno. Fare attenzione che le
due cuciture “G”, parte sopra, risultino centrate (fig.9).
Finally, remove the nylon from the Velcro and fix the fabric cover to the
bed (Figs. 8 - 9), starting from the inside and making sure that the two
seams G, on the upper part, are centred (Fig. 9).
Zum Schluss das Negativ vom Klettverschluss entfernen und Stoff a
m
Bett befestigen (Abb. 8-9); dabei auf der Innenseite beginnen. Die
b
eiden Nähte "G" im oberen Teil müssen mittig zu liegen kommen
(Abb. 9).
Pour finir, enlever le négatif du velcro et attacher le tissu au lit (fig. 8-9)
en ayant soin de commencer par le côté interne. Veiller à centrer les
deux coutures "G" de la partie supérieure (fig. 9).
Fig. 8
Fig. 9
Mettere in appoggio le due traverse sulle staffe “Q” (Fig.14); fissare l
a
traversa centrale con due viti M8 x 30 (Fig.15).
Rest the two crosspieces on the brackets Q (Fig. 14) and attach the
central crosspiece using two M8 X 30 screws (Fig. 15).
Die beiden Streben auf den Bügeln Q abstützen (Abb. 14); mittlere
Strebe mit zwei Schrauben M8x30 (Abb. 15) befestigen.
Appuyer les deux traverses sur les deux pattes de fixation Q (fig. 14) ;
fixer la traverse centrale avec les deux vis M8 x 30 (fig. 15).
Prendere i meccanismi alzaletto e fissarli con 4 viti M8 x30 (fig.11) utilizzando la chiave D, successivamente bloccare il
pistone nella sede H (Fig.12).
Take the bed lift mechanisms and attach them with four M8 x 30 screws (Fig. 11) using the key D. Then block the pisto
n
in the housing H (Fig. 12).
Die Mechanismen zur Höherstellung des Bettes mit den 4 Schrauben M8x30 (Abb. 11) mittels Schlüssel D befestigen;
dann den Lifter im Sitz H (Abb. 12) einsetzen.
Prendre les mécanismes pour soulever le lit et les fixer avec 4 vis M8 x30 (fig. 11) avec la clé D ; bloquer ensuite le
piston dans le logement H (fig. 12).
Fig. 13
Fig. 14
Fig. 15
q
H
Fig. 11 Fig. 12
Con 3 viti M8 x 50 e 3 dadi M8, fissare la rete sul meccanismo utilizzando le chiavi “D” e “F” (fig.16). Fissare il reggimaterasso
nei fori appositi (fig 17).
Using three M8 x 50 screws and three M8 nuts, attach the base to the mechanism using the keys D and F (Fig. 16). Attach the
mattress support in the relevant holes (Fig. 17).
Mit 3 Schrauben M8 x 50 und 3 Muttern M8 und mittels der Schlüssel “D” und “F” (Abb. 16) den Lattenrost am Mechanismus
befestigen. Matratzenauflage in den entsprechenden Löchern befestigen (Abb. 17).
Avec 3 vis M8 x 50 et 3 écrous M8, fixer le sommier sur le mécanisme en utilisant les clés D et F (fig.16). Fixer le support d
u
matelas dans les trous prévus à cet effet (fig. 17).
Fig. 17
Fig. 16
Prendere i due fondi contenitori e appoggiarli nelle staffe (fig.18).
Take the two storage bases and rest them in the brackets (Fig. 18).
Die beiden Böden des Bettzeugraums auf den Bügeln auflegen (Abb. 18).
Prendre les deux fonds du conteneur et les appuyer sur les pattes de fixation (fig. 18).
Fig. 18
ATTENZIONE: - Maneggiare con mani pulite
- Non fissare del tutto le viti durante il montaggio; fissarle bene a montaggio finito
WARNING: - Handle with clean hands.
- Do not tighten the screws completely during assembly; fix them properly at the end of assembling.
ACHTUNG: - Mit sauberen Händen anfassen.
- Während des Aufbaus die Schrauben nicht festziehen, sondern erst am Ende der Montage.
ATTENTION:- Manipuler avec les mains propres.
- Ne pas serrer à fond les vis lors de l'assemblage ; les serrer à fond à la fin du montage.
Composizione Kit ferramenta / Composition of metal parts kit / Bestandteile der Garnitur Befestigungsteile / Composition kit
quincaillerie
BLOOM CONTENITORE
BLOOM STORAGE UNIT
BLOOM
BETTZEUGRAUM
BLOOM CONTENEUR
Vite TBEI M8 x 30 brun.
M8 x 30 burn. TBEI screw
Schraube TBEI M8 x 30
brun.
Vis TBEI M8x30 brunie
Vite TBEI M8 x 50 brun.
M8 x 50 burn. TBEI screw
Schraube TBEI M8 x 50
brun
Vis TBEI M8x50 brunie
Dado autobloccante M8
M8 self-locking screw
Mutter M8
selbstsichernd
Écrou de sûreté M8
Rondella D 8
8 washer
Scheibe D 8
Rondelle D8
Chiave
10/13
10/13 key
Schlüs-
sel 10/13
Clé 10/13
Chiave esag. 5
5 Allen key
6-Kant-schlüs-
sel 5
Clé 6 pans 5
Feltrino 50 x 50 sp
3
50 x 50, thickness
3, felt pad
50 Filzbelag x 50
St. 3 Feutre 50x50
ép. 3
KIT FERRAMENTA
COMPLETO
KOMPLETTE GARNITUR
BEFESTIGUNGSTEILE
KIT QUINCAILLERIE
COMPLET
26 10 6 6 1 1 4
UTILIZZO
USE
VERWENDUNG
UTILISATION
Fissaggio piastre
ang.,piastre traversa e
meccanismi a longoni
Attachment of corner
plates, crosspiece plates
and mechanisms to bars.
Befestigung Eckplatten,
Querplatten und
Mechanismen an Trägern
Fixation plaques ang.
plaques traverse et
mécanismes aux longerons
Fissaggio rete a
meccanismi e piedini
Attachment of base to
mechanisms and feet.
Befestigung Lattenrost an
Mechanismen und Füßen
Fixation sommier aux
mécanismes et aux pieds
Fissaggio rete a
meccanismi
Attachment of base to
mechanisms
Befestigung Lattenrost
an Mechanismen
Fixation sommier aux
mécanismes
fissaggio
rete a
meccanismi
Attachment
of base to
mechanisms.
Befestigung
Lattenrost an
Mechanisme
n
Fixation
sommier aux
mécanismes
appoggio rete a
cubi
Support of cube-
pattern base.
Auflage-würfel für
Lattenrost
Support sommier à
cubes
BLOOM EGO CNT 160 26 10 6 6 1 1 4
BLOOM EGO CNT 180 26 10 6 6 1 1 4
BLOOM EGO CNT KING 26 10 6 6 1 1 4
BLOOM EGO CNT QUEEN 26 10 6 6 1 1 4
BLOOM CNT 160 26 10 6 6 1 1 4
BLOOM CNT 180 26 10 6 6 1 1 4
BLOOM CNT KING 26 10 6 6 1 1 4
BLOOM CNT QUEEN 26 10 6 6 1 1 4
Grazie per aver scelto uno dei prodotti BONALDO.
Thank you for choosing a BONALDO product
Danke dass Sie ein BONALDO Produkt gewählt haben.
Merci d’avoir choisi un produit BONALDO
Bonaldo Spa
Via Straelle, 3 – P.O. Box n. 6 – 35010 Villanova Pd Italia
Tel. +39 049 9299011 Fax +39 049 9299000
www.bonaldo.it - [email protected]

This manual suits for next models

8

Other Bonaldo Indoor Furnishing manuals
Bonaldo OWEN User manual

Bonaldo

Bonaldo OWEN User manual

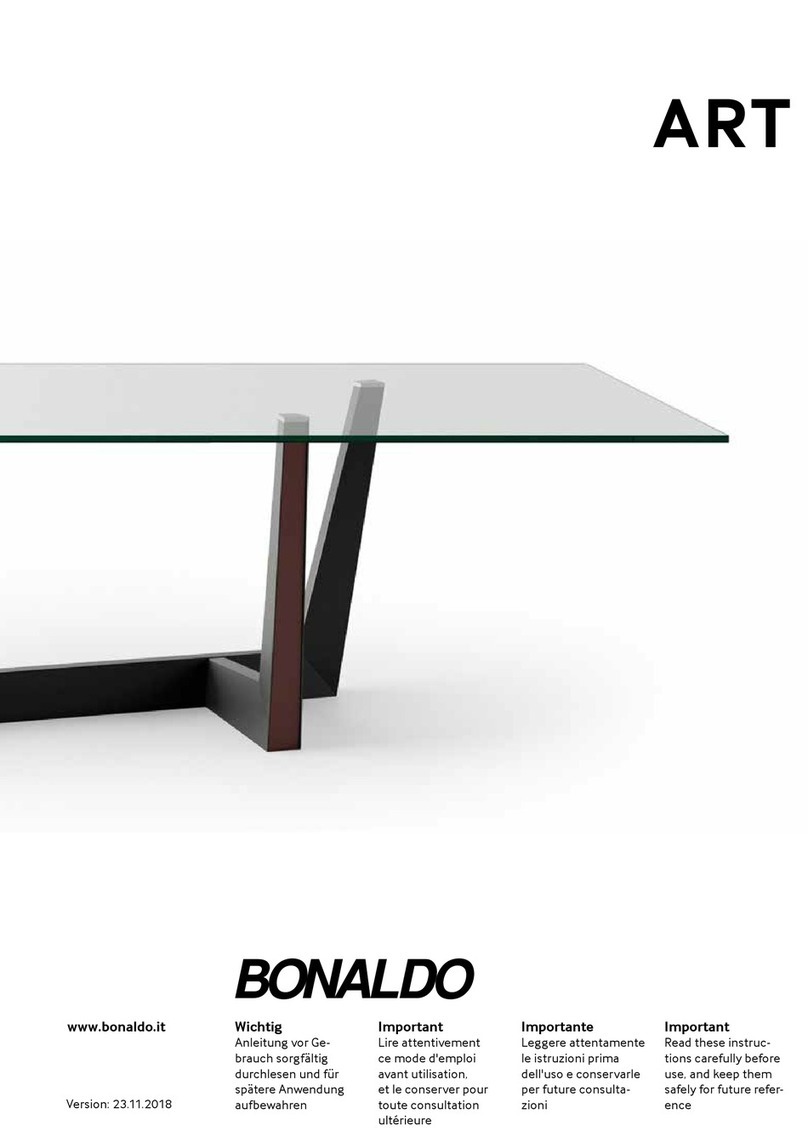
Bonaldo Art Dining Table User manual

Bonaldo

Bonaldo Art Dining Table User manual

Bonaldo CURLING User manual

Bonaldo

Bonaldo CURLING User manual

Bonaldo COLIBRI User manual

Bonaldo

Bonaldo COLIBRI User manual

Bonaldo MELLOW User manual

Bonaldo

Bonaldo MELLOW User manual

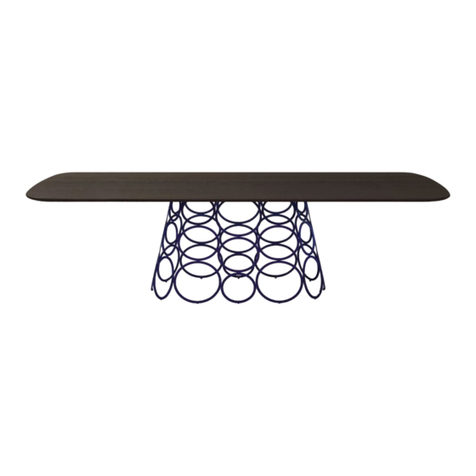
Bonaldo Hulahoop User manual

Bonaldo

Bonaldo Hulahoop User manual

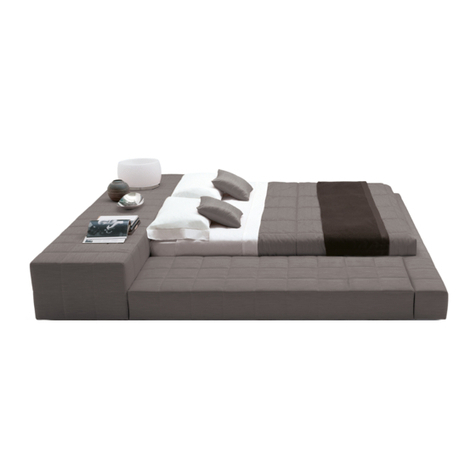
Bonaldo SQUARING 180 ISOLA User manual

Bonaldo

Bonaldo SQUARING 180 ISOLA User manual

Bonaldo Octa Dining Table User manual

Bonaldo

Bonaldo Octa Dining Table User manual

Bonaldo VENUS User manual

Bonaldo

Bonaldo VENUS User manual

Bonaldo Vanessa User manual

Bonaldo

Bonaldo Vanessa User manual

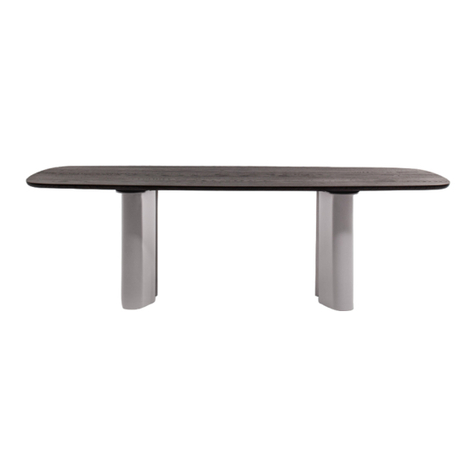
Bonaldo GEOMETRIC TABLE User manual

Bonaldo

Bonaldo GEOMETRIC TABLE User manual

Bonaldo Giotto User manual

Bonaldo

Bonaldo Giotto User manual

Bonaldo DORIAN CONSOLE User manual

Bonaldo

Bonaldo DORIAN CONSOLE User manual

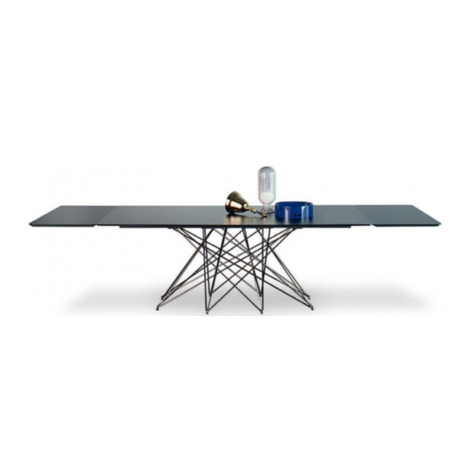
Bonaldo Octa Extendable table User manual

Bonaldo

Bonaldo Octa Extendable table User manual

Bonaldo CIRCUS User manual

Bonaldo

Bonaldo CIRCUS User manual

Bonaldo Moglie e Marito Double Bed User manual

Bonaldo

Bonaldo Moglie e Marito Double Bed User manual

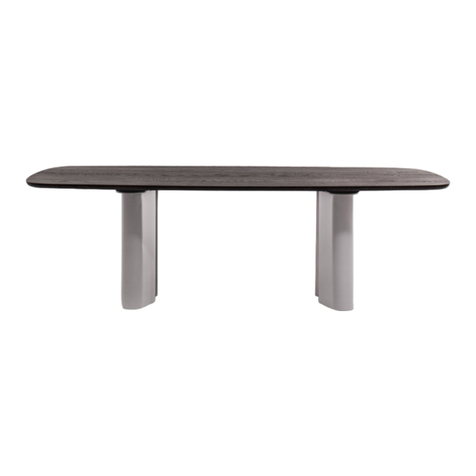
Bonaldo Geometric Dining Table User manual
Bonaldo

Bonaldo Geometric Dining Table User manual

Bonaldo Youniverse User manual

Bonaldo

Bonaldo Youniverse User manual
Bonaldo BLUSH User manual

Bonaldo

Bonaldo BLUSH User manual

Bonaldo FLAME CONSOLE User manual

Bonaldo

Bonaldo FLAME CONSOLE User manual

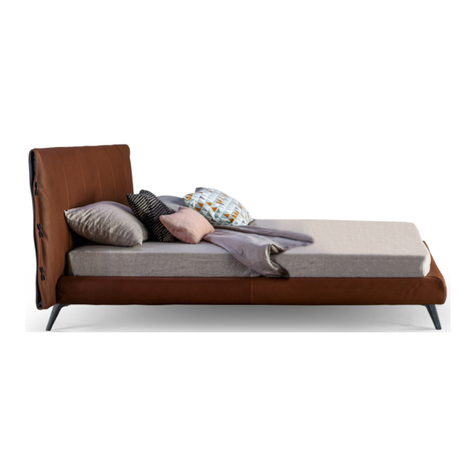
Bonaldo CUFF Bed User manual

Bonaldo

Bonaldo CUFF Bed User manual
Bonaldo Prora User manual

Bonaldo

Bonaldo Prora User manual

Bonaldo Art Extension Dining Table User manual

Bonaldo

Bonaldo Art Extension Dining Table User manual

Bonaldo DELTA User manual

Bonaldo

Bonaldo DELTA User manual

Popular Indoor Furnishing manuals by other brands
Multimo 753 SIMPLE 140 Assembly instructions

Multimo

Multimo 753 SIMPLE 140 Assembly instructions

Safavieh Furniture Marino FOX4260 quick start guide

Safavieh Furniture

Safavieh Furniture Marino FOX4260 quick start guide

iHome Beauty REFLECT STUDIO PRO quick start guide

iHome

iHome Beauty REFLECT STUDIO PRO quick start guide

Legacy Classic Furniture 9814-8110 Assembly instructions

Legacy Classic Furniture

Legacy Classic Furniture 9814-8110 Assembly instructions

Fores ARC181 Assembling instructions

Fores

Fores ARC181 Assembling instructions

Home Accents Holiday H8100701 Use and care guide

Home Accents Holiday

Home Accents Holiday H8100701 Use and care guide

Home Decorators Collection BT0540P Assembly instruction

Home Decorators Collection

Home Decorators Collection BT0540P Assembly instruction

WFI 1-43 Series Mounting instructions

WFI

WFI 1-43 Series Mounting instructions

HELD MOBEL 88084.531 instructions

HELD MOBEL

HELD MOBEL 88084.531 instructions

IKEA AVISKT ROLL FRONT CABINET 18X57" instructions

IKEA

IKEA AVISKT ROLL FRONT CABINET 18X57" instructions

Home Decorators FG-BTB7PCDN Use and care guide

Home Decorators

Home Decorators FG-BTB7PCDN Use and care guide

rgs MABP27BK Assembly instructions

rgs

rgs MABP27BK Assembly instructions

Yaasa DESK PRO II Extended original operating instructions

Yaasa

Yaasa DESK PRO II Extended original operating instructions

Bestsign OAD001NC Assembly instructions

Bestsign

Bestsign OAD001NC Assembly instructions

nuhoom VOLOS 336046 Assembly guide

nuhoom

nuhoom VOLOS 336046 Assembly guide

Inspire 201-695REC Assembly instructions

Inspire

Inspire 201-695REC Assembly instructions

John Lewis Rouen manual

John Lewis

John Lewis Rouen manual

Everhard Industries Bloom Laundry Unit installation guide

Everhard Industries

Everhard Industries Bloom Laundry Unit installation guide

manuals.online logo
manuals.online logoBrands
  • About & Mission
  • Contact us
  • Privacy Policy
  • Terms and Conditions

Copyright 2025 Manuals.Online. All Rights Reserved.