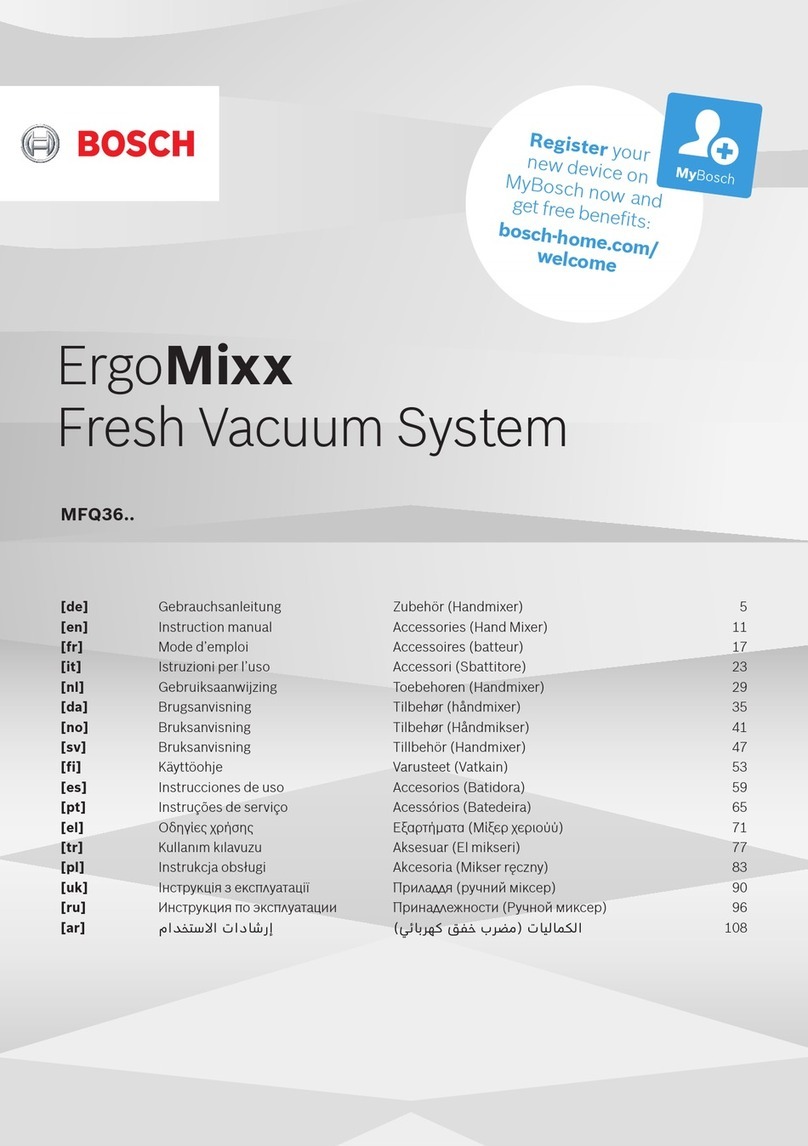
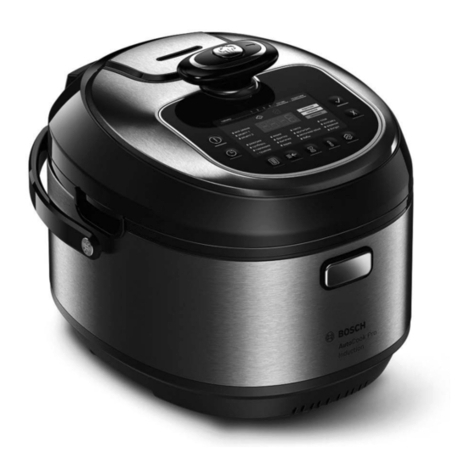
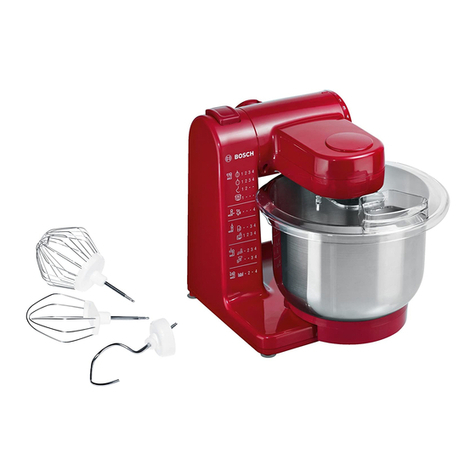
Bosch MUZ5VL1 User manual
Other Bosch Kitchen Appliance manuals
Bosch
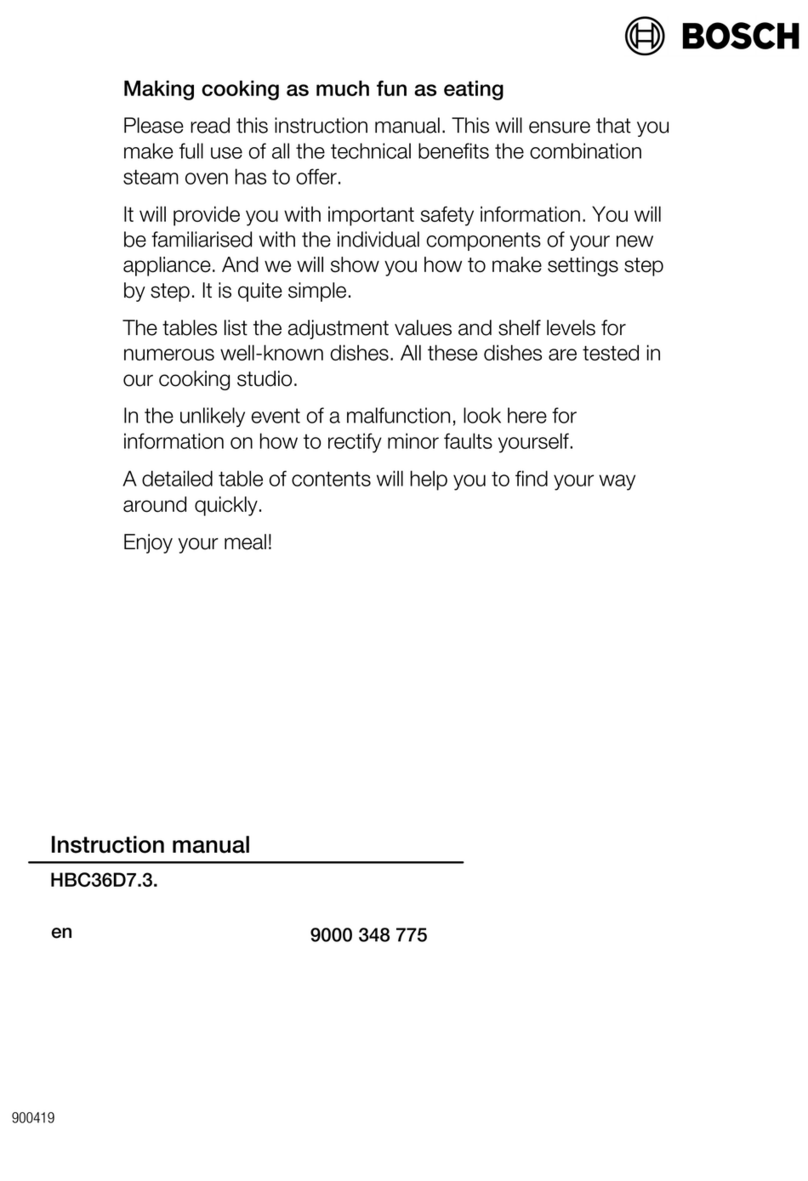
Bosch HBC36D7.3 User manual
Bosch
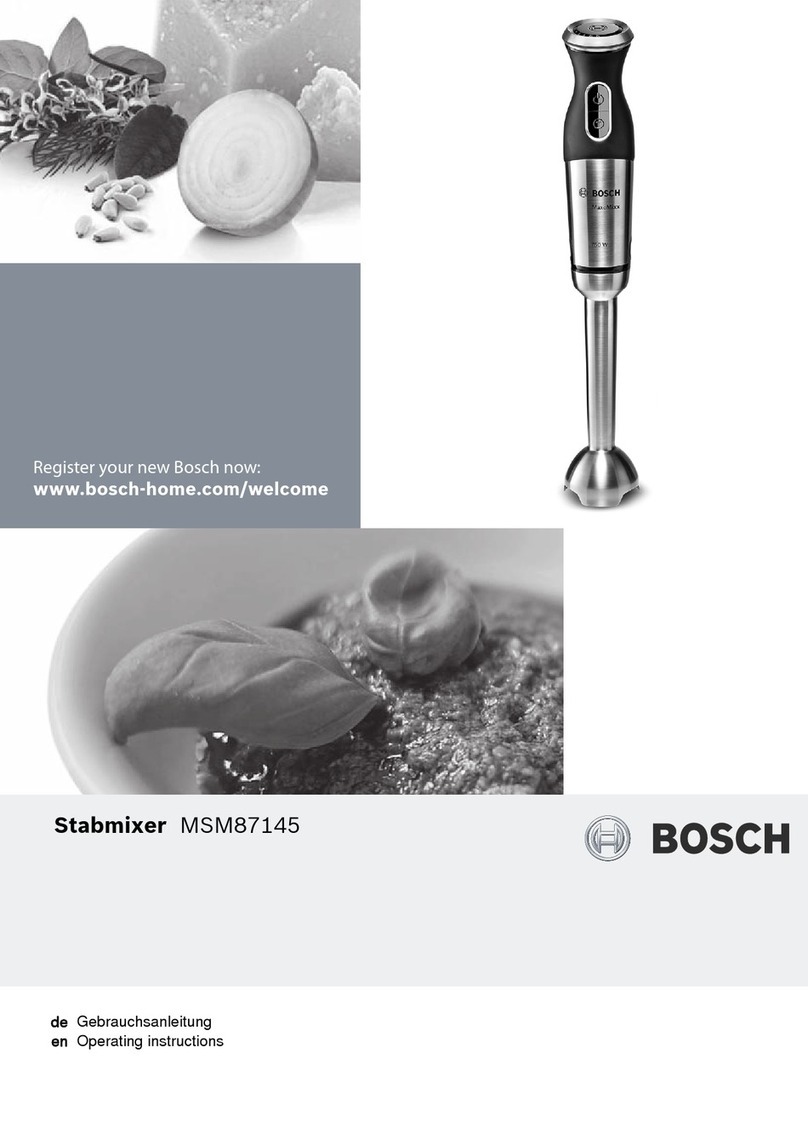
Bosch Stabmixer MSM87145 User manual
Bosch
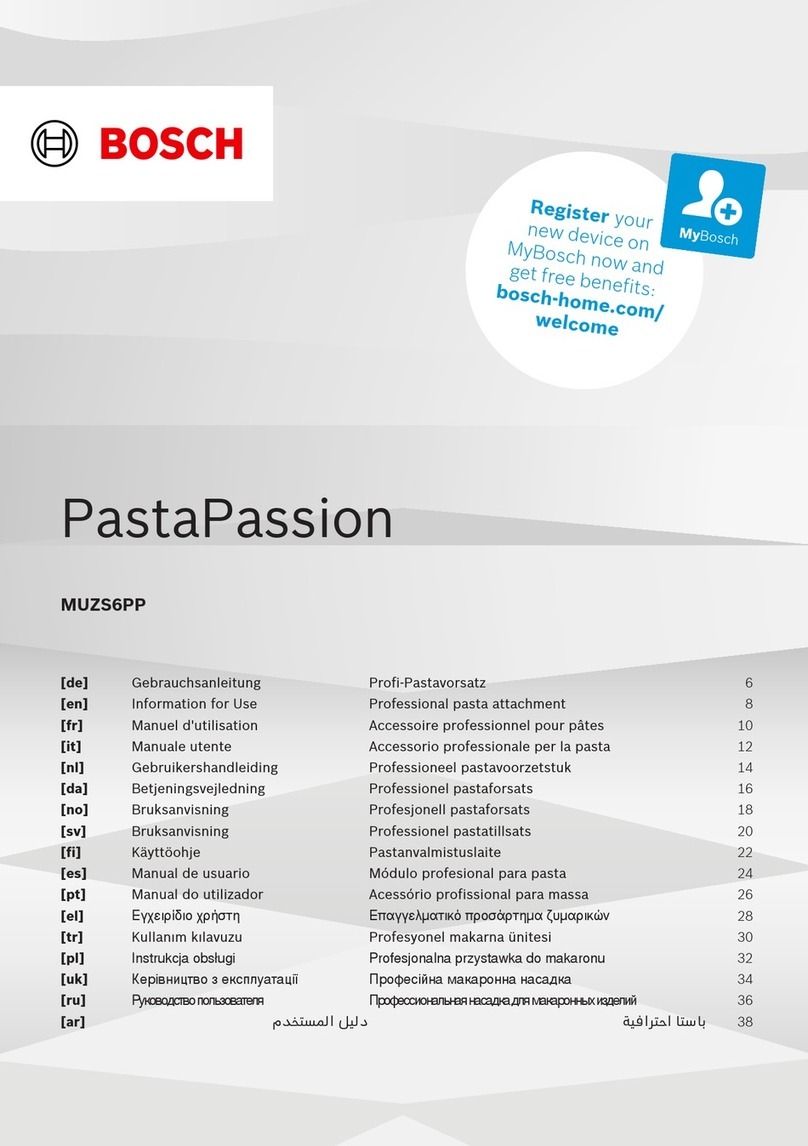
Bosch PastaPassion MUZS6PP Specification sheet
Bosch
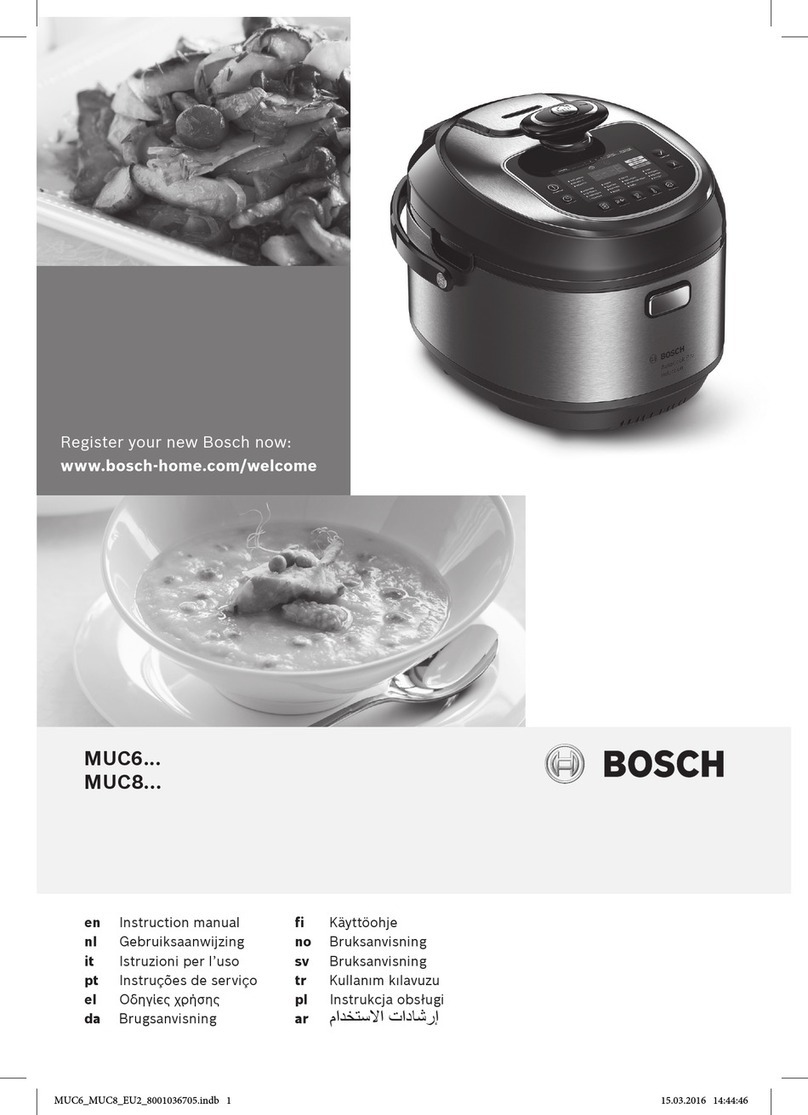
Bosch MUC8 Series User manual
Bosch
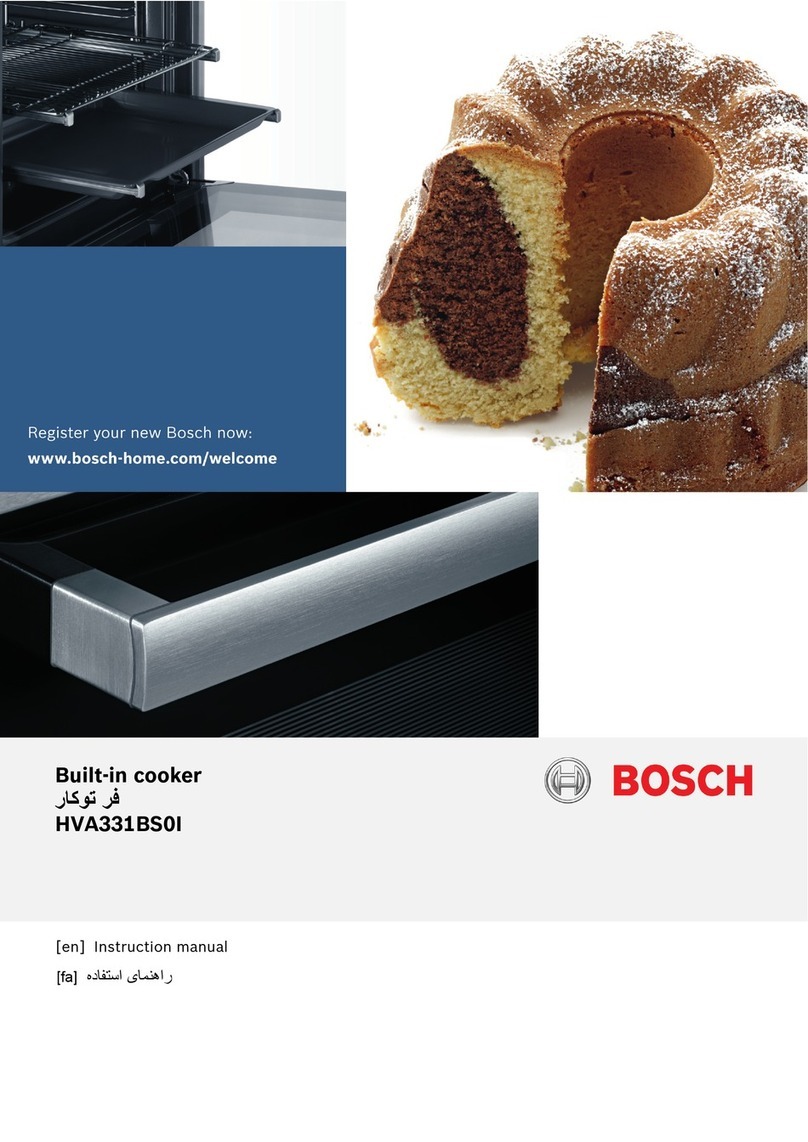
Bosch HVA331BS0I User manual

Bosch
Bosch MUZ6FW1 User manual
Bosch
Bosch VeggieLove User manual

Bosch
Bosch MUZ5ZP1 Series User manual
Bosch
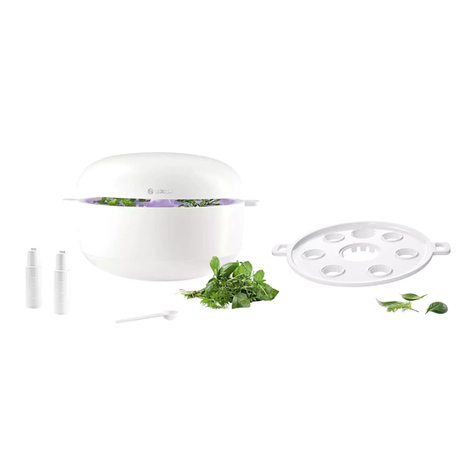
Bosch MSGP6/01 User manual
Bosch
Bosch ET 78 series User manual
Bosch
Bosch MSM14...GB User manual
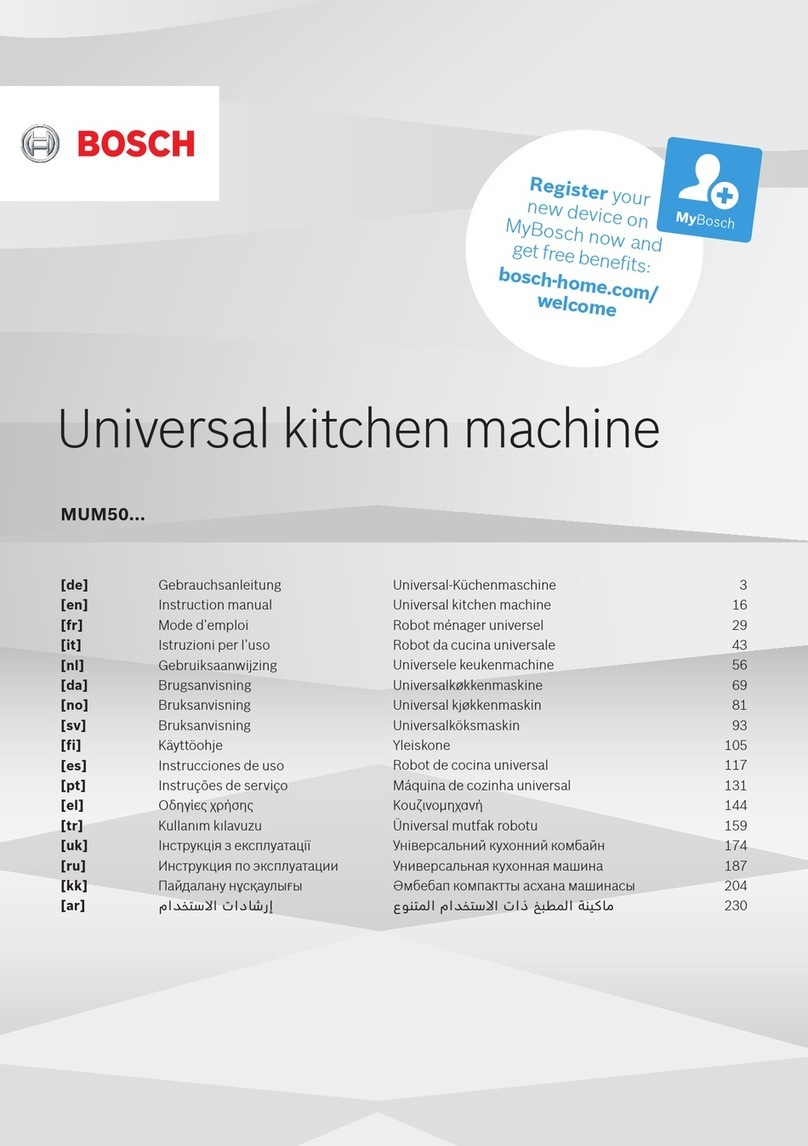
Bosch
Bosch MUM50123 User manual
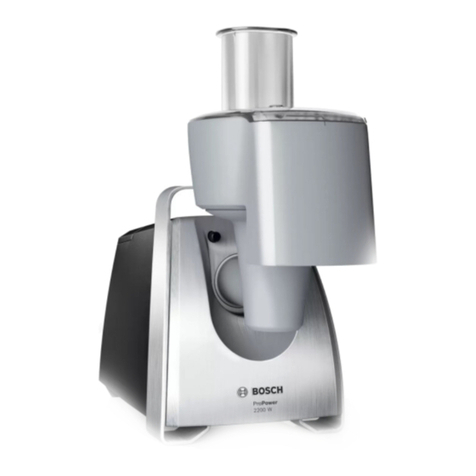
Bosch
Bosch MFW 6CC Series User manual
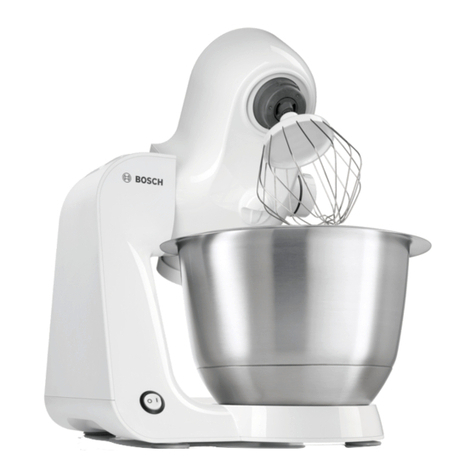
Bosch
Bosch MUM5 User manual
Bosch
Bosch PKG6..N series User manual
Bosch
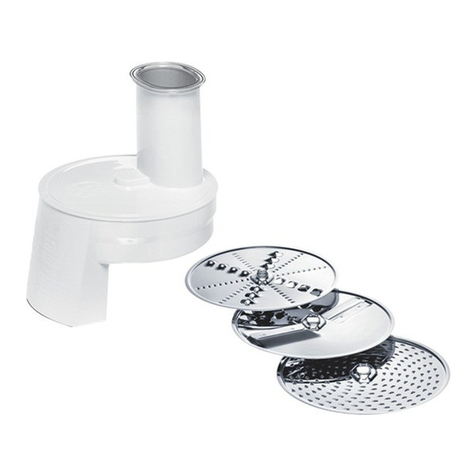
Bosch MUZ4DS3 User manual
Bosch
Bosch MUC4...RU User manual
Bosch
Bosch Grain Mill User manual
Bosch
Bosch SmartPower MFW25 Series User manual
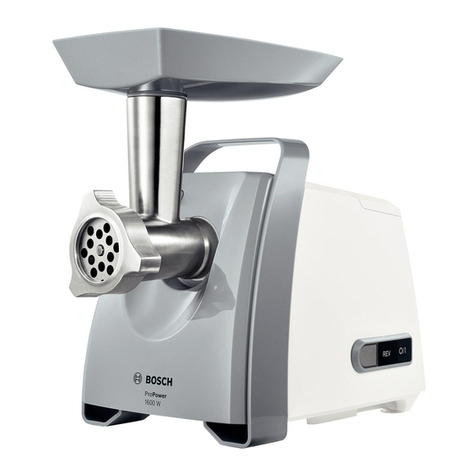
Bosch
Bosch ProPower MFW45020 User manual
Popular Kitchen Appliance manuals by other brands

Tayama
Tayama TYG-35AF instruction manual

AEG
AEG 43172V-MN user manual

REBER
REBER Professional 40 Use and maintenance

North American
North American BB12482G / TR-F-04-B-NCT-1 Assembly and operating instructions

Presto
Presto fountain popper instruction manual

Westmark
Westmark 1035 2260 operating instructions
