6
en
2.4 Application
WARNING
Risk of injury and/or malfunction!
►Prior to each use, inspect the product for loose,
bent, broken, cracked, worn, or fractured com-
ponents.
►Always carry out a function test prior to each
use of the product.
WARNING
Risk of injury when using the product beyond the
field of view!
►Apply the product only under visual control.
Note
For a detailed description of the operating procedure,
see MACS II operating technique, brochure number
O42702.
2.4.1 Mounting the clamping element and
7.0 mm blue polyaxial screw or
10 mm blue polyaxial screw XL with
pre-assembled retaining bolt
►Select either clamping element TL, T 25, 26 or
10 mm blue polyaxial screw XL 32.
►Select 7.0 mm blue polyaxial screw 31 and stabili-
zation screw 29, 30 (this step is missed out if the
10 mm blue polyaxial screw XL is used 32).
WARNING
Risk of injury if incorrect anchoring screws are
selected!
►To ensure safe implantation of the anchoring
screws, ensure that the diameter of the vertebral
body is carefully measured in the planned screw
position and direction.
►Choose a screw length shorter than the diameter
measured.
►Screw the 7.0 mm blue polyaxial screw 31 into the
clamping element 25, 26.
►Insert the assembled 7.0 mm blue polyaxial
screw 31 and clamping element 25, 26 or XL
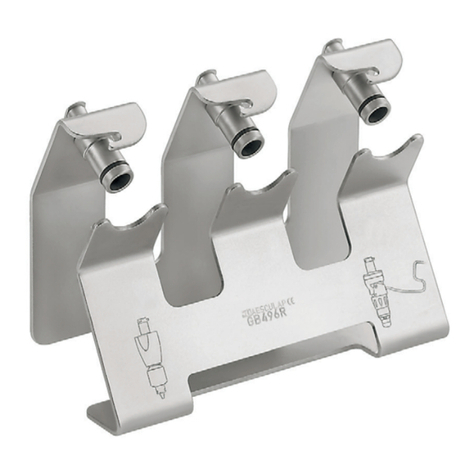
screw 32 into the mounting tool for SX804T 2.
WARNING
Risk of injury if centralizer comes loose during the
procedure!
►If the 10 mm blue polyaxial screw XL is used,
insert this in the appropriate side of the mount-
ing tool for SX804T (labeled with XL).
►If the 7.0 mm blue polyaxial screw is used, insert
this in the appropriate side of the mounting tool
for SX804T (labeled with POLY).
►Remove the pre-assembled retaining bolt 27 from
the packaging using the torque wrench for mount-
ing the retaining bolt 1.
WARNING
Take care not to drop the pre-assembled retaining
bolt!
►Open the packaging correctly and do not turn it
to prevent the retaining bolt from falling out.
►Apply the torque wrench for mounting the
retaining bolt as far as it will go onto the pre-
assembled retaining bolt.
►Screw the pre-assembled retaining bolt 27 onto
the clamping element 25, 26 with 1.8 N∙m.
WARNING
Risk of injury if pre-assembled retaining bolt comes
loose during the procedure!
►To mount the pre-assembled retaining bolt, use
the mounting tool for SX804T and the torque
wrench for mounting the retaining bolt and
tighten with 1.8 N∙m.
►Prior to applying the torque wrench, make cer-
tain the display arrow points to zero.
►Replace the torque wrench if it is damaged.
►Check that the retaining lug of the centralizer 27a
is correctly positioned in the clamping element 25,
26.
WARNING
Risk of injury if the necessary counter torque is not
applied when tightening the locknut or pre-assem-
bled retaining bolt SX804T!
►Make sure that the retaining lugs of the central-
izer engage fully in the appropriate grooves in
the clamping element.