manuals.online logo
Brands
  1. Home
  2. •
  3. Brands
  4. •
  5. brel-motors
  6. •
  7. Engine
  8. •
  9. brel-motors BLE 25 User manual

brel-motors BLE 25 User manual

EN NL DE FR
MOT O R S
www.brel-home.com
Visit our website for more manuals and information
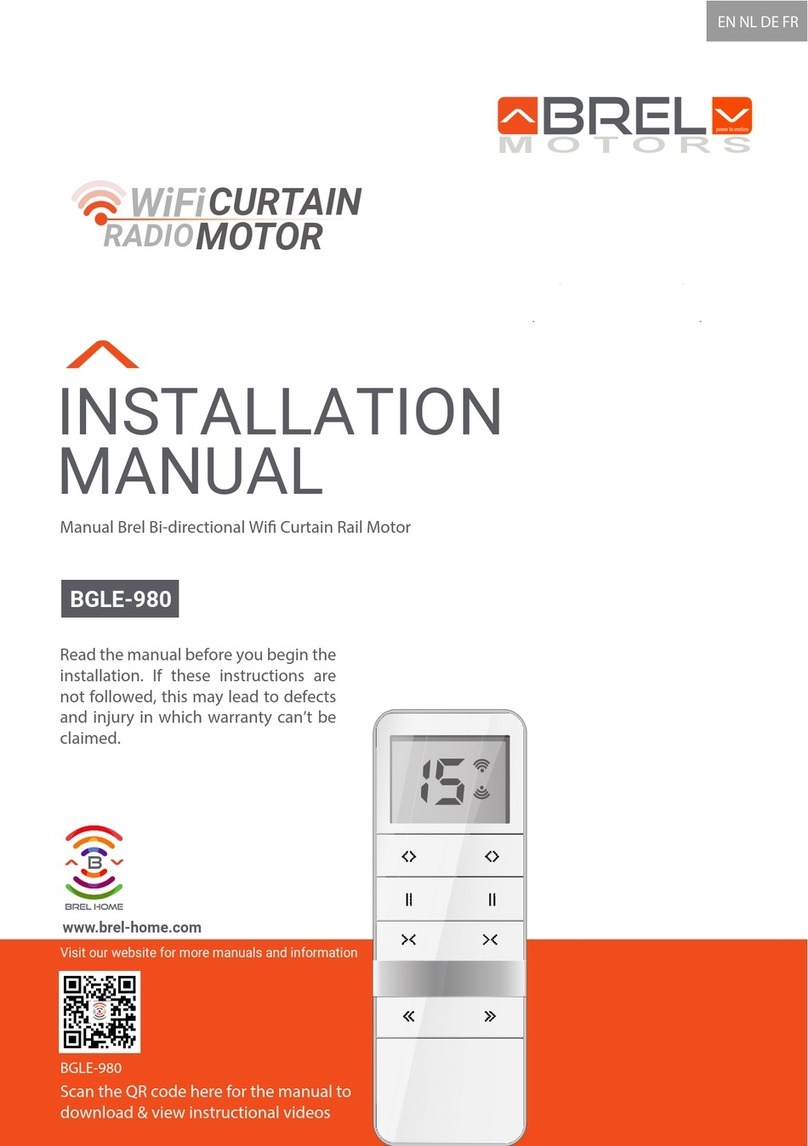
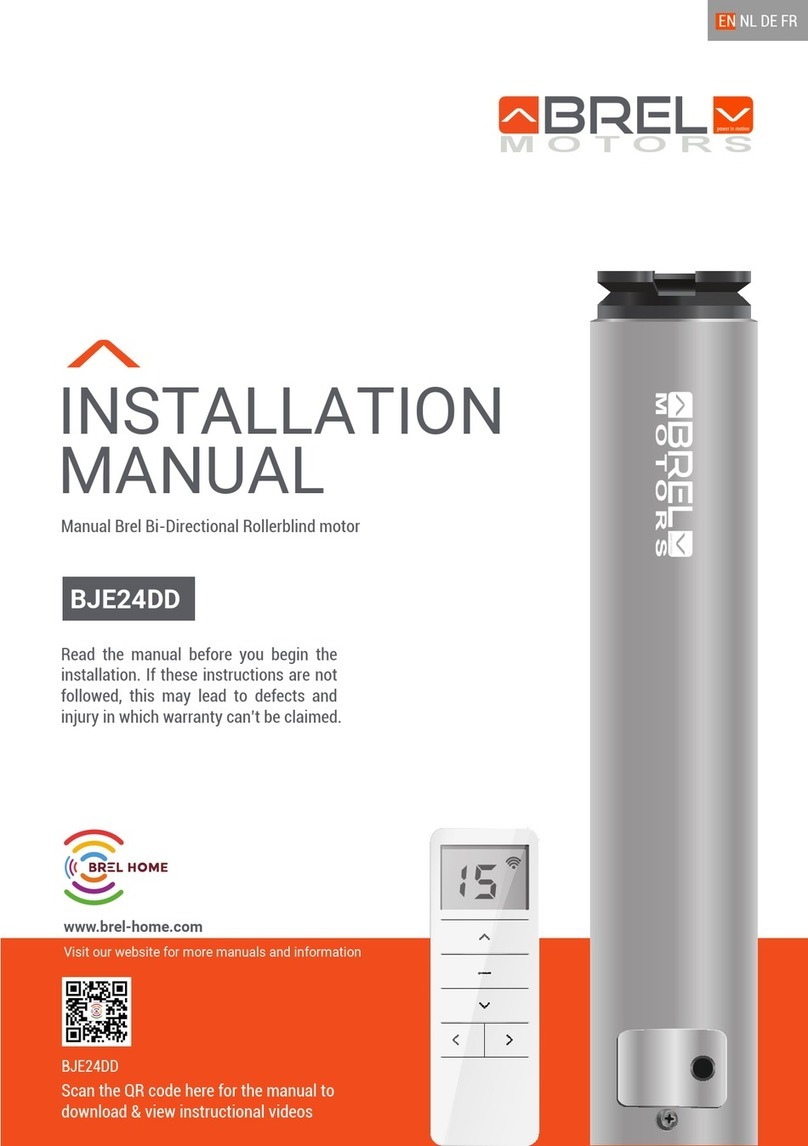
INSTALLATION
MANUAL
Manual Brel Bi-Directional Rollerblind motor
Scan the QR code here for the manual to
download & view instructional videos
Read the manual before you begin the
installation. If these instructions are not
followed, this may lead to defects and
injury in which warranty can’t be claimed.
BLE25
BLE 25
Page 2
Table of Content
2gninraW
3
Technical data of the motor/Reach/Charging the motor 4
Functions remote control 5
5
sgnitteS
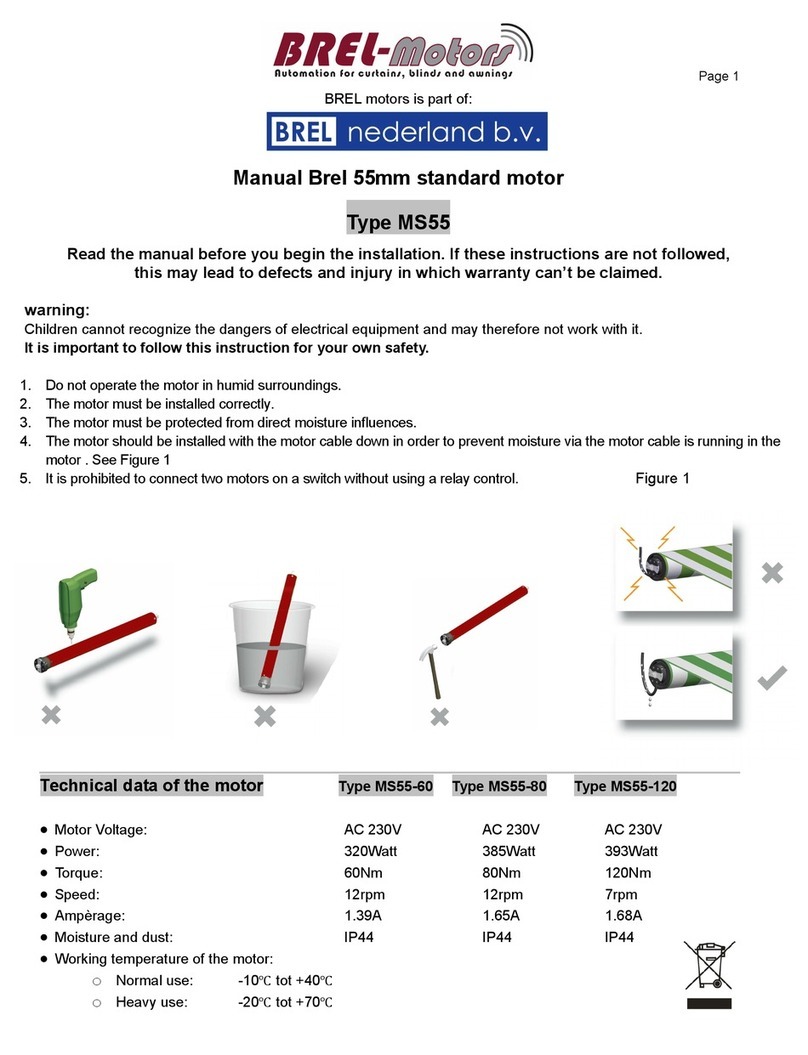
The motor must be
protected from direct
moisture influences.
The motor must be
installed correctly.
BREL-Motors declares that this
motor has been manufactured
according to the guidelines of the
CE standard 1999/5/EC
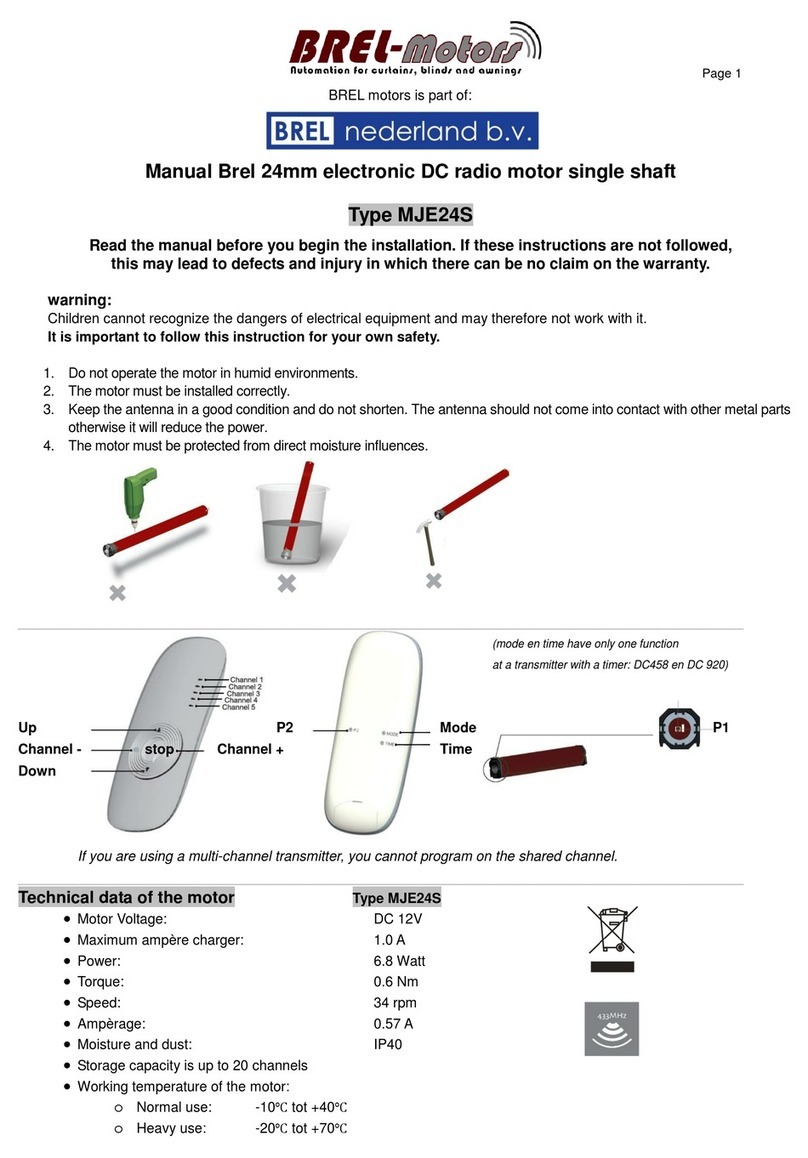
Do not operate the motor
in humid surroundings.
Keep the antenna in a good
condition and do not shorten. The
antenna should not come into
contact with other metal parts
otherwise it will reduce the function..
Warning
Do not allow children to play with the
roller blind control unit. Keep remote
controls out of reach of children.
Children cannot recognize the dangers
of electrical equipment and are
therefore not allowed to work with it
Wiring/Installing the motor/Compatible with hub
Keep these instructions for future reference
BLE 25
Magnet Plug
Antenna
Page 3
Works with BREL HOME USB
Wiring
Installing the Motor
These assemblies are usually already done in the factory
Attach the crown and wheel to the motor and place the clip on the shaft of the motor so that the wheel is
fixed to the motor.
Install the motor with the motorbracket on the product and take care that it is secured.
Place the motor in the tube of the roller/shutter.
Antenna
P1
USB-C
LED Light
USB-C
P1
LED Light
BLE 25
With the Brel-Home-USB you can control your motor
with your Phone. You can make a time schedule and
make scenario's. The Brel-Home-USB can be
connected to Siri, Google Home and Alexa.
Brel-Home-USB
Page 4
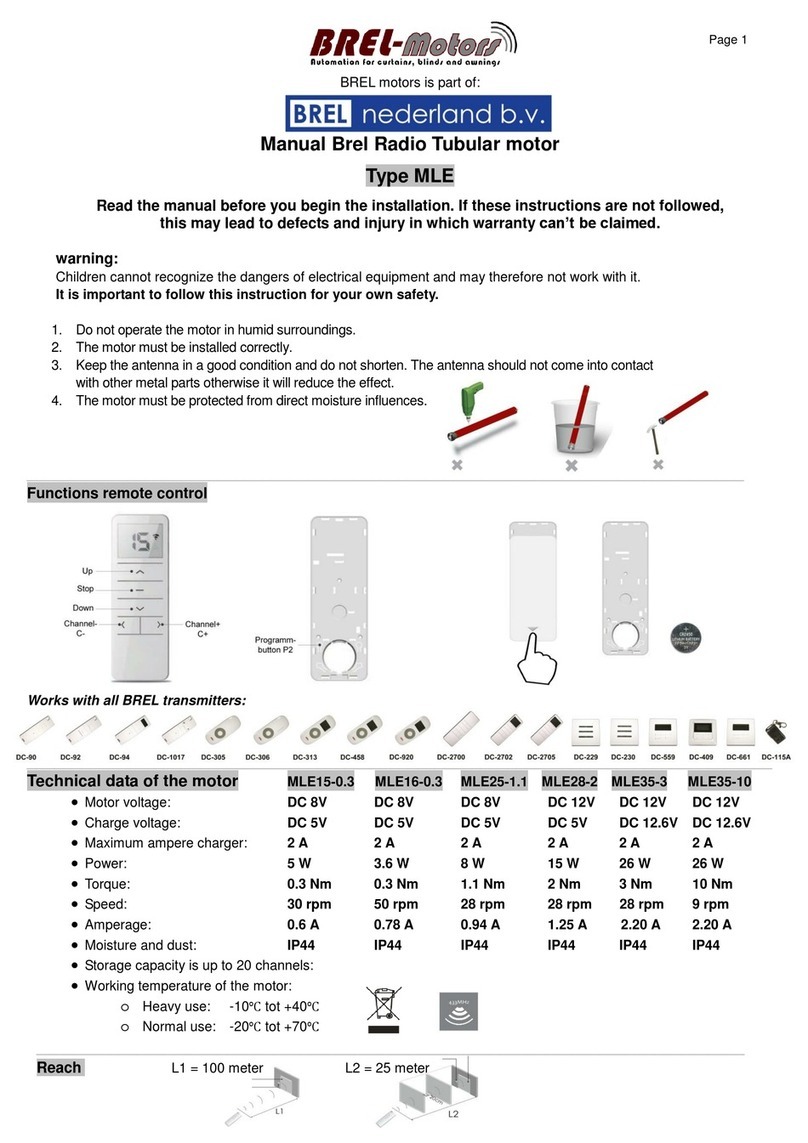
Technical data of the motor
TYPE BLE25-11
Motor Voltage DC 8V
Charge Voltage DC 5V
Maximum Ampere Charger 2 A
Power 10 W
Torque 1.1 Nm
Speed 24-28-32 rpm
Amperage 1.2 A
Moisture and Dust IP20
Normal Use:
-10°C tot +40°C
Heavy Use:
-20°C tot +70°C
Working temperature of the motor
Storage capacity is up to 20 channels
L2 = 20 meter
L1 = 100 meter
Reach
Charging the motor
If charging the BLE25 only use a charger with USB-C plug (5V)
The battery is empty when the motor light flashes red. The light flashes green while charging.
The battery is fully charged when the light stops blinking and lights-up continuously.
433MHZ
Page 5
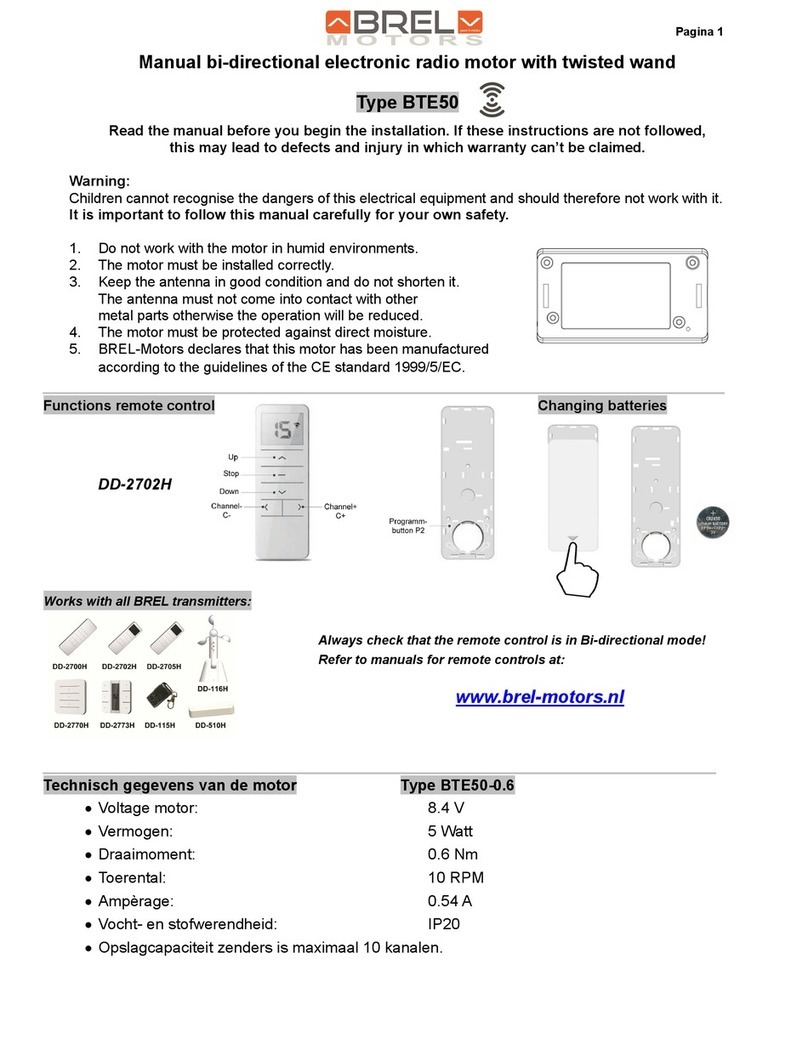
Functions Remote Control
P2 P2
M
Programm
Button P2
Current
Channel
Channel+ C+
Up
Stop
Down
Channel- C-
STOP until 2xP1 until
Hold down the P1 button until the
product moves up and down and motor
beeps.
Press and hold the STOP button until
the product moves 2x up and down
motor beeps 3 times.
Transmitter/Channel
has been set.
If NO end positions are set, the product will move in the pulse / step operation. Go then to STEP 3.
If end positions are set, the product will continue to its end position. Go then to STEP 5.
WARNING: It is possible that the correct end positions have not been set. Go then to OPTION A.
In the procedures described here is a maximum interval of 10 seconds to complete each
subsequent action: if you wait any longer, the system will leave the edit mode.
Normally a button only needs to be pressed shortly. If you need to press and hold a button for
several seconds this will be state clearly.
The system will confirm each completed step with moving the blind up and down ( ).
If a procedure does not play out as described, wait for 20 seconds and start again from the
beginning of that step/procedure.
Establishing connection
Step 2
Step 1
The remote control can transmit 15 channels and therefore control multiple blinds.
First, select a channel for operating the relevant roller blind.
Make sure that you select a free channel (we recommend only 1 product per channel ).
Select the desired channel.
This remote has also channel 0. All blinds programmed in channel 1~15 are
automatically programmed in this channel 0 and can be operated all at once.
3
1
2
45
There are 2x P2 buttons, no matter which one you press.
In case you have selected the wrong channel, go to Resetting factory settings.
Setting up the first remote/channel
Scan the QR code here for the manual to download & view
instructional videos.
BLE25
P1
Page 6
Adjusting the direction of rotation (Only if the direction of rotation is not correct)
Step 3
Press UP and DOWN button
simultaneously, until the product moves.
The direction of rotation of
the motor is OK.
Only possible if no end positions are set.
until 1x
2. Set the desired bottom position
Use the operating buttons to move the
product to the desired BOTTOM position.
Press DOWN and STOP simultaneously,
until the product moves 2x and beeps 3
times.
The desired bottom
position is set.
STOP 2x
until
Setting the favorite position (If desired)
Step 5
P2
1x P2 1x 1x STOP 1x 1x STOP 2x
Go to the
desired
favorite
position
Press 1x P2 The product
moves 1x up and down and
beeps 1 times.
Press 1x STOP button. The
product moves 1x up and
down and beeps 1 times.
Press 1x STOP button. The product
moves 2x up and down for
confirmation and beeps 3 times.
Press and hold STOP for 3 seconds to move to the favorite position.
The roller blind is now ready for use.
If you are not satisfied with the result of setting the end positions, go to Option A - adjusting positions
or Resetting factory settings.
Since the procedure is identical, to remove it repeat the steps.
Setting the End Limits
Step 4
Press UP and STOP simultaneously, until
the product moves 2x and beeps 3 times.
The desired top
position is set.
1. Set the desired top position STOP 2x
until
Use the operating buttons to move the
product to the desired TOP position
To move the motor one step: briefly press the UP or DOWN button
To move the motor continuously: press the UP or DOWN button for 3 seconds (ATTENTION! Press
STOP in time)
Page 7
Press P1 of a. The product
moves 1x up and down and
beeps 1 times.
Press 1xSTOP of b. The product moves
2x up and down and beeps 3 times.
The new transmitter
b has been added.
P1 a 2x
(In case the old transmitter is lost or broken)
b
STOP b
until until
Adjusting the down position
If adjustment is not possible, go to Resetting factory settings.
Press at the same time STOP
and DOWN until the motor
moves and beeps 1 times.
Go to the new
bottom position.
Press at the same time STOP and DOWN
button, until the motor 2x moves and beeps 3
times.
STOP STOP
until until 2x
Option B Learn Extra transmitter/channel
Only possible when end limits are set.
= Already existing transmitter/channel = New transmitter/channel
ab
b
P2
a
P2 aP2 b
Press P2 of a. The product
moves 1x up and down and
beeps 1 time.
Press P2 of a. The product
moves 1x up and down and
beeps 1 time.
Press P2 of b. The product
moves 2x up and down beeps
3x and beeps 3 times.
The transmitter b
has been added.
P2 a P2 a P2 b 2x
It is not possible to connect the DD116 or DD118 to a BLE 25 motor
NOTE
Pulse / jog on
Pulse / jog off
Press and hold UP and DOWN button,
until the product moves up and down.
Press 1x STOP button.
Option C Pulse / jog control
Make sure the new transmitter is in the desired channel.
Option A
If adjustment is not possible, go to Resetting factory settings.
Additional settings
Press at the same time STOP
and UP until the motor moves
and beeps 1 times.
Go to the new
top position. Press at the same time STOP and UP
button, until the motor 2x moves and
beeps 3 times.
Adjusting the top position
STOP STOP
until until 2x
Method 1
Method 2
and beeps 1 times
and beeps 3 times
To remove the emitter/channel repeat the same procedure.
Changing Batteries
P2 P2
M
P2 P2
M
P2 P2
M
BREL
poweredby
Model:DD2702H
Fifteen-ChannelEmitter
433MHz
CR24503.0V
0.7276243084
Press P2. The product
moves 1x up and down
and beeps 1 times Press 1x down. The
product moves up and
down and beeps 1 times
.
Press 1x down. The product moves
up and down and beeps 1 times
The motor speed
has been reduced.
1x P2
Speed Control
P2
1x
1x 1x
The motor speed
has been increased
Press 1x up. The product
moves up and down and
beeps 1 times
Press 1x up. The product
moves 2 x up and down and
beeps 1 times
If the motor does NOT react after this action, it is already at the highest or lowest speed.
Additional settings P1 button
The product moves up, stops or goes down when pressed P1.
Press 1x P1 on the motor.
1x P1
Can be used without a transmitter as an operating button.
Switching off the receiver
Press and hold P1 until the product moves up and down for the
2nd time and beeps 2 times.
The Receiver
switched off.
To reactivate the receiver, briefly press P1 once.
Changing the direction of rotation
Press and hold P1 until the product moves up and down for the 3rd
time and beeps 3 times.
The direction of
rotation has changed.
Resetting to factory settings
Press and hold P1 until the product moves up and
down for the 4th time and beeps 4 times.
Resets to factory settings.
Option D
There are 3 different speeds; Namely : Speed must be 24rpm - 28rpm - 32rpm.
To apply new settings: go to step 1
CR2450
LITHIUM BATTERY
CR2450
LITHIUM BATTERY
3V
3V
Page 8
1x
If the speed has been changed the slow stop is activated. To deactive the slow stop you have to reset the motor.
Brel Netherlands B.V. is registered according to the
transposition of Directive 2012/19EU (the WEEE Directive)
and to the transposition of Directive 2006/66EC (the Battery
Directive) at the Irish registry The Producer Register with the
registration number 3408WB.
Brel Netherlands B.V. is registered according to the
transposition of Directive 2012/19EU (the WEEE Directive)
into the Act on Waste n.185/2001 in Czech republic with the
participation number 09281/20ECZ.
This manual suits for next models

1

Other brel-motors Engine manuals

brel-motors MS55-60 User manual

brel-motors

brel-motors MS55-60 User manual

brel-motors BGLE-980 User manual

brel-motors

brel-motors BGLE-980 User manual

brel-motors BTE50 User manual

brel-motors

brel-motors BTE50 User manual

brel-motors MTE50-0.6 User manual

brel-motors

brel-motors MTE50-0.6 User manual

brel-motors MLE Series User manual

brel-motors

brel-motors MLE Series User manual

brel-motors BJE24DD User manual

brel-motors

brel-motors BJE24DD User manual

brel-motors MG-45 User manual

brel-motors

brel-motors MG-45 User manual

brel-motors BRE45 User manual

brel-motors

brel-motors BRE45 User manual

brel-motors BJE24S User manual

brel-motors

brel-motors BJE24S User manual

brel-motors MGLE-45 User manual

brel-motors

brel-motors MGLE-45 User manual

brel-motors MGS-45 User manual

brel-motors

brel-motors MGS-45 User manual

brel-motors BTE 50 User manual

brel-motors

brel-motors BTE 50 User manual

brel-motors MJE24S User manual

brel-motors

brel-motors MJE24S User manual

brel-motors BJE24TD User manual

brel-motors

brel-motors BJE24TD User manual

brel-motors MJE24D User manual

brel-motors

brel-motors MJE24D User manual

brel-motors MR45-20 User manual

brel-motors

brel-motors MR45-20 User manual

brel-motors BR35 User manual

brel-motors

brel-motors BR35 User manual

Popular Engine manuals by other brands

Honeywell M7164 manual

Honeywell

Honeywell M7164 manual

MIRRLEES BLACKSTONE ESL12 MK2 instruction manual

MIRRLEES BLACKSTONE

MIRRLEES BLACKSTONE ESL12 MK2 instruction manual

Perkins 1706EA-E93TA Operation and maintenance manual

Perkins

Perkins 1706EA-E93TA Operation and maintenance manual

Mini Motor DBS Series Installation, use and maintenance manual

Mini Motor

Mini Motor DBS Series Installation, use and maintenance manual

Fluidampr 760121 installation instructions

Fluidampr

Fluidampr 760121 installation instructions

GEA FK40/390 N Maintenance manual

GEA

GEA FK40/390 N Maintenance manual

Briggs & Stratton Quantum 650 Series Operator's manual

Briggs & Stratton

Briggs & Stratton Quantum 650 Series Operator's manual

Fenner K Series Installation and maintenance manual

Fenner

Fenner K Series Installation and maintenance manual

Volvo TD420VE Operator's manual

Volvo

Volvo TD420VE Operator's manual

Perkins 3.152 Series Workshop manual

Perkins

Perkins 3.152 Series Workshop manual

Perkins 4006D-E23TA Operation and maintenance manual

Perkins

Perkins 4006D-E23TA Operation and maintenance manual

YOODA 35EV/S Series manual

YOODA

YOODA 35EV/S Series manual

Festo EMMB-AS Instructions & Operating

Festo

Festo EMMB-AS Instructions & Operating

Nice SD Instructions and information for installation and use

Nice

Nice SD Instructions and information for installation and use

Briggs & Stratton 194700 Series Operator owner's manual

Briggs & Stratton

Briggs & Stratton 194700 Series Operator owner's manual

LZ design FES-LS8-M100 manual

LZ design

LZ design FES-LS8-M100 manual

LOMBARDINI MARINE LDW 194 JMTI Installation - use - maintenance

LOMBARDINI MARINE

LOMBARDINI MARINE LDW 194 JMTI Installation - use - maintenance

Kubota D1503-M-E Operator's manual

Kubota

Kubota D1503-M-E Operator's manual

manuals.online logo
manuals.online logoBrands
  • About & Mission
  • Contact us
  • Privacy Policy
  • Terms and Conditions

Copyright 2025 Manuals.Online. All Rights Reserved.