brel-motors BTE50 User manual

Pagina 1
Manual bi-directional electronic radio motor with twisted wand
Type BTE50
Read the manual before you begin the installation If these instructions are not followed,
this may lead to defects and injury in which warranty can’t be claimed
Warning:
Children cannot recognise the dangers of this electrical equipment and should therefore not work with it.
It is important to follow this manual carefully for your own safety
1. Do not work with the motor in humid environments.
2. The motor must be installed correctly.
3. eep the antenna in good condition and do not shorten it.
The antenna must not come into contact with other
metal parts otherwise the operation will be reduced.
4. The motor must be protected against direct moisture.
5. BREL-Motors declares that this motor has been manufactured
according to the guidelines of the CE standard 1999/5/EC.
_______________________________________________________________________________
Functions remote control Changing batteries
DD-2702H
Works with all BREL transmitters:
Always check that the remote control is in Bi-directional mode!
Re er to manuals or remote controls at:
www.brel-motors.nl
______________________________________________________________________________
Technisch gegevens van de motor Type BTE50-0 6
Voltage motor: 8.4 V
Vermogen: 5 Watt
Draaimoment: 0.6 Nm
Toerental: 10 RPM
Ampèrage: 0.54 A
Vocht- en stofwerendheid: IP20
Opslagcapaciteit zenders is maximaal 10 kanalen.

Page 2
MOTOR ADJUSTMENT CHARGING POINT BATTERY
_______________________________________________________________________________
Wiring diagram
BATTERY
Charging point
----Antenna
Connection point -----
. /
Programm button P1
_______________________________________________________________________________
Step 1 Setting up the first remote/channel
P1 until
STOP until 2x
OK
Hold down the P1 button until the Press and hold the STOP button until the product Transmitter/channel
product moves up and down. The motor beeps. moves 2x up and down and beeps 3x. has been set.
If NO end positions are set, the product will move in the pulse / step operation Go then to STEP 2.
I end positions are set, the product will continue to its end position. Go then to STEP 4.
WARNING: It is possible that the correct end positions have not been set. Go then to OPTION A.
______________________________________________________________________________
Step 2 Adjusting the direction of rotation(Only if the direction of rotation is not correct)
Only possible i no end positions are set, otherwise irst option C (Delete end positions), a ter that, Step 2.
1x ▲ until 1x
▲+▼ until 1x
OK
Press 1x the P1 button shortly, Press UP and DOWN button The direction of rotation of
until the product moves down. simultaneously, until the product moves. the motor is OK

Page 3
_______________________________________________________________________________
Step 3 Setting the end limits
1 Set the desired top position
▲+ STOP 2x
OK
Use the OPERATING buttons to Press UP and STOP simultaneously, The desired top
move the product to the desired top position. until the product moves 2x and beeps 3x. position is set.
2 Set the desired bottom position
STOP+▼ 2x
OK
Use the OPERATING buttons to move Press DOWN and STOP simultaneously, The desired bottom
the product to the desired bottom position. until the product moves 2x and beeps 3x. position is set.
_______________________________________________________________________________
Step 4 Setting the desired third limit position (If desired)
1x P2 1x
1x STOP 1x
1x STOP 2x
OK
Set the desired Press 1x P2. Press 1x STOP button. Press 1x STOP button.
Third limit The product moves 1x The product moves 1x The product moves 2x up
position. up and down and beeps. up and down and beeps. and down and beeps 3x for confirmation.
Press and hold STOP or 3 seconds to move to the set limit position.
The motor is now ready or use!
______________________________________________________________________________
Additional settings
____________________________________________________________________________
Option A Adjusting the top position
If adjustment is not possible, go to Option C, then to Step 3
STOP +▲ until
STOP +▲ until 2x
Go to the already Press at the same time Go to the new Press at the same time
set top position, STOP and UP until top position. STOP and UP button, until
the motor moves and beeps 1x. the motor 2x moves and 3x beeps.

Page 4
___________________________________________________________________________
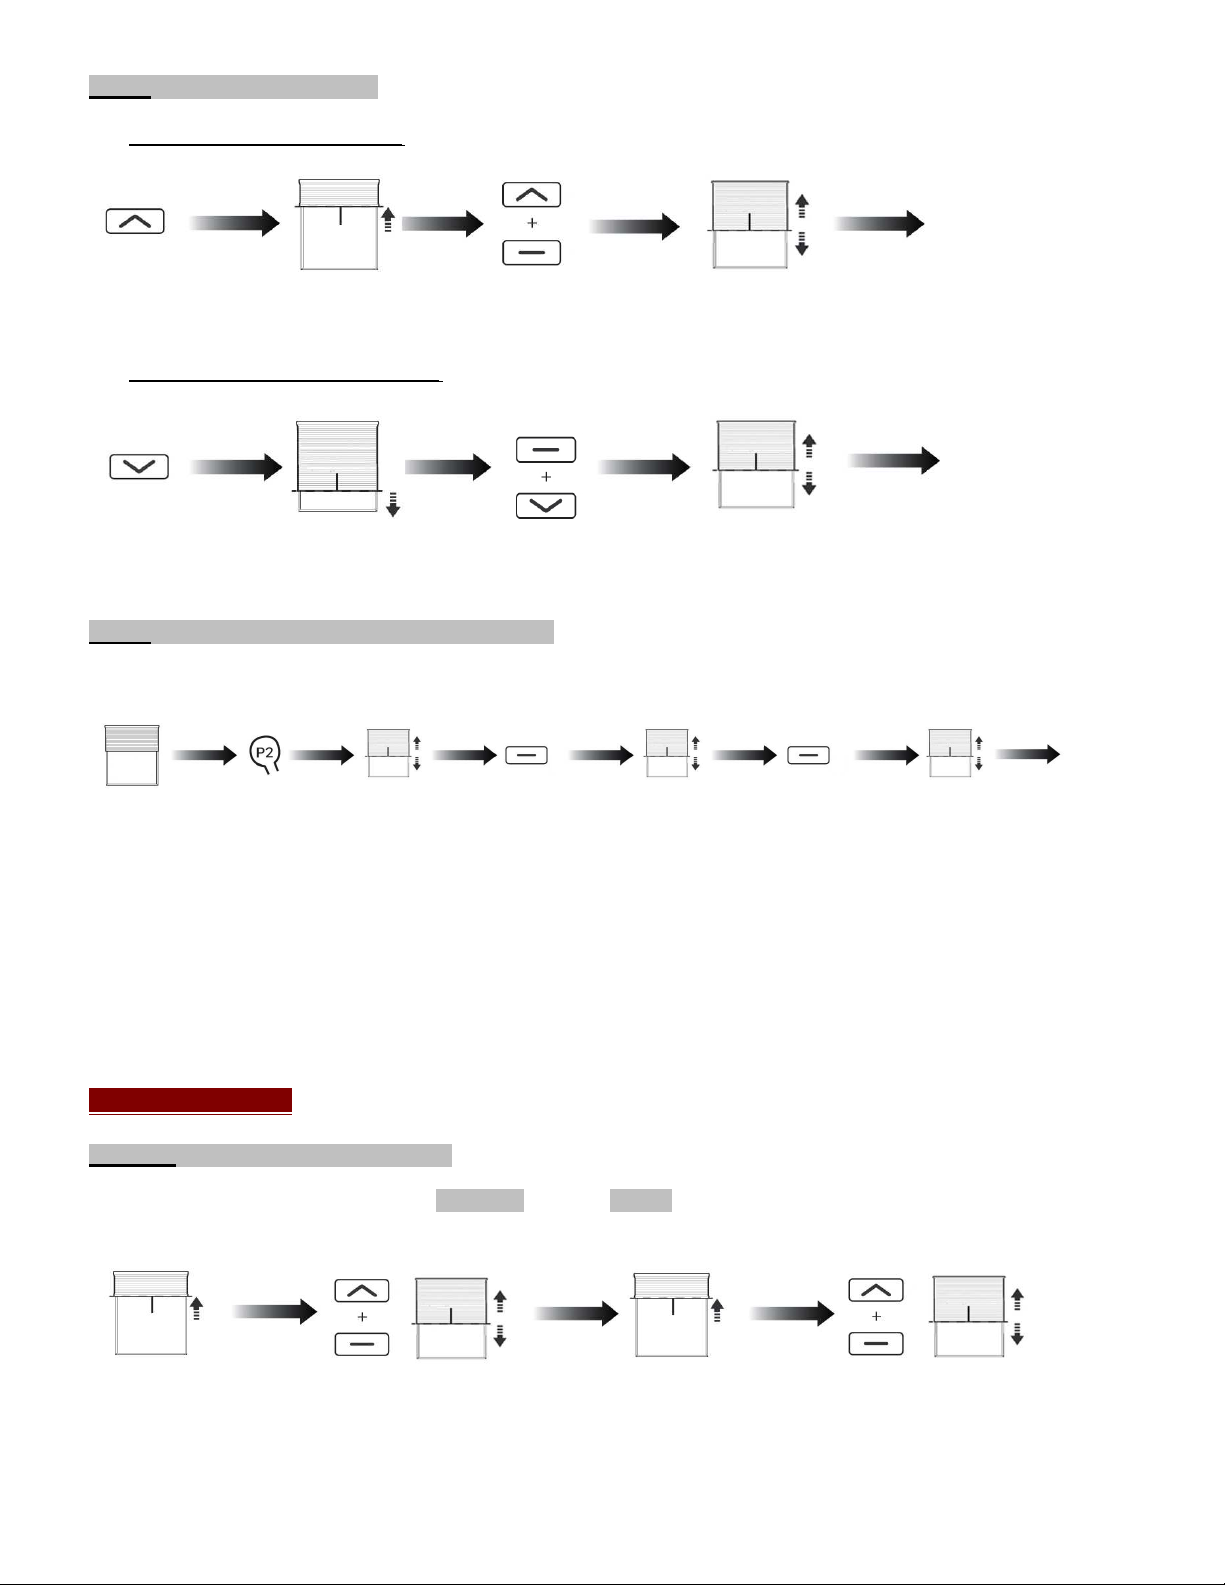
Adjusting the down position
If adjustment is not possible, go to Option B, then to Step 3
STOP +▼ until
STOP +▼ until 2x
Go to the already Press at the same time Go to the new Press at the same time
set bottom position, STOP and DOWN until bottom position. STOP and DOWN button, until
the motor moves and beeps 1x. the motor 2x moves and 3x beeps.
_______________________________________________________________________________
Option B Pulse / jog control
1x
, beeps 1x
▲+▼ until 1x
1x STOP
Pulse / jog on
Pulse / jog off
Press and hold UP and DOWN button, Press 1x STOP button.
until the product moves up and down.
2x
, beeps 3x
_______________________________________________________________________________
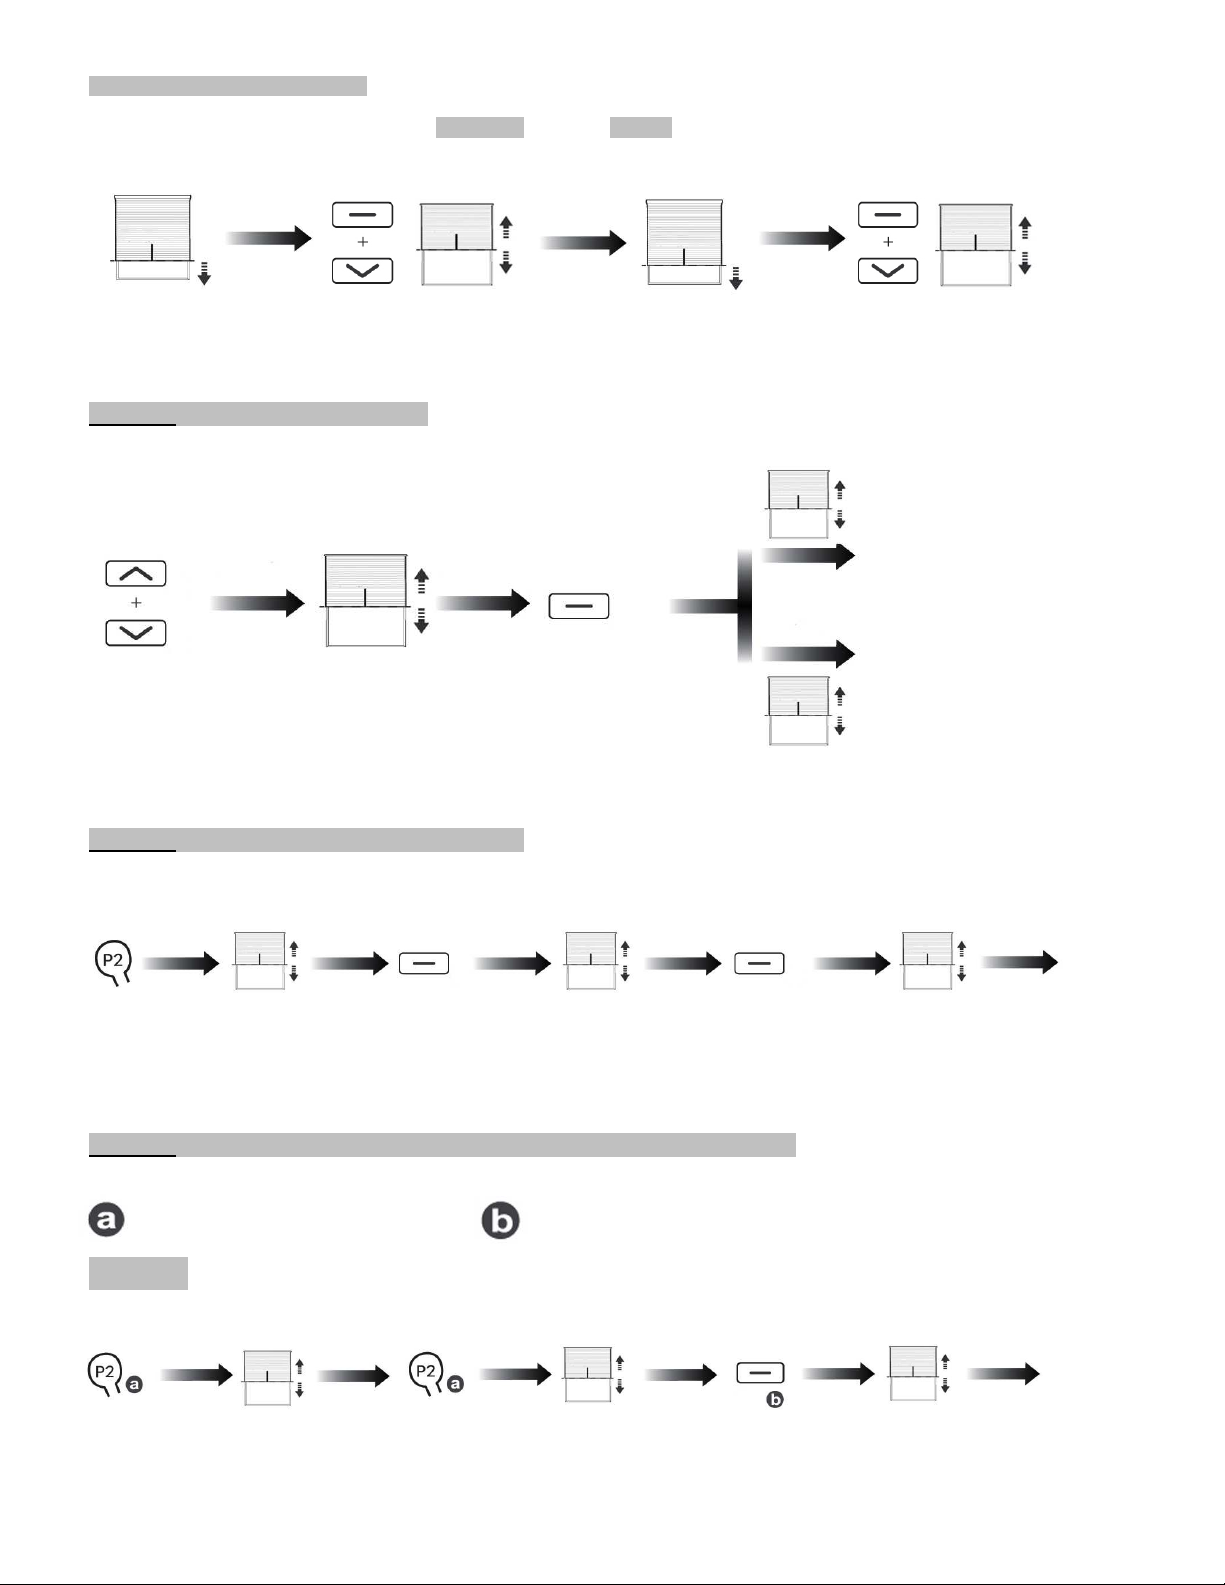
Option C Deleting the third limit position
1x P2 1x
1x STOP 1x
1x STOP 1x
OK
Press 1x P2. Press 1x STOP button. Press 1x STOP button. The third limit positions
The product moves 1x up The product moves 1x up The product moves 1x up are now deleted from
and down and beeps 1x. and down and beeps 1x. and down and beeps 1x the memory.
for confirmation.
_______________________________________________________________________________
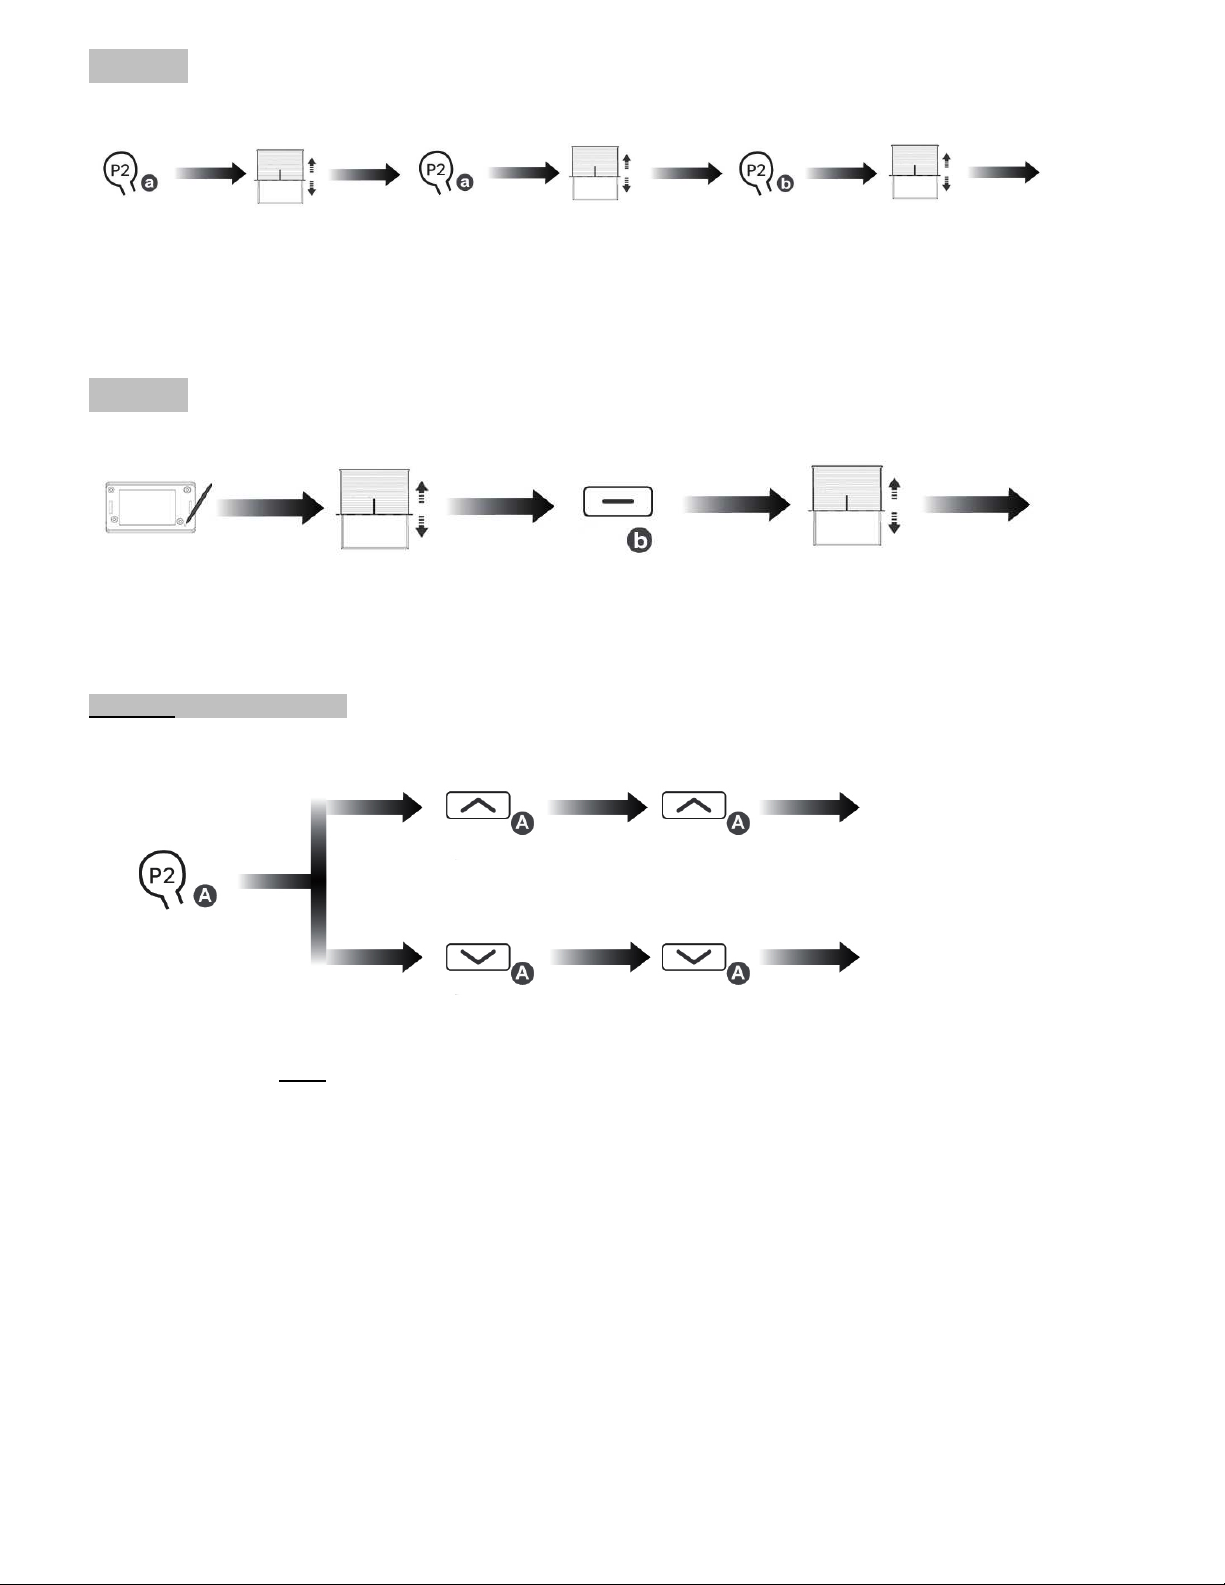
Option D Learn new transmitter/channel while maintaining end limits
Only possible when end limits are set.
= Already existing transmitter = New transmitter
Method 1
P2 a until
P2 a until
STOP b until 2x
OK
Press P2 of a. The product Press P2 of a. The product Press STOP of b. The product The transmitter b
moves 1x up and down moves 1x up and down moves 2x up and down has been added.
and beeps 1x. and beeps 1x. and beeps 3x.
Repeating the above will remove the new transmitter/channel.

Page 5
Method 2
P2 a until
P2 a until
P2 b until 2x
OK
Press P2 of a. The product Press P2 of a. The product Press P2 of b. The product The transmitter b
moves 1x up and down moves 1x up and down moves 2x up and down has been added.
and beeps 1x. and beeps 1x. and beeps 3x.
Repeating the above will remove the new transmitter/channel.
Method 3 (In case the old station is lost or de ective)
P1 tot 1x
STOP b tot 2x
OK
Press P1 of a. The product moves 1x Press 1x STOP of b. The product The transmitter b
up and down and beeps 2x. moves 2x up and down and beeps 3x. has been added.
Repeating the above will remove the new transmitter/channel.
______________________________________________________________________________
Option E Speed control
1x
A 1x
A
1x P2 A until
O
Press 1x up of A. Press 1x up of A. The motor speed
has been increased
1x
A 1x
A
O
Press P2 of a. The product Press 1x down of A, Press 1x down of A, The motor speed
moves 1x up and down. button A in. button A in. has been reduced.
I the motor does NOT react a ter this action, it is already at the highest or lowest speed.

Page 6
_______________________________________________________________________________
Additional settings P1 button
Can be used without a transmitter as an operating button
1x P1
The product moves up, stops or goes down when pressed P1
Press 1x P1 on the motor.
_______________________________________________________________________________
Switching off the receiver
P1, (6 sec ) until 2th x
OK
Press and hold P1 until the product moves The Receiver switched off.
up and down for the 2th time and beeps 2x.
To reactivate the receiver, brie ly press P1 once.
_______________________________________________________________________________
Changing the direction of rotation
P1, (10 sec ) until 3th x
OK
Press and hold P1 until the product moves The direction of rotation has changed.
up and down for the 3th time and beeps 3x
_______________________________________________________________________________
Reset to factory settings
P1, (14 sec ) until 4th x
OK
Press and hold P1 until the product moves Resets to factory settings
up and down for the 4th time and beeps 4x
This manual suits for next models
1
Table of contents
Other brel-motors Engine manuals

brel-motors
brel-motors BJE24DD User manual

brel-motors
brel-motors MG-45 User manual

brel-motors
brel-motors MS55-60 User manual

brel-motors
brel-motors MJE24D User manual

brel-motors
brel-motors MLE Series User manual

brel-motors
brel-motors BJE24S User manual

brel-motors
brel-motors MGS-45 User manual

brel-motors
brel-motors BLE 25 User manual

brel-motors
brel-motors MGLE-45 User manual

brel-motors
brel-motors BR35 User manual