manuals.online logo
Brands
  1. Home
  2. •
  3. Brands
  4. •
  5. Bristan
  6. •
  7. Plumbing Product
  8. •
  9. Bristan Prism PM SLWMBF C User manual

Bristan Prism PM SLWMBF C User manual

AFTERCARE INSTRUCTIONS
Your fitting has a high quality finish and should be treated with care
to preserve the visible surfaces.
All surface finishes will wear if not cleaned correctly, the only safe
way to clean your mixer is to wipe with a soft damp cloth. Stains can
be removed using washing up liquid. All bath cleaning powders and
liquids will damage the surface of your fitting, even the non-scratch
cleaners.
GUARANTEE
All products are manufactured to the highest standards and a 5 year
guarantee covers any defect in manufacture.
NOTE: The 5-year guarantee on the cartridge is invalidated if
damaged by any waterborne debris.
In the interests of continuous product development we reserve the right to alter specification
as necessary
PRODUCT CODE: PM SLWMBF C
TELEPHONE HELP LINE: 0844 701 6273
Bristan Group Limited
Birch Coppice Business Park
Dordon
Tamworth
Staffordshire
B78 1SG
UK
A Masco Company
Web site: www.bristan.com
Telephone: 0844 701 6274
Facsimile: 0844 701 6275
Email: enquire@bristan.com
(FI PM SLWMBF) (Rev. D3)
Prism Wall Mounted
Bath Filler
Fitting Instructions
& Contents List
Please keep these instructions for future reference and request
of replacement part
CONTENTS:
1. Spout (x1)
2. Lever (x1)
3. Grub screw (x1)
4. Handle body (x1)
5. Concealing plate (x1)
6. Mixer body (x1)
7. Fixing kit (x1)
WATER PRESSURE
This mixer is suitable for use at all supply pressures. However for optimum
use both the hot and cold supplies should be reasonably balanced.
If the fitting is installed at low pressure (tank fed), then the minimum distance
from the outlet of the nozzle to the underside of the cold tank should be
approximately 2 metres to ensure adequate performance.
This mixer should be installed in compliance with Water Regulations. Where
the supplies are from the mains or are unbalanced, i.e. hot water from the
cylinder tank/cold from the mains, approved check valves must be fitted in the
supply pipes. For further details contact you’re Local Water Authority.
INSTALLATION
1. Identify all components and check for completeness, particularly before
arranging fitting.
2. The application for this mixer should be measured carefully to ensure the
product will fit within the wall cavity. The product has some depth
adjustment, but thickness of plasterboard, tiles etc need to be
considered to ensure the concealing plate (5) fits over the mixer and
covers the cavity hole.
3. Place the mixer (6) into the wall cavity and screw to supporting member
or wall using the fixing kit (7) provided. (See Fig.1)
4. Connect the water supplies to the 15mm compression fittings on the
mixer body. Ensure the hot is on the left, the cold on the right when fed
from the bottom and when viewed from the front.
5. Screw spout (1) onto body using supplied washer.
6. Before finishing wall, temporarily fit handle body (4) to the body (6) and
fully open the mixer letting it run for a few minutes, check all joints and
connections for leaks.
7. Complete wall finish ensuring a gap is left around the mixer for possible
future removal.
8. Once wall is finished, fit concealing plate by sliding over spout shroud
and mixer body. Seal plate to the wall using a silicon sealant.
9. Fit handle body (4); tighten the grub screw (3) and fit the lever (2) to the
mixer ensuring correct orientation.
10. See over the page for aftercare instructions.
MAINTENANCE
If the fitting begins to drip:
1. Turn off the water supply.
2. Unscrew the lever (2) and loosen the grub screw (3).
3. Pull off lever and then main part of handle (4).
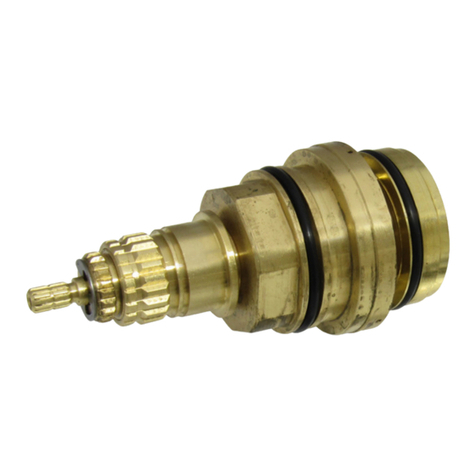
4. Using suitable tool (28mm A/F), remove cartridge retaining nut carefully
remove the cartridge, and clean the seal and seating.
5. Replace components and turn on the water supply.
6. Contact our helpline if problem persists.
INSTALLATION DIAGRAM
Fig.1
Please Note: -
In the unlikely event you find a part missing please contact our Customer
Service Help line on 0844 701 6273 or email enq[email protected]om for
immediate despatch of part.
Ensure the inlet grub screws
on both sides of the valve
body are tightened.

Other Bristan Plumbing Product manuals
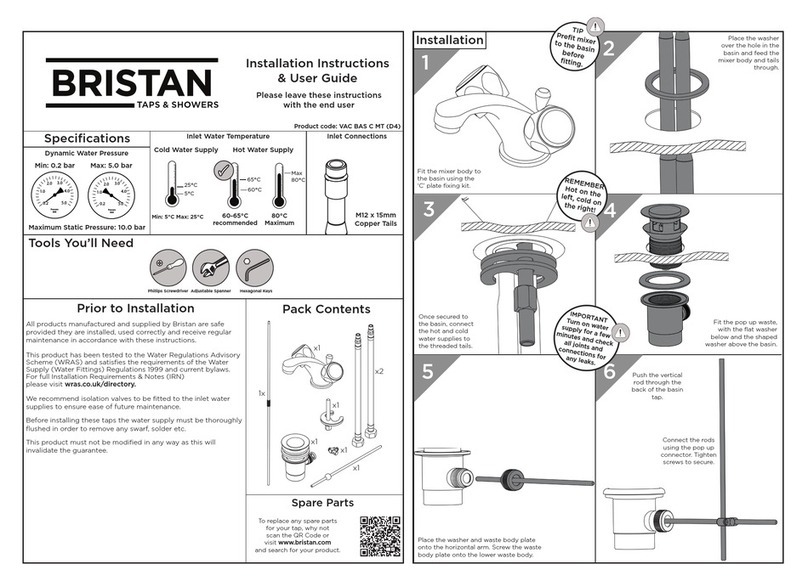
Bristan GLL RAPSNK4 C Mounting instructions

Bristan

Bristan GLL RAPSNK4 C Mounting instructions

Bristan VAL2 BAS C CD (D2) Wiring diagram

Bristan

Bristan VAL2 BAS C CD (D2) Wiring diagram

Bristan Hourglass HOU BSM C Wiring diagram

Bristan

Bristan Hourglass HOU BSM C Wiring diagram

Bristan QD SHXSMFF C D3 Wiring diagram

Bristan

Bristan QD SHXSMFF C D3 Wiring diagram

Bristan Quest QST BF C User manual

Bristan

Bristan Quest QST BF C User manual

Bristan CART 06734B Original operating manual

Bristan

Bristan CART 06734B Original operating manual

Bristan ALP Series Wiring diagram

Bristan

Bristan ALP Series Wiring diagram

Bristan AR2 SHXVOFF Mounting instructions

Bristan

Bristan AR2 SHXVOFF Mounting instructions

Bristan GLL RAPSNK4 C User manual

Bristan

Bristan GLL RAPSNK4 C User manual

Bristan K SNKSL EF C User manual

Bristan

Bristan K SNKSL EF C User manual

Bristan OR2 SHXSM C Mounting instructions

Bristan

Bristan OR2 SHXSM C Mounting instructions

Bristan Artisan AR2 SHXMTFF2 C Mounting instructions

Bristan

Bristan Artisan AR2 SHXMTFF2 C Mounting instructions

Bristan W BTH12 C User manual

Bristan

Bristan W BTH12 C User manual

Bristan CR SHXDIVFF C Wiring diagram

Bristan

Bristan CR SHXDIVFF C Wiring diagram

Bristan VAL2 BRDSM C CD Wiring diagram

Bristan

Bristan VAL2 BRDSM C CD Wiring diagram

Bristan BL3105 Mounting instructions

Bristan

Bristan BL3105 Mounting instructions

Bristan HOU 1HBF C Wiring diagram

Bristan

Bristan HOU 1HBF C Wiring diagram

Bristan ELVIRA SHWR PK Mounting instructions

Bristan

Bristan ELVIRA SHWR PK Mounting instructions

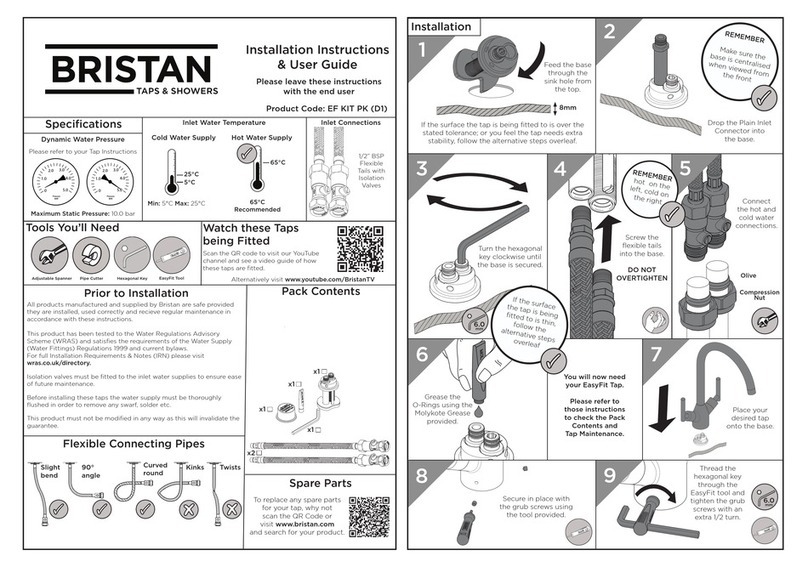
Bristan EF KIT PK Wiring diagram

Bristan

Bristan EF KIT PK Wiring diagram

Bristan DSC SHC3DIV C Wiring diagram

Bristan

Bristan DSC SHC3DIV C Wiring diagram

Bristan Joy ThermoSafe Series Mounting instructions

Bristan

Bristan Joy ThermoSafe Series Mounting instructions

Bristan W BASIN13 C Wiring diagram

Bristan

Bristan W BASIN13 C Wiring diagram

Bristan GLD2 BSM C Wiring diagram

Bristan

Bristan GLD2 BSM C Wiring diagram

Bristan WMNT11 C Mounting instructions

Bristan

Bristan WMNT11 C Mounting instructions

Popular Plumbing Product manuals by other brands

Kohler Cyan K-705788 installation instructions

Kohler

Kohler Cyan K-705788 installation instructions

Cooke & Lewis Burnell Agassiz 3663602901044 quick start guide

Cooke & Lewis

Cooke & Lewis Burnell Agassiz 3663602901044 quick start guide

Moen Brushed Nickel T3405BN Illustrated parts list

Moen

Moen Brushed Nickel T3405BN Illustrated parts list

Abode AW1021 manual

Abode

Abode AW1021 manual

Kalia Once upon a time... water CITE Diver KF1115 Installation instructions / warranty

Kalia

Kalia Once upon a time... water CITE Diver KF1115 Installation instructions / warranty

Franke URBAN UBG 610-56 Installation and user manual

Franke

Franke URBAN UBG 610-56 Installation and user manual

Artweger TWINLINE 1 AIR TLA113 Assembly instructions

Artweger

Artweger TWINLINE 1 AIR TLA113 Assembly instructions

aquabrass 97013 installation guide

aquabrass

aquabrass 97013 installation guide

Signature Hardware MEDFORD 946810 manual

Signature Hardware

Signature Hardware MEDFORD 946810 manual

Kohler K-T9493 installation instructions

Kohler

Kohler K-T9493 installation instructions

Everpure Exubera EV9000-84 Specifications

Everpure

Everpure Exubera EV9000-84 Specifications

Kohler MODULO 72801T-4 installation instructions

Kohler

Kohler MODULO 72801T-4 installation instructions

Ideal-Standard iLife T4875EO Manual for Use, Installation and Maintenance

Ideal-Standard

Ideal-Standard iLife T4875EO Manual for Use, Installation and Maintenance

newform DELUXE 68082C instructions

newform

newform DELUXE 68082C instructions

Moen Felicity S442 series Specifications

Moen

Moen Felicity S442 series Specifications

T&S MV-1907-01 Installation and maintenance instructions

T&S

T&S MV-1907-01 Installation and maintenance instructions

Kraus Oletto KPF-3104 installation manual

Kraus

Kraus Oletto KPF-3104 installation manual

Moen A2805 Series manual

Moen

Moen A2805 Series manual

manuals.online logo
manuals.online logoBrands
  • About & Mission
  • Contact us
  • Privacy Policy
  • Terms and Conditions

Copyright 2025 Manuals.Online. All Rights Reserved.