200694_1
2
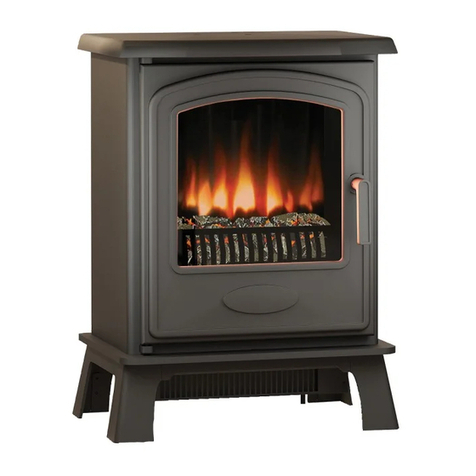
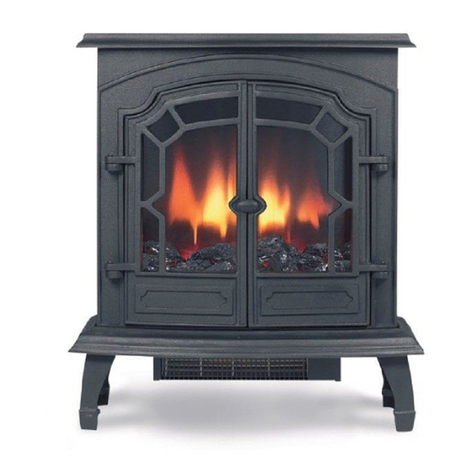
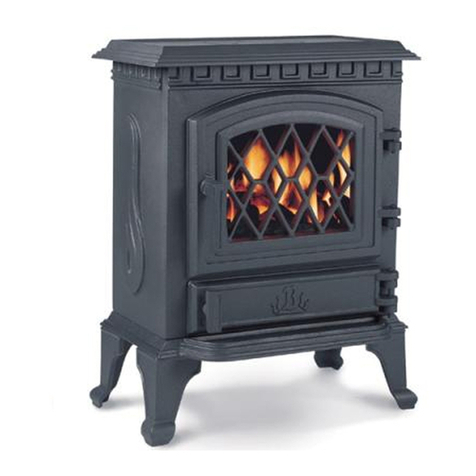
Unit is to be slotted into place. Remove the cast iron lid and lay the main stove body on its back. Attach the four legs using the bolts and
washers supplied. Tighten with a spanner. Stand stove upright.
SERRANO ONLY
LEGS/FEET
1. Remove the lid from the stove body
2. Lay the stove body down on a level surface so that it is secure
3. Remove the 4 leg bolt nuts in each corner of the base casting. 12mm spanner may be required
4. Remove the 4 legs from their packaging
5. Apply the legs, one at a time ensuring that each bolt is re-established and done up tightly
6. Turn the stove around so it is standing on its legs/feet
7. Remove the transit bar that is located at the rear of the stove body between the left and right side castings – This item is for transit
purposes only
ENGINE
8. REMOVE THE THERMOSTAT KNOB LOCATED IN THE MID FRONT OF THE ELECTRIC ENGINE
– Not doing so could result in the knob being scratched
9. Insert the engine with the fuel effect facing forward. The left and right brackets should slide down the left and right tram lines at the
rear of the side castings
10. If the engine does not fit left to right it might be that the side castings need releasing slightly. This simple task is done by using a
12mm spanner and slightly loosening the side panel fixing nuts. (Because each stove is manufactured individually by hand this step
may be needed on some occasions)
11. Lower the engine into the body slowly ensuring not to drop. Having one hand on the rear bottom of the engine and the other on the
front top above the flame effect will ensure full control of the engine.
12. Once the engine is lowered fully and locates onto the bottom casting it is in position
13. Open the door and return the thermostat knob to the front of the engine
14. Remove the Perspex from the door and take off protective film
15. Refit Perspex
16. Insert electric cable into engine and plug into wall
POSITIONING YOUR STOVE
This appliance should be positioned on a firm level surface. If the customer is positioning the stove in a fire surround, the customer
should establish the suitability of the surround for use with an electric stove.
Before installing the Flame Effect / Heater Unit, please ensure that your hands are clean so that no grease or dirt is
transferred to the flame effect screen.
Fit the plug & lead assembly into the socket towards the fire base and pass the plug and lead through the large rectangular cut out in
the base plate of the stove body. Slide the flame effect unit into the stove body, via the top of the stove body. The outside edges of the
flame effect unit slide into the vertical channels to the rear of each side plate.
Slide the unit down from above until the top of the back is level with the top of the side plates. The fan heater part extends through the
rectangular hole in the base plate of the stove.
DO NOT FORCE THE FLAME EFFECT AND HEATER UNIT INTO POSITION. Take care not to shear the thermostat control knob off
on the cast lip of the stove, as you slide the flame effect unit into position.
Ensure that the electrical lead and plug are not trapped between the flame effect unit and the base plate of the stove. Place the stove
in the position where you wish to use it. Take note of the section POSITIONING YOUR STOVE. When you are happy with the position
of the stove, place the stove lid onto the top of the stove body ensuring that it fits snugly into place. YOUR STOVE IS NOW READY
TO PLUG IN AND USE
Preparation for use
•Check that the supply voltage details on your fuel effect fire are in accordance with your electricity supply. Your fire is fitted with a
plug incorporating a 13amp fuse. In the event of replacing the fuse in the plug supplied, a 13amp fuse approved by ASTA to BS
1362 must be used.
•Before switching on, please read the following operation instructions:
Coals/Pebbles:
This fire is supplied with a one piece fuel bed
Thermostat:
The thermostat is mounted behind the ash pan door of the unit and can be used to control the heat output to maintain a constant room
temperature to suit user requirements. This will ensure that excessive heat is not produced unnecessarily.
To set the temperature:
The knob is marked with numbers to indicate the maximum and minimum temperature positions. Start with setting 9 and when the room
has reached a desired level turn the knob slowly to left until the thermostat ‘clicks off’. The thermostat will then maintain the room at the
selected level. To increase the temperature, turn knob back to right to a higher setting.
Note: - It is possible that if the room temperature is higher than the thermostat setting it will not come into operation and the
heater will remain off until the temperature of the room cools.


