Poor
cleaning
Replace the evaporation filter disc after three months at the latest.
Always follow the time intervals for cleaning, filter change and water change described in chapter "4. Cleaning and
maintenance" on page 17.
If the room air and water are heavily contaminated, shorten the time intervals accordingly.
Overhumidification
In living rooms, do not exceed the recommended value of 50 - 60 % humidity.
To prevent damage to health, persons with asthma, respiratory diseases or lung problems should consult a doctor
before using the humidifier.
Do not place the appliance near furnishings that absorb water, such as curtains, wallpaper and carpets.
Batteries (only for radio units/ not included in the scope of delivery)
Never attempt to charge batteries.
Never short-circuit the contacts (positive and negative pole) of the battery.
Never expose batteries to wetness or moisture (rain, salt water, liquids). A damp or wet battery
must never be used.
Never use or store batteries in places where there is an explosive atmosphere or
where high temperatures may occur.
Never attempt to solder, repair, alter the shape, rebuild or disassemble batteries.
Always protect batteries from access by unauthorised persons.
To avoid fire, overheating, explosion or liquid leakage, never
subject
batteries
to
violent
shocks,heavyloadsorotherharmful
effects. Leaking liquid may ignite.
After eye contact with spilled liquid, rinse the eye immediately with clean water for at least 15 minutes, also under the
eyelid. Direct a mild stream of water directly into the eye and do not rub. Seek medical attention immediately.
Avoid skin contact with spilled liquid. In case of accidental skin contact, wash affected skin area with plenty of soap and
water.
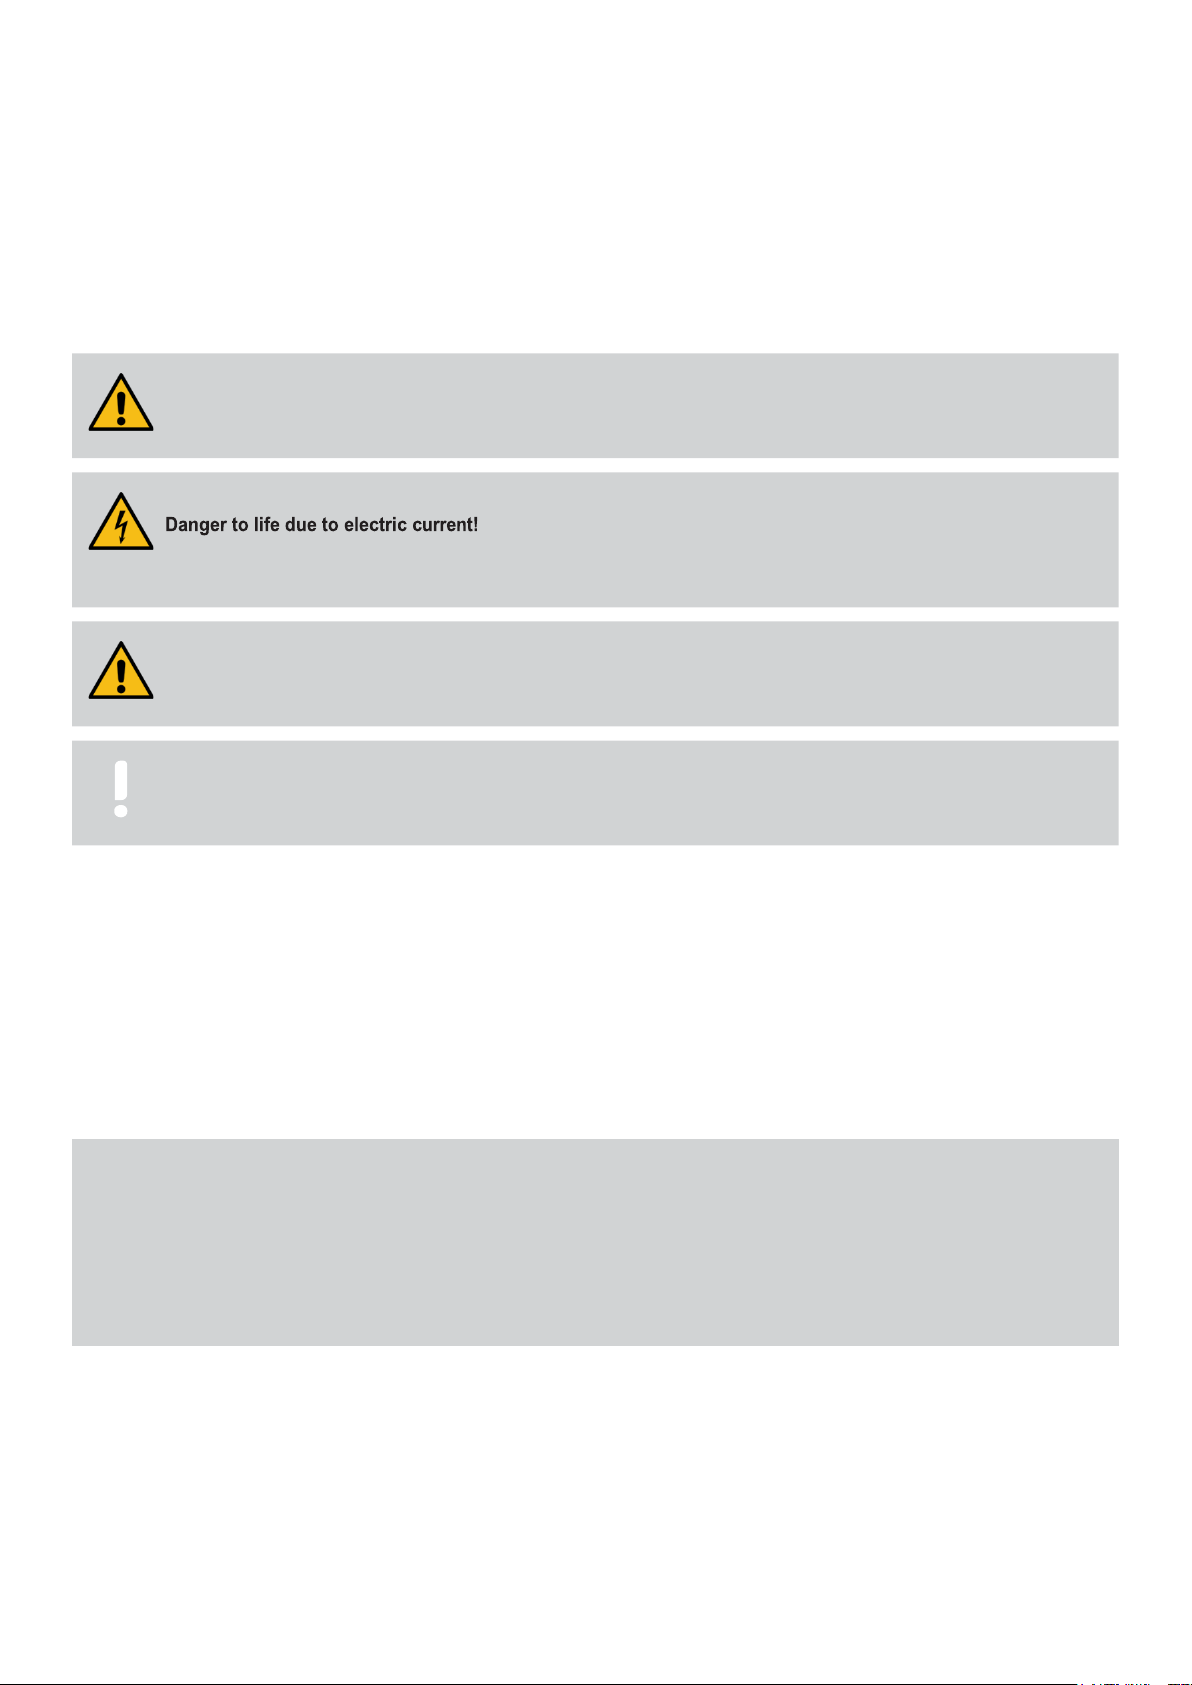
WARNING!
WARNING!
Over-humidified air promotes the formation of mould and harmful germs.
WARNING!
If batteries are handled incorrectly, there is a risk that the batteries will explode or that
cause skin severe poisoning if swallowed
and blindness if it comes into contact with the eyes.