manuals.online logo
Brands
  1. Home
  2. •
  3. Brands
  4. •
  5. Burtonsafes
  6. •
  7. Lock
  8. •
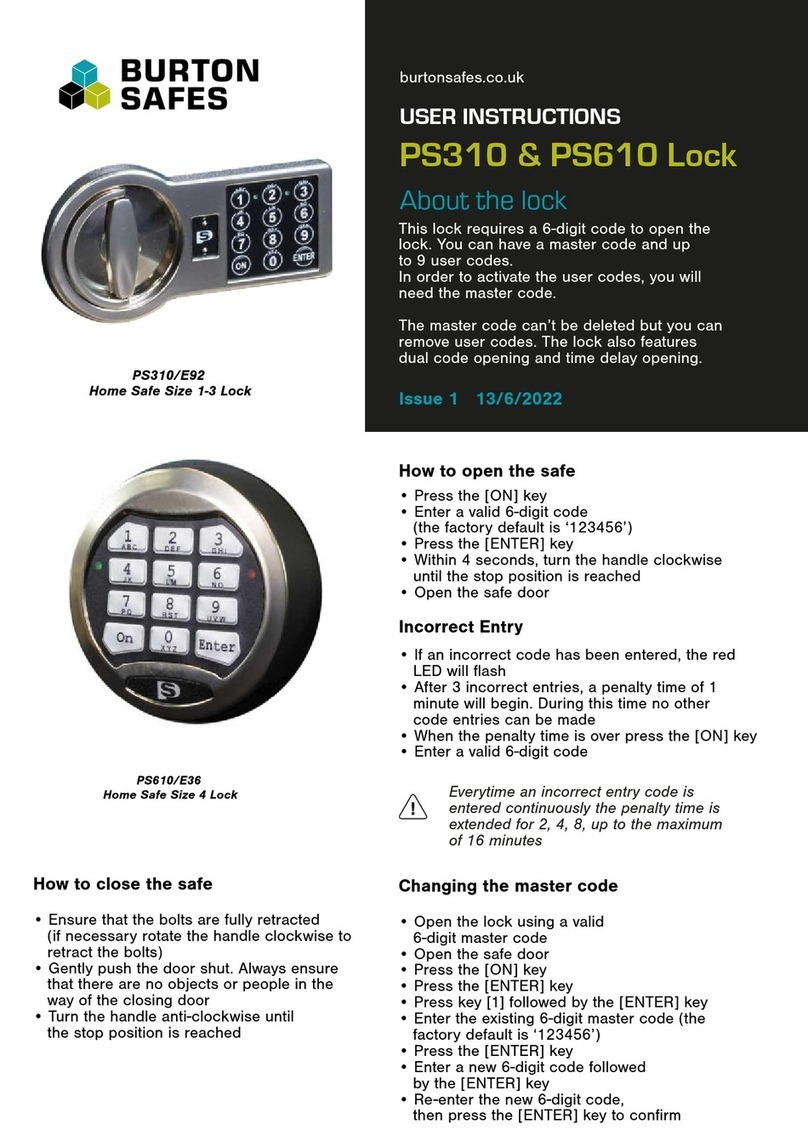
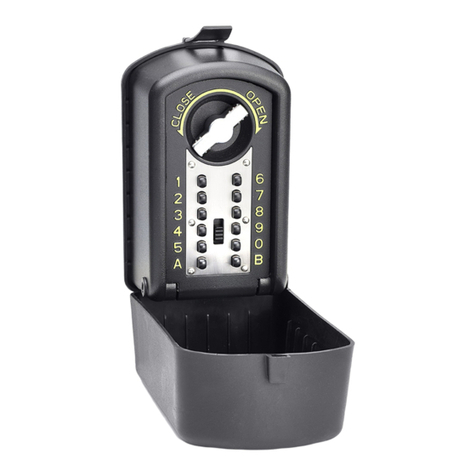
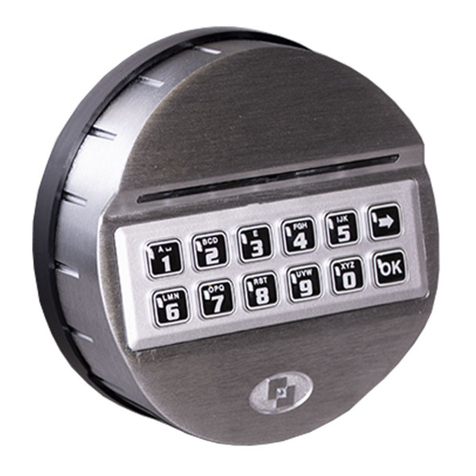
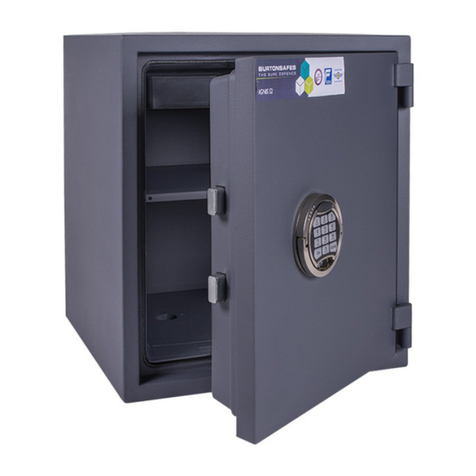
  9. Burtonsafes Burton Duo FPC-1808-II VdS User manual

Burtonsafes Burton Duo FPC-1808-II VdS User manual

All our safes come with a 2 year
warranty as standard. Consumers can
Register on-line to increase the warranty
to 5 years where products show the 5
Year Consumer Warranty badge.
Security Safes displaying the Home
series Safe For Longer free replacement
badge benefit from the 5 year warranty
and a free replacement in the event of
burglary.
*Ts & Cs apply, visit our website
for full details
Please register online to qualify for the
additional warranty at
5 Year
Extended
Warranty
www.burtonsafes.co.uk | +44 (0) 1484 663388 | enquiries@burtonsafes.co.uk
Brockholes Business Park, Rock Mill Road, Holmfirth, HD9 7BN
•Always carry out programming when the lock
is open and safe door is open.
•Before closing the safe door, make sure that
all the programming is correct.
•Check a new code at least 3 times before
closing and locking the door to ensure that
the code has been changed correctly.
•The system does not allow the master code,
the manager code, and the user code to be
set at six zeros (0-0-0-0-0-0) or six nines
(9-9-9-9-9-9).
•To save battery power, the system switches
to standby mode if no button is pressed
within 10 seconds. Standby mode is
indicated by two short beeps. Input process
es that have not yet been completed must be
repeated completely.
•Do not allow your personal code to be spied
on. When entering the code, always cover the
keypad as well as possible so that no one
can see which numeric key you are pressing.
Important
Rated voltage: DC 9V
Working temperature: -25°~ 60°
Humidity during use: <90%.
Code length: 6 digits
Safe locks certified in accordance with
EN1300 are not permitted to be opened
by fingerprints only (without additional
code entry).
Only suitable for indoor use
Specifications
burtonsafes.co.uk
ScanLogic Basic
FPC-1808-II (VdS)
To be used with locks
EL-0601, EL-0701, EL-0901
www.burtonsafes.co.uk
B퀁t쀃Duo
Fingerprint Lock
OPERATING
INSTRUCTIONS
Enter default factory Manager-Code
1-2-3-4-5-6
Open the lock
For safety reasons, we have programmed the
lock with its own unique reset code and
provide a support service for the length of
your warranty.
The unique reset code guarantee provides
secure storage and support should you need
to reset your lock in the future.
For further information regarding your lock or
for support please contact us at
1)
1)
2)
1)
2)
1)
2)
3)
4)
5)
6)
1)
2)
1)
2)
1)
2)
1)
2)
3)
4)
1)
2)
3)
4)
Enter 0-0-0-0-0-0
Enter existing code, 1 beep
Enter new 6-digit code, 1 beep
Repetition of the new 6-digit code, 2 beeps
The Reset-Code cannot open the lock.
1 long beep means that the code is not
allowed, or the identical code was not
entered for repetition. Repeat steps 5 to 8.
For security reasons, we recommend
changing the Manager-Code immediately
after the lock is put into operation.
The default Manager-Code 1-2-3-4-5-6 must
be changed before other users
can be added.
Forgotten Code Guarantee
Change code
Open with Manager-Code/fingerprint
Press and hold "3", 2 beeps
All User-Codes have been deleted.
The Manager-Code/fingerprints do not change.
(deletes the User-Codes, all fingerprints and
resets the Manager Code to the default factory
setting)
Refer to section B.
Contact our office for support.
1) Open with Manager or user code/fingerprint
2) Press and hold "4", 1 beep
Delete all users
Reset lock
Switch off beeper
Open with Manager or user code/fingerprint
Press and hold "4", 2 beeps
Security level 1 = Code only (default factory setting)
Security level 2 = Fingerprint and code
Open with Manager or user code and fingerprint
Press and hold "5", 1 beep, followed by 1 beeps
Open with Manager or user code
Press and hold "5", 1 beep, followed by 2 beeps.
Change to security level 2 (fingerprint and code)
Change to security level 1 (code only)
enquiries@burtonsafes.co.uk.
Switch on beeper
Security levels
C
A
B
G
H
I
J
K
Entering four (4) consecutive invalid codes
will result in a penalty period of 5 minutes)
The unit beeps at 5-second intervals to indicate
that it is in penalty time.
While the system is in penalty time, the buttons
do not respond.
The penalty time is only interrupted by removing
the battery, not shortened, or deleted. After
reinserting the battery, the penalty time will
continue until the 5 minutes have elapsed.
End of locking/penalty time - 1 long and 2 short
beeps
Two (2) consecutive incorrect entries result in a
further penalty period of 5 minutes.
A correct code entry interrupts the penalty
sequence. Entering four (4) consecutive invalid
codes will result in a penalty period of 5
minutes.
Penalty time after four invalid code entries
L
D
E
Open with Manager-Code/fingerprint
Press and hold "+", 1 beep
Place a fingerprint 4 times onto the fingerprint
reader, remove your finger after
each single (1) beep
After reading your finger 4 times you will
hear 2 beeps to confirm the addition of the
fingerprint
The Manager-Code can add up to 5
fingerprints
Open with Manager-Code/fingerprint
Press and hold "1", 1 beep
Enter new 6-digit code, 1 beep
Repetition of the new 6-digit code, 2 beeps
Adding the manager’s
fingerprints
Add User-Code (up to two
User-Codes can be added)
Change Battery
There is a pull-out compartment for a 9V
battery on the bottom of the input unit.
To replace the battery, pull out the battery
compartment first.
Open the battery compartment latch.
See Fig. 1.
See Fig. 2.
See Fig. 3.
See Fig. 4.
Pull out the battery compartment.
Remove the battery and replace it
with a new one.
Make sure that you place the new battery in
correctly. The positive (+) and the negative (-)
contact must be in the correct position.
Reinsert the battery compartment into the
input unit and slide it up until the cover
rests against the input unit. Press the
battery compartment latch until it is firmly
and securely in place.
Low Voltage
Indicator
After opening, the input unit may indicate
that the battery voltage is too low by
flashing and beeping several times.
The battery is very low, nearly empty and
must be replaced with a new one
immediately
We recommend using Energizer™ or
Duracell™ 9V ALKALINE batteries.
1
2
3
4
Fig. 1
Fig. 2
Fig. 3
Fig. 4
*
*
1)
2)
Opening with own User-Code/fingerprint
Press and hold "+", 1 beep
Add Fingerprints
F
3)
4)
Place a fingerprint 4 times onto the fingerprint
reader, remove your finger after
each single (1) beep
2 beeps confirm the addition of the fingerprint
Each User-Code can add up to 5 fingerprints.
*
**
*
*
**
***
1)
2)
3)
4)

Other Burtonsafes Lock manuals

Burtonsafes BURTON PULSE User manual

Burtonsafes

Burtonsafes BURTON PULSE User manual

Burtonsafes KEYGUARD XL DIGITAL User manual

Burtonsafes

Burtonsafes KEYGUARD XL DIGITAL User manual

Burtonsafes BURTON DUO DEAD - BOLT User manual

Burtonsafes

Burtonsafes BURTON DUO DEAD - BOLT User manual

Burtonsafes Keyguard Combi User manual

Burtonsafes

Burtonsafes Keyguard Combi User manual

Burtonsafes KEYGUARD XL DIGITAL User manual

Burtonsafes

Burtonsafes KEYGUARD XL DIGITAL User manual

Burtonsafes KeyGuard digital xl User manual

Burtonsafes

Burtonsafes KeyGuard digital xl User manual

Burtonsafes KEYGUARD KEY SAFE 74 User manual

Burtonsafes

Burtonsafes KEYGUARD KEY SAFE 74 User manual

Burtonsafes KS User manual

Burtonsafes

Burtonsafes KS User manual

Burtonsafes IGNIS User manual

Burtonsafes

Burtonsafes IGNIS User manual

Burtonsafes FIREBRAND User manual

Burtonsafes

Burtonsafes FIREBRAND User manual

Burtonsafes PS310 User manual

Burtonsafes

Burtonsafes PS310 User manual

Burtonsafes Keyguard XL Digital User manual

Burtonsafes

Burtonsafes Keyguard XL Digital User manual

Burtonsafes PS610 User manual

Burtonsafes

Burtonsafes PS610 User manual

Burtonsafes TORINO User manual

Burtonsafes

Burtonsafes TORINO User manual

Burtonsafes Keyguard XL Digital User manual

Burtonsafes

Burtonsafes Keyguard XL Digital User manual

Popular Lock manuals by other brands

LaGard SMARTLINC Setup instructions

LaGard

LaGard SMARTLINC Setup instructions

wink haus blueCompact operating manual

wink haus

wink haus blueCompact operating manual

Simons Voss Padlock AX manual

Simons Voss

Simons Voss Padlock AX manual

RCO NoKey Force Series Installing and operating

RCO

RCO NoKey Force Series Installing and operating

LaGard SmartPoint operating instructions

LaGard

LaGard SmartPoint operating instructions

AIRTEQ 9500D Series quick start guide

AIRTEQ

AIRTEQ 9500D Series quick start guide

Schlage VandalGuard instructions

Schlage

Schlage VandalGuard instructions

SCI 707540/002 instructions

SCI

SCI 707540/002 instructions

Ezviz DL01S manual

Ezviz

Ezviz DL01S manual

LockState Wi-Fi user manual

LockState

LockState Wi-Fi user manual

Assa Abloy Corbin Russwin IN100 Series installation instructions

Assa Abloy

Assa Abloy Corbin Russwin IN100 Series installation instructions

Viro WALL KEY COMBINATION BOX Installation and use manual

Viro

Viro WALL KEY COMBINATION BOX Installation and use manual

Safeguard Supply LRA-DCTX user manual

Safeguard Supply

Safeguard Supply LRA-DCTX user manual

Lock4Safe TouchManager Technical manual

Lock4Safe

Lock4Safe TouchManager Technical manual

MyKey 2300 installation instructions

MyKey

MyKey 2300 installation instructions

Assa Abloy Corbin Russwin FE6600 Series installation instructions

Assa Abloy

Assa Abloy Corbin Russwin FE6600 Series installation instructions

ZKTeco Padlock user manual

ZKTeco

ZKTeco Padlock user manual

EEZ Y157 instructions

EEZ

EEZ Y157 instructions

manuals.online logo
manuals.online logoBrands
  • About & Mission
  • Contact us
  • Privacy Policy
  • Terms and Conditions

Copyright 2025 Manuals.Online. All Rights Reserved.