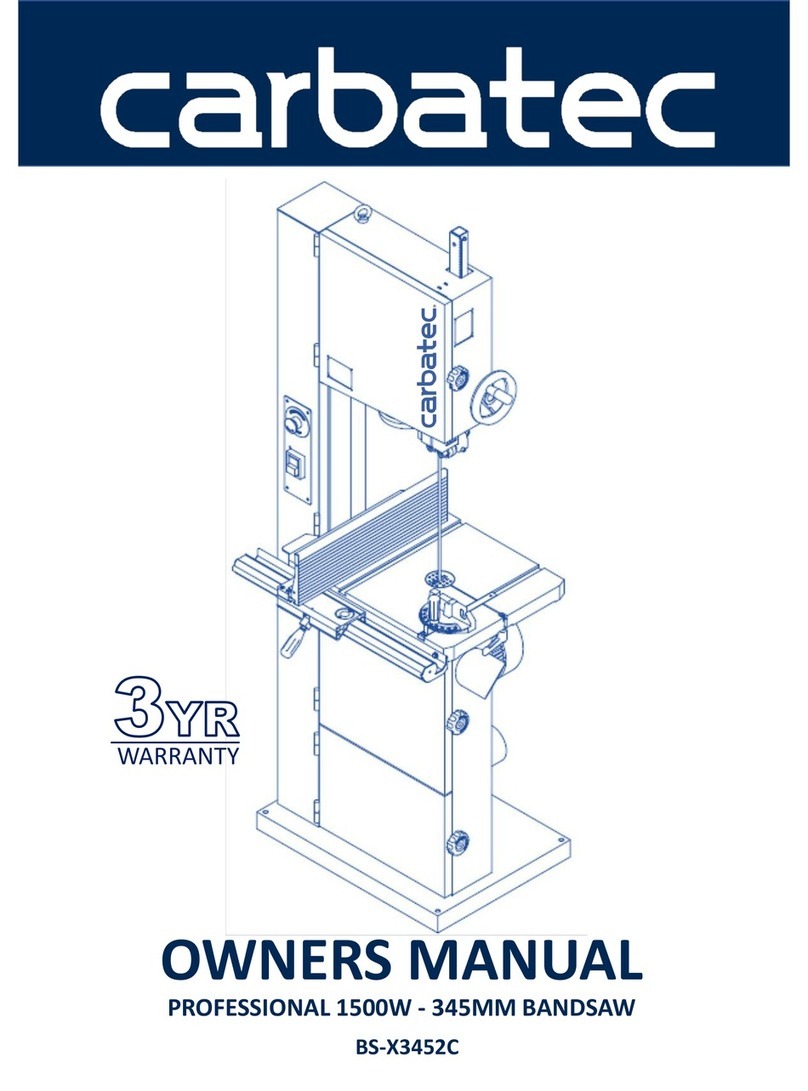
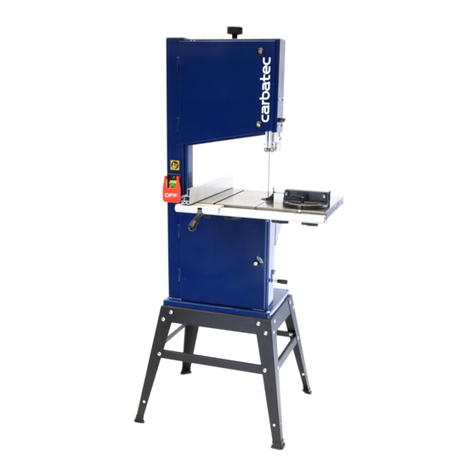
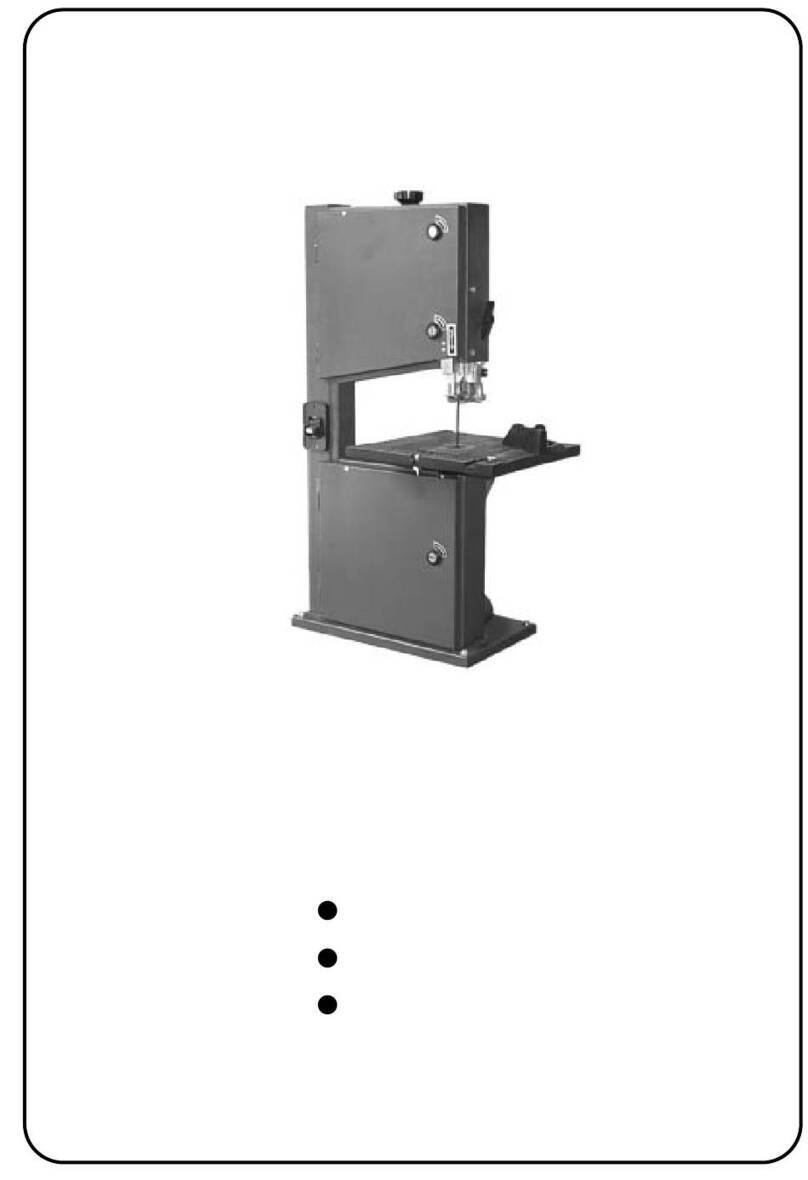
Carbatec BS-345C User manual

OWNERS MANUAL
345MM (14”) HEAVY DUTY BANDSAW
BS-345C
WARRANTY
WARRANTY
WARRANTY

2. WARNINGS
−
Misuse of this machine can cause serious injury.
−For safety, machine must be set up, us
e
p
r
op
e
r
l
y
.
−Read,
understand and follow instructions in the operator and
parts manual which was shipped with your machine.
When setting up machine:
−Always avoid using machine is damp
o
a
r
ea
s
.
−Always be sure machine is securely
anchor
−Always keep machine guards in
p
l
a
c
e
.
−Always put start switch in
"
OFF
"
posi
tio
m
a
c
h
i
n
e
.
When using machine:
−Never
operate
with machine guards
m
−Always wear safety glasses with side
s
−Never wear loose clothing or
j
e
w
e
l
r
y
.
−Never overreach - you may slip and
fal
MAHINERY GENERA L SAFETY WARNINGS
1. Always wear protective eye wear when
Eye wear shall beimpact
r
e
sis
t
a
n
t
, pro
te
with side shields. Not using
e
y
e
wear w
hich
severe injury
f
r
o
m
breakage of eye
p
r
o
t
e
2. Wea r pr oper apparel. No loose clothing
o
get caught in moving parts.
Rubber
s
o
l
recommended
for best
f
oo
t
i
n
g
.
3. Do not overreach. Failure to maintain
pr
can cause you to fall into the machine
o
r
get caught - pulling you into
t
h
e
m
a
c
h
i
n
4. Keep guards in place and in proper
workin
operate
the machine with guards
r
e
m
o
5. Avoid
dangerous
working
environmen
t
stationary machine tools in wet or damp
areas clean and well lit. Special
e
l
e
c
t
r
i
c
working on flammable materials.
6. Avoid accidental starts by being sure t
h
"
OFF
"
before plugging in the
machine
.
7.
Never leave the machine running while
un
Machine shall be shut off whenever it is
no
8.
Disconnect electrical power before servicing. Whenever changing
accessories or general maintenance
is done on the machine,
electrical power to the machine must be disconnected before work
is done.
2
Misuse of this machine can cause serious injury.
e
d
a
nd
serviced
understand and follow instructions in the operator and
parts manual which was shipped with your machine.
o
r
poo
r
l
y
lighted work
anchor
ed
to
t
h
e
fl
oo
r
.
.
tio
n
b
e
f
o
r
e
plugging in
m
issi
n
g
.
s
h
i
e
l
d
s.
.
fal
l into
t
h
e
m
a
c
h
i
n
e
.
−
Never leave machine r
unn
−Always shut off the ma
ch
When servicing machine:
−Always unplug machine
s
e
r
v
ici
n
g
.
−Always follow instruct
ion
when changing accesso
r
Yo u - t h e s t a t i o n ar y p o w e r
too
Read and follow these
full benefits from your ma
chin
among the best in design and
used improperly can be
rende
r
absolutely
m
a
nd
a
t
o
r
y
that th
o
properly trained in how to use
understand
the
O
p
e
r
a
t
o
r
s
an
d
affixed to the
m
a
c
h
i
n
e
. Failur
e
can cause
s
e
r
i
ou
s i
n
j
u
r
i
e
s
MAHINERY GENERA L SAFETY WARNINGS
op
e
r
a
t
i
n
g
machinery.
te
ctive safety glasses
hich
could result in
e
c
t
i
on
.
o
r
j
e
w
e
l
r
y
which can
e
d
footwear is
pr
oper
w
o
r
k
i
n
g
position
r
cause your clothing to
n
e
.
workin
g order.
D
o
not
o
v
e
d
.
t
s.
Do not
u
s
e
l
o
c
a
t
i
on
s
. Keep work
c
s should be used when
h
e start
s
w
i
t
c
h
is
.
un
a
tt
e
nd
e
d
.
no
t
i
n op
e
r
a
t
i
on.
Disconnect electrical power before servicing. Whenever changing
is done on the machine,
electrical power to the machine must be disconnected before work
9. Maintain all machine to
ol
maintenance
instruction
s
of accessories. No
atte
mp
have makeshift repairs
don
voids the warranty but
a
ls
10. Machinery must be
a
nchor
11. Secure work. Use clamp
s
practical. It is safer than
hands to
operate
the
m
a
c
12. Never brush away chips
wh
13. Keep work area clean.
Cluttered area invite
14. Remove adjusting keys a
n
machine
on
.
15. Use the right tool. Don't
job it was not designed
f
o
16. Use only
recommended accessories
manufacturer’s
instruc
tio
17. Keep hands in sight and
c
cutting surfaces.
18. All visitors should be ke
p
area. Make workshop co
mpl
master switches, or by re
m
19.
Know the tool you are using
and potential hazard.
unn
ing while
y
ou
are away from
i
t
.
ch
ine when not in use.
from electrical power
w
h
il
e
ion
s in
operators
and parts
m
a
nu
a
l
r
y tools or
p
a
r
t
s
.
too
l user - hold the key to
s
a
f
e
t
y.
simple rules for best results
a
nd
chin
e. Use properly, this
machine is
safety.
H
o
w
e
v
e
r
, any machine
r
ed
i
n
e
ffici
e
n
t
and unsafe. It is
o
se who
u
s
e
our products be
t
h
e
m
correctly. Should read and
d
Parts Manual as well as all labels
e
infollowingofthese warnings
ol
s with care. Follow
a
ll
s
for lubricating and
t
h
e
changing
mp
t
shall be made
t
o
modify or
don
e to
t
h
e
machine. This not only
ls
o
renders the machine
un
s
a
f
e
.
nchor
ed
to the
fl
oo
r
.
s
or a viseto hold work,
w
h
e
n
using your hands and it
f
r
ee
s
both
c
h
i
n
e
.
wh
ile the machine is
i
n
op
e
r
a
t
i
on.
Cluttered area invite
accidents.
n
d wrenches before
t
u
r
n
i
n
g
force a tool or
attachment
t
o
do a
o
r
.
recommended accessories
and
f
o
ll
o
w
tio
ns
pertaining
to
t
h
e
m
.
c
lear of all moving parts
a
nd
p
t at a safe distance from
t
h
e
work
mpl
etely safe by
u
si
n
g
padlocks,
m
oving
s
t
a
r
t
e
r
k
e
y
s
.
Know the tool you are using
– its application limitations,

3
GENERAL ELECTRICAL CAUTIONS
This saw should be grounded in accordance with the National
Electrical Code and local codes and ordinances. This work should
be done by a qualified electrician. The saw should be grounded to
protect the user from electrical shock.
Caution:
For circuits which are far away from the electrical
service box, the wire size must be increased in order to deliver
ample voltage to the motor. To minimize power losses and to
prevent motor overheating and burnout, the use of wire sizes
for branch circuits or electrical extension cords according to the
following table is recommended.
3. SAFETY INSTRUCTION FOR MACHINERY
1. Always wear leather gloves when handling saw
b
l
a
d
e
. The
operator
shall not wear gloves when
op
e
r
a
t
i
n
g
the
m
a
c
h
i
n
e
.
2. All doors shall be closed, all panels replaced,
a
nd
other
safety guards in place prior to the
m
a
c
h
i
n
e
being started
or
op
e
r
a
t
e
d
.
3. Be sure that the blades are not contact with
t
h
e
workpiece
when the motor is started. The motor
s
h
a
ll
be started and
you should allow the saw to come up
t
o
full speed before
bringing the saw blade into
c
on
t
a
c
t
with the workpiece.
4. Keep hands away from the blade area. See Figure A.
5. Remove any cut off piece carefully while keeping
y
ou
r
hands free of the blade
a
r
ea
.
6. Saw must be stopped and electrical supply must be cut off
before any blade replacement or adjustment of blade
support mechanism is done, or before any attempt is made
to change the drive belts or before any periodic service or
maintenance is performed on the saw.
7. Remove loose performed on the unnecessary workpieces
from area before staring machine.
8. Bring adjustable saw guides and guards as close as possible
to the workpiece.
9. Always wear protective eye wear when
op
e
r
a
t
i
n
g
,
servicing, or adjusting machinery. Eyewear shall
b
e
impact resistant, protective safety glasses with
si
d
e
shields. Not using eye wear which could result in
severe injury
f
r
o
m
breakage of eye
protection.
See
Figure B.
10. Nonslip footwear and safety shoes are
r
e
c
o
mm
e
nd
e
d
.
See Figure C.
11. Wea r e ar
protectors
(plugs or muffs) during
e
x
t
e
nd
e
d
periods of
operation.
See Figure
D.
12. Wear mask to operate machine.
See Figure E.
13. Do not smoke during operating machine.
See Figure F.
14. The workpiece, or part being sawed, must be
s
e
c
u
r
e
l
y
clamped before the saw blade enters the
w
o
r
k
p
i
e
c
e
.
15. Remove cut off pieces carefully, keeping hands away
from saw
b
l
a
d
e
.
16. Saw must be stopped and electrical supply cut off
o
r
machine unplugged before reaching into cutting
a
r
ea
.
17. Avoid contact with coolant, especially guarding
y
ou
r
e
y
e
s
.

ASSEMBLY
• When you receive your new bandsaw, the stand will
not be assembled. Use the carriage bolts and nuts (M8
x 16), Flat washes (M6 x 13) and hex head bolts (M6 x
16). Make sure after assembly the stand is sitting
square and flat on the floor.
•Lift the saw body onto the base, as it is heavy, you
will need the help of a second person.
• Fix into place with remaining nuts and bolts.
• To mount table, you will need to remove the table pin
and the insert. Slide the blade through the blade slot
and turn the table around so the mitre slot is posi-
tioned to the outside of the machine.
• Fit the trunnions onto the support bracket and screw
the lock knobs onto the 2 two Hex head bolts that run
through the bracket. Fig.3 A and B.
RIP FENCE
(Fig.5)
• Bolt the fixed
rail of the fence
(The one with
the scale), to
the front of the
cast table using
2 hex head
bolts (M6 x 20)
and 2 M6
spring washers.
• The square tube that the end of the fence runs on is
bolted to the back of the cast iron table.
• Set the fence assembly onto the fixed rail, slide on
its guides to ensure smooth movement.
• To lock in position push down locking handle.
TILTING THE TABLE
M
MA
AK
KE
ES
SU
UR
RE
ET
TH
HE
EM
MA
AC
CH
HI
IN
NE
EI
IS
SN
NO
OT
TC
CO
ON
NN
NE
EC
CT
TE
ED
DT
TO
O
i
it
ts
sP
PO
OW
WE
ER
RS
SO
OU
UR
RC
CE
E.
.
Table will tilt up to 45 degrees to the right and 10
degrees to the left.
• Loosen the 2 lock knobs Fig. 3 A and B tilt table to
desired angle and retighten knobs.
• Please note that to tilt table to the left you will need
to remove hex head bolt. Fig 4. A
ADJUSTING THE TABLE STOP TO 90 DEGREES
• Loosen the 2 lock knobs
Fig 3 A and B. Tilt table until
it hits the table stop bolt. Fig.
4 . Hold a square against the
blade to check if it is square
to the table Fig. 1, if it isn’t,
loosen the lock knobs and
raise or lower the stop bolt
until the table is square to
the blade. Don’t forget to re-
tighten the lock knobs.
• You may need to reset the
pointer to zero. Fig.2
CHANGING THE BLADES
• Disconnect machine from
power source.
• Remove the table pin and
insert.
A
Fig. 3 A & B
Fig. 4 A
Fig. 1
Fig. 2
A
B

• Open the wheel covers top and bottom, by turning
side knobs Fig.6 A.
• Loosen the lever on the rear of bandsaw by pushing
it up. Fig 7. A This will release the blade tension.
• Remove blade from wheels and direct it through the
side slot in the table. Remember a blade is still a sharp
object and can be dangerous when handling.
• Feed new blade through table slot and put into posi-
tion into upper and lower ball bearing system and over
the wheels. Teeth should be facing front and angling
down.
• Re-tension the blade by pushing lever Fig 7 A down.
• Replace the table pin and insert.
BLADE TENSION
• If the blade tension is not correct you will need to
adjust the blade tension hand wheel. Fig.8 A. There is
an indicator that gives you the correct tension for the
width of the blade. Fig. 7B.
UPPER BLADE GUIDE SETTING
• The bearings for the upper and lower guide assembly
should be .5mm from the sides of the blade. There is
also a micro adjustment at the rear of the guides to
move them forward or back. Fig. 9 A. Make sure the
guide bearings are set back from the blade teeth.
• Do not have the blade traveling on the rear roller it
needs to sit forward and only touch it when the band-
saw is in use. If the blade is in constant contact with
the roller it may overheat. Adjustment is made via
micro adjusting knob. Fig. 9B.
Fig. 6
Fig. 7
Fig. 8
Fig. 9
A
A
A
B
A
B

DUST COLLECTION
This bandsaw is equipped with a 4” dust port Fig.10
Carba-Tec strongly recommends this machine should
be used with an appropriate dust extractor.
BLADE GUIDE HEIGHT
The upper blade guide should have as little clearance
as possible from the material. It is adjusted by loosen-
ing the locking knob Fig.11A and raising or lowering the
guide via the rack and pinion knob Fig. 11B to the cor-
rect height. Don’t forget to re-tighten the locking knob
when you have your setting.
Fig. 10
Fig. 11
BA


Carbatec Pty Ltd ABN 84 010 706 242
128 Ingleston Road, Wakerley, Queensland, Australia 4154
3 years from the invoice date (less specifically noted invoice exclusions).

Carbatec Pty Ltd
ABN 84 010 706 242
Phone: 1800 658 111
128 Ingleston Road,
Wakerley
Queensland Australia
4154
www.carbatec.com.au
Other manuals for BS-345C
1
Table of contents
Other Carbatec Saw manuals

Carbatec
Carbatec BS-345H User manual

Carbatec
Carbatec SS-400C User manual

Carbatec
Carbatec BS-345C User manual

Carbatec
Carbatec BS-B200H User manual

Carbatec
Carbatec BS-245H User manual

Carbatec
Carbatec BAS-250C User manual

Carbatec
Carbatec TS-C250H User manual

Carbatec
Carbatec SS-400C User manual

Carbatec
Carbatec SS-400C User manual

Carbatec
Carbatec BS-X3452C User manual