manuals.online logo
Brands
  1. Home
  2. •
  3. Brands
  4. •
  5. CARTER-HOFFMANN
  6. •
  7. Commercial Food Equipment
  8. •
  9. CARTER-HOFFMANN PUCH-13 User manual

CARTER-HOFFMANN PUCH-13 User manual

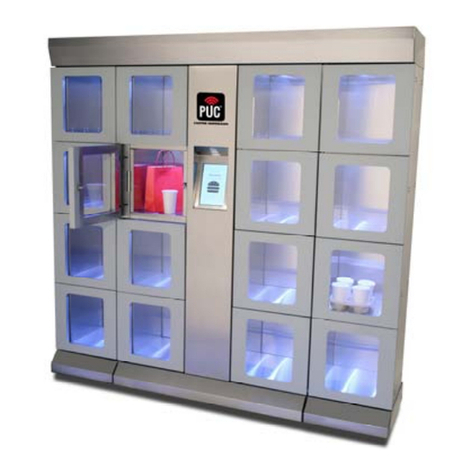
PUC HEATED PICK-UP CABINET
PUCH-13 & PUCH-16
OWNER / OPERATOR’S MANUAL
Part Number: 18400-32514 Printed in the United States of America 020223KBA
MANUFACTURED BY:
CARTER-HOFFMANN
1551 McCormick Avenue
Mundelein, IL 60060 U.S.A.
Phone: 847-362-5500
Fax: 847-367-8981
Toll Free: 800-323-9793
Email: [email protected]
GENERAL INFORMATION
 This appliance is intended for use in commercial establish-
ments, where all operators are familiar with the appliance
use, limitations and associated hazards.
 Operating instructions and warnings must be read and un-
derstood by all operators and users.
 Cleanliness of this appliance is essential to good sanitation.
Read and follow all included cleaning instructions and
schedules to ensure the safety of the food product.
 All included instructions, component views and parts lists are
included for general reference, and are intended for use by
qualified service personnel.
 Knowledge of proper installation, operation and maintenance
procedures is essential to ensure the safe operation of this
cabinet. SERVICE / SAFETY
 Always have dry hands prior to using the piece of equip-
ment.
 Turn OFF the unit anytime the cabinet is not in use.
 If an electrical shock is felt when touching the cabinet, dis-
connect the power immediately and call Carter-Hoffmann
Technical Service for assistance.
 If the power cord is frayed or the plug damaged, DO NOT
plug into the electrical power receptacle. If it is already
plugged in, turn off the main circuit breaker, usually located
in the building’s breaker box, then disconnect the plug.
 Disconnect the power cord before attempting any repairs to
the cabinet.
 Repairs to this unit must be by qualified personnel.
 DO NOT SPRAY WITH WATER OR CLEANING SOLU-
TIONS, or submerge the appliance. Components and wiring
present a high shock hazard when wet.
Read entire manual before operating
this cabinet.
CAUTION: EQUIPMENT ELECTRICAL DAMAGE
Do not plug in or use this appliance until all Installa-
tion Instructions are read and followed.
This manual is considered to be a permanent part of this ap-
pliance and must remain with the appliance if it is sold or
moved to another location
ORIGINAL INSTRUCTIONS
PUCH-13
TABLE OF CONTENTS
SAFETYPRECAUTIONS 2
SPECIFICATIONS 3
UNPACKINGANDINSTALLATION 4-5
NETWORKCONNECTION 6
STARTUPANDMANUALOPERATION 7-10
PROGRAMMINGTHETEMPERATURE 11-12
CLEANING 13
SERVICE AND SHIPPING DAMAGE PROCEDURE 14
WARRANTY 15
International Units Only: When servicing units, any
sealed seams damaged or cut while servicing the
unit must be resealed after repairs are complete.
SAFETY PRECAUTIONS
NOTE:
The technical content of this manual, including any wiring diagrams, schematics, parts breakdown illustrations and/or adjustment
procedures, is intended for use by qualified technical personnel and is subject to change without notice.
IMPORTANT SAFETY INSTRUCTIONS
When using electrical appliances basic safety precautions should be adhered to, including the following:
1) Be familiar with the appliance use, limitations and associated restrictions. Operating instructions must be read and understood
by all persons using or installing this appliance.
2) This appliance must be grounded. Connect only to properly grounded outlet.
3) Use this appliance only for its intended use as described in this manual.
a. This equipment is specifically designed to hold pre-cooked food at temperature.
b.
c. This equipment is not designed for industrial or laboratory use.
4) Cleanliness of this appliance and accessories is essential to good sanitation.
5) DO NOT submerge this appliance in water. This appliance is not jet stream approved. DO NOT direct water jet or steam jet at
this appliance, or at any control panel or wiring. DO NOT splash or pour water on, in or over any controls, control panel or
wiring. DO NOT use corrosive chemicals or vapors in this appliance.
6) DO NOT store this appliance outdoors. DO NOT use this product near water – for example, near a kitchen sink, in a wet
basement, or near a swimming pool, and the like.
7) DO NOT operate this appliance if it has a damaged cord or plug, if it is not working properly, or if it has been damaged or
dropped. Do not immerse cord or plug in water, keep cord away from heated surfaces, and do not let cord hang over
edge of table or counter.
8) Only qualified service personnel should service this appliance.
9) DO NOT cover or block any openings on the appliance.
These appliances are intended to be used for commercial applications, for example, in kitchens of restau-
rants, canteens, hospitals and in commercial enterprises such as bakeries, butcheries, etc., but not for con-
tinuous mass production of food.
This appliance can be used by children from 8 years and above, and persons with reduced physical, sensory
or mental capabilities or lack of experience, if they have been given supervision or instruction concerning
use of the appliance in a safe way and understand the hazards involved.
Children shall not play with the appliance.
Cleaning and user maintenance shall not be made by children without supervision
CAUTION: In order to avoid a hazard due to inadvertent resetting of the thermal cut-out, this appliance must
not be supplied through an external switching device, such as a timer, or connected to a circuit that is regu-
larly switched on and off by the utility.
WARNING! Scalding Hazard!
To avoid scalding, do not use loaded containers
with liquids or cooking goods which become
fluids by heating in higher levels than those
which can be easily observed.
DANGER! Electrical Shock Hazard!
This symbol draws attention to potential electrical
hazards (dangerous voltage). If you do not follow
the safety instructions, you may risk injury or
death
CAUTION!
This symbol highlights instructions,
which should be followed to avoid any
risk of damage, malfunctioning and/or
breakdown of the device.
CAUTION! Hot Surface!
This symbol is a warning that the device surface
is hot when in use. Ignoring this warning shall
result in burns!
NOTE!
This symbol highlights tips and infor-
mation, which have to be followed for
an efficient and trouble-free operation of
the device.
WARNING!
This symbol highlights hazards, which
could lead to injury. Please follow the
instructions very carefully and proceed
with particular attention in these cases
2
7
3
SPECIFICATIONS
Electrical Characteristics
European Ratings
Model Volts Amps Hz Phase Plug
PUCH-13 120 6 60 Single NEMA 5-15P
PUCH-16 120 12 60 Single NEMA 5-20P
Model Volts Amps Hz Phase Plug
Receptacle Cord/
Plug
Type
PUCH-13 230 3 50 Single C, E, F, G C, E, F, G
PUCH-16 230 6 50 Single C, E, F, G C, E, F, G
PUCH-16
UNPACKING AND INSTALLATION
WARNING:
Risk of personal injury
Installation procedures must
be performed by a qualified technician
with full knowledge of all applicable
electrical codes. Failure can result in
personal injury and property damage.
CAUTION:
Electrical Shock Hazard
The ground prong of the power cord is
part of a system designed to protect
you from electric shock in the event of
internal damage. DO NOT cut off the
large round ground prong or twist a
blade to fit an existing receptacle.
IMPORTANT:
Power cord is 9' long 15A
cabinets) or 6’ long (20A
cabinets). If necessary, con-
tact a licensed electrician to install an
appropriate electrical circuit and prop-
er receptacle. DO NOT use an exten-
sion cord.
IMPORTANT:
Damage to unit due to being
connected to the wrong volt-
age or phase is NOT covered by war-
ranty.
IMPORTANT:
Place the cabinet in a space
that is 80°F (27°C) or below.
Temperatures above 80°F (27°C) may
affect performance.
4
DANGER: Electric Shock Hazard
All servicing requiring access to non-insulated components must be performed by qualified service personnel. Do
not open any access panels which require the use of tools. Failure to heed this warning can result in electrical
shock. Disconnect this appliance from electrical power before performing any maintenance or servicing.
WARNING: Injury Hazard
All installation procedures must be performed by qualified personnel with full knowledge of all applicable electrical
codes. Failure could result in property damage and personal injury.
WARNING Electric Shock Hazard
Appliance must be plugged into a properly grounded receptacle to prevent possible shock hazard. Electrical shock
will cause death or serious Injury.
UNPACKING
Unpack the appliance and any accessories according to the instructions below. Ensure
that all packing materials and protective plastic has been removed from the unit. In-
spect all components for completeness and condition.
NOTE: DO NOT discard the carton or other packing materials until you have inspected
the appliance for hidden damage and tested it for proper operation. Refer to SHIP-
PING DAMAGE CLAIM PROCEDURE on PAGE 14.
Tools Required:
Box cutter or knife to cut plastic
Tin snips to cut banding material
Forklift, pallet jack or other appropriate lifting device
1) Using box cutter or knife, remove
plastic that is wrapped around the
unit. Take care not to slice through
the cardboard as this could damage
the finish on the cabinet.
2) Using tin snips, remove and dis-
pose of metal banding. Then, remove
the cardboard and shipping foam.
UNPACKING AND INSTALLATION (continued)
GROUNDING INSTRUCTIONS
This appliance is equipped with a cord having a grounding wire with a grounding plug which must be plugged into an outlet that is
properly installed and grounded. In the event of an electrical short circuit, grounding reduces the risk of electric shock by providing
an escape wire for the electrical current.
WARNING-Improper use of the grounding can result in a risk of electric shock. Consult a qualified electrician or service agent
if the grounding instructions are not completely understood, or if doubt exists as to whether the appliance is properly grounded.
5
INSTALLATION
Plug the cabinet into a properly grounded, dedicated 120 volt electrical receptacle
with supplied power cord.
European units will need an appropriate 230 volt power plug installed to the sup-
plied cord by a licensed electrician.
See charts below and verify electrical information for your cabinet by consulting the
serial tag on the cabinet. DO NOT MODIFY CORD PLUG.
3) Using an appropriate device, such
as forklift or pallet jack, lift the unit off of
the pallet, remove the pallet, and then
lower the cabinet to the ground.
4) Move the cabinet to the desired
location.
5) Lock the front two casters to hold
the cabinet in place.
Appliance should be thoroughly
cleaned before use. See CLEANING
INSTRUCTIONS, page 13.
CAUTION:
In order to avoid a hazard
due to inadvertent reset-
ting of the thermal cut-
out, this appliance must not be
supplied through an external
switching device, such as a timer,
or connected to a circuit that is
regularly switched on and off by
the utility.
CAUTION:
Maximum load of product,
per door, is 4 pounds (1.8
kg). Do not overload.
NOT PERFORMANCE TESTED
FOR THE STORAGE, DISPLAY
OR HOLDING OF POTENTIALLY
HAZARDOUS FOODS (Label Part
Number 18312-0698)
INSTALLATION CLEAR-
ANCES: Allow at least 2”
ventilation gap at the top,
sides and rear of the cabi-
net. Allow at least 36” clearance at
the front of the cabinet. Pass through
cabinets require 36” at the front and
rear of the cabinet.
Before using, familiarize
yourself with the
appliance controls. Read
entire manual before operating
Model Volts Amps Hz Phase Plug
PUCH-13 120 6 60 Single NEMA 5-15P
PUCH-16 120 12 60 Single NEMA 5-15P
ELECTRICAL INFORMATION
Model Volts Amps Hz Phase Plug
Receptacle Cord/
Plug
Type
PUCH-13 230 3 50 Single C, E, F, G C, E, F, G
PUCH-16 230 6 50 Single C, E, F, G C, E, F, G
EUROPEAN RATINGS
UNPACKING AND INSTALLATION (continued)
CAUTION:
In order to avoid a hazard
due to inadvertent reset-
ting of the thermal cut-
out, this appliance must not be
supplied through an external
switching device, such as a timer,
or connected to a circuit that is
regularly switched on and off by
the utility.
CAUTION:
Maximum load of product,
per door, is 4 pounds (1.8
kg). Do not overload.
NOT PERFORMANCE TESTED
FOR THE STORAGE, DISPLAY
OR HOLDING OF POTENTIALLY
HAZARDOUS FOODS (Label Part
Number 18312-0698)
NETWORK CONNECTION
1) Plug network connection into the Ethernet jack, located at the rear top of the
cabinet. (Figure 1.1 or 1.2, depending on the style of cabinet)
2) If adding an ADD-ON cabinet, connect the ADD-ON cabinet with an Ethernet
cable to the unused jack on the MASTER CABINET and to any unused Ether-
net jack on the ADD-ON cabinet.
3) Proceed with the start-up procedure (go to page 7).
Figure 1.1
6
Figure 1.2
Plug Network connection into this jack.
Optional add-on cabinets
are connected to this jack
START-UP: OPERATION
7
MANUAL OPERATION
HOME SCREEN
NOTE: if the unit is equipped with add
-on cabinets, the add-ons must be
powered up before powering ON the
master cabinet.
Push in ON/OFF switch located at rear of
cabinet.
The cabinet will turn on and boot up to
the HOME SCREEN.
On the HOME Screen, then enter code 008 to access the Order Manage-
ment Screen.
To load an order, On the ORDER MANAGEMENT SCREEN, press the +
icon.
ORDER MANAGEMENT SCREEN
9
MANUAL OPERATION (continued)
At the NEW ORDER screen, type in the name and phone number for
the order.
NEW ORDER SCREEN
After entering the information, press NEXT
The screen will display the mobile phone number for the customer. If it is
correct press CONFIRM. The screen gives you an opportunity to change
the number if it is not correct.
HOME SCREEN
LOAD ORDER SCREEN
MANUAL OPERATION (continued)
The LOAD ORDER screen will appear and the next available locker
will open.
If more than one locker is needed, press the ADD LOCKER button and
another available locker will open.
Load order into indicated locker(s). PUC will not allow you to move
past this screen if the order is not loaded or if it is placed into the incor-
rect locker.
The door(s) will automatically close after the locker has been loaded.
Customer retrieves their order and then the door(s) will close
automatically.
PICK UP ORDER SCREEN
9
The cabinet will revert to the HOME
SCREEN.
The customer receives a text with a 3 digit
numerical and QR code for pick up.
When the customer arrives, they can enter
the 3 digit code on the HOME screen OR
scan the QR code using the scanner above
the HOME screen.
The locker door(s) containing their order will
open and the PICK UP ORDER SCREEN
will indicate the location(s) of their order.
HOME SCREEN
MANUAL OPERATION (continued)
To view current orders that are loaded, Enter Code 008 on the HOME
screen
Gear Key
The cabinet will show the ORDER MANAGEMENT
SCREEN.
Press the LOADED tab.
The screen will display:
-Available lockers
-Current lockers that are filled
Press the gear key to return to the home screen
10
PROGRAMMING THE TEMPERATURE
7
11
On the HOME SCREEN, enter code 008.
HOME SCREEN
On the MANAGE ORDERS screen, press the “gear” symbol.
MANAGE ORDERS
“Gear” symbol
On the CONFIGURE screen, press CONFIGURE
CONFIGURE
These cabinets can operate with or without heat. To turn the heat ON
or OFF and adjust the temperature setting, follow this procedure:
PROGRAMMING THE TEMPERATURE (continued)
7
12
CONFIGURE SCREEN
To turn on heat in the lockers, swipe the Warming button to the right.
Warming button off
Warming button on
To adjust the temperature setting:
Press the UP arrow to increase the temperature.
Press the DOWN arrow to decrease the temperature.
The temperature setting appears on the left side of the arrows.
Minimum setting: 68°F
Maximum setting: 176°F
To confirm your changes and exit the CONFIGURE screen, press the
+ icon on the upper right side of the screen.
CLEANING
For ALL cleaning procedures, turn the main power switch OFF and unplug
the cabinet to before cleaning. DO NOT spray or splash water on the elec-
trical components, tablet, control panel, or wiring. Cleaning should be per-
formed when cabinet is cool and empty.
1. Clean the interior and exterior with a clean, moist soapy towel. Rinse with
clean damp towel.
2. To clean stainless steel surfaces use only cleansers, detergents, degreasers,
or sanitizers that are certified to be "chloride-free" and "phosphate-free," and
cleansers, degreasers, or sanitizers only in the recommended concentra-
tions*. DO NOT exceed recommended concentrations or mixing ratios. After
cleaning and sanitizing, rinse all exposed surfaces thoroughly with large
amounts of clean, clear water. Wipe off any standing liquid or residue from all
surfaces, corners and rear edges.
3. Vinyl trim should be washed with a chlorine-free detergent and water. Rinse
thoroughly with clear water and allow to dry. Never use abrasive cleaners,
waxes, car polish, or substances containing strong aromatic solvents or alco-
hol. Use of direct steam / hot water cleaning at temperatures above 190°F
may result in “bubbling” or loosening of vinyl adhesive.
*IMPORTANT: Cleansers, detergents, degreasers, sanitizers or bleaching agents that contain chlorides or phosphates will
cause permanent damage to stainless steel products. This damage appears as pits, eruptions, voids, small holes, cracks,
severe discolorations or dulling of the metal finish. Water with a high chlorine content can also damage stainless steel. If unsure
of your water quality, we recommend you have it tested. THIS DAMAGE IS PERMANENT, COSTLY TO REPAIR, AND IS NOT
COVERED BY WARRANTY.
WARNING: ELECTRIC
SHOCK HAZARD
Unplug the unit from
electric power before
performing cleaning or maintenance.
WARNING: ELECTRIC
SHOCK HAZARD
DO NOT spray or splash
water on the control panel
or wiring.
CAUTION: CABINET
DAMAGE
Do not tip cabinet to
drain excess water. Per-
manent damage to the cabinet will
result. This is also dangerous and
may cause personal injury. Use a
clean dry cloth to mop any excess
water inside cabinet after cleaning.
13
Routine cleaning on a regular basis is vital to the proper operation and
overall performance of your cabinet. Follow these procedures to keep
your cabinet sanitary and running at peak performance.
CAUTION! Hot Surface!
Allow cabinet to cool com-
pletely prior to cleaning.
WARNING:
Risk of personal injury
Caution must be taken
when using, cleaning and
servicing the appliance. Liquids may
spill creating a slip hazard on the floor.
SERVICE EXPECTATIONS
SERVICE PHILOSOPHY
Carter-Hoffmann has a reputation for manufacturing rugged, dependable foodservice equipment that per-
mits foodservice professionals serve more food products to more people, and thus, to grow their business.
Our goal is not only to provide the best food service equipment for the price, but also to back it up with after-sale
service that is responsive fast, efficient and professional. To ensure a clear understanding of our goals, expecta-
tions, and responsibilities, we have prepared this brief document.
Carter-Hoffmann products are innovative and efficient. They are easy to use, easy to clean and easy
to maintain. Although the products are quite reliable they are also designed for easy repair. We believe that a mal-
function to a Carter-Hoffmann product should cause as little inconvenience to the customer as possible. Our aim is
to provide “same day”/first time fix” repair service on all of our products. We are dedicated to making every aspect
of our customer service the standard by which others are judged.
END-USER RESPONSIBILITIES
While we all strive to serve our mutual customers as well as possible that does not mean that
the end-user (including his employees) does not share some responsibilities.
1. All shipping damage must be noted on the freight bill when the shipment is received. Any freight
damages must be collected from the Freight Company, NOT Carter-Hoffmann.
2. The end-user should be advised beforehand to carefully unpack and inspect all products when they are received
BEFORE SIGNING THE SHIPPER'S RECEIPT OF DELIVERY.
3. The end-user must provide a safe, dry, level surface for the equipment to be placed upon.
4. The end-user must provide the proper electrical supply. All in-wall electrical modifications are to
be completed by a licensed electrician. All building modifications are the responsibility of the end-user.
5. The end-user must operate, clean and maintain the equipment in accordance with the
procedures described in the Operation Manual.
6. Carter-Hoffmann is NOT responsible for any loss of the customer’s income, loss of food product, extra labor
charges, or any other incidental or consequential costs as a result of the malfunction of our product.
7. The end-user shall allow for on-premises repair of the equipment to be completed at a mutually
convenient place and time.
WARRANTY SERVICE
1. Warranty service is to be initiated by authorized Carter-Hoffmann personnel only.
2. The service provider is NOT authorized to change or extend any of the terms or conditions of our warranty.
3. Initial freight damage is NOT covered by the product warranty.
CONFIDENTIALITY
1. The end user and all his employees and sub-agents shall protect and keep confidential Carter-Hoffmann’s pro-
prietary designs, information, and knowledge.
2. All literature and informational materials provided by Carter-Hoffmann are to be considered confidential; they
remain Carter-Hoffmann’s property; and are not to be reproduced without our prior written consent.
14
SHIPPING DAMAGE CLAIM PROCEDURE
NOTE: For your protection, please note that equipment in this shipment was carefully inspected and packaged by skilled
personnel before leaving the factory. Upon acceptance of this shipment, the transportation company assumes full respon-
sibility for its safe delivery.
IF SHIPMENT ARRIVES DAMAGED:
1. VISIBLE LOSS OR DAMAGE: Be certain that any visible loss or damage is noted on the freight bill or express receipt,
and that the note of loss or damage is signed by the delivery person.
2. FILE CLAIM FOR DAMAGE IMMEDIATELY: Regardless of the extent of the damage.
3. CONCEALED LOSS OR DAMAGE: if damage is unnoticed until the merchandise is unpacked, notify the transportation
company or carrier immediately, and file “CONCEALED DAMAGE” claim with them. This should be done within ten (10)
days from the date the delivery was made to you. Be sure to retain the container for inspection.
4. Carter-Hoffmann cannot assume liability for damage or loss incurred in transit. We will, however, at your request, sup-
ply you with the necessary documents to support your claim.
Carter-Hoffmann
1551 McCormick Ave.
Mundelein, Illinois, 60060 USA
Phone: 847-362-5500 Toll free: 800-323-9793 Fax: 847-367-8981
Customer Service (Equipment) E-mail: [email protected]
Technical Service E-mail: [email protected]
Company Website: www.carter-hoffmann.com
15
Carter-Hoffmann Warranty:
Carter-Hoffmann (“CARTER-HOFFMANN”) warrants to the initial purchaser of its standard Carter
Line Products that CARTER-HOFFMANN will, at its option, repair or replace, during the warranty
period set forth below, any part of such products made necessary due to a defect in material or work-
manship which is present when the product leaves its factory and which manifests itself during the war-
ranty period under normal use and service.
This warranty applies only to original equipment owned and possessed by the initial purchaser and the
warranty period begins on the date of original shipment from the CARTER-HOFFMANN factory and
extends as follows: to component parts and labor for 12 months (36 months on hotLOGIX and
VAPORPRO holding cabinets and cook & hold cabinets); to refrigeration compressor unit for one
year (limited to replacement only - not to include labor for removal, repair or replacement).
Repair or replacements under this warranty will be performed, unless otherwise authorized in writing
by CARTER-HOFFMANN, at its factory. All parts or components to be repaired or replaced under this
warranty are to be shipped prepaid to CARTER-HOFFMANN, with reimbursement credit for such part
or component to be given if found by CARTER-HOFFMANN to be defective.
CARTER-HOFFMANN neither makes nor assumes and does not authorize any other person to make or
assume any obligation or liability in connection with its products other than that covered in this war-
ranty. This warranty applies only within the continental United States and Canada. In Alaska and Ha-
waii, this warranty applies only to and is limited to the supply of replacement parts.
Warranty Exclusions and Limitations:
Any implied warranty of merchantability or fitness for a particular purpose is hereby specifically dis-
claimed by CARTER-HOFFMANN. There are no warranties, expressed or implied, which extend be-
yond the description on the face hereof. This warranty does not cover and CARTER-HOFFMANN shall
not under any circumstances be liable for any incidental, consequential or other damages (such as in-
jury to persons or property, loss of time, inconvenience, loss of business or profits, or other matters not
specifically covered) arising in connection with the use of, inability to use, or failure of these products.
Specifications subject to change through product improvement and innovation.
WARRANTY

This manual suits for next models

1

Other CARTER-HOFFMANN Commercial Food Equipment manuals
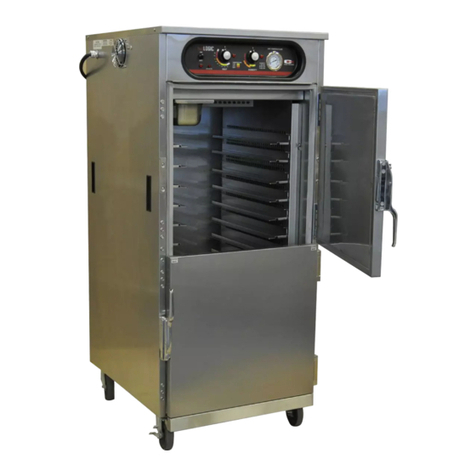
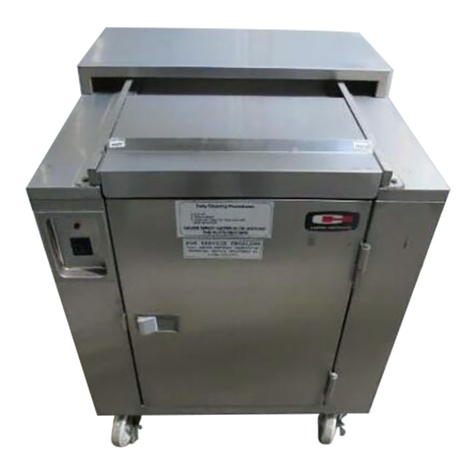
CARTER-HOFFMANN PUCH-22 Owner's manual

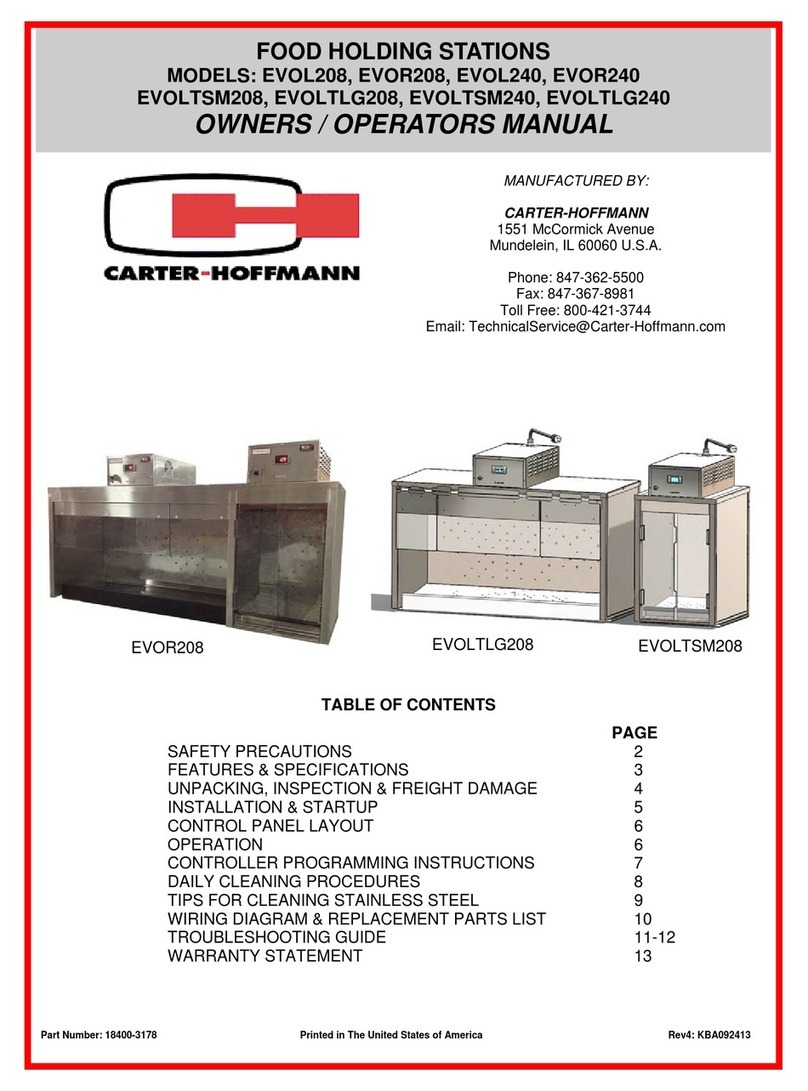
CARTER-HOFFMANN

CARTER-HOFFMANN PUCH-22 Owner's manual

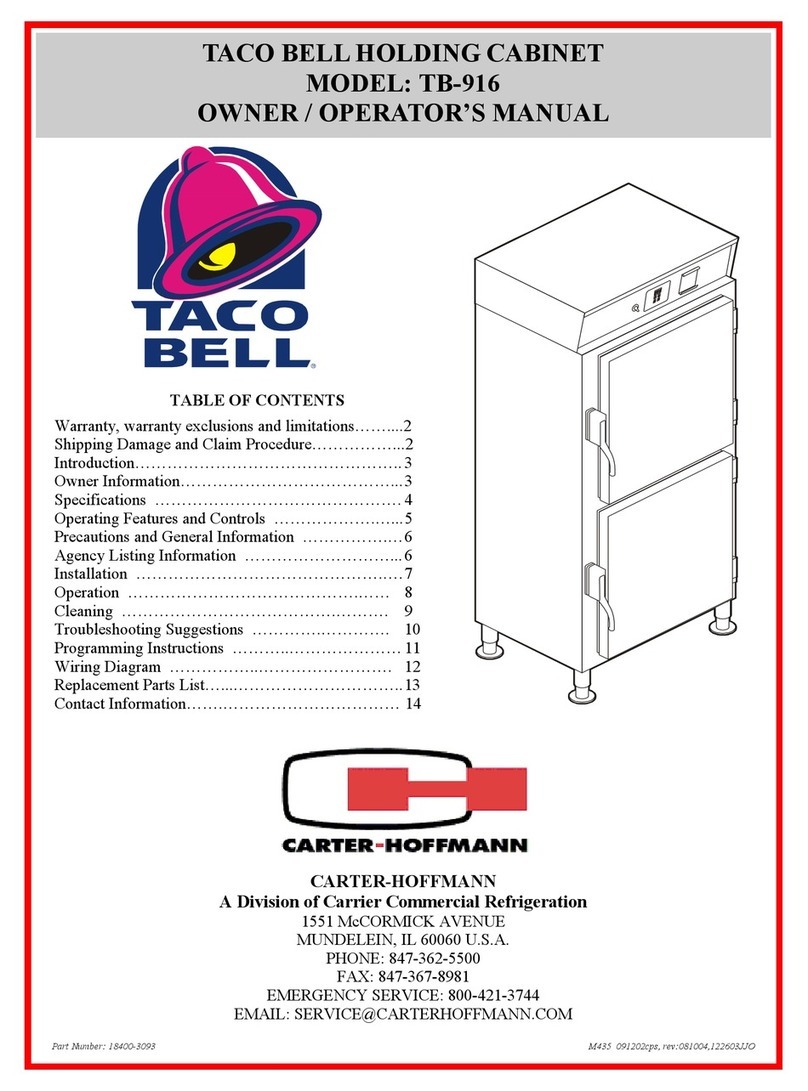
CARTER-HOFFMANN TACO BELL TB-916 Owner's manual

CARTER-HOFFMANN

CARTER-HOFFMANN TACO BELL TB-916 Owner's manual

CARTER-HOFFMANN VCNH212S-2T Owner's manual

CARTER-HOFFMANN

CARTER-HOFFMANN VCNH212S-2T Owner's manual

CARTER-HOFFMANN PUCA-22 Owner's manual

CARTER-HOFFMANN

CARTER-HOFFMANN PUCA-22 Owner's manual

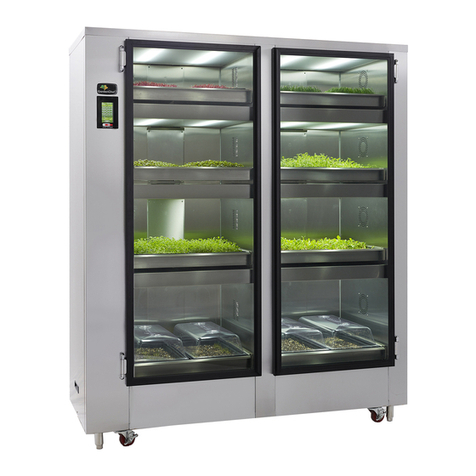
CARTER-HOFFMANN GardenChef GC42 User manual

CARTER-HOFFMANN

CARTER-HOFFMANN GardenChef GC42 User manual

CARTER-HOFFMANN Logix6 Series User manual

CARTER-HOFFMANN

CARTER-HOFFMANN Logix6 Series User manual

CARTER-HOFFMANN HL5 Series Owner's manual

CARTER-HOFFMANN

CARTER-HOFFMANN HL5 Series Owner's manual

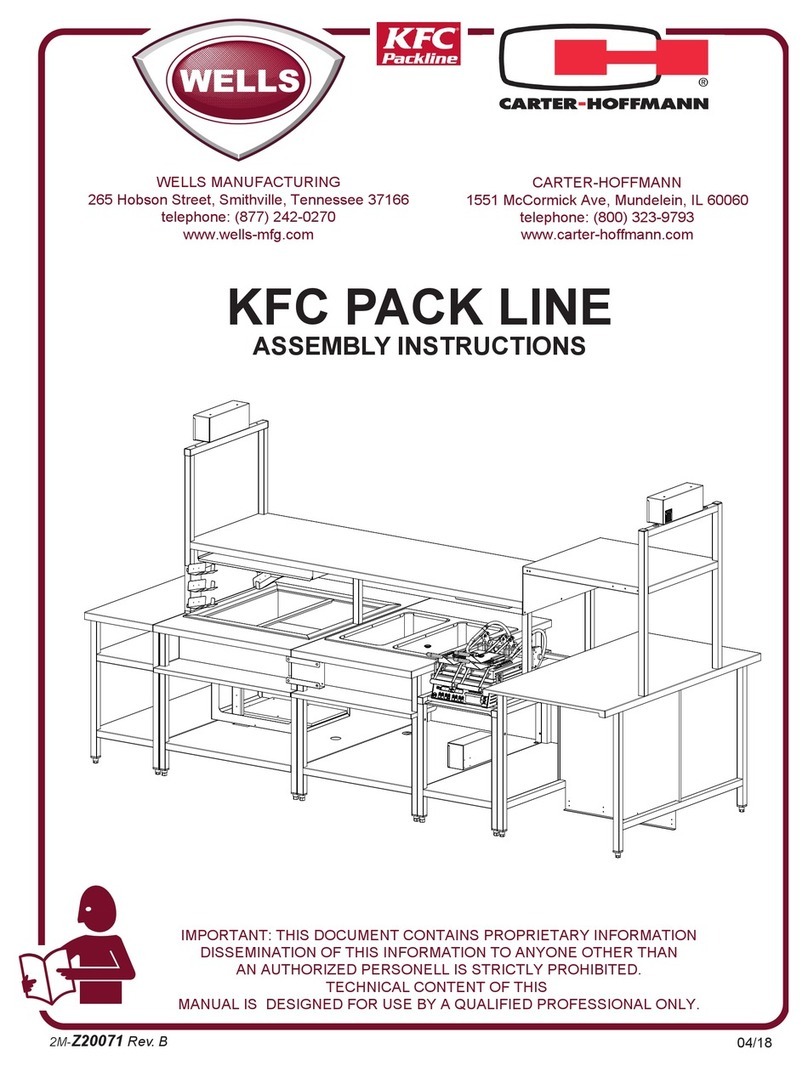
CARTER-HOFFMANN WELLS KFC PACK LINE User manual

CARTER-HOFFMANN

CARTER-HOFFMANN WELLS KFC PACK LINE User manual

CARTER-HOFFMANN EVOR208 User manual

CARTER-HOFFMANN

CARTER-HOFFMANN EVOR208 User manual

CARTER-HOFFMANN PUCA-24S Owner's manual

CARTER-HOFFMANN

CARTER-HOFFMANN PUCA-24S Owner's manual

CARTER-HOFFMANN GARDENCHEF GC52 User manual

CARTER-HOFFMANN

CARTER-HOFFMANN GARDENCHEF GC52 User manual

CARTER-HOFFMANN EVOR230 Owner's manual

CARTER-HOFFMANN

CARTER-HOFFMANN EVOR230 Owner's manual

CARTER-HOFFMANN LOGIX9 Series Owner's manual

CARTER-HOFFMANN

CARTER-HOFFMANN LOGIX9 Series Owner's manual

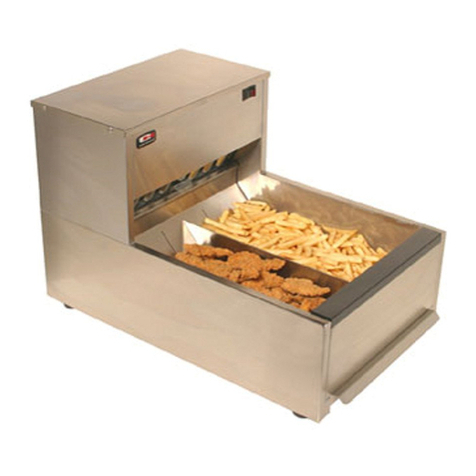
CARTER-HOFFMANN CRISP N HOLD User manual

CARTER-HOFFMANN

CARTER-HOFFMANN CRISP N HOLD User manual

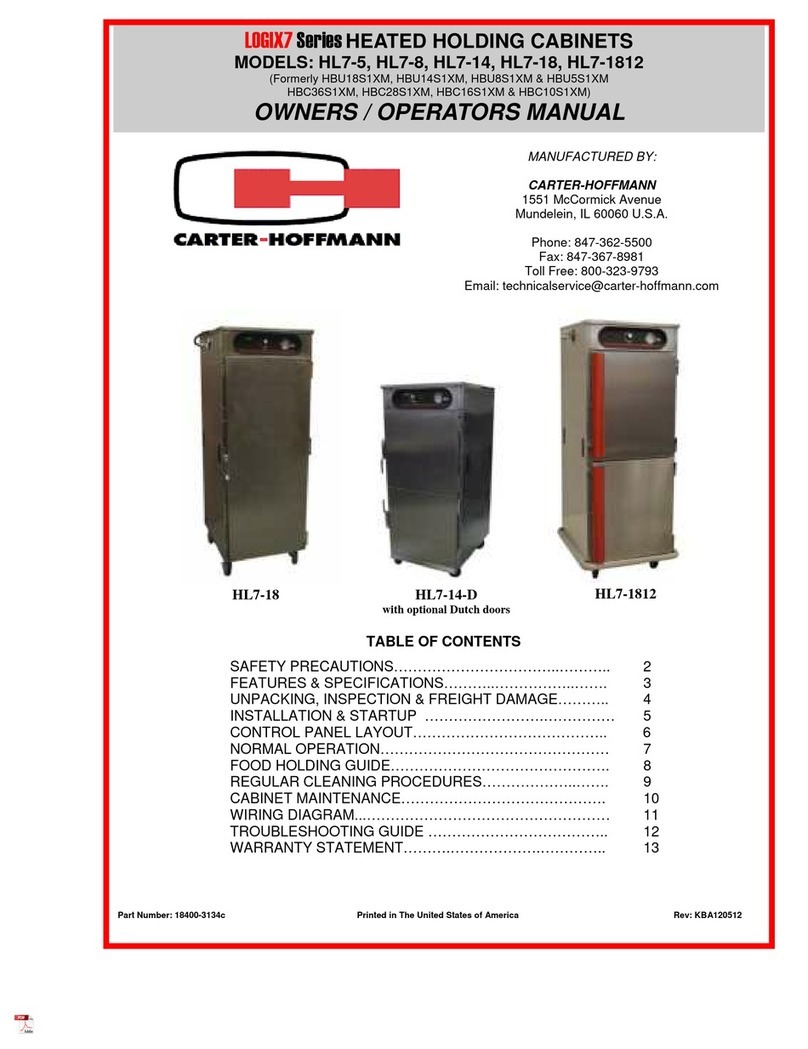
CARTER-HOFFMANN LOGIX7 Series User manual

CARTER-HOFFMANN

CARTER-HOFFMANN LOGIX7 Series User manual

CARTER-HOFFMANN TC100 Owner's manual

CARTER-HOFFMANN

CARTER-HOFFMANN TC100 Owner's manual

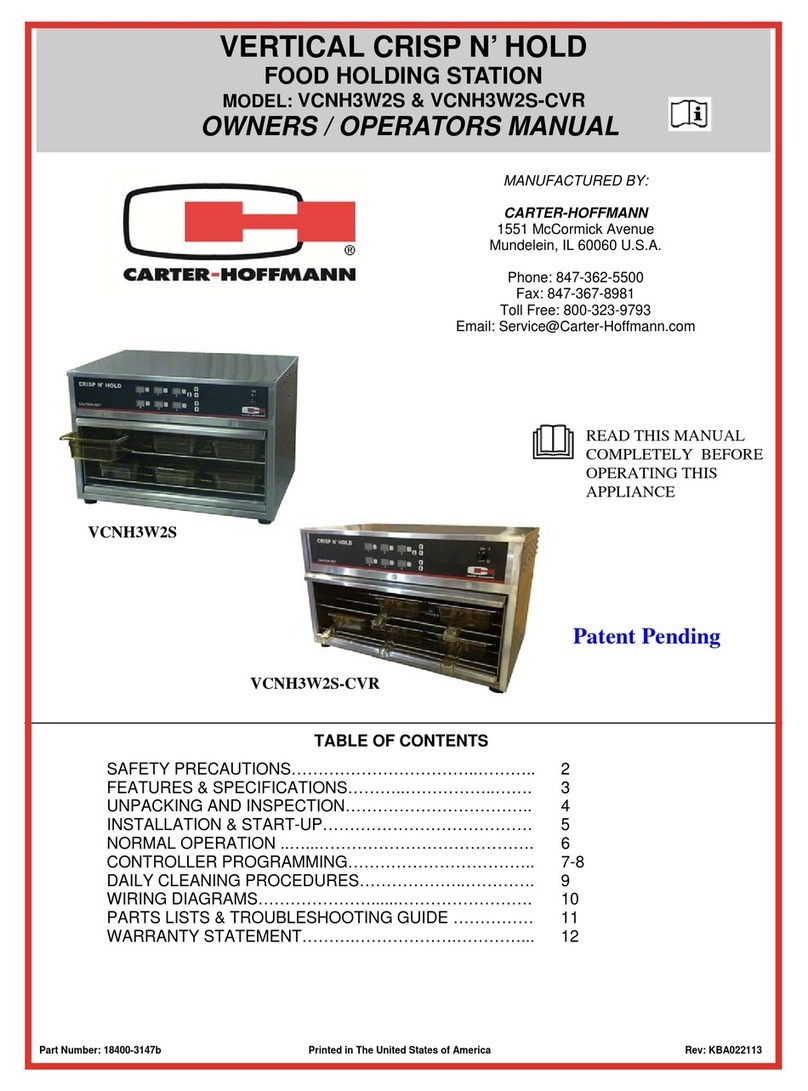
CARTER-HOFFMANN VCNH3W2S User manual

CARTER-HOFFMANN

CARTER-HOFFMANN VCNH3W2S User manual

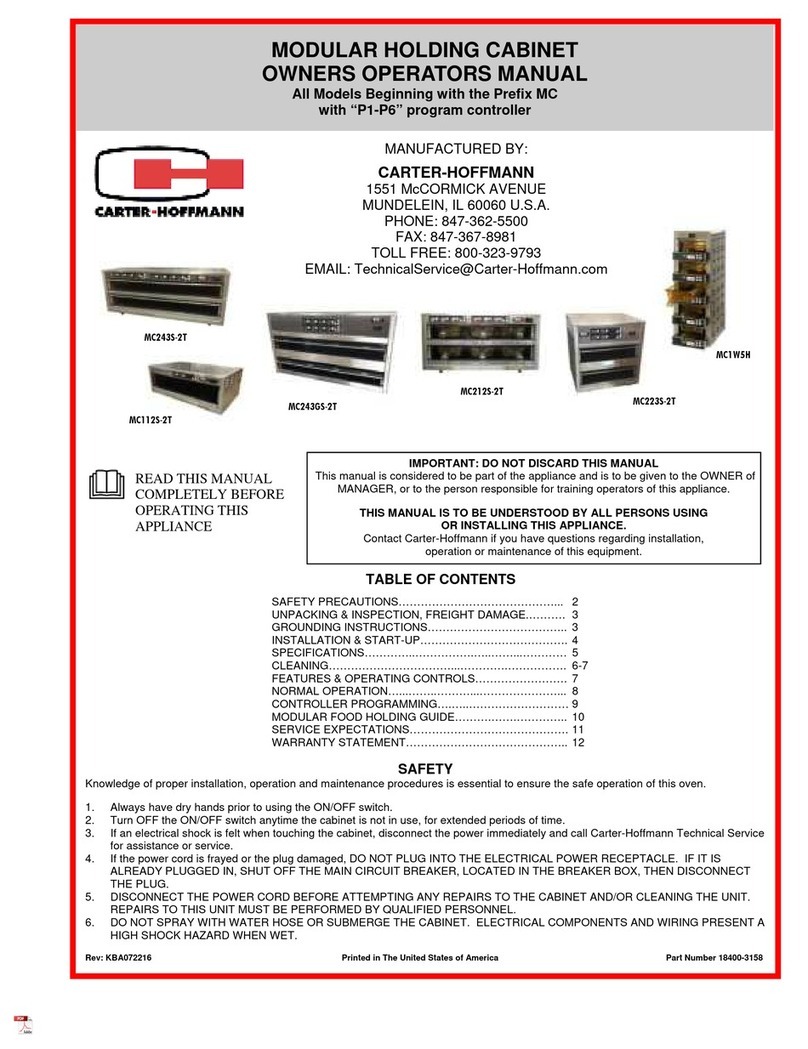
CARTER-HOFFMANN MC243S-2T User manual

CARTER-HOFFMANN

CARTER-HOFFMANN MC243S-2T User manual

CARTER-HOFFMANN HL8 Series User manual

CARTER-HOFFMANN

CARTER-HOFFMANN HL8 Series User manual

CARTER-HOFFMANN GardenChef GC42 User manual

CARTER-HOFFMANN

CARTER-HOFFMANN GardenChef GC42 User manual

CARTER-HOFFMANN HL6 Series User manual

CARTER-HOFFMANN

CARTER-HOFFMANN HL6 Series User manual

CARTER-HOFFMANN CD27 User manual

CARTER-HOFFMANN

CARTER-HOFFMANN CD27 User manual

CARTER-HOFFMANN HL9 Series Owner's manual

CARTER-HOFFMANN

CARTER-HOFFMANN HL9 Series Owner's manual

CARTER-HOFFMANN CW1 Owner's manual

CARTER-HOFFMANN

CARTER-HOFFMANN CW1 Owner's manual

Popular Commercial Food Equipment manuals by other brands

METVISA BIMG PAC Series instruction manual

METVISA

METVISA BIMG PAC Series instruction manual

Casselin CVC76L manual

Casselin

Casselin CVC76L manual

Sammic BE-10 user manual

Sammic

Sammic BE-10 user manual

Taylor C722 Operator's manual

Taylor

Taylor C722 Operator's manual

Diamond STAR-HD/R2 Instructions for use and installation

Diamond

Diamond STAR-HD/R2 Instructions for use and installation

Minerva C/E VINS 22 operating instructions

Minerva

Minerva C/E VINS 22 operating instructions

Proluxe Endurance Pro X2M Operation manual

Proluxe

Proluxe Endurance Pro X2M Operation manual

GILES GHM-4 Operation & service manual

GILES

GILES GHM-4 Operation & service manual

Adexa ADM10 operating manual

Adexa

Adexa ADM10 operating manual

Bartscher 2/1 GN manual

Bartscher

Bartscher 2/1 GN manual

Silver King SKRCB38H-EDUS Technical manual and replacement parts list

Silver King

Silver King SKRCB38H-EDUS Technical manual and replacement parts list

XPERT 2-Speed/A instruction manual

XPERT

XPERT 2-Speed/A instruction manual

Henny Penny McDonald's OV Electric 200 Series Guide

Henny Penny

Henny Penny McDonald's OV Electric 200 Series Guide

Sottoriva SVP 0-E instruction manual

Sottoriva

Sottoriva SVP 0-E instruction manual

Bunn ULTRA-2 PAF manual

Bunn

Bunn ULTRA-2 PAF manual

Casselin CCF6 manual

Casselin

Casselin CCF6 manual

croydon F1AB instruction manual

croydon

croydon F1AB instruction manual

Taylor c713 Operator Training

Taylor

Taylor c713 Operator Training

manuals.online logo
manuals.online logoBrands
  • About & Mission
  • Contact us
  • Privacy Policy
  • Terms and Conditions

Copyright 2025 Manuals.Online. All Rights Reserved.