manuals.online logo
Brands
  1. Home
  2. •
  3. Brands
  4. •
  5. Castles Technology
  6. •
  7. Payment Terminal
  8. •
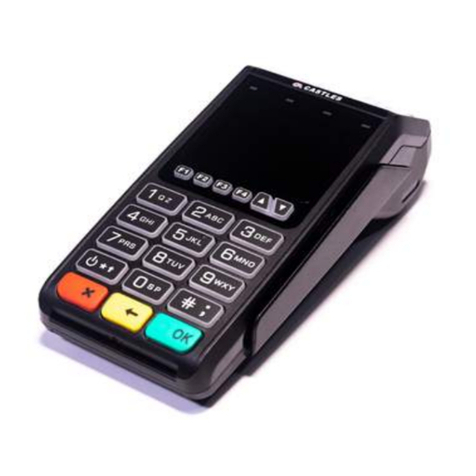
  9. Castles Technology MP200 Instruction manual

Castles Technology MP200 Instruction manual

Quick User Guide
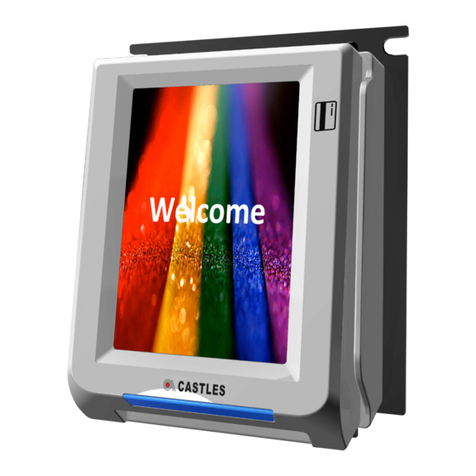
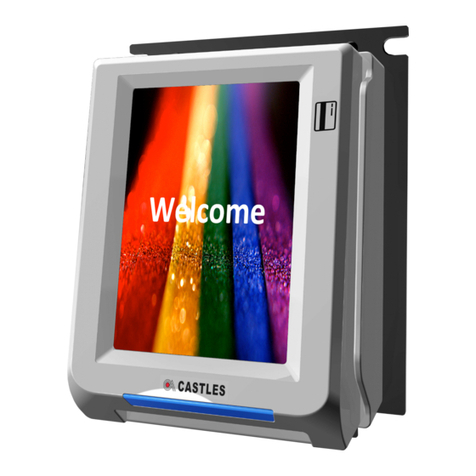
VEGA 3000 & MP200
Version 1.0
Merchant Services
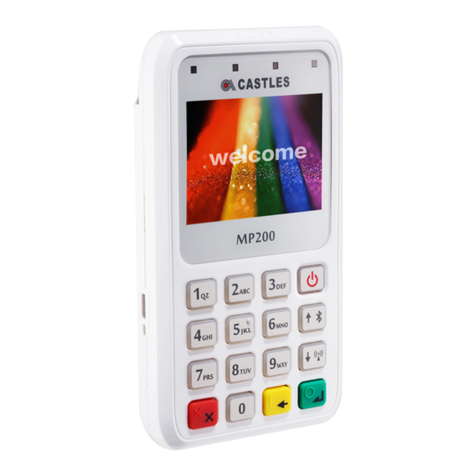
Cancel key -
to cancel and access
the Manager Menu
Back key -
to return/delete
and access the
Transaction Menu
OK/Enter
key
Down
key
Power and
Up key
Contactless
Contactless cards are tapped against the screen (above the
contactless transactions logo) with no need for a PIN.
Enter the sales amount using the keypad. There’s no need to
enter a decimal point, e.g. entering 2500 would be £25.00.
You can use the <BACK> key to make any corrections.
Press <OK> to conrm the amount.
Place the payment card on or near the display. The card machine
will emit a short audible tone to conrm that the contact was
successful. Pay attention to any on-screen messages.
When prompted select <OK> to print the
cardholder’s receipt or <Cancel> if they do
not want a receipt.
Chip & PIN
Enter the sales amount using the keypad. There’s no need to
enter a decimal point, e.g. entering 2500 would be £25.00.
You can use the <BACK> key to make any corrections.
Press <OK> to conrm the amount.
Insert their card into the slot at the front of the card machine.
The cardholder will be prompted to enter a PIN, and they must
then press the <OK> key to complete the sale.
The terminal will call the acquirer for authorisation.
Pay attention to any on-screen messages.
When prompted select <OK> to print the
cardholder’s receipt or <Cancel> if they do not
want a receipt.
For cards that do not support Contactless payments or where
prompted by the machine, customers can pay by Chip & PIN.
Setting up/changing the manager passcode
By default, the Manager passcode is:1397139
It is important to change your Manager passcode and keep it safe.
Press <Cancel> to enter the Manager menu.
Enter the default/current manager’s passcode and press <OK>.
Using <Power/Up> and <Down> keys, select Change Passcode.
Press <OK> to conrm.
Press <Back> to clear the current passcode as desired.
Enter a new passcode and press <OK> to conrm.
LCD Display
Printer
Merchant ID (MID):
End of Day (Z Report)
To close the sales batch and produce and End of Day (Z Report)
* You will need the Manager Passcode to perform a reversal.
Press <BACK> to access the Transaction menu.
Using the <Power/Up> and the <Down> keys, select
End of Day and press <OK>.
Enter the manager passcode and press <OK> to conrm.
Press <OK> to conrm.
Pay attention to any on-screen messages.
Help Desk
If you’re having trouble, then we are here to help.
You can contact us using the details below:
01933 201424 info@swipen.co.uk
Monday to Saturday - 08:00 to 23:00
Sunday & Bank Holidays - 10:00 to 17:00
Closed Christmas Day
_____________
Manual Card Entry
If congured, the card machine can be used for sales where
the cardholder is not physically present, e.g. over the telephone.
Refunds (if available)
A Refund returns an amount of money to the cardholder’s account.
It is not necessary to use the same card used for the initial purchase.
* You will need the Manager Passcode to perform a refund.
Enter the sales amount using the keypad. There’s no need to
enter a decimal point, e.g. entering 2500 would be £25.00.
You can use the <BACK> key to make any corrections.
Press <OK> to conrm the amount.
Using the keypad, enter the 16-digit card number.
Press <OK> to conrm.
Enter the card expiry date (MMYY). Press <OK> to conrm.
Enter the 3-digit security code. Press <OK> to conrm.
* NOT ALL CARD MACHINES: If prompted, enter the house
number for the registered card address. Press <OK>.
* NOT ALL CARD MACHINES: If prompted, enter the numbers
from the postcode for the registered card address. Press <OK>.
When prompted select <OK> to print the cardholder’s receipt
or <Cancel> if they do not want a receipt.
Press <BACK> to access the transaction menu.
Using the <Power/Up> and the <Down> keys, select
Start refund and press <OK>.
Enter the manager passcode and press <OK> to conrm.
Enter the refund amount using the keypad. There’s no need to
enter a decimal point, e.g. entering 2500 would be £25.00.
You can use the <BACK> key to make any corrections.
Insert, tap, swipe, or manually enter the card.
Pay attention to any on-screen messages
At the end of the transaction, the card reader will automatically
print a merchant receipt. When prompted select <OK> to print
the cardholder’s receipt or <Cancel> if they do not want a receipt.
Reversals (available up to 30 seconds after transaction)
A reversal is a complete void of the last transaction performed
using the same card used for the initial transaction.
The cardholder will not see the transaction on their statement.
* You will need the Manager Passcode to perform a reversal.
Press <BACK> to access the transaction menu.
Using the <Power/Up> and the <Down> keys, select
Reverse last transaction and press <OK>.
Enter the manager passcode and press <OK> to conrm.
Press <OK> to conrm the reversal.
Switching Comms Method
You can switch between connection types - useful for if your primary
connection in unavailable and you need to switch to a back up.
From the main screen, press <Back>.
Using the <Power/Up> and the <Down> keys, select
Connectivity. Press <OK> to conrm.
Press <OK> to enter the Switch Comms Mode.
Press <OK> to restart the card machine.
Once the card machine has rebooted, you will see a screen
showing all of your connectivity options.
Changing the paper roll
The new Easy-Click technology makes the process of inserting
a new paper roll into the printer simpler and faster. The end of roll
is signalled by colouring on the paper.
Ensure that the leading edge of the paper is at and smooth,
and free of any adhesive protection tape used for transport.
Open the back cover of the terminal. Grasp by nails the
protruding section pulling it gently towards the display.
The printer cover will partially open.
Put the paper roll exactly in the space of the feed roller in such
a way that the loose end of the roll unwinds along the inner
edges upwards. Unroll some of the paper to form an overlap
and using both thumbs simultaneously snap the back
cover of the terminal back into its position.
Merchant Services
Other manuals for MP200

2

This manual suits for next models

1

Other Castles Technology Payment Terminal manuals

Castles Technology UPT1000B User manual

Castles Technology

Castles Technology UPT1000B User manual

Castles Technology Portable Series User manual

Castles Technology

Castles Technology Portable Series User manual

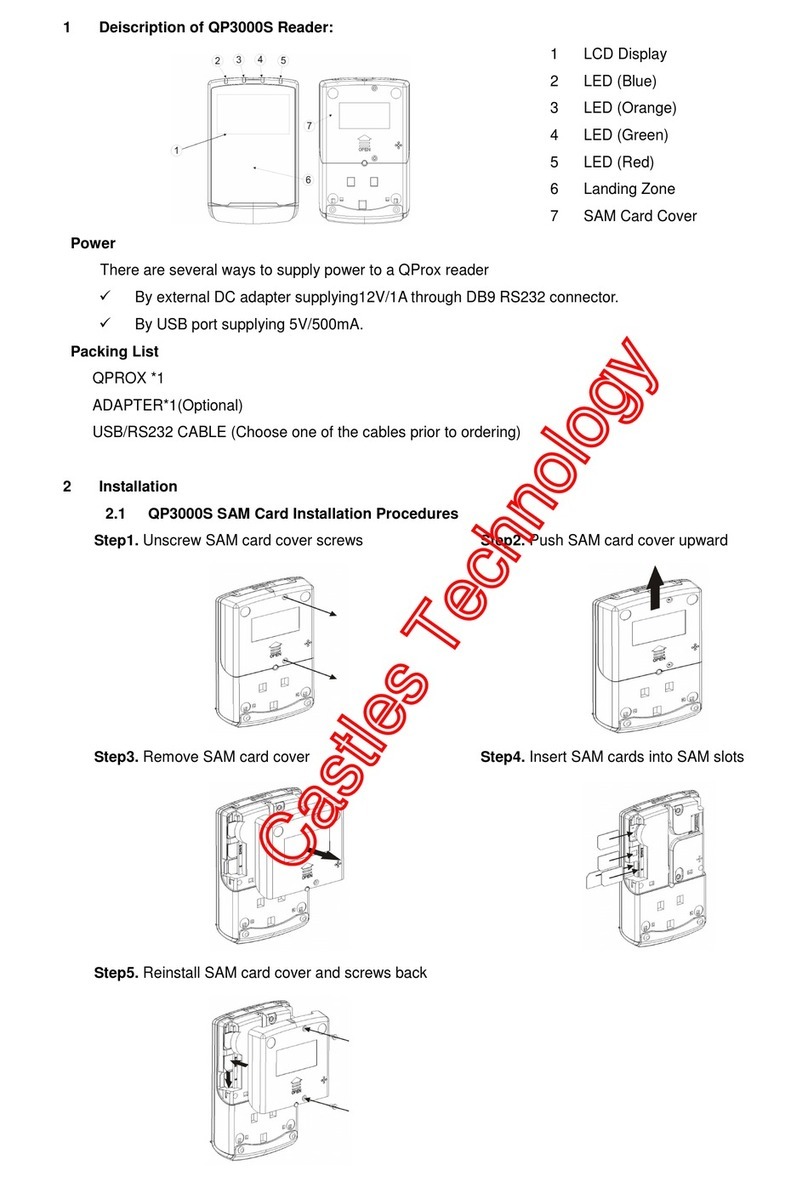
Castles Technology Qprox QP3000S User manual

Castles Technology

Castles Technology Qprox QP3000S User manual

Castles Technology UPT100F User manual

Castles Technology

Castles Technology UPT100F User manual

Castles Technology UPT1000 User manual

Castles Technology

Castles Technology UPT1000 User manual

Castles Technology V3M2 User manual

Castles Technology

Castles Technology V3M2 User manual

Castles Technology MP200 User manual

Castles Technology

Castles Technology MP200 User manual

Castles Technology VEGA9300 User manual

Castles Technology

Castles Technology VEGA9300 User manual

Castles Technology MP200 User manual

Castles Technology

Castles Technology MP200 User manual

Castles Technology UPT1000F User manual

Castles Technology

Castles Technology UPT1000F User manual

Popular Payment Terminal manuals by other brands

dejavoo Z9 Quick reference guide

dejavoo

dejavoo Z9 Quick reference guide

ANZ Worldline Move 5000 Self-installation guide

ANZ

ANZ Worldline Move 5000 Self-installation guide

St George EFTPOS 1i Quick reference guide

St George

St George EFTPOS 1i Quick reference guide

Ingenico iWL25 Series operating guide

Ingenico

Ingenico iWL25 Series operating guide

Ingenico DESK/5000 Setting up

Ingenico

Ingenico DESK/5000 Setting up

dejavoo Z8 Quick reference guide

dejavoo

dejavoo Z8 Quick reference guide

USAePay PaySaber user guide

USAePay

USAePay PaySaber user guide

Heartland WaveReader Spin INSTALLATION & ORIENTATION GUIDE

Heartland

Heartland WaveReader Spin INSTALLATION & ORIENTATION GUIDE

FIS Trinity T650c Easy setup guide

FIS

FIS Trinity T650c Easy setup guide

AEVI ALBERT 2 user manual

AEVI

AEVI ALBERT 2 user manual

Moneris PAYD PRO using manual

Moneris

Moneris PAYD PRO using manual

PayFacto PAX A80 Installation and configuration guide

PayFacto

PayFacto PAX A80 Installation and configuration guide

VeriFone P400 installation guide

VeriFone

VeriFone P400 installation guide

123SEND AXEPT S800 quick start guide

123SEND

123SEND AXEPT S800 quick start guide

barclaycard Anywhere user manual

barclaycard

barclaycard Anywhere user manual

XAC xCL AT-170 Series installation guide

XAC

XAC xCL AT-170 Series installation guide

Denso BHT-700QWB-CE user manual

Denso

Denso BHT-700QWB-CE user manual

Ingenico group Desk 3500 quick start guide

Ingenico group

Ingenico group Desk 3500 quick start guide

manuals.online logo
manuals.online logoBrands
  • About & Mission
  • Contact us
  • Privacy Policy
  • Terms and Conditions

Copyright 2025 Manuals.Online. All Rights Reserved.