Made in Taiwan - r06 Page 1 of 2
go cart DESK
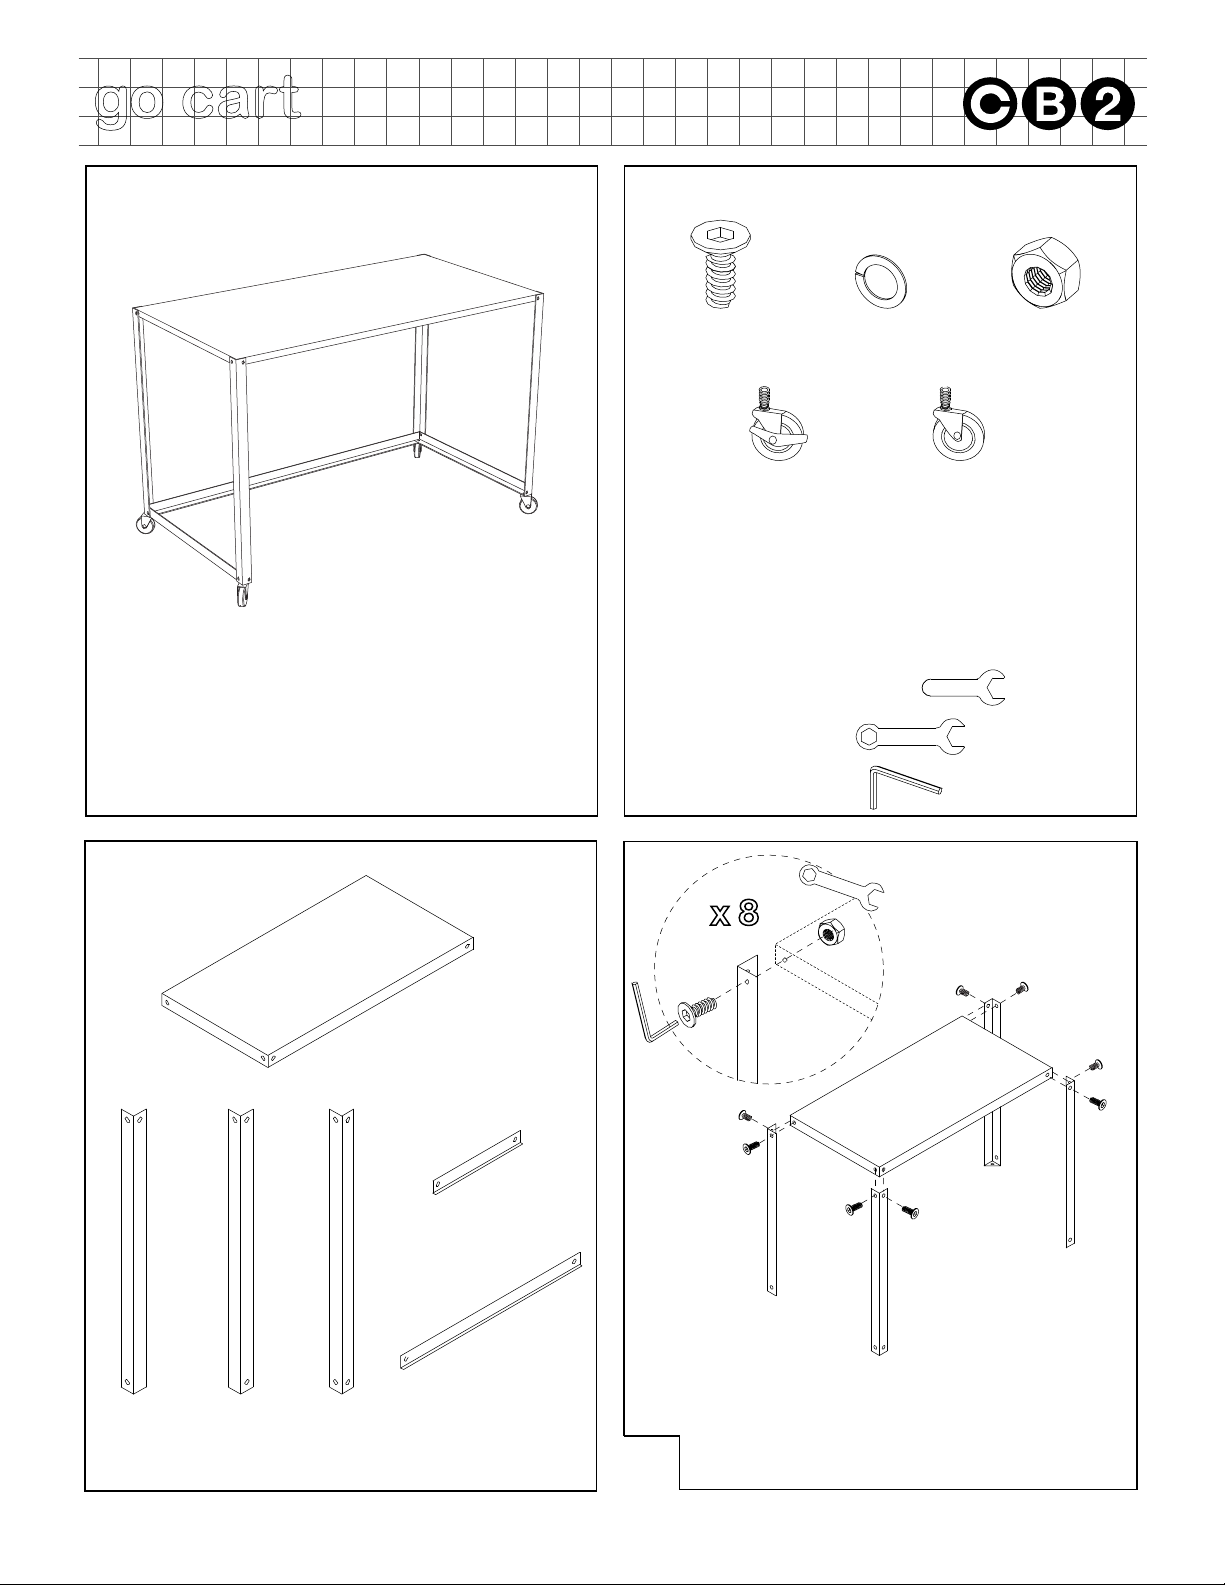
hardware
components
1
tool required
Customer Service 800.606.6252 | Latest instructions available at www.cb2.com
Thank you for purchasing the Go Cart Desk. This
page
lists all the contents included in the box. Please
take the time
to identify the hardware as well as the
individual components
to this product. As you unpack
and prepare for assembly, place the contents on a
carpeted or padded area to protect them from damage.
Note: 2 people are required to safely assemble this product.
14 - bolts 4 - spring
washers
14 - hex
nuts
Missing hardware?
Please call 800.606.6387 for replacements.
hex wrench (included)
wheel hex wrench (included)
allen wrench (included)
2 - locking
wheels
2 - wheels
1 - desktop
1 - front
left
support
Attach desktop to front left/right supports and
back supports as shown with 8 bolts and 8 hex
nuts. While holding each hex nut stationary with
the hex wrench, tighten each bolt using the allen
wrench.
desktop
front right
support
1 - long
crossbar
2 - short
crossbars
bolt
nut
support
shelf
1 - front
right
support
2 - back
supports
front left
support
back
support


