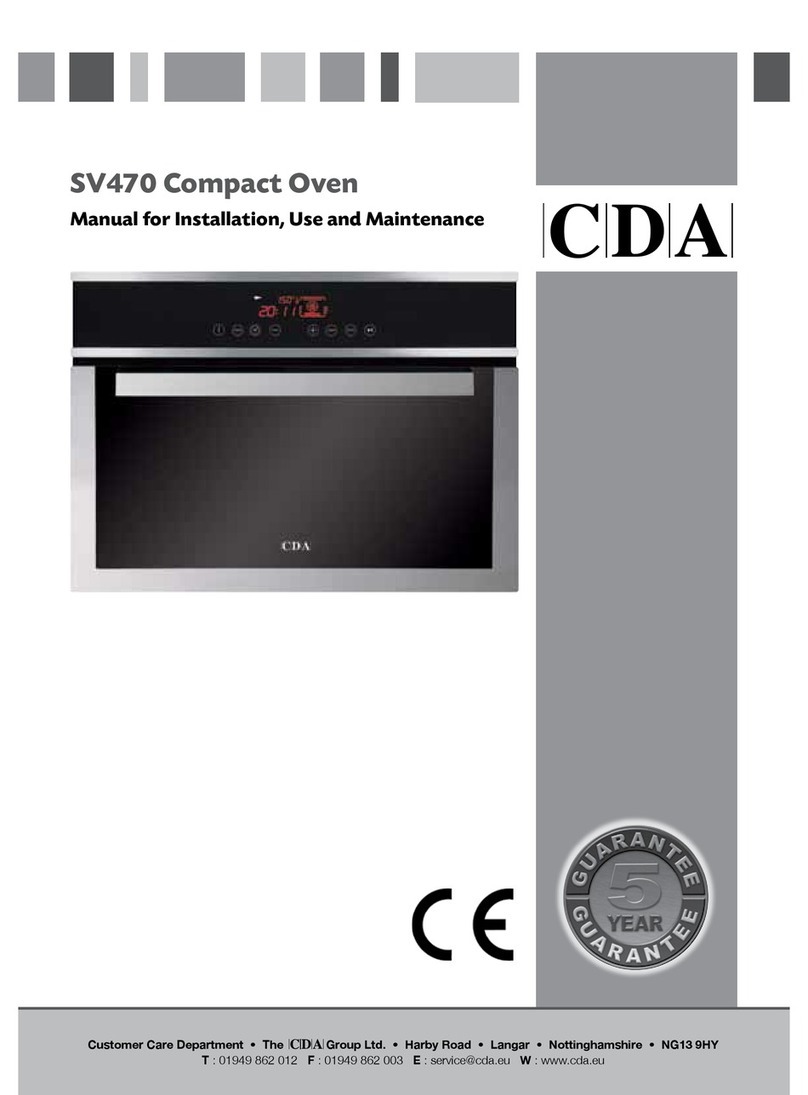
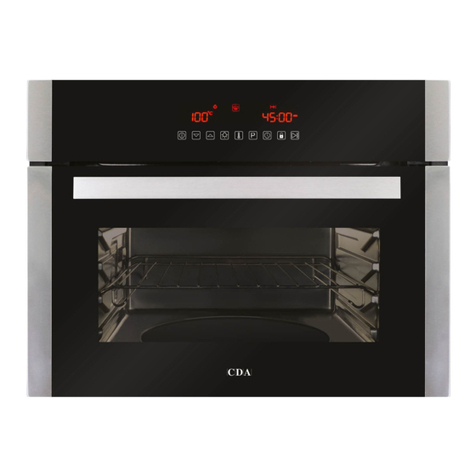
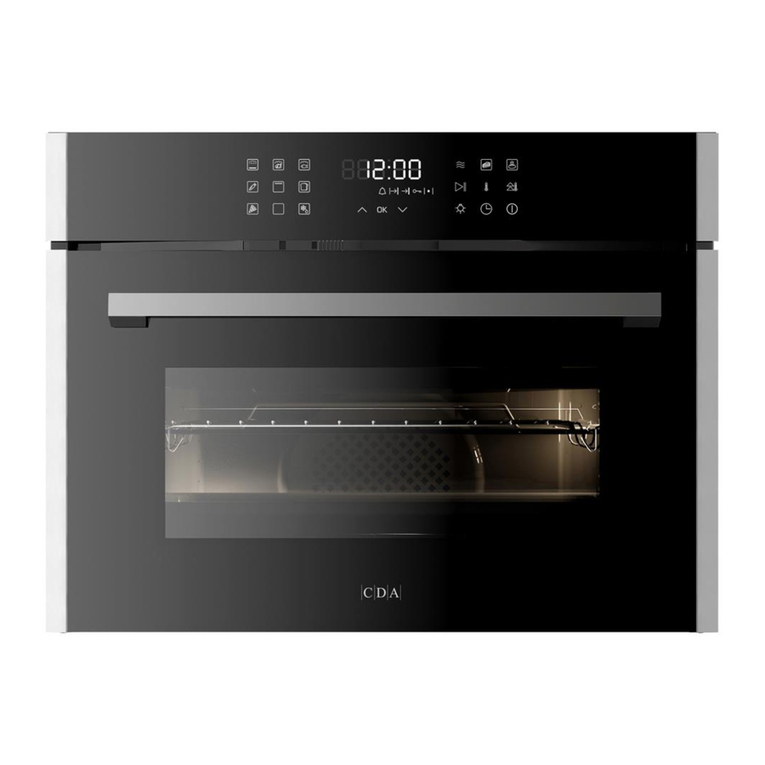
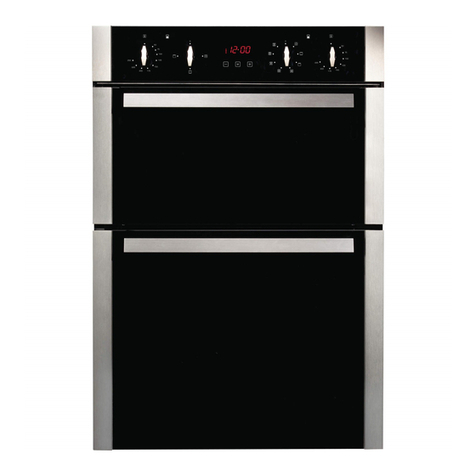
CDA sk450 Reference manual

Customer Care Department • The Group Ltd. • Harby Road • Langar • Nottinghamshire • NG13 9HY
sk450 Single Ecoclean Oven
Manual for Installation, Use and Maintenance

2
Important
This appliance must only be used for the purpose for which it is
intended, i.e. domestic cooking, defrosting and reheating foods. Any
other use could be dangerous and may lead to premature failure of
the appliance.
The CDA Group Ltd cannot be held responsible for injuries or losses
caused by incorrect use or installation of this product. Please note
that CDA reserve the right to invalidate the guarantee supplied with
this product following incorrect installation or misuse of the appliance.
User information:
•Ovens become hot during and immediately after use. Ensure you
do not touch the heating elements located inside the appliance.
•The oven door can become very hot during operation.
•After use, please ensure that the appliance is switched o.
•Keep children away from the appliance when in use, and
immediately after use.
•Keep the oven door closed when in use.
Appliance information:
Please enter the details on the appliance rating plate below for
reference, to assist CDA Customer Care in the event of a fault with
your appliance and to register your appliance for guarantee purposes.
Appliance Model
Serial Number

3
CE Declarations of Conformity:
This oven has been designed, constructed and marketed in
compliance with safety requirements of EEC Directive 2006/95/EEC
(Low voltage) and requirements of EMC Directive 2004/108/EEC.
This appliance has been manufactured to the strictest standards and
complies with all applicable legislation, including Electrical safety (LVD)
and Electromagnetic interference compatibility (EMC). Parts intended
to come into contact with food conform to EEC/89/109.4
IMPORTANT INFORMATION FOR CORRECT DISPOSAL OF THE
PRODUCT IN ACCORDANCE WITH EC DIRECTIVE 2002/96/EC.
At the end of its working life, the product must be taken to a special
local authority waste collection centre or to a dealer providing
appliance recycling services. Disposing of a household appliance
separately avoids possible negative consequences for the
environment and health. It also enables the constituent materials to be
recovered, saving both energy and resources.
As a reminder of the need to dispose of household appliances
separately, the product is marked with a crossed-out wheeled dustbin.

4
Important
• Read the user instructions carefully before using the oven for the
first time.
• Follow the instructions for rst use of the oven.
• Clean the oven regularly.
• Remove spills as soon as they occur.
• Always use oven gloves when removing shelves and trays from the
ovens.
• Do not allow children near the oven when in use.
• Do not allow fat or oils to build up on the oven shelves, grill pan or
oven base.
• Do not place any cooking utensils or plates directly on the oven
base.
• Always grill with the oven door closed.
• Do not grill food containing fat without using the grill pan grid.
• Do not cover the grill pan grid or the oven walls with aluminium foil.
• Do not use the oven tray for roasting.
• Do not perform maintenance or cleaning of the oven without rst
switching o the electricity supply. If the oven has recently been
used, allow to cool.
• Do not place hot enamel parts in water. Leave them to cool rst.
• Do not allow vinegar, coee, milk, saltwater, lemon or tomato juice to
remain in contact with enamel parts.
• Do not use abrasive cleaners or powders that will scratch the
surface of the enamel.
• Do not attempt to repair the internal workings of your oven.

5
Using the Touch
Controls
The touch controls should be used with
the flat of your finger, rather than the
fingertip.
fig. 1

6
The Control Panel
A B C D E F G H
I J K L M
A: Oven light
B: Conventional oven
C: Warming oven
D: Half grill
E: Full grill
F: Fanned grill
G: Fan assisted oven
H: Fan oven
I: On/O and key lock
J: Rapid preheat
K: Oven clean
L: Stop
M: Start
fig. 2

7
N O P Q R S T
U V W X Y Z
N: Fan oven + lower heat
O: Defrost
P: Auto recipe
Q: Confirm
R: Scroll downward / Reduce power
S: Scroll upward / Increase power
T: Digital display
U: Timer function
V: Timer - cooking time
W: Timer - end time
X: Minute minder
Y: Decrease settings
Z: Increase settings

8
Before First Use
When the oven is connected to the electrical supply for the first time,
the display will ask you to select your language: Use the
buttons to select the language you want, use the “ok” button to
confirm your choice.
The oven will remember your language preference, even after future
power outages.
After setting the language, the oven will go into “demonstration” mode
(it will also go into this mode after any power failure).
In this mode, the oven keys light up in sequence but no heating
elements are powered. The control panel is inactive so the oven will
not respond to commands.
To exit the demonstration mode, touch the “Light” key for
approximately five seconds, the control panel will revert to normal
operation and be ready for use.
You can set the clock at this stage, but it is not necessary for turning
on the oven.
Before using the oven for the first time we recommend that you clean
it with soapy water, rinse carefully and then heat on the fan oven
setting at maximum temperature for 30 minutes. A slightly unpleasant
smell may be produced, caused by grease remaining on the oven
elements from the production process.

9
General Settings & Use
Clock
To set the clock, touch the “Timer function” key for at least 3
seconds, the clock will show “00:00” with the separator dots flashing.
Use the “+” and “-” keys to set the correct time: Five seconds after
selecting the time the dots will stop flashing and the time will be set.
Key lock
This appliance is equipped with a key lock to prevent accidental
use. For safety reasons the “On/O” key will work to switch the
appliance o when the key lock is set.
To switch the key lock on or o, touch and hold the “On/O” key
the appliance will give a brief beep when the button is first pressed
and a longer beep after three seconds, when the key lock is either
activated or deactivated. The padlock closed symbol will show in the
display when the key lock is on and the padlock open symbol when
the key lock is o.
Oven light
The oven light may be turned on and o by touching the “Oven light”
key .
Alternatively, the oven light will turn on automatically when the door
is opened then after the door is closed will stay on for approximately
three minutes before automatically turning itself o.

10
To turn the oven on
Touch the “On/O” key briefly, it gives one short beep followed
immediately by a long one, the word ”ON” appears on the display for
approximately one minute.
To turn the oven o
Touch the “On/O” key briefly, it gives one long beep, the word
”OFF” appears briey on the display.
While the word “ON” is showing on the display, any of the cooking
functions can be selected by touching one of the function keys.
If a cooking function is not selected within one minute the oven
will switch itself o and the word “OFF” will show briey on the
display.
The cooking functions available when the oven is on are:
Conventional oven
First touch the “On/O” key (as above), then touch the “Conventional
oven” key. The cooking temperature defaults to 190°C and can be set
between 50-250 (MAX) °C in 5˚C increments.
The temperature can be changed at any time by touching the
keys. During heating the “°C” symbol flashes and the display shows
the actual temperature in the oven.

11
Warming oven
First touch the “On/O” key (as p10), then touch the “Warming oven”
key. The warming oven programme allows you to prove dough and
bake blind, using just heat from below. The cooking temperature
defaults to 50°C and can be set between 50-250 (MAX) °C in 5˚C
increments.
The temperature can be changed at any time by touching the
keys. During heating the “°C” symbol flashes and the display shows
the actual temperature in the oven.
Full Grill and Half grill
First touch the “On/O” key (as p10), then touch the “Full grill” or “Half
grill” key. The grill programmes use just the grill elements to provide
top heat for grilling or browning foods. The rack should be placed in
as high a position as possible to bring the food close to the element.
The food needs to be turned over during cooking to ensure both
sides are cooked.
The grill should be preheated for approximately two minutes before
starting to cook. The cooking temperature defaults to MAX and can
be set between 50-250 (MAX) °C in 5˚C increments.
The temperature can be changed at any time by touching the
keys. During heating the “°C” symbol flashes and the display shows
the actual temperature in the oven.

12
Fanned grill
First touch the “On/O” key (as p10), then touch the “Fanned grill” key.
The fanned grill programme uses the grill element for grilling and the
fan to help circulate heat around the food. This is ideal for cooking on
several shelves. The cooking temperature defaults to 165°C and can
be set between 50-250 (MAX) °C in 5˚C increments.
The temperature can be changed at any time by touching the
keys. During heating the “°C” symbol flashes and the display shows
the actual temperature in the oven.
Fan assisted oven
First touch the “On/O” key (as p10), then touch the “Fan assisted
oven” key. The fan assisted oven programme uses the fan to circulate
heat produced by the top and bottom elements to give an even
temperature throughout the oven. The cooking temperature defaults
to 165°C and can be set between 50-250 (MAX) °C in 5˚C increments.
The temperature can be changed at any time by touching the
keys. During heating the “°C” symbol flashes and the display shows
the actual temperature in the oven.
Fan oven
First touch the “On/O” key (as p10), then touch the “Fan oven” key.
The fan oven programme allows you to cook and brown foods just as
you would in a traditional oven. The cooking temperature defaults to
165°C and can be set between 50-250 (MAX) °C in 5˚C increments.

13
The temperature can be changed at any time by touching the
keys. During heating the “°C” symbol flashes and the display shows
the actual temperature in the oven.
Fan oven + lower heat
First touch the “On/O” key (as p10), then touch the “Fan oven +
lower heat” key. The fan oven + lower heat programme uses the
fan element to enhance the heat from the bottom element to create
an ideal environment for cooking pizzas. The cooking temperature
defaults to 230°C and can be set between 50-250 (MAX) °C in 5˚C
increments.
The temperature can be changed at any time by touching the
keys. During heating the “°C” symbol flashes and the display shows
the actual temperature in the oven.
Defrost
First touch the “On/O” key (as p10), then touch the “Defrost” key.
The defrost programme uses the the fan to circulate air for defrosting
with the option of gentle heat to accelerate the process.
This is not a cooking programme.
The defrost temperature defaults to unheated or can be set between
40-60°C in 5˚C increments.
The temperature can be changed at any time by touching the
keys. During heating the “°C” symbol flashes and the display shows
the actual temperature in the oven.

14
Use of the Food Probe
The food probe is a thermometer which, when inserted into your food
in the oven, makes it possible to check its internal temperature and
use it to establish when it is cooked through.
Using the food probe
1. The probe must be plugged into the oven before the oven is
switched on.
2. Locate the food probe socket, situated in the top front corner of
the oven cavity, protected by a metal cover.
3. Lift the metal cover.
4. Push the plug in as far as it will go. If it is correctly inserted, the
oven will beep.
5. Push the probe into the centre of the food, avoiding touching
bones or fatty areas.
6. Select the cooking programme you require as described above,
and set the cooking temperature.
7. After 5 seconds the temperature display will switch to the probe
setting. Use the keys to adjust this as required.
8. After a further 5 seconds the oven
will start.
9. When the probe detects that the
food temperature has reached its
set temperature the oven will switch
o, beep and display the message
“PROGRAM FINISHED REMOVE
THE DISH”.
fig. 3

15
If at any time you want to change either the probe set temperature or
the oven setting temperature, touch the “ok” key to toggle the display
between the setting temperatures. Then use the keys to adjust
the setting.
Note: When using the food probe the preset temperatures for all
programmes are changed. The cooking temperature with probe
defaults to 165°C and can be set between 120-250°C.
Note: The defrosting programme is deactivated when the probe is
plugged in.
Note: The probe will not work if it is connected when the oven is
already switched on.
Special Functions
Rapid preheat
This function shortens overall cooking times by preheating the oven
faster than it would normally.
This is activated by touching the “Rapid preheat” key AFTER a
cooking function is selected, the oven beeps once and the “Rapid
preheat” key lights up red to show this is activated.
This function may be deactivated at any time by touching the “Rapid

16
preheat” key again, the oven beeps twice and the “Rapid preheat”
key returns to white lighting to show this is deactivated.
Oven clean
This function cleans the oven’s catalytic side and rear panels by
running a maximum temperature cycle.
The “Oven clean” function can only be used when no cooking
function has been selected.
First touch the “On/O” key (as p10), then touch the “Oven clean” key
for five seconds. The oven light is switched on and can be switched
o and on again at any time.
All the self-cleaning panels will perform eectively for thirty cleaning
processes, after this limit the panels should be replaced if the self
cleaning proerties are to be retained (See page 21).
Automatic Recipes
Automatic recipes
First touch the “On/O” key (as p10), then touch the “Automatic
recipes” key.
The display shows 2 options, “Personal recipes” (see below) or
“Preset recipes” Use the keys to select the option required
then confirm by touching the “ok” key.
The menu system of the microwave leads you through a series of
questions to select the features of your food. Use the keys to

17
select the option required then confirm by touching the “ok” key for
each selections.
At the end of the process the oven displays the set cooking time; this
may be adjusted up or dow using the “+” and “-” keys, then the “ok” to
confirm. Press the “Start” key to start the programme running.
For some programmes the oven determines that a period of
preheating is required. in this case the message “PREHEAT” will
show on the display; this is replaced with the message “PREHEATING
FINISHED PUT IN THE DISH” when the required temperature has
been reached. Insert the dish at this stage.
At the end of cooking, the display will read “PROGRAM FINISHED
REMOVE THE DISH” and the oven will beep until you press any key.
Note: at any stage of the setting process if you make a mistake
choosing the values and/or you want to change the settings of your
recipe, touch the “Stop” key to cancel it and allow you to start
again from the beginning of the procedure.
If a change to the settings for a programme has been made the oven
gives you the opportunity to save this as a “Personal recipe” at the
end of the cooking time.
Personal recipes can then be selected for future use next time.

18
Timer and Minute Minder
Programming the oven
This is only applicable to these functions:-
Fan oven
Fan oven + grill
Fan grill
Grill
Any timer functions required should be set after the relevant
cooking programme has been set, and before the “start” key is
touched.
Timer - Cooking time
Touch the “Timer function” key once so the “Cooking time” key
lights up.
Touch the “Cooking time” key to select it then use the “+” and “-” keys
to set the cooking time; once the separator dots stop flashing the
cooking time is set.
Timer - End time
Touch the “Timer function” key twice so the “End time” key
lights up.
Touch the “End time” key to select it then use the “+” and “-” keys to
set the end time; once the separator dots stop flashing the end time is
set.

19
Programming delayed cooking
This is achieved by programming an end time (when you want the
food ready) and also programming a cooking time (as the recipe).
Minute minder
The minute minder is a timer that is independent of the function of
the oven; it times and sounds a beep but does not aect any oven
functions. This is useful for timing actions that are unrelated to this
appliance, for example timing eggs on the hob.
Minute minder while the oven is OFF
While the oven is o the minute miinder can be set by touching the
“Timer function” key once then touching the “+” and “-” keys to set
the time.
At the end of the set time the beeper will sound. This can be stopped
by touching the “Timer function” key.
To cancel the timer at any stage, touch the “Timer function” key then
use the “-” key to reduce the time to zero.
Minute minder while the oven is ON
While the oven is on the minute miinder can be set by touching the
“Timer function” key three times so the “Minute minder” key
lights up. Then touch the “+” and “-” keys to set the time.
At the end of the set time the beeper will sound. This can be stopped
by touching the “Timer function” key.
To cancel the timer at any stage, touch the “Timer function” key three
times, then use the “-” key to reduce the time to zero.

20
Care and Maintenance
IMPORTANT:
Always disconnect the appliance from the power supply before
undertaking any cleaning or maintenance.
You should always allow the oven to cool fully after use before
undertaking any cleaning or maintenance.
Changing the oven lamp
• Remove all shelves and the grill pan
from the oven.
• Gently unclip the side rack from its
lower locating stud and unhook its top
to remove it.
Note: No tools are required and the
stud should not be removed.
• Lift the catalytic liner from the oven
side, noting how it hooks into position.
• Carefully detach the glass cover from
the lamp holder, by sliding it upward
then easing the bottom outward.
• Carefully remove the old bulb and
insert a new bulb, suitable for high
temperatures (300ºC) having the
following specifications: 230-240V,
50Hz, 25W, G9 tting.
• Insert the new bulb taking care not
to touch the glass with your hands as
contamination from your fingers can fig. 5
fig. 4
Table of contents
Other CDA Oven manuals

CDA
CDA SC309 Series Reference manual

CDA
CDA SC145 for Reference manual

CDA
CDA SL200SS User guide

CDA
CDA DC740 Reference manual

CDA
CDA DC730 Series Reference manual

CDA
CDA SA117 Reference manual

CDA
CDA DV1180 Series Reference manual
CDA
CDA SK511 Quick start guide

CDA
CDA SK320 Quick start guide

CDA
CDA DV 980 Series Guide