Charge Amps Aura User manual

www.chargeamps.com
English
Charge Amps Aura
Installation
Manual

2
English
Table of content
1 Safety 5
2 Technical data 6
3 Product overview 9
3.1 Package contents 10
4 Before installation 12
4.1 Recommended tools 12
4.2 Materials provided by installer 12
4.3 Mounting requirements 13
4.4 Electric requirements 14
4.4.1 Short circuit safety 14
4.4.2 Residual current safety 14
4.5 Internet access 15
4.5.1 Wi-Fi 15
4.5.2 4G-LTE 16
4.5.3 LAN 16
4.5.4 Network daisy chain of Charge Amps Aura 17
5 Installation 18
5.1 Mounting 18
5.2 Connection 22
5.2.1 Cable connection 22
5.3 Reassemble 28

3
English
6 Configuration 29
6.1 Create a Charge Amps Partner Account 29
6.2 Connect Charge Amps Aura OCPP 1.6J version 30
6.2.1 Connect via Charge Amps Aura Wi-Fi access point 31
6.2.2 Connect via LAN 32
6.2.3 Connect via 4G-LTE 33
6.2.4 Local management interface settings 34
6.3 Connect Charge Amps Aura CAPI version 35
6.3.1 Connect via Charge Amps Aura Wi-Fi access point 36
6.3.2 Connect via LAN 37
6.3.3 Connect via 4G-LTE 37
7 Cloud connectivity 38
8 Dismounting 39
9 Maintenance 39
9.1 Regular maintenance 39
9.2 Preventative maintenance 40
10 Product support and service 40
11 Warranty 40

4
Neglecting to follow and carry out the directions, instructions and safety precautions in this Installation
Manual implies that any warranty provisions will be cancelled and that Charge Amps can reject any and
all claims for compensation in connection with any injuries/damage or incidents – direct or indirect –
that are a result of such negligence.
Charge Amps AB does not give any warranties as to the accuracy or completeness of this document
and shall have no liability for the consequences of using such information. Charge Amps AB reserves
the right to make changes to information published in this document without notice.
Visit www.chargeamps.com for the latest document releases.
© Copyright Charge Amps AB. All rights reserved. Copying, amending and translating are strictly
forbidden without prior written approval from Charge Amps AB.
In conformity with the relevant EU directives.
Respect the environment! Must not be discarded with household
waste! This product contains electrical or electronic components.
Leave the product for separate collection and proper treatment at
a designated location e.g. the local authority’s recycling station.

5
English
1 Safety
WARNING! Read all instructions before installation!
• The product must only be installed or opened by a qualified
electrician in accordance with the Installation Manual.
• Make sure to switch the power off at the main switch before
installation or service.
• For this product, automatic reclosing of protective devices are
not allowed.
• Improper use and negligence to follow the instructions of this
Installation Manual may create a risk of personal injury.
• National installation requirements and restrictions apply.
• Only use this product for charging compatible electric vehicles.
• Inspect the product for visible damage before use.
• Never attempt to repair or use the product if it is damaged.
• Make sure that the product is in good condition and that all
cables are properly seated before use.
• Do not immerse the product in water, subject it to physical
abuse or insert foreign objects in any part of the product.
• Never attempt to disassemble the product in any way other
then what is described in the Installation Manual.
• Make sure no flammable, explosive, corrosive or combustible
materials, chemicals, or fumes are nearby the mounting
position.
• Make sure the front cover does not interfere with any
cables inside and that the front cover is locked in place upon
completion of installation.
• To avoid muscle strain or back injury, use lifting aids and proper
lifting techniques.

6
English
2 Technical data
Charging mode Mode 3
EV power supply identifier
Metering 1 to 3 phase voltage, current and
power
Socket Type 2, up to 2x22 kW
Rated voltage (Un)230/400 V
Rated insulation voltage (Ui)250/400 V
Rated impulse withstand voltage
(Uimp)
4 kV
Rated operational voltage (Ue)230/400 V
Rated frequency (fn)50 Hz
Rated current (In)63 A
Rated output current (Inc)32 A/socket
Rated diversity factor (RDF) 1 (can be lowered if used together with
a load balancing functionality)
Rated peak withstand current (Ipk)3 kA, 20 kA²s
Rated short-time withstand current
(Icw)
192 A for 2 s
Residual current safety Separate DC fault current protection.
Type A RCBO complying with
EN 61009-1 and EN 61009-2-1 is
integrated to the charging station for
each socket.
Protection against electrical shock Class I
Types of earthing system TN, TT and IT

7
English
Overvoltage category III
Pollution degree 3
Electromagnetic compatibility Environment B
Operating temperatures -35°C to +45°C
Altitude 0 m to 2000 m
IP code IP55
IK code IK10
Mechanical resistance High
Dimensions (W x D x H) 367 x 159 x 405 mm
Weight 10 kg
Characteristics of power supply and
output
AC EV supply equipment connected
to AC supply network, permanently
connected.
External design and method of
mounting
Enclosed wall-mounted surface type:
- surface mounted on walls
- stationary ground and floor mounted
installation with accessory Charge
Amps Pole mount
Type of construction Fixed
Intended use and location type By ordinary persons, indoor and
outdoor installation with non-
restricted access
RFID Type: ISO/IEC 14443 Typ A 13.56MHz
Mifare
Range: 13.553 – 13.567 MHz
Output: 31 dBm

8
English
Wi-Fi Type: 802.11 b/g/n
Range: 2400 – 2500 MHz
b/g/n
Communication protocol OCPP 1.6J: Valid for Charge Amps
Aura with product number 130908 &
130909.
CAPI: Valid for Charge Amps Aura with
product number 101010 and 101010-
LTE.
Cellular networks communication
(only applies to Charge Amps Aura
with product number 130908 and
101010-LTE).
Type: GSM, GPRS, EDGE, UMTS/
HSPA+, LTE
Range: 698 – 960 / 1710 – 2690 MHz
Max. output: 33 dBm@GSM, 24 dBm@
WCDMA, 23 dBm@LTE
SIM Card: Standard SIM (25mm x
15mm)

9
English
3 Product overview
A RFID reader
B RFID light
C EV socket
D Socket light
C
B
A
D
E
E Cylinder lock
F Back cover
G Front cover
H Cable slide: data and power cable in/out
F
G
H

10
English
3.1 Package contents
1
Cable slide Cable fitting Plugs M32 insert Screws
RFID tag Cylinder key Wago jumper
2

11
English
1 Charge Amps Aura
2 Accessories:
• Cable slide
• Cable fitting for power (M32): 13 - 17.5 mm and 17 - 25 mm
• Cable fitting for data (M12): 4 - 8 mm
• Plugs for non-used cable entries
• M32 insert only
• Screws
• 2x RFID tags
• 2x Cylinder lock keys
• Wago jumper for IT network connection (MPN: 2016-433)
Additional contents:
• Document with serial number and password
• Quick Guide

12
English
4 Before installation
4.1 Recommended tools
• 3.5 mm flat head screwdriver
• Drill
• Multimeter
• Laser/spirit level
• Wire stripper for cabling
• Mobile phone, tablet or computer
4.2 Materials provided by installer
• 4 x M6x30 mm or longer, flat head stainless screws type A2 or
A4 with associated washers type A2 or A4 having a maximum
outer diameter of 20 mm and plugs (if required, depending on
wall conditions)
• Installation cable, according to the charging capability of the
selected product
• Ethernet cable

13
English
4.3 Mounting requirements
• If possible, do not mount the Charge Amps Aura in direct
sunlight.
• Make sure the wall can support a weight of 10 kg and the
tractive force from the inserted cabling.
• Do not install Charge Amps Aura in confined spaces.
• Use screws and plugs (if required) suitable for the wall material.
• Charge Amps Aura must be mounted upright.
• Permissable mounting height 900 -1450 mm, measured from
the ground to the bottom of Charge Amps Aura.
• For alternative mounting requirements for a pole mount, contact
Charge Amps Support.

14
English
4.4 Electric requirements
N.B: Local regulations might add additional requirements for
the electrical installation and must always be met.
• Charge Amps Aura must be earthed through a permanent
electrical installation.
• Only insert the power cable through the specified cable entry.
Cables must not be passed through the rear housing.
4.4.1 Short circuit safety
Make sure the installation for Charge Amps Aura is properly fused
up to 63 A with one of the following:
• B- or C-curve MCB* with energy limiting class 3.
• D-type fuse category gG.
• NH blade fuse category gG.
*MCB = Miniature Circuit Breaker, B Curve MCBs trip at 3–5 times the rated
current and C Curve MCBs trip at 5–10 times the rated current.
4.4.2 Residual current safety
Following is integrated to Charge Amps Aura for each socket:
• Type A RCBO complying with EN 61009-1 and EN 61009-2-1.
• Separate DC fault current protection.

15
English
4.5 Internet access
Both Wi-Fi, LAN connection and 4G-LTE (only available for Charge
Amps Aura with product number 130908 and 101010-LTE) is
available for Charge Amps Aura.
4.5.1 Wi-Fi
Once the power is switched on, Charge Amps Aura will provide a
Wi-Fi access point which is available for 10 minutes. You can use
the Wi-Fi access point to connect Charge Amps Aura to the Wi-Fi
network of the facility.
N.B: The Charge Amps Aura Wi-Fi access point is deactivated
if one of the RJ45 ports are connected.
Before installing Charge Amps Aura, make sure the Wi-Fi network
of the facility is supported:
Supported networks:
• Wi-Fi 2,4 GHz according to 802.11b/g/n.
Recommendation for network security and encryption:
• WPA using TKIP: supported but not recommended.
• WPA2 using AES: recommended.
• WPA3: not supported.

16
English
4.5.2 4G-LTE
N.B: Only applicable to Charge Amps Aura with product
number 130908 and 101010-LTE.
N.B: If you wish to use the Charge Amps Aura Wi-Fi
access point to configure Charge Amps Aura via the local
managemen interface, make sure to disconnect the 4G-LTE
modem from the RJ45 port.
The Charge Amps Aura 4G-LTE model comes with the 4G-LTE
modem connected to one of the RJ45 ports on the main card.
Once the power is switched on, and a SIM card is inserted,
Charge Amps Aura will automatically connect to the 4G-LTE
network.
4G-LTE modem model:
• Teltonika TRB 140. If you wish to log in to the 4G-LTE modem
on Charge Amps Aura with product number 130908, see the
TRB 140 User Manual to find the default password and other
information.
• To log in to the 4G-LTE modem on Charge Amps Aura with
product number 101010-LTE, please contact Charge Amps
Support.
4.5.3 LAN
It is possible to connect Charge Amps Aura via a network cable. A
cat5 cable, or better, is required.

17
English
4.5.4 Network daisy chain of Charge Amps Aura
N.B: There’s a dependency between upstream and
downstream chargers in the chain, therefore the
recommended best practice is to connect a maximum of 4
Charge Amps Aura 4G-LTE, or Charge Amps Aura with LAN
connection, in series.
It is possible to daisy chain the network connection of several
Charge Amps Aura 4G-LTE or Charge Amps Aura with LAN
connection. For Charge Amps Aura 4G-LTE, use a separate
router or an Aura 4G-LTE as an uplink. It is not possible to use one
Charge Amps Aura with Wi-Fi as an uplink.

18
English
5 Installation
5.1 Mounting
N.B: Mounting shall only be performed by an qualified
electrician.
1. Unpack Charge Amps Aura. Make sure that Charge Amps Aura
is in a good condition and that all cables are properly seated.
Do not place the face plate directly on to the ground.
2. Mark the mounting holes on the wall according to the
dimensions in the drawing below*.
*Not to scale, [mm].

19
English
3. Unlock the cylinder lock. Rotate the front cover upwards and
suspend the front.
4. Remove the cable slide by unscrewing the two M6 screws.

20
English
5. Attach the cable fittings for power and data (NOTE: cable
fitting for data is only applicable for Charge Amps Aura with
LAN connection).
N.B: Make sure to cover non-used cable entries with suitable
plugs from the accessories.
6. Reattach the cable slide to the back cover by securing the two
M6 screws.
A
A
BB
Data cable entry
Power cable entry
A
B
Other manuals for Aura
8
Table of contents
Other Charge Amps Batteries Charger manuals

Charge Amps
Charge Amps BEAM Series User manual
Charge Amps
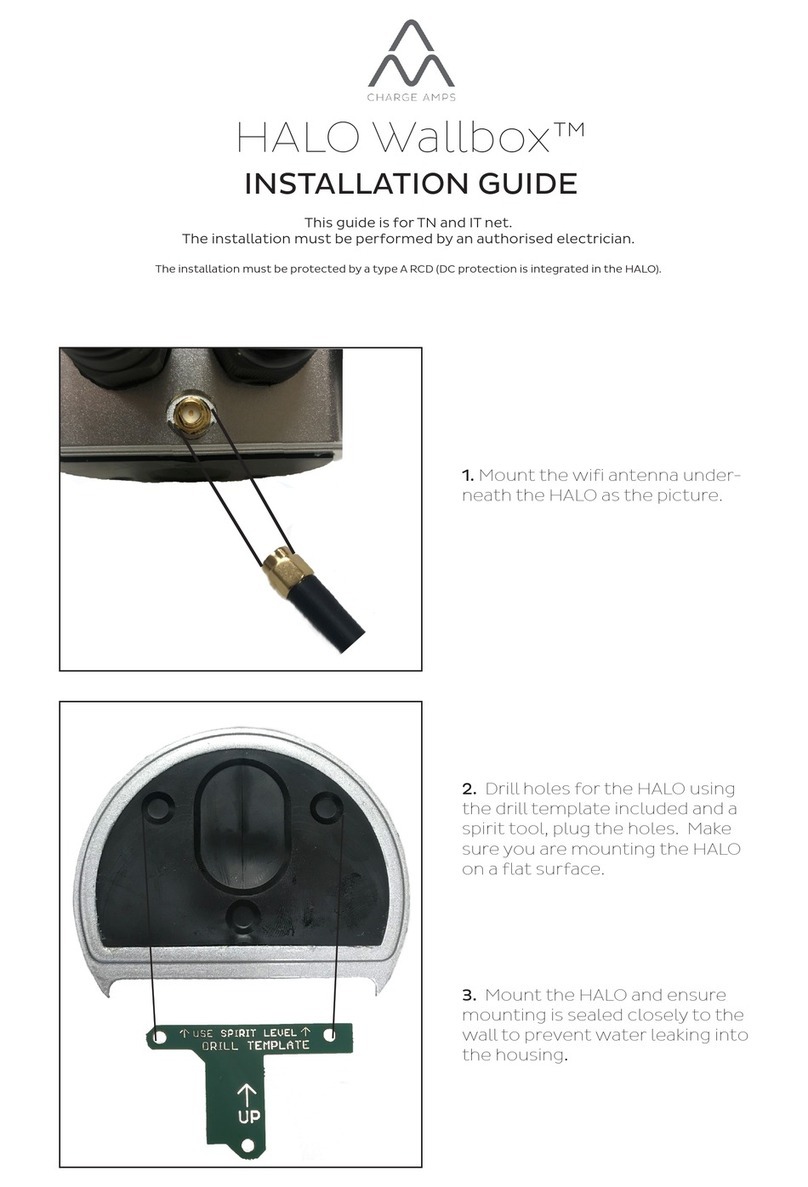
Charge Amps Halo Wallbox User manual

Charge Amps
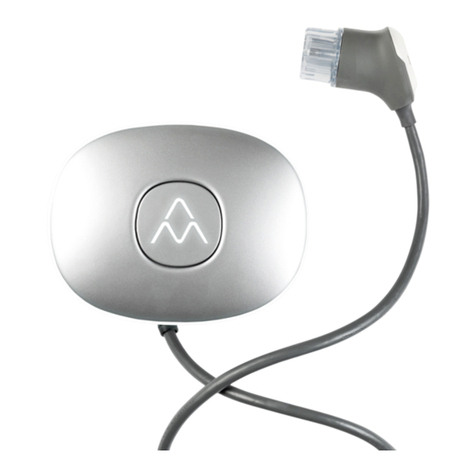
Charge Amps Halo User manual

Charge Amps
Charge Amps Halo User manual

Charge Amps
Charge Amps Aura User manual
Charge Amps
Charge Amps Halo User manual

Charge Amps
Charge Amps Aura Instruction manual

Charge Amps
Charge Amps Halo User manual
Charge Amps
Charge Amps Aura User manual
Charge Amps
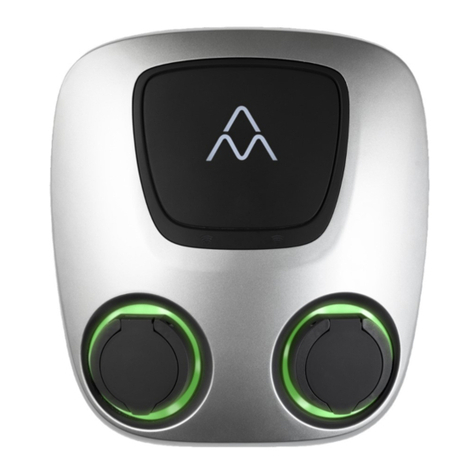
Charge Amps Aura User manual


