manuals.online logo
Brands
  1. Home
  2. •
  3. Brands
  4. •
  5. Chinavision
  6. •
  7. Cell Phone
  8. •
  9. Chinavision CVAAK-M402 User manual

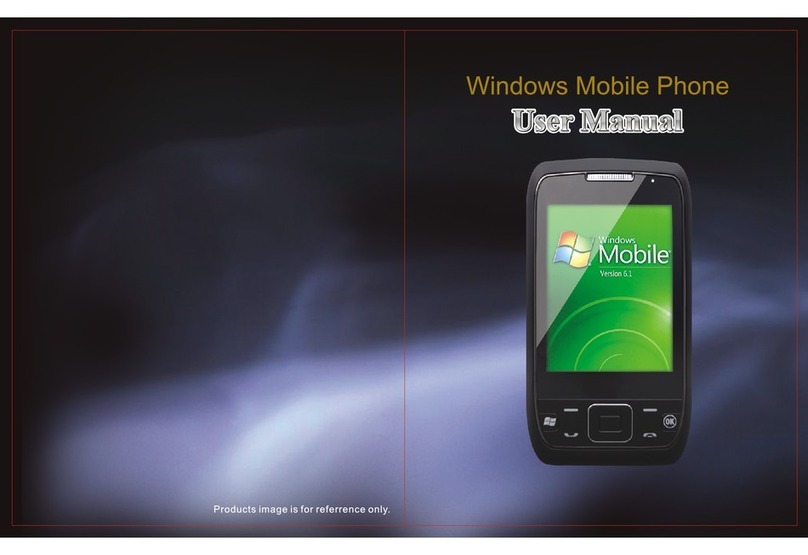
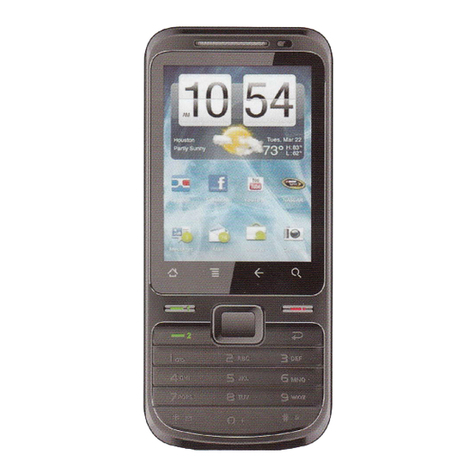
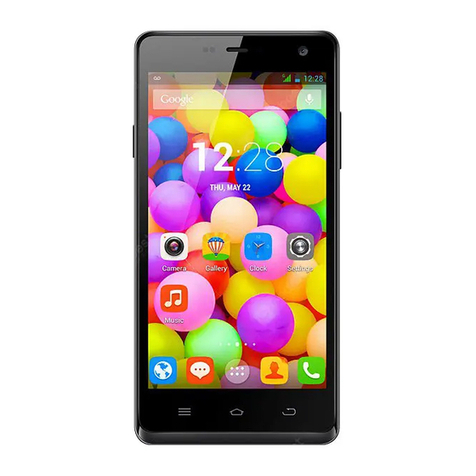
Chinavision CVAAK-M402 User manual

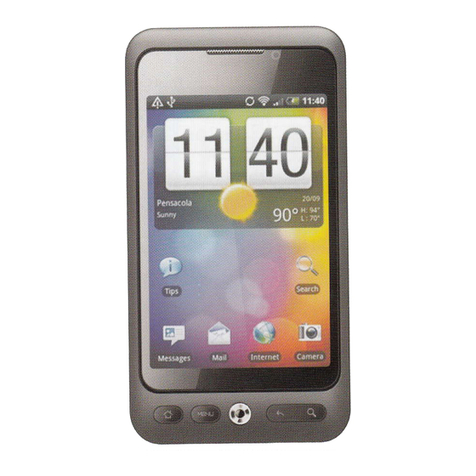
Smart Phone User Manual
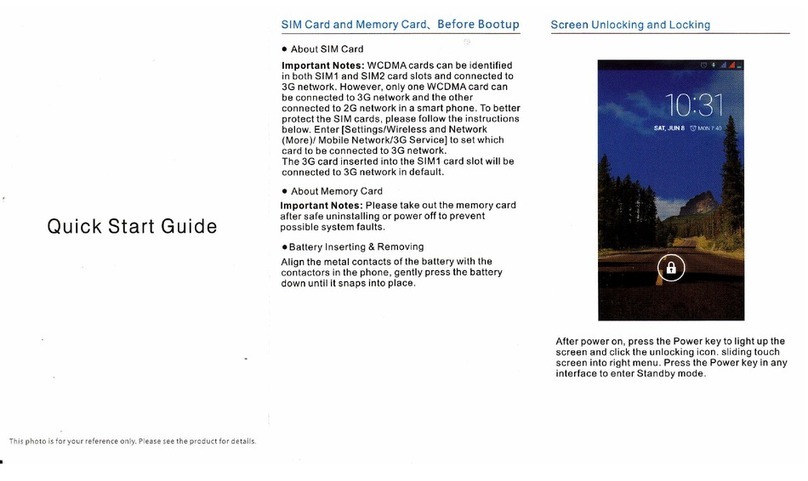
Sim Card
The SIM (Subscriber Identity Module) card-
identifies your phone to the wireless network'
IMPORTANT: To make or receive phone calls
and browse the Intemet, you must first activate
and insert the SIM card that comes with your phone'
Insert the SIM card
1. Detach the SIM card from its packaging'
2. Pull the back cover away ftom the phone'
3. Insert the SIM card and close the back cover'
Memory
Your ohone has an internal memory for you to
store photos, videos. music, and more' Your
phone hare a slot for an externaVremovable
a USB port on a computer'
Power
To tum the power on'press and hold the
Power/Lock key on the top ofyour phone'
To turn the power off, press and hold the
Power&ock keY and taP Power Off'
Home Screen
Swipe your frnger left or right to view more
of your Home screen. You can customue
eaih screen with widgets or shortcuts to your
favorite aPPlications.
Status bar
The Status bar appears at the top ofevery
Home screen. Icons indicating the phone's
status and new notification alerts appear on
the Status bar.
Notification screen
To open the Notification screen, touch and
drag the Status bar down.
Applications screen
To access ttre Applications screen, from any Homg
r....n, tup the Aiplications icon' Swipe left or right
to scroll tirough tle scre.n. As you download new
applications, they will appear on the Applications
screen in alPhabetical order'
You also have three options when viewing your
memory card.
Battery
Your phone comes with an extemal battery
that vou can remove. Please make sure to
charge your battery fully before initial use'
For more information on how to conserve
batterv life, see the Battery & Memory
Manalement section at the back of this guide'
Charge the battery
1. Insirt the small end of the charger into
the ChargerAJSB Port'
2. PIug the iher end into an electrical wall outlet or
Applications screen. Simply tap the icons on
the bottom of the Applications screen to vlew:
All
Frequent
Downloads
Unlock thc screen
l, Quickly press the Powerllock key to wake the
display.
2. Drag the ring on the bottom ofyour screen up to
unlock.
Add items to the Home screen
l. Swipe left or right to the desired Home screen'
2. Touch and hold an empty spot on the Home
screen.
i. Tap Widgets, Apps, or Shortcuts at the bottom of
the screen.
4. Drag and drop the item onto the desired Home
screen disPlaYed at the toP'
Move or delete items on the Home screen
l. Touch and hold the item you want to move or
dcletc,
2. Drag it to another location or to Remove at the
top ofthe screen.
Changc Honrc scrccn wallPaPer
1, Froil any Home screen, tap the Applicationsicon'
2. Tap Settings.
3. Tap Personalize.
,{
j
4. Tap Wallpaper.
5. Scroll to and tap the desired image.
7. Tap Save or Apply.
Ringtones
Set incoming cali ringtone
1. From any Home screen, tap the Applicationsicon.
2. Tap Settings.
3. Tap Peisonalize.
4. Tap Sound at the bottom ofthe screen.
5. Tap Ringtone.
6. Tap the'desired ringtone.
7. Tap Apply.
Set notification sound
1. From any Home screen, tap the Applicationsicon.
2. Tap Settings.
3. Tap Personalize.
4. Tap Sound at the bottom ofthe screen.
5. Tap Notification sounds.
6. Tap Default notification, Mssage, Calendar,
Email, or Task.
7. Tap the desired sound.
8. Tap Apply.
Volume
Set call Yolume
While on a call, press the Volume key up or down
to adjust.
Set other volume
l. From any Home screen, tap the Applicationsicon.
2. Tap Settings.
3. Tap Sound.
4. Tap Volumes.
5. Touch and drag the sliders to the desired level.
6. Tap OK.
Activate dial pad touch tones, touch sounds,
and screen lock sound
1. From any Home screen, tap the Applicationsicon.
2. Tap Settings.
3. Tap Sound.
4. Tap to select the Dial pad touch tones, Tbuch
sounds, or Screen lock sound check boxes.
Silence ring and notification volume
From any Home screen, press the Volume key down
until you see the Silent mode icon.
Contacts
Add new contact
1. From any Home scteen, tap the Phoneicon.
2. Enter the contact's phone number.
3. Tap Save to People.
4. Tap Create new contact.
5. Read the message about saving the contact and
tap OK,
6. Enter the contact's information.
7. Tap Save.
Call contact from the contacts list
1. From any Home screen, tap the Phoneicon.
2. Tap People at the bottom ofthe screen.
3. Tap the contact.
4.Tapthe contact's phone number. If there are
multiple numbers, tap the desired number to cal1.
Camera & Video Take a picture
1. From any Home screen, tap the Applicationsicon.
2.Tap Camera.
3. Frame your subject.
4. Tap the Shutter icon to capture. Pictures are
saved to Applications > Gallery.
Record a video
L From any Home screen, tap the Applicationsicon.
2. Tap Camera.
3. Frame your subject.
4. Tap the Video Recorder icon to begin recording.
5. Tap the red flashing Record icon to stop. Videos
are saved to Applications > Gallery.
Ernail setup
Set up GmailrM
1. From any Home screen, tap the Applicationsicon
2. Tap Gmail.
3. Tap Existing or New.
4. Follow the on-screen instructions.
I
-l
Set up Internet email
l. From any Home screen, tap the Applicationsicon.
2. Tap Mail.
Note: Ifyou have already sel up an email
account, tap Menu ) New account.
3. Tap the desired email provider.
4. Enter your email address.
5. Tap the Password field and enter your password.
6. Tap Next.
7. Enter a name for your account (optional).
8. Enter the name you want displayed on outgoing
messages.
9. Tap Finish setup.
Set up corporate email
1. From any Home screen, tap the Applicationsicon.
2. Tap Mail.
Note: Ifyou have already sel up an email
acc0unt, tap Menu ) New account.
3. Tap Microsoft Exchange ActiveSyrc.
4. Enter yow email address.
5. Tap the Password field and enter your password.
6. Tap Manual setup.
7. Enter additional account information, as
necessaxy.
8. Tap Next.
9. Modiff the account options, as desired, and tap
Next.
10. Enter a name for your account.
I L Tap Finish setup.
clontact youf company's IT deparfinent
if you need more help.
Wi.Fi
Your phone can connect to the Intemet using Wi-Fi.
Tum on Wi-Fi
l. From any Home screeir, tap the Applicationsicon.
2. Tap Settings.
3. Tap the On/Off button for Wi-Fi.
Connect to Wi-Fi networks
1. From any Home screen, tap the Applicationsicon.
2. Tap Settings.
3. Make sure Wi-Fi is turned on.
4. Tap Wi-Fi to display a list of available Wi-Fi
networks.
5. Tap the network you want to use.
6. Ifnecessary, enter the network password and tap
Connect.
Hotspot
Share your mobile data connection with other
devices wirelessly by turning your phone into a
portable Wi-Fi hotspot.
To use your phone's hotspot capability, you
must have the Smartphone Mobile HotSpot
service added to your rate plan.
When Smartphone Mobile HotSpot is tumed
on, your phone displays the Mobile HotSpot
icon on the Status bar.
NOTE: You cannot use Wi-Fi and use your
phone as a hotspot at the same time.
Turn on Smartphone Mobile HotSpot
L From any Home screen, tap the Applicationsicon.
2. Tap Settings.
3. Under Wireless & Networks, tap More.
4. Tap Mobile Hotspot & tethering.
5. Tap to select the Mobile Hotspot check box.
Your phone stirts broadcasting its Wi-Fi network
name (SSID).
Confi gure Smartphone Mobile HotSpot
L From any Home screen, tap the Applicationsicon.
2. Tap Settings.
3. Under Wireless & Networks, tap More.
4. Tap Mobile Hotspot & tethering.
5. Tap Mobile Hotspot settings.
6. Tap OK.
7 . Tap to clear the Mobile Hotspot check box to turn
off, ifnecessary.
8. Tap the Router name (SSID) field and enter a
new SSID name, ifdesired.
9. Tap the Security drop-down menu.
10. Tap WEP (128), WPA (TKIP), or WPA2 (AES).
1 L Tap the Password field and enter a password.
12. Tap Manage users.
13. Tap to select the Allowed users only check box
14. Tap OK.
15. Tap the Max. connections drop-down menu.
16. Tap the desired number ofusers.
17. Tap Done.
Tether your phone
1. Connect your phone to a computer with a USB
cable.
2. Tap USB tethering.
3. Tap Done.
4. Tap Windows or Mac OS X.
Your phone starts sharing its wireless network
data connection with your computer via the
USB connection.
Note: You can also turn on/offtethering by tapping
thc Applications icon > Settings > More >
Tethering & portable hotspot >tJSB tethering.
Bluetooth,o
Your phone comes with Bluetooth connectivity,
a wireless technology that enables a data
connection between your phone and a
Bluetooth headset or other Bluetooth device
(sold separately).
Prepare Bluetooth headset
Make sure that the headset is fully charged and
in pairing mode. Refer to the headset's user
manual for more information
Tum on Bluetooth and pair with headset
1. From any Home screen, tap the Applicationsicon.
2. Tap Settings.
3. Tap the On/Off button to tum on Bluetooth.
4. Tap Bluetooth. Your phone will scan for and
disptay a list ofavailable Eluetooth devices.
5. From the list, tap the headset you want to pair
with your phone.
6. If necessary, enter the PIN or passcode.
7. Tap Pair or OK.
Battery & memory management
Optimize battery life
There are some things that you can do to optimize
your phone's battery life.
Turn off WiFi, Bluetooth, and GPS
1. From any Home screen, tap the Applications
icon-
2. Tap Settings.
3. Tap the On/Offbuttons for Bluetooth and Wi-Fi
to furn off.
4. Tap Location.
5. Tap GPS satellites checkbox to turn off.
Adjust backlight duration
1. From any Home screen, tap the Applicationsicon.
2. Tap Settings.
3. Tap Display & gestures.
4. Tap the following to adjust:r
Brightness and drag the bar to the left to reduce
screen brightness. Tap OK.
Sleep and tap the desired timeout duration.
Optimize memory
Use Task Manager
Use Task Manager to free up memory by stopping
applications that you are not currently using'
1. From any Home screen, tap the Applications
icon.
2. Tap Task Manager.
3. Tap X to the right of the application name to stop
running.
Free up more space
Free up storage space by clearing out application
caches and moving or uninstalling unused apps.
l. From any Home screen, tap the
Applicationsicon.
2. Tap Settings.
3. Tap Storage.
4. Tap Make more space.
5. At the Clear Caches screen, tap Only rarely used
apps or All applications.
6. Tap Next.
7. At the Application Storage screen, tap Move
apps to phone storage or Uninstall apps and follow
the on-screen instructions.
8. Tap Next.
9. At the Mail & Message Storage screen, adjust
mail and messages settings to make more space'
10. TapNext.
1 1. Tap Finish.
Delete old text messages
1. From any Home screen, tap the Applicationsicon.
2. Tap Messages.
3. Tap Menu on the top right of the screen.
4. Tap Settings.
5. Tap General.
6. Tap to select the Delete old messages check box
to automatically delete text messages when the limit
is reached.
Reduce text message limit
1. From any Home screen, tap the Applicationsicon.
2. Tap Messages.
3. Tap Menu on the top right of the screen.
4. Tap Settings.
5. Tap General.
6. Tap Text message limit.
7. Enter the desired number of messages you wish
to save.
8. Tap OK.
I
l
I
I
L
i
I
i
I
I
I

Other Chinavision Cell Phone manuals

Chinavision CVYZ-M361 User manual

Chinavision

Chinavision CVYZ-M361 User manual

Chinavision CVVX-M286 User manual

Chinavision

Chinavision CVVX-M286 User manual

Chinavision CVEM-M253 User manual

Chinavision

Chinavision CVEM-M253 User manual

Chinavision CVFD-THL-4400 User manual

Chinavision

Chinavision CVFD-THL-4400 User manual

Chinavision CVDQ-M299-2GEN User manual

Chinavision

Chinavision CVDQ-M299-2GEN User manual

Chinavision CVVB-M294-N1 User manual

Chinavision

Chinavision CVVB-M294-N1 User manual

Chinavision V7 User manual

Chinavision

Chinavision V7 User manual

Chinavision CVYZ-M361 User manual

Chinavision

Chinavision CVYZ-M361 User manual

Chinavision CVSL-M117-2GEN User manual

Chinavision

Chinavision CVSL-M117-2GEN User manual

Chinavision CVEM-M266 User manual

Chinavision

Chinavision CVEM-M266 User manual

Chinavision CVFD-M230 User manual

Chinavision

Chinavision CVFD-M230 User manual

Chinavision CVFD-M410 User manual

Chinavision

Chinavision CVFD-M410 User manual

Chinavision CVDQ-M304 User manual

Chinavision

Chinavision CVDQ-M304 User manual

Chinavision CVVB-M297-N1 User manual

Chinavision

Chinavision CVVB-M297-N1 User manual

Chinavision CVWB-M256-2GEN User manual

Chinavision

Chinavision CVWB-M256-2GEN User manual

Chinavision CVFD-THL-W11 User manual

Chinavision

Chinavision CVFD-THL-W11 User manual

Chinavision CVIN-M40 User manual

Chinavision

Chinavision CVIN-M40 User manual

Chinavision CVVX-M209 User manual

Chinavision

Chinavision CVVX-M209 User manual

Chinavision CVXT-M312 User manual

Chinavision

Chinavision CVXT-M312 User manual

Chinavision CVEM-M223 User manual

Chinavision

Chinavision CVEM-M223 User manual

Chinavision CVFD-M330 User manual

Chinavision

Chinavision CVFD-M330 User manual

Chinavision CVXT-M411 User manual

Chinavision

Chinavision CVXT-M411 User manual

Chinavision CVXQ-M290-2GEN User manual

Chinavision

Chinavision CVXQ-M290-2GEN User manual

Popular Cell Phone manuals by other brands

LG C900 Guía del usuario

LG

LG C900 Guía del usuario

Philips Fisio 625 owner's manual

Philips

Philips Fisio 625 owner's manual

Huawei U8520-1 user guide

Huawei

Huawei U8520-1 user guide

Samsung B5702 brochure

Samsung

Samsung B5702 brochure

Cryptophone 100 manual

Cryptophone

Cryptophone 100 manual

Blackbe;rry 9620 user guide

Blackbe;rry

Blackbe;rry 9620 user guide

Huawei P10 LITE quick start guide

Huawei

Huawei P10 LITE quick start guide

BenQ M220 user manual

BenQ

BenQ M220 user manual

Krüger & Matz MOVE 4 owner's manual

Krüger & Matz

Krüger & Matz MOVE 4 owner's manual

LG KD3500 Service manual

LG

LG KD3500 Service manual

Nokia 3.1 Plus user guide

Nokia

Nokia 3.1 Plus user guide

NEC N331i user guide

NEC

NEC N331i user guide

Motorola Hint QA30 user guide

Motorola

Motorola Hint QA30 user guide

Motorola A840 - Cell Phone - CDMA2000 1X Start here

Motorola

Motorola A840 - Cell Phone - CDMA2000 1X Start here

Samsung SGH-N288 Service manual

Samsung

Samsung SGH-N288 Service manual

Sagem MY101X user guide

Sagem

Sagem MY101X user guide

Samsung GT-S6012 quick start guide

Samsung

Samsung GT-S6012 quick start guide

Magicon W450 manual

Magicon

Magicon W450 manual

manuals.online logo
manuals.online logoBrands
  • About & Mission
  • Contact us
  • Privacy Policy
  • Terms and Conditions

Copyright 2025 Manuals.Online. All Rights Reserved.