manuals.online logo
Brands
  1. Home
  2. •
  3. Brands
  4. •
  5. Chubbsafes
  6. •
  7. Safe
  8. •
  9. Chubbsafes AIR HOTEL CEU User manual

Chubbsafes AIR HOTEL CEU User manual

User guide AIR HOTEL CEU
OPERATING INSTRUCTIONS FOR CEU
(COMPUTERISED EMERGENCY UNIT)
Turn o the CEU by pressing the side mounted
switch to the ”0”position.
It is necessary to install batteries before using the CEU. To do this, remove the four screws on the back of
the unit to reveal the power pack. Install 4 x 1.5V AA size batteries, taking care to observe the correct polarity.
Re-assemble the CEU, ensuring the power pack sits at and no wires are trapped or damaged.
Two dierent codes are required to use the CEU – the CEU Master Code (factory set to 1111) and the CEU
Opening Code (factory set to 2222). Both can be programmed by the individual(s) controlling the installation.
N.B. These are not related to the User and Master codes of the Safe itself.
2
21
43
5
1. USING THE CEU TO OPEN THE SAFE
Turn on the CEU by pressing the side mounted
switch to the ”I”position. The unit will beep and the
display will show ”GOOd”.
Input the current CEU Master Code (factory
preset 1111) and conrm by pressing the # key.
The display will show ”GOOd”.
Remove the access panel at the base of the
keypad and connect the CEU to the safe using
the USB connector supplied.
Input the CEU Opening Code (factory set to
2222) followed by #. The CEU display will show
”OPEn”, the safe locking bolts will retract and
the safe opens.
Press *and then press ”9”. The display will show ”rESEt”.
Both the CEU Master and CEU Opening codes have been reset
successfully to the factory set codes – 1111
(CEU Master) and 2222 (CEU Opening).
Input the factory reset
code ”6208”.
Input the new 4 digit CEU Opening Code and conrm by
pressing #. The display will show ”dOnE”. The new CEU
Opening Code has been successfully changed.
With the CEU turned on,
press **. The display
will show ”PrOG”.
Input the new 4 digit CEU Master
Code and conrm by pressing #.
The display will show ”dOnE”.
The new CEU Master Code has
been successfully changed.
Press *and then
press ”1”. The
display will show
”nEU-C1”.
Input the current CEU
Master Code
(factory set 1111).
3
Resetting the CEU Master and Opening Codes to factory setting
21
43
2. PROGRAMMING THE CEU MASTER AND CEU OPENING CODES
Programming the CEU Master Code
21
4
3
Programming the CEU Opening Code
21
3
With the CEU turned
on, press **. The
display will show
”PrOG”.
Input the current CEU
Opening Code
(factory set 2222).
Press *and then press ”2”. The
display will show ”nEU-C2”.
With the CEU turned on,
press **. The display
will show ”PrOG”.
Press *and then press ”0”. The display
will show ”dOnE”. The date and time
have been successfully programmed
into the safe lock and synchronised
with the CEU.
Input the factory reset code ”5968”.
Press **, the display
will show ”PrOG”.
Connect the CEU to the safe via
the USB cable supplied and turn
on the CEU by pressing the side
mounted switch to the ”I”position.
The unit will beep and the display
will show ”GOOd”.
Press *again and the display will show ”000000” i.e. ”HOUr, MInUtE, SECOnd”,
two digits for each. Using the CEU keypad, enter in the Hour, Minute and Second and then press #.
The display will show ”dOnE”. The date and time have been successfully set.
Press *and then press ”4”. The display will show ”000000”, i.e. ”YEAr, MOntH, dAy”,
two digits for each. Using the CEU keypad, enter in the Year, Month and Day.
Input the factory
reset code ”5968”.
With the CEU turned on,
press **. The display will
show ”PrOG”.
In order that the audit function has meaning, it is necessary to set the time and date in both the
CEU and the installed safes. Once the CEU date and time have been set, the CEU can be used to
set each safe quickly and avoid having to do so via each individual keypad.
4
21
3
4
3. SETTING THE DATE AND TIME OF THE CEU
Using the CEU keypad
1 2
34
Transferring the time and date from the CEU to the safe
Open the software program
that allows the record to
be viewed and printed.
Firstly upload the software supplied
onto your computer. The software is
windows based.
Once the lock records have been downloaded from the safe to the CEU, the le can be viewed
on your computer.
Press *and then press ”8”. The display will show ”rEAD”. Now the records
are being downloaded from the safe to the CEU. At the same time the
display on the safe keypad will read ”SEnd”.
When both CEU and Safe displays show ”dOnE”, the transfer has nished.
Input the factory
reset code ”5968”.
Press **. The display
will show ”PrOG”.
Connect the CEU to the safe via
the USB cable supplied and turn
on the CEU by pressing the side
mounted switch to the ”I”position.
The unit will beep and the display
will show ”GOOd”.
It is possible to download a history of the opening and closing events from the lock to your PC
via the CEU.
5
1 2
3
4. DOWNLOADING LOCK OPENING RECORDS FROM THE SAFE LOCK
1 2
3 4
5. VIEWING THE DOWNLOADED RECORDS ON YOUR COMPUTER
Using the USB cable supplied, connect
the CEU to your computer and turn it on.
The CEU display will show ”PC-LInKEd”
during the connection.
Input the ”Day and HOUr” (2 digits for each), when renting is to end and
press #. The display will show ”dOnE”. The renting function is successfully set.
Press *and then press ”5”. The display will show ”dOnE”.
The renting function has been successfully cancelled.
Press **. The display
will show ”PrOG”.
Press **. The display
will show ”PrOG”.
Connect the CEU to the safe via
the USB cable supplied and turn
on the CEU by pressing the side
mounted switch to the ”I”position.
The unit will beep and the display
will show ”GOOd”.
It is possible, via the CEU, to set a nite period during which the safe can be used by the renter.
Once this period has elapsed, the user code programmed into the safe will cease to function.
The Master Code and the CEU paired to the safe will continue to function.
6
1 2
3
6
45
To set a renter’s time period
1 2
3 4
To cancel the renter function
6. SETTING THE RENTER FUNCTION
Input the factory
reset code ”8090”.
Press *and
then press ”4”.
Input the ”YEAr and MOntH” (2 digits for each),
when renting is to end and press #.
Connect the CEU to the safe via
the USB cable supplied and turn
on the CEU by pressing the side
mounted switch to the ”I”position.
The unit will beep and the display
will show ”GOOd”.
Input the factory
reset code ”8090”.
Press *and then press ”6”. The
display will show ”OLd-SO”.
Press *and then press ”5”. The
display will show ”nEU-SO”.
The CEU and each safe have serial codes that can be programmed and set so that only authorised
CEU units can operate with an authorised number of safes. It is the decision of the installation owner
as to whether or not they choose to set this function. Once set, the CEU will only communicate with
safes with the same serial number and so it is necessary to programme all safes accordingly. All
CEU and Safes have the factory setting 0-0-0-0.
7
1 2
34
To set the CEU Serial code
Keeping the CEU turned
on, press **. The display
will show ”PrOG”.
1 2
3
5
4
6
To set the Safe Serial code
7. SETTING THE CEU SERIAL CODE
With the CEU turned
on, press **. The
display will show
”PrOG”.
Input the factory
reset code ”9207”.
Input the new 4 digit serial code followed by #. The display will
show ”dOnE” and the new CEU Serial code is now set.
Connect the CEU to the safe via
the USB cable supplied and turn
on the CEU by pressing the side
mounted switch to the ”I”position.
The unit will beep and the display
will show ”GOOd”.
Input the factory
reset code ”9207”.
Input the old safe Serial code (factory set
code is 0-0-0-0) followed by #. The display
will show ”dOnE”, followed by ”nEU-SO”.
Input the new 4 digit serial code (N.B. This must match
the CEU Serial Code), followed by #. The display will
show ”dOnE” and the new Safe Serial code is now set.
Error Message Reason
Error1 Wrong master code
Error2 Wrong opening code
Error3 Incorrect process during programming
Error4 Serial Code of CEU does not match the safe
Error5 Time out of CEU / Safe connection
Error6 Failed communication between CEU and Safe
8. CEU ERROR CODES
If incorrect entries are made during any of the above processes a series of error messages are
displayed. If one of the following occurs, simply turn o the CEU, turn it back on again and restart
the process being attempted.
V1.0 29 July 2020

Other Chubbsafes Safe manuals

Chubbsafes Epsilon Electronic Instruction manual
Chubbsafes

Chubbsafes Epsilon Electronic Instruction manual

Chubbsafes DuoForce T2 M-65 Instruction manual

Chubbsafes

Chubbsafes DuoForce T2 M-65 Instruction manual

Chubbsafes Duoguard 60 User manual

Chubbsafes

Chubbsafes Duoguard 60 User manual
Chubbsafes CUSTODIAN Instruction manual

Chubbsafes

Chubbsafes CUSTODIAN Instruction manual

Chubbsafes HomeStar User manual

Chubbsafes

Chubbsafes HomeStar User manual
Chubbsafes Mekanno User manual

Chubbsafes

Chubbsafes Mekanno User manual

Chubbsafes EverydaySafe User manual

Chubbsafes

Chubbsafes EverydaySafe User manual
Chubbsafes Data Guard NT User manual

Chubbsafes

Chubbsafes Data Guard NT User manual
Chubbsafes Alpha User manual

Chubbsafes

Chubbsafes Alpha User manual
Chubbsafes EverydaySafe User manual

Chubbsafes

Chubbsafes EverydaySafe User manual
Chubbsafes OMEGA DEPOSIT User manual

Chubbsafes

Chubbsafes OMEGA DEPOSIT User manual
Chubbsafes Homesafes S2 LFS-30P User manual
Chubbsafes

Chubbsafes Homesafes S2 LFS-30P User manual

Chubbsafes Office Series Instruction manual
Chubbsafes

Chubbsafes Office Series Instruction manual

Chubbsafes Elements Air User manual

Chubbsafes

Chubbsafes Elements Air User manual

Chubbsafes AIR Electronic Lock Instruction manual

Chubbsafes

Chubbsafes AIR Electronic Lock Instruction manual

Chubbsafes PRIMUS / E-LOCK PS600 User manual
Chubbsafes

Chubbsafes PRIMUS / E-LOCK PS600 User manual

Chubbsafes ProForce Instruction manual
Chubbsafes

Chubbsafes ProForce Instruction manual

Chubbsafes Senator User manual

Chubbsafes

Chubbsafes Senator User manual
Chubbsafes Viper/Homesafes S2 LFS-30P Instruction manual
Chubbsafes

Chubbsafes Viper/Homesafes S2 LFS-30P Instruction manual

Chubbsafes Professional S2 User manual

Chubbsafes

Chubbsafes Professional S2 User manual

Chubbsafes CONSUL GRADE 0 User manual

Chubbsafes

Chubbsafes CONSUL GRADE 0 User manual

Chubbsafes TRIDENT User manual

Chubbsafes

Chubbsafes TRIDENT User manual

Chubbsafes AlphaPlus User manual

Chubbsafes

Chubbsafes AlphaPlus User manual

Popular Safe manuals by other brands

HPC WS-100K instructions

HPC

HPC WS-100K instructions

SPORTS AFIELD SA5520INS-BIO instruction manual

SPORTS AFIELD

SPORTS AFIELD SA5520INS-BIO instruction manual

Clarke CS600D Operation & maintenance instructions

Clarke

Clarke CS600D Operation & maintenance instructions

Night Owl Smart Safe user manual

Night Owl

Night Owl Smart Safe user manual

Ivation IVAFINGSAFE10 user guide

Ivation

Ivation IVAFINGSAFE10 user guide

HARTMANN TRESORE Bjork Assembly and operating instructions

HARTMANN TRESORE

HARTMANN TRESORE Bjork Assembly and operating instructions

Deister electronic proxSafe maxx installation instructions
Deister electronic

Deister electronic proxSafe maxx installation instructions

Fortress Technologies P1EF instruction manual
Fortress Technologies

Fortress Technologies P1EF instruction manual

Kompernass KH 4176 operating instructions

Kompernass

Kompernass KH 4176 operating instructions

Sanctuary Platinum SA-PLAT1-BIO instruction manual
Sanctuary

Sanctuary Platinum SA-PLAT1-BIO instruction manual

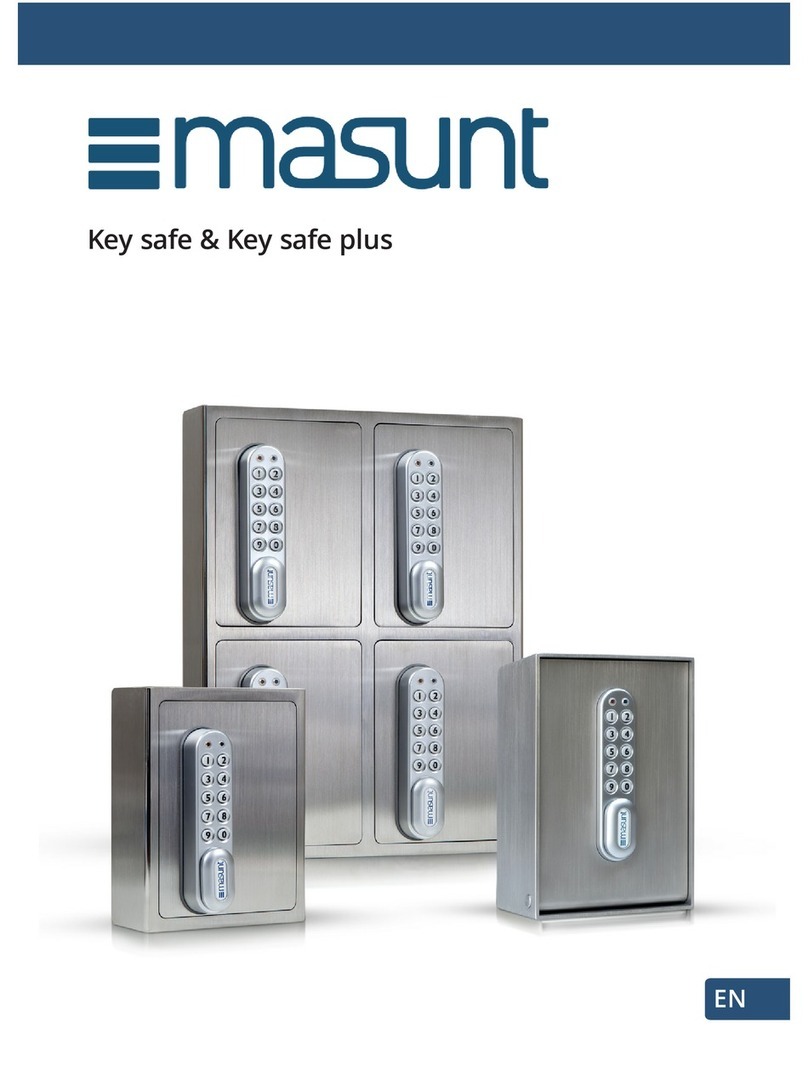
masunt Key safe manual

masunt

masunt Key safe manual

Vinz BIS725 instruction manual

Vinz

Vinz BIS725 instruction manual

Assa Abloy Lockwood user guide

Assa Abloy

Assa Abloy Lockwood user guide

LuCell LU-1000 user manual

LuCell

LuCell LU-1000 user manual

SecureLine Secure Doc Executive user manual

SecureLine

SecureLine Secure Doc Executive user manual

Avanti RS47BM Installation and usage instructions

Avanti

Avanti RS47BM Installation and usage instructions

BTV JADE operating instructions

BTV

BTV JADE operating instructions

Honeywell 5005 Operations & installation guide

Honeywell

Honeywell 5005 Operations & installation guide

manuals.online logo
manuals.online logoBrands
  • About & Mission
  • Contact us
  • Privacy Policy
  • Terms and Conditions

Copyright 2025 Manuals.Online. All Rights Reserved.